
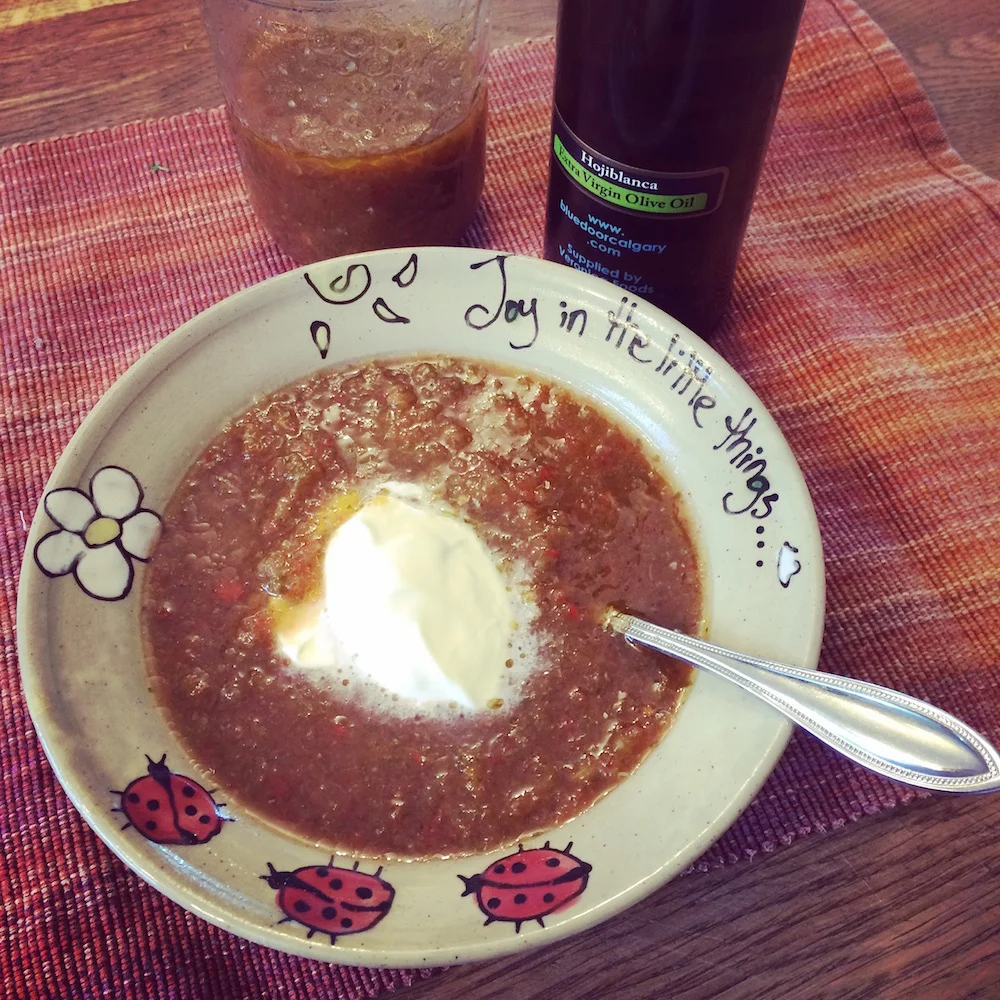
Gazpacho. Fermented.
New recipe on the blog, meant to take in the flavours of the season. Fermented Gazpacho, with flavour spikes from fused olive oil from Blue Door in Calgary, and flavoured vinegar from my wee garden patch. A nourishing probiotic-rich cold soup for the dog days of summer!
This is my story and I'm sticking to it. I had some cucumbers taking up space in my crisper, going a little soft. I had some lovely tomatoes from a local producer I had purchased in anticipation of my own tomatoes ripening at home, and so had to make something with them to make way for the home grown bounty. What does one make when one combines cukes and tomatoes? Well, gazpacho of course!
Being who I am, I couldn't just follow a recipe. Oh no, I had to experiment... I had some time on my hands. So play I did. Here is the finished product: Fermented Gazpacho! I fermented it in order to increase the nourishing aspects and add some probiotics to the mix. I fermented it in order to help it last in the fridge (fermenting extends the shelf life, did you know?). I also fermented in order to develop a really nice sour note to the cold soup; gazpacho just naturally lends itself to flavour explosions. I decided to try my hand at coming up with my own recipe.
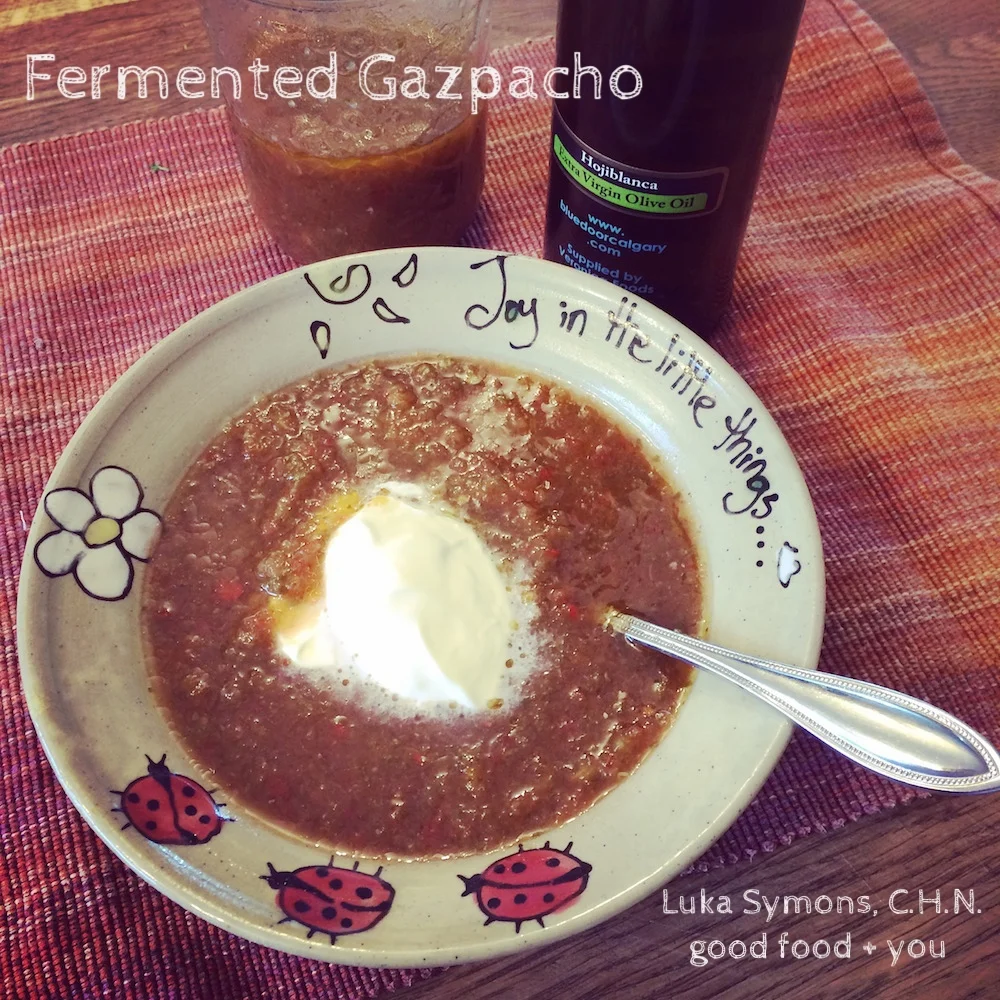
FERMENTED GAZPACHO
In a blender, combine until chunky (your desired consistency) or hand chop to pieces in the size you want:
- 5 mini cucumbers or 1 long english cucumber
- 4 tomatoes
- 2 bell peppers (I added colourful ones to enhance the visual glee you get from a gazpacho)
- 1 red onion
- 3 cloves of garlic (minced)
- 1 bunch of cilantro (minced)
- 1 bunch of parsley (minced)
- a handful of chives (minced)
Using a digital scale, pre-weigh a big kitchen bowl, big enough to hold your chopped veg. Mark down the weight of your bowl on a piece of paper, and return the bowl to the scale. Add your chopped veg. Mark the weight of the bowl + veg, and subtract the weight of the bowl: you have the total weight of veg! This is important, in order to know how much salt to use in order to allow for proper lactofermentation.
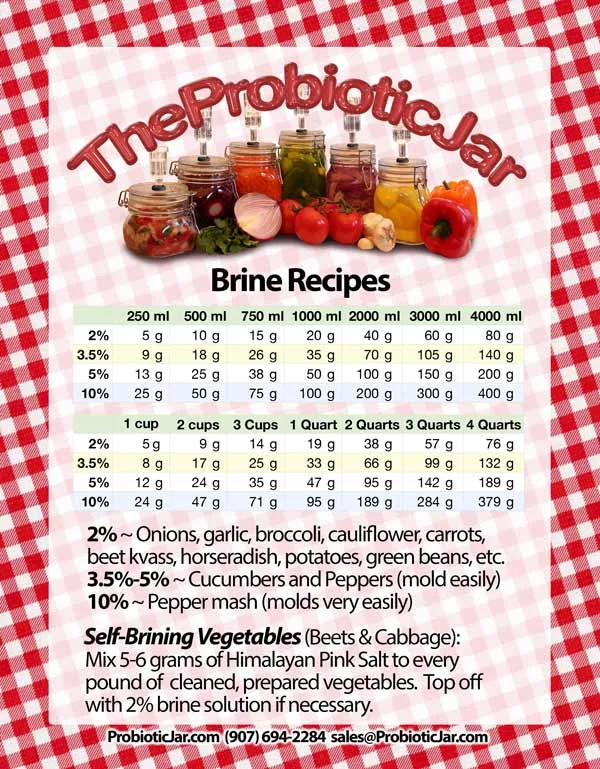
Handy chart to use to measure how much salt to volume. I prefer to measure by weight.
The good folks at The Probiotic Jar can do a much better and thorough explanation of how to figure out your salt brine percentage when making a ferment. See, when fermenting, it is crucial to set up the proper percentage of salt in your final product in order to have that tiny window that allows only the good probiotics to develop, selectively nixing out those that can't live in that salt percentage. This is how you ensure your product is food safe and won't mold, it's by ensuring the proper salt ratio for your ferment. And seeing as this gazpacho had cucumbers and peppers which are prone to mold, I opted to go for a 3.5% brine.
The total weight of my chopped veggies came to 1,623 grams. I multiplied this by 0.035 to get the 3.5% of weight to figure out how much salt to add to this lot. That turned out to be 57g of sea salt. I measured this amount out in a separate bowl using my digital scale, and then proceeded to swap out some of that salt for some leftover brine from a jalapeno+garlic ferment I did last summer. Knowing that 1 tbsp of sea salt can be replaced with 4 tbsp of leftover brine, I then whittled down the 57g of sea salt to 30g of sea salt by scooping out 2 tbsp of sea salt, and I added 1/2 cup of the juice from the jalapeno+garlic ferment, along with a few jalalpeno peppers for proper hit of spice.
It is important you figure out your own amount of sea salt you will need to add to your ferment, in order to ensure it is in that fine range to keep nefarious molds and bacteria out of the final product and make it a food safe venture. Do not follow my measurement, you won't have the same amount of veggies as I did. Each batch is different; it's why I am a big believer in measuring out in grams on a digital scale. It's not as hard as it seems!
Mix the salt + brine (if you are using) in with the vegetables well, and pour your final mix into a fermenting jar that will fit, or a fermenting crock or my favourite, a Fido jar. Make sure the lid is on tight, and if it's a jar you are using, mix your gazpacho every day by tipping upside down and right side up again to redistribute the veggies and salt, in order to prevent mold from developing on the top. If you have your gazpacho in a crock, it might be wise to mix it every day to redistribute the salt and re-submerge the tender veggies.
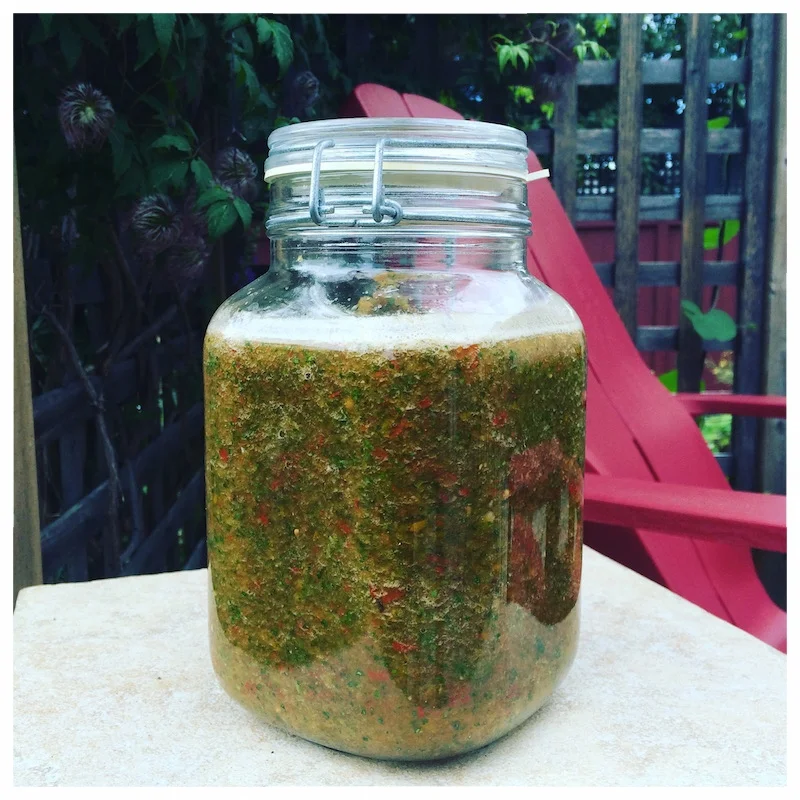
Gazpacho fermenting in my 2L Fido jar.
I let mine sit on the counter for 5 days, but you may prefer the taste at 3 days. It gets a bit more sour as the days go by, so when you decide to tuck in the fridge is completely dependant on your taste buds and preferences.
After the fermentation time on the counter, add to your jar:
- 1/4c flavoured olive oil (I used the Hojiblanca olive oil from Blue Door Oil + Vinegar, but you could use any flavour of olive oil here. Milanese Gremolata might impart that je-ne-sais-quoi!)
- 1/4c red wine or balsamic vinegar or flavoured vinegar (I used my homemade chive blossom vinegar)
- 2 tbsp of lime juice (fresh is best)
- Optional: hot sauce, chipotle peppers, red chili flakes
Mix well, and store the soup now in the refrigerator. Adding these ingredients deepen the flavours of the gazpacho, making each batch a unique offering. Having the good quality olive oil in the mix also imparts anti-inflammatory benefits, and packs on the nourishment and fats to help you assimilate more of the nutrients found in the gazpacho. Up that nutritional ante! Play with your food! And add a dollop of creme fraiche at serving time while you're at it.
The soup will keep for a minimum of 7 days, but I bet you'll run out before the end of day 2.
Bon appetit, les ami(e)s.

Phat Fats & a Giveaway
My dearies. I have an evening workshop on WHY FATS and WHAT FATS and PHAT FATS (I think that should be the new working title, no?). It's coming up next Tuesday evening the 22nd, so next week. I'd love to have you come to the event! (Full event details by clicking here) So...
I AM DOING A GIVEAWAY.
Because I want you to come.

SHARE this post (handy dandy 'share' button at the bottom of the blog post) and your name will go in a draw next Monday morning for a chance to attend this talk next Tuesday night. I'll be giving away TWO tickets for this event, so that you can bring a friend if you like! Because friends let friends eat the good fats.
Contest closes at noon on Monday March 21st, 2016. Share away! And then fire me word via the facebooks or email at lukasymons@gmail.com to let me know you did just in case. (And let's talk fats too, shall we?) xx

THE DEETS:
In this current era of instant-information and seemingly contradicting information on what foods are good for you, which ones we should omit, it can sometimes be overwhelming trying to 'do the right thing'. In this one-hour presentation, followed by a Q&A, Holistic Nutritionist and local foodie Luka Symons will be helping you navigate through the information on Why Fats are Good, which ones to choose, which ones to omit from your diet and recommendations on how to include the good guys in your every day meal plan.
From heart health to immune health to hormonal balance and the all-important brain health, including healthy fats is a quintessential component to supporting our bodies for the work they do every day. In traditional cultures, fat was an essential daily component of the diet, and with good reason. We will look at saturated, unsaturated, cholesterol and heat tolerance. We'll look at which fats to use where in your cooking as well. As a bonus, I will demo how to make your very own creme fraiche at home, a full fat lactose-free dairy delight, sure to tempt your palate.
Cost is $20 per person, and seating is limited. In order to reserve your spot, please contact Renewal Homeopathy and Wellness at 403.202.8507.
I look forward to seeing you there!
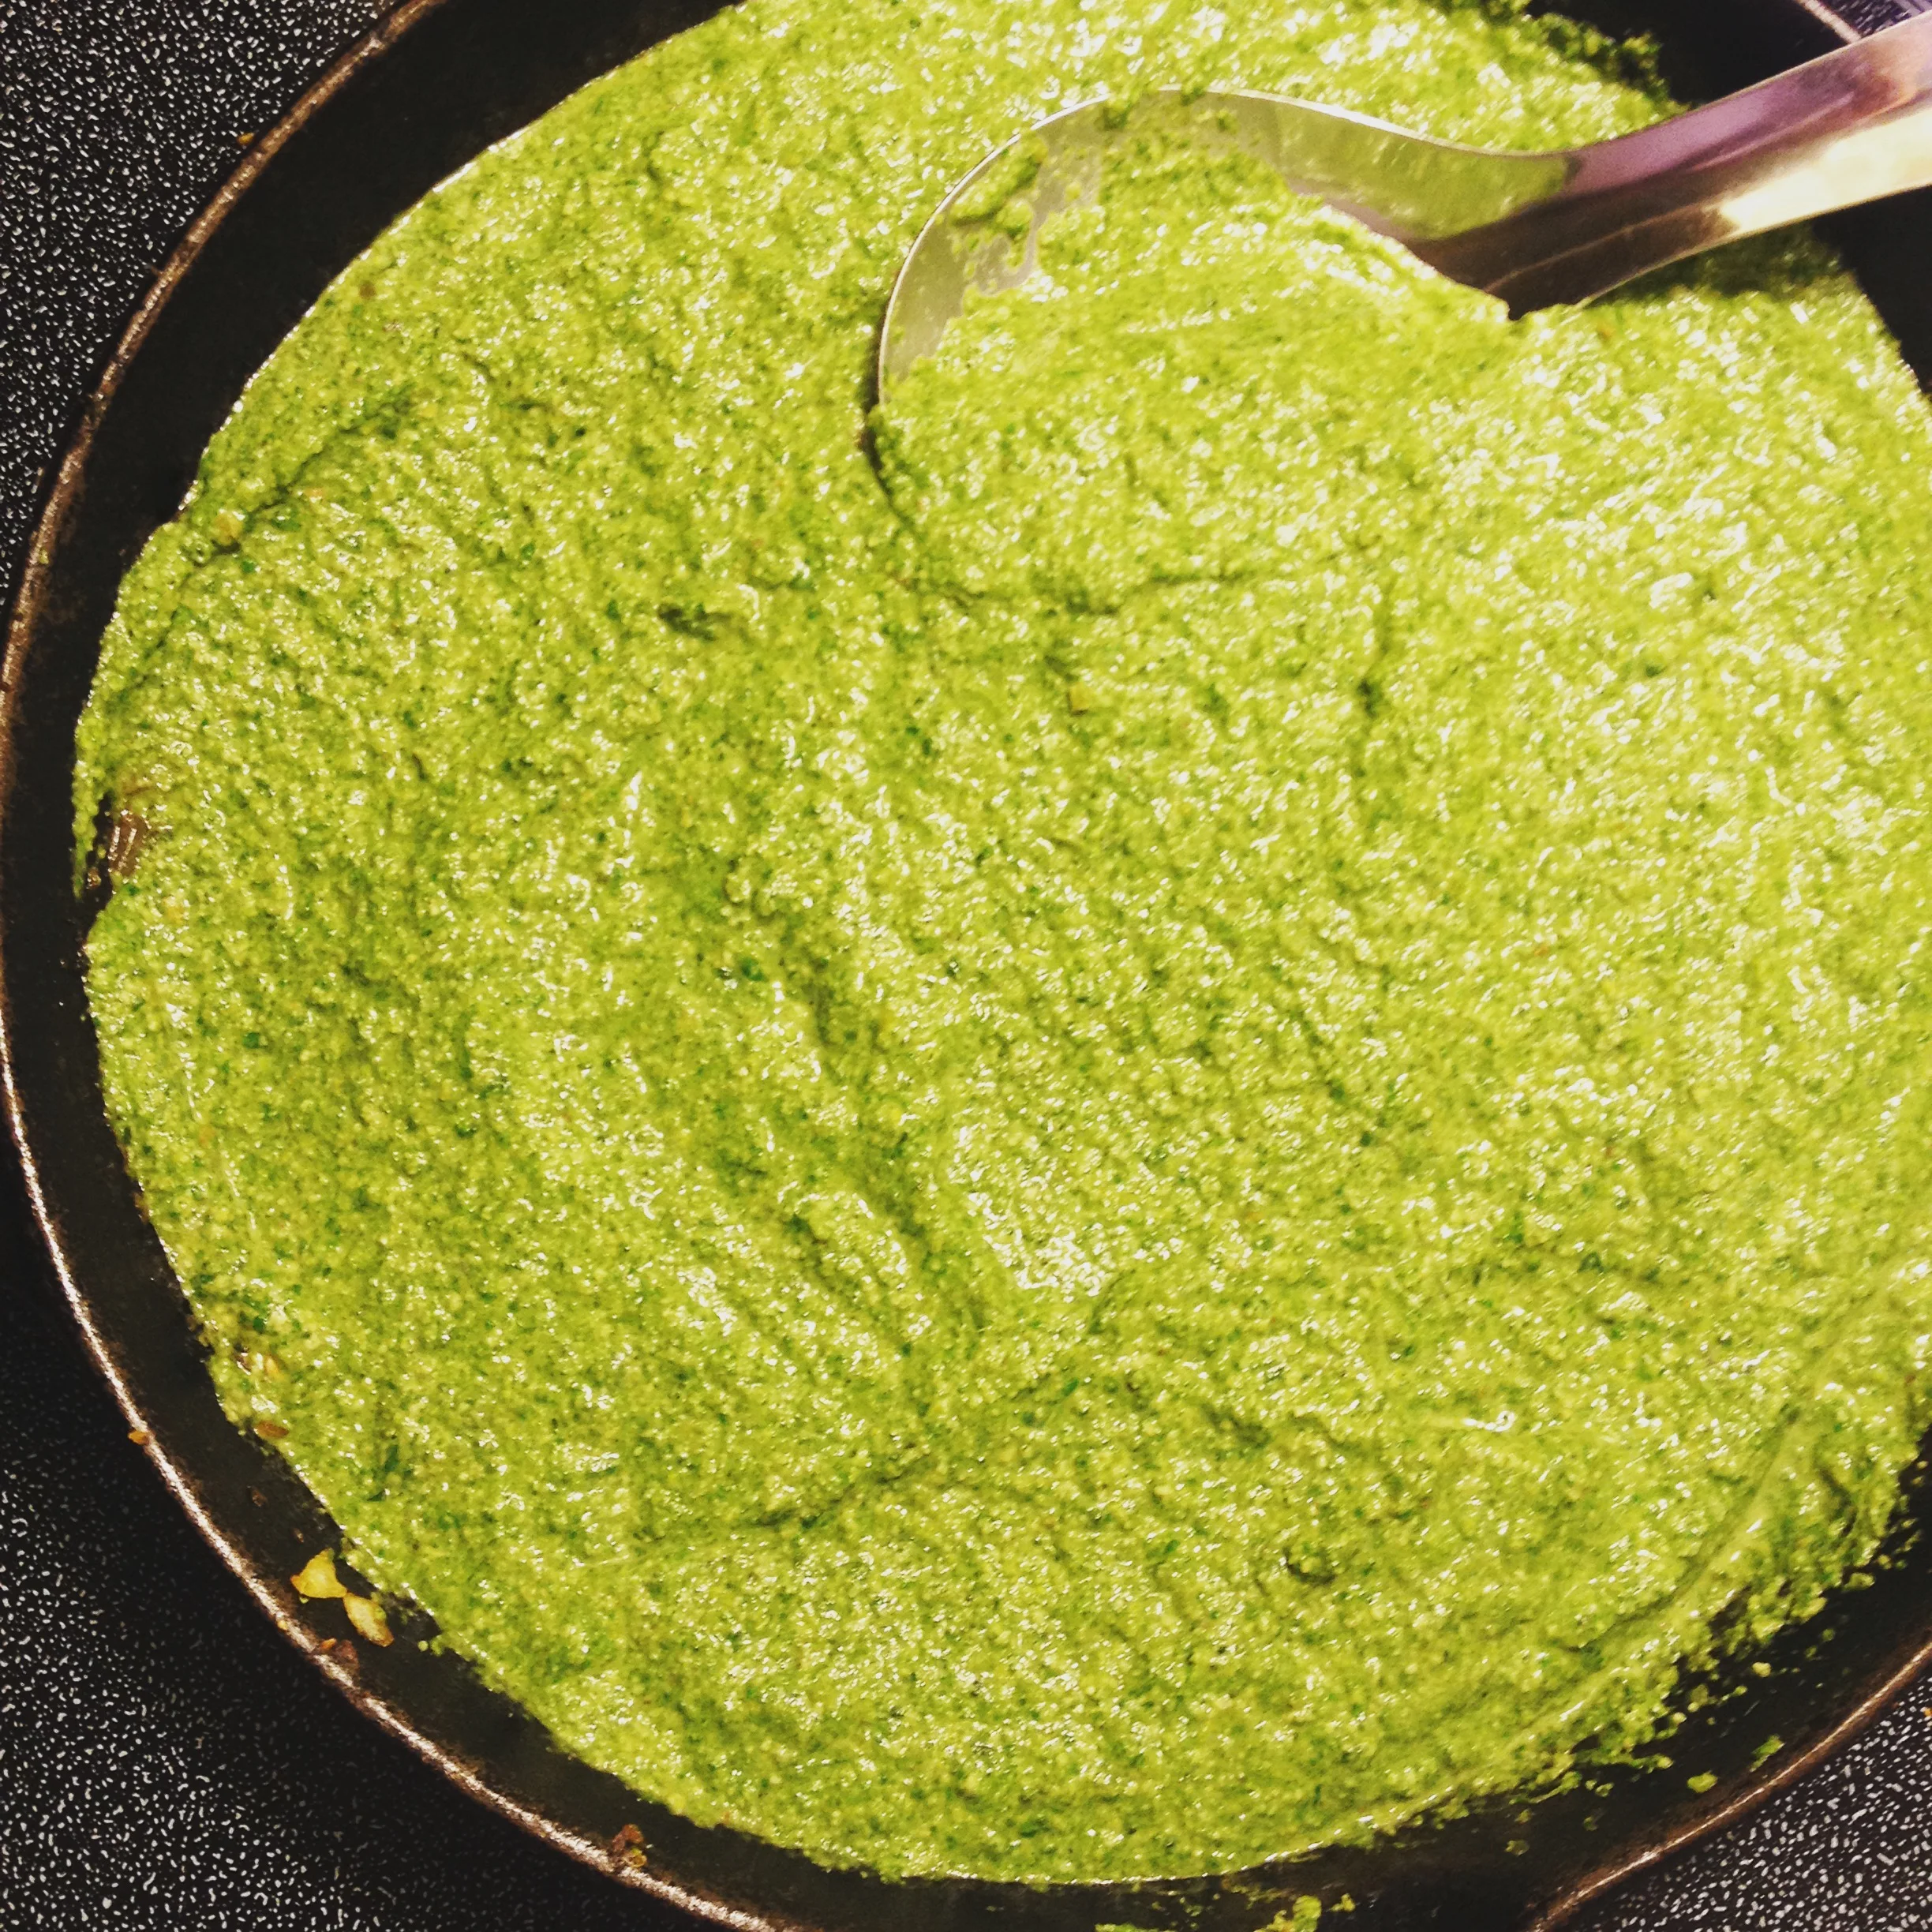
Easy Sides - Palak
I love greens. We all know we should eat them. Some may like them, others may have a hard time choking them down. I have a little one who won't eat a salad, say, but she'll devour this easy side every time I make it. In fact, she requests it on a regular basis. Making a nourishing side like this makes me feel like EVERYTHING IS GOING TO BE OK. She had some greens. (And so did I, in the process.)
Recipe for an easy side (or veggie loving main!) – Palak
I love greens. We all know we should eat them. Some may like them, others may have a hard time choking them down. I have a little one who won't eat a salad, say, but she'll devour this easy side every time I make it. In fact, she requests it on a regular basis. Making a nourishing side like this makes me feel like EVERYTHING IS GOING TO BE OK. She had some greens. (And so did I, in the process.)

Easy Sides. Palak. GF DF
I also just did a presentation last night on the importance of soaking nuts and seeds, grains, beans and legumes. We touched on the why, went over the how, and talked about alternatives to make it a do-able task in any kitchen. I will offer this class again in the future, to be sure, but let it be known that if this is a topic that is of interest to you and you'd like to gather a small group of friends or co-workers to explore the why and the how, get in touch.
This recipe has evolved over the years, and started out as an offering for dinner from my friend Virginia. So thank you, Ginny. This is a nourishing and nutrient-packed food that can be served as a main at your meal, or as a delicious side. You get to pick. Oh yes, it reheats beautifully for lunches and future meals, so make sure to make a double batch. I intended for this to be a double batch, but we wolfed it all down at dinner last night. I guess we were hungry.
This is a great way to get those greens in. It's also one to tuck in the 'Remember for the Summer' file, for when your garden is overrun with greens and you just don't know what to do with them. For this recipe I made last night, I used a big container of organic spinach, threw in 3 leaves of swiss chard (chopped the ribs separately and added them earlier in the cooking time along with the onions), about a handful of broccoli and half a bunch of fresh parsley, stems and all. I love adding fresh herbs to this kind of meal, as aromatic herbs tend to be higher in polyphenols and antioxidants, and where there are polyphenols, one should think 'anti-inflammatory' and 'liver love'. (Same goes for cilantro. That would be yummy in this dish!)
Know that pre-soaking does involve a bit of fore-thought, but it will certainly be worth it. As Isa from the Post Punk Kitchen says, 'A.B.S. Always Be Soaking.'
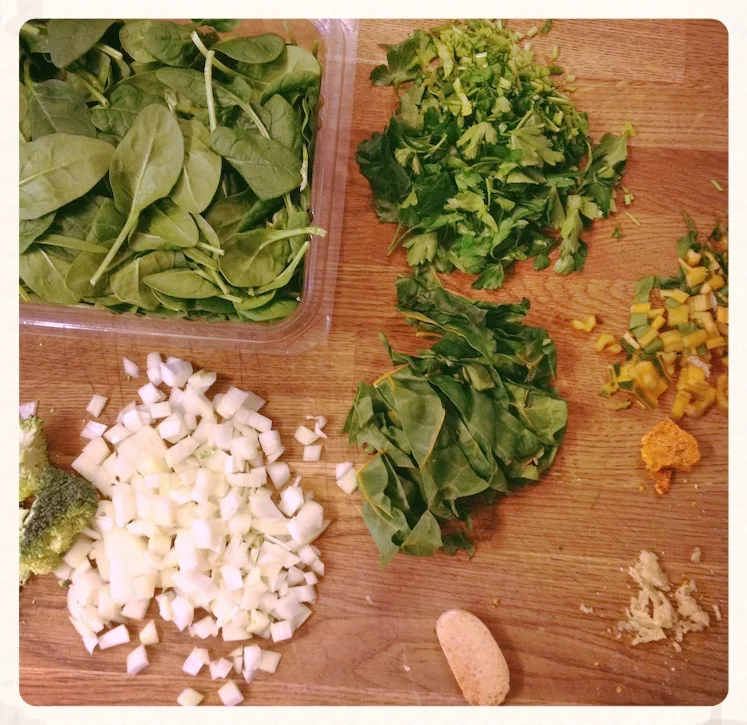
Mise-en-place will benefit you greatly here.
THE PLAYERS
1 cup cashew nuts
1 tbsp lemon juice
filtered water
2 tbsp solid cooking fat (I love coconut oil here, to support the curry flavours but ghee or butter works)
1 onion, minced
1 tbsp minced garlic
1 tbsp minced ginger, fresh
½ tbsp minced turmeric root, fresh (optional – you could use turmeric powder instead, about ½ tsp)
big container or two bunches of greens, chopped
3 tsp Madras curry powder
1 tbsp curry paste (You can use store-bought, or make your own like the Korma paste I made from Jamie Oliver's book Food Revolution)
2 tsp good quality sea salt
2 tsp lemon juice
pepper
THE HOW-TO
- At least 8 hours before you plan to make this dish, pop your cashews along with the lemon juice in a glass jar, and cover with filtered water. Put your cover on, and allow it to sit at room temperature on the counter for the day, or at least 6 hours. If you think you will be too busy the morning of this meal, do it the night before, and when you come to breakfast, pop that jar in the fridge to use later that day. No harm in letting it soak a bit longer.
- When it's time to start dinner, take all of your ingredients out, along with your blender and a big bowl, if your blender is a hand blender. Chop up your veggies so they're ready to go. (Mise-en-place will help you immensely in this kind of scenario.)
- Set a deep and wide pan or pot on your burner on medium, and heat up. When it's hot, add your solid fat, allow it to melt, and throw in your onion, ginger and turmeric (if using). Sauté in your pan, moving the bits around, for about 5 minutes, then add the garlic, curry powder and curry paste. Sauté this in your pan for a minute or two, until it's very fragrant.
- Add your greens at this point, from the toughest greens down to the ones that will cook fastest, and toss around until they're wilted and cooked through. (Broccoli will take longer to cook than parsley, so wait a bit before adding the parsley.)
- In a big bowl, dump your soaked cashews along with the liquid they're in, and blitz them in to a paste using a handblender. Alternately, you can also do this in a blender. Once they are nice and creamy, you want to add the concoction from the pan (greens, onions, spices, flavours) and blitz them in with the blended cashews, until they are a nice creamy consistency. Dump the whole lot back in the pan.
- Set your heat to medium low, add your lemon juice and pepper, and adjust your flavours. If you want it to sing a bit more, add some salt; if you'd like a bit more bitterness, add a bit of lemon juice. If it's too thick, add some stock or water to the mix, until it has reached your desired consistency. Serve as soon as it's warmed up.
- If you're ok with dairy, you can turn this into Palak Paneer: once your greens and cashews are blended, leave them in the bowl or blender, and turn your pan back on. Add some solid cooking fat to the pan when it's ready, and pan-fry some paneer chunks until nice and golden. Halloumi cheese might be good to use here too! When they are golden, dump your palak back in with the paneer, and continue on as the recipe states above.
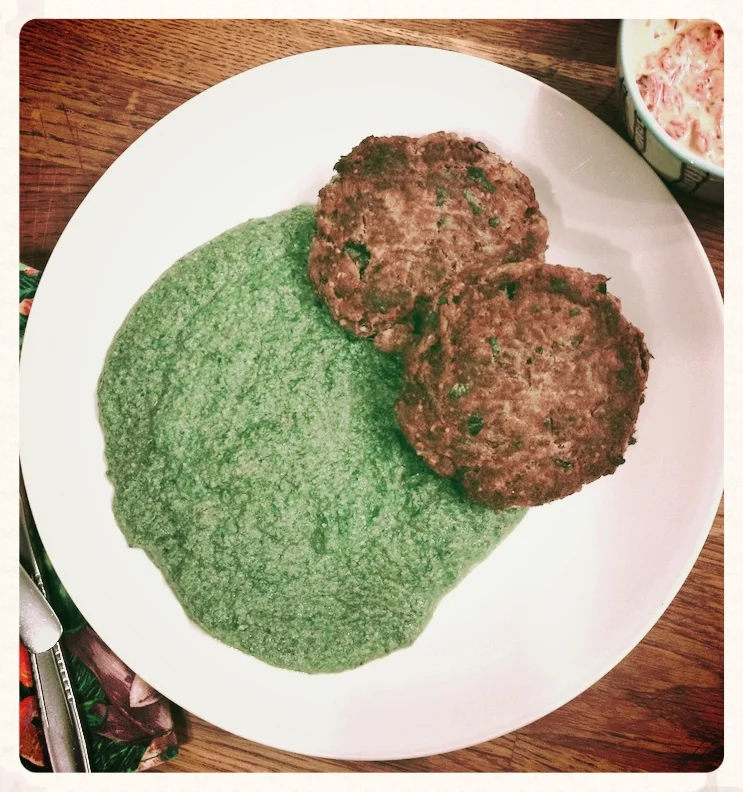
Generous helping of Palak, with Salmon Burgers and kimchi horseradish compound mayo.
Bon appétit!
Miso Sage Roast Chicken
Sometimes you just need to roast a chicken. Am I right? Here's a delectable tasty thing to pull together for a fancy night with company, or a fancy night with your own company. You are definitely worth it.
Sometimes you just need to roast a chicken. Am I right? Here's a delectable tasty thing to pull together for a fancy night with company, or a fancy night with your own company. You are definitely worth it.
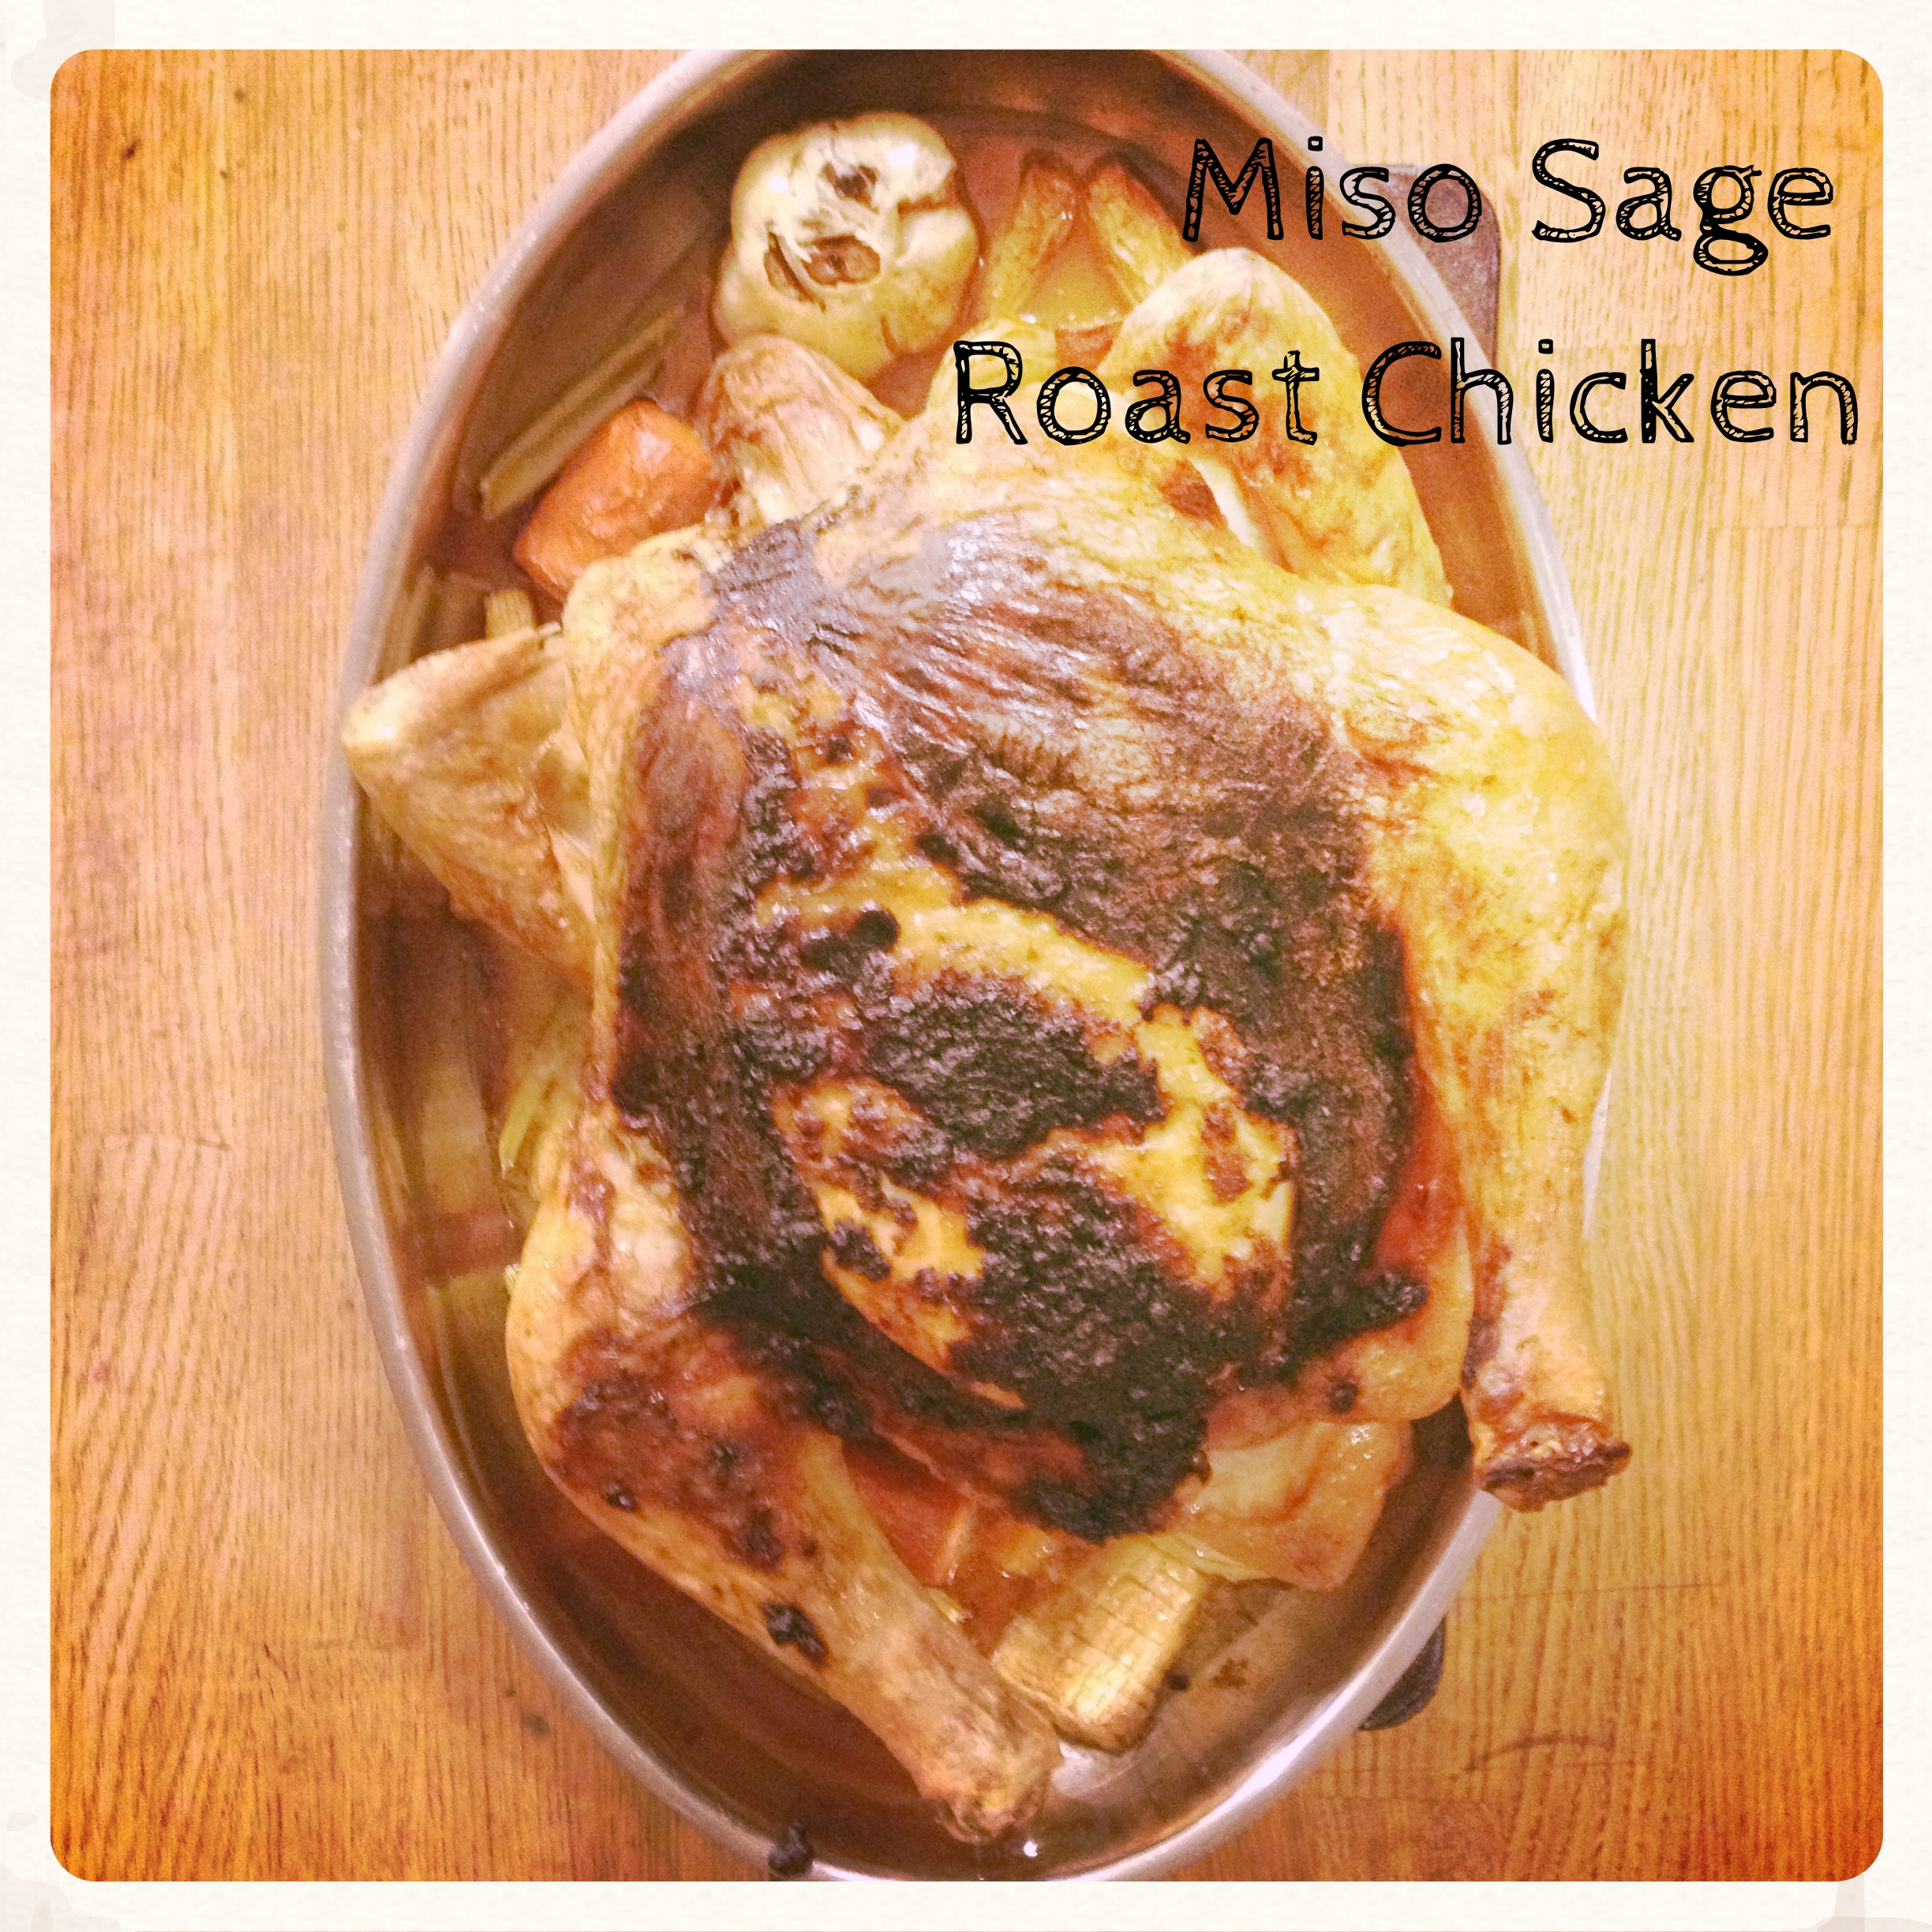
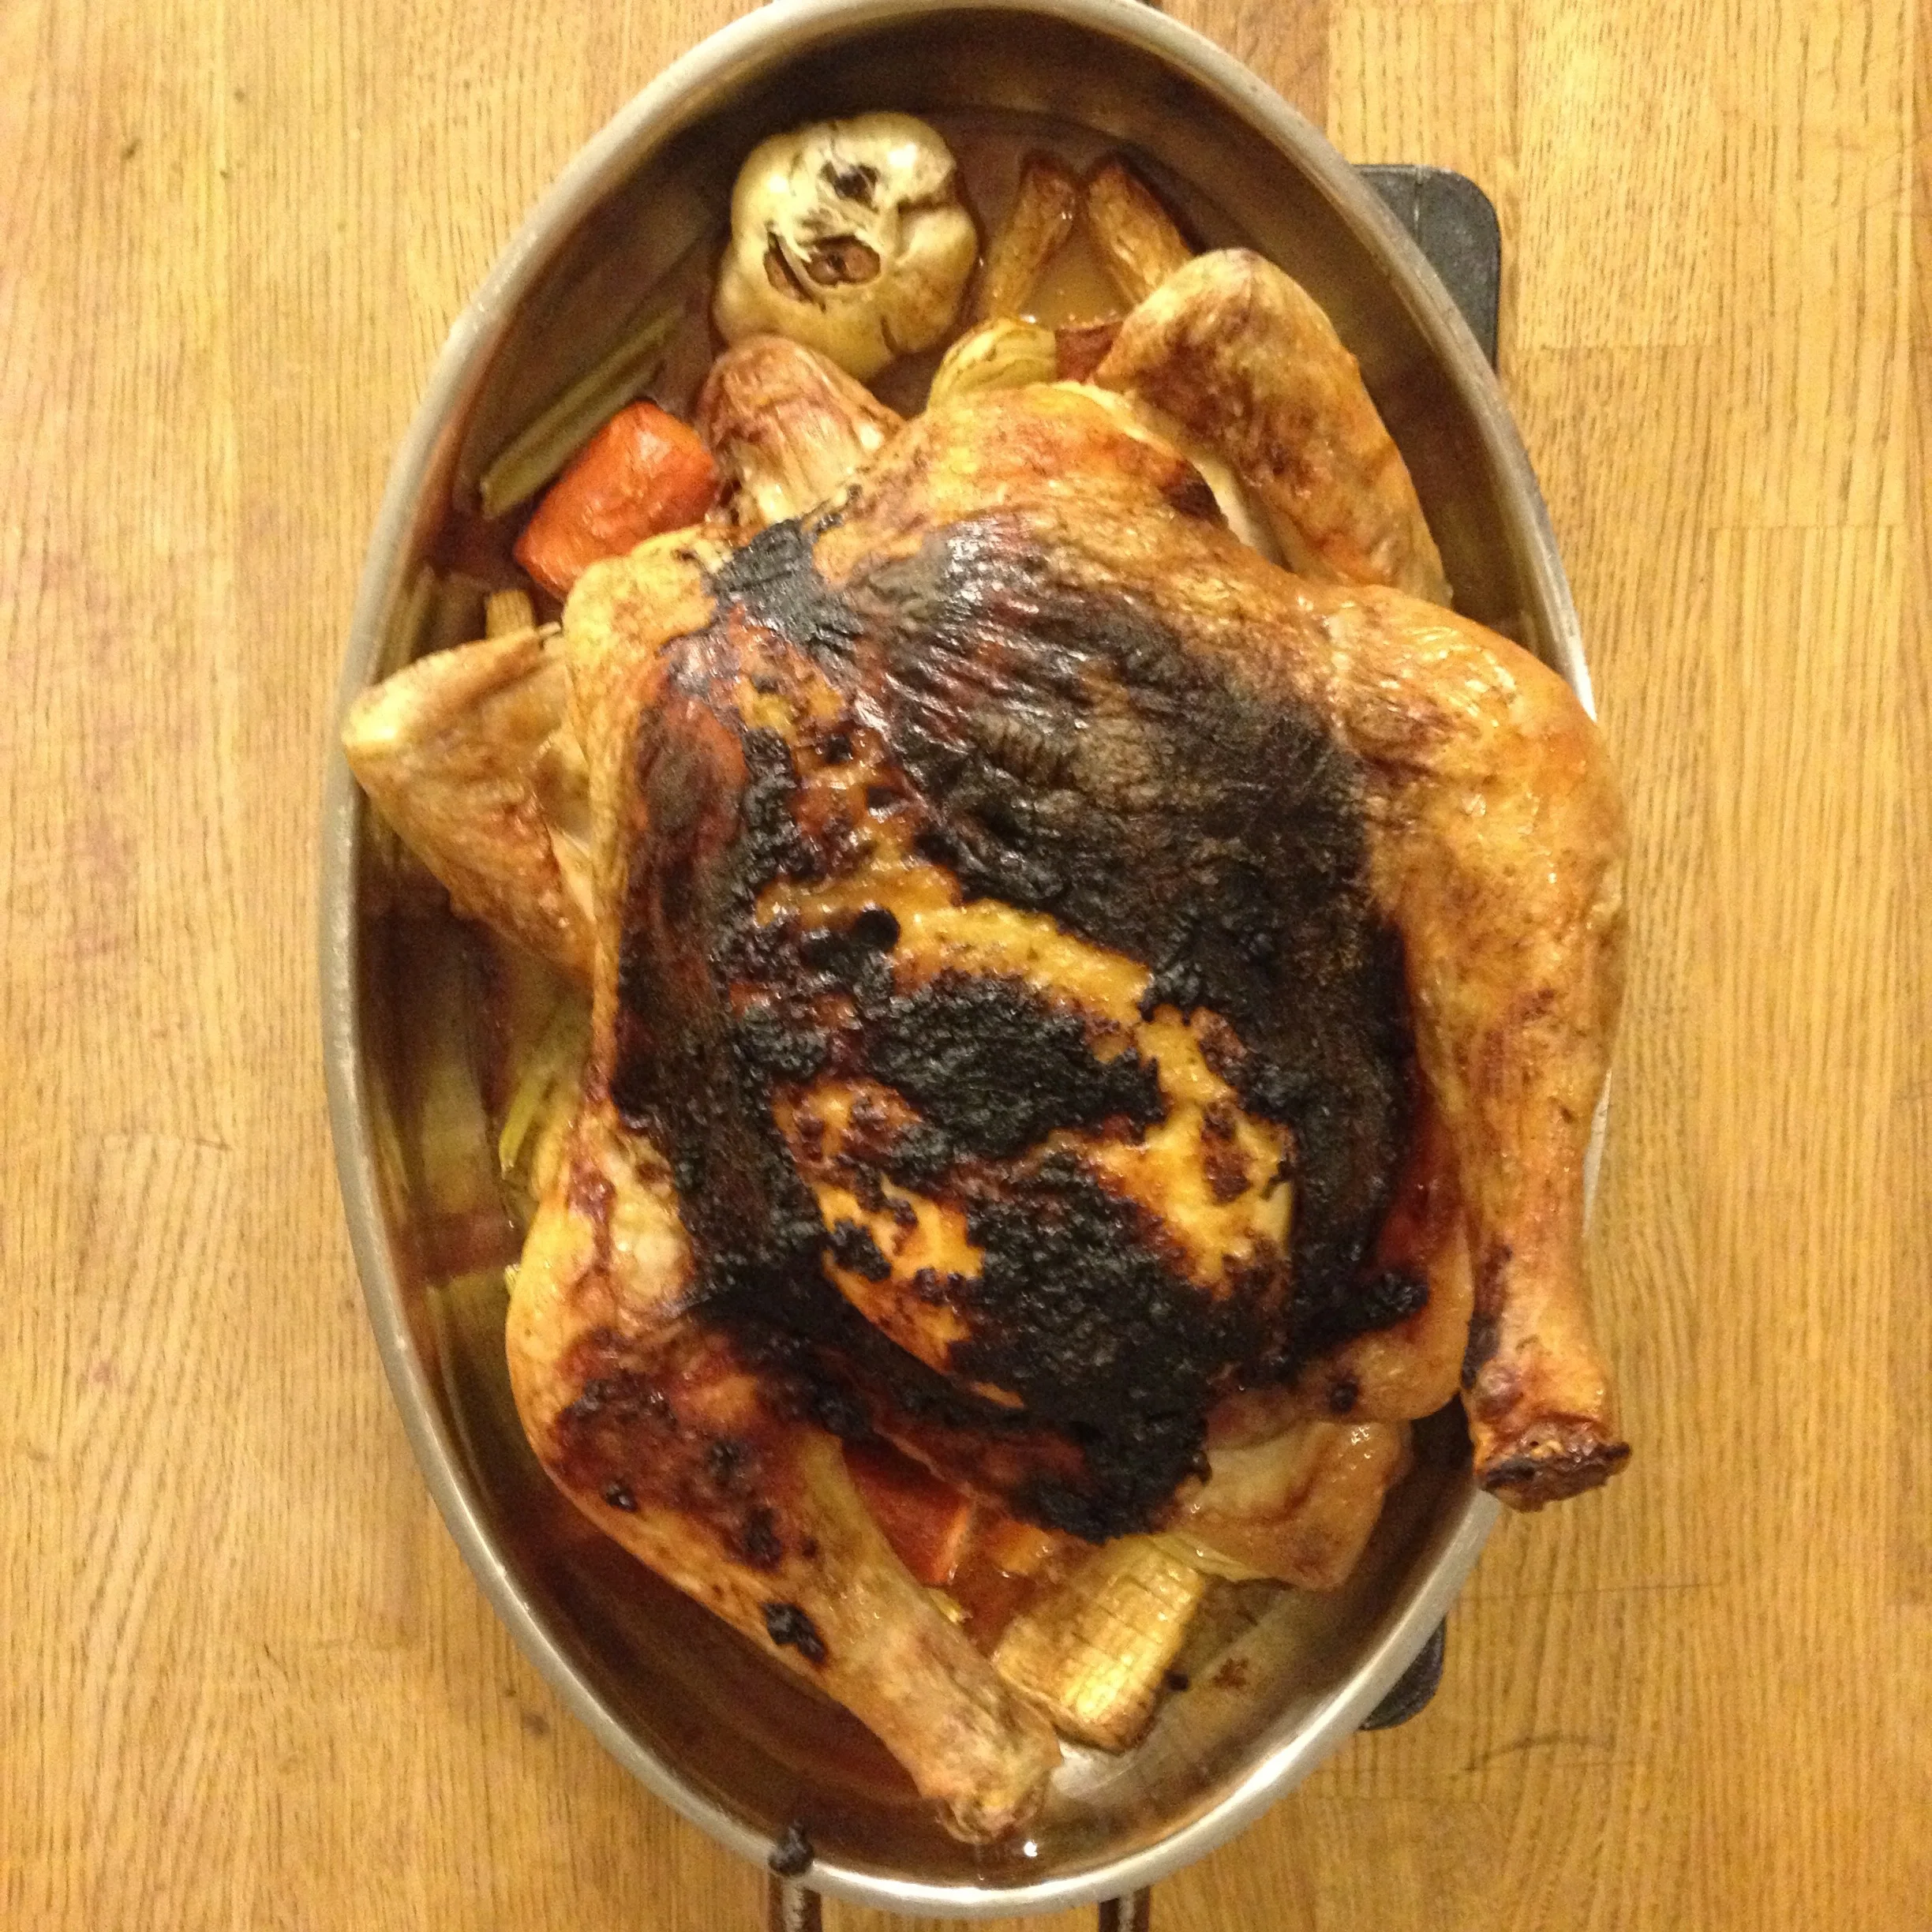
Miso Sage Roast Chicken, fresh out of the oven. So juicy.
Sure, there are lots of super foods here. I won't go into the details of what's good for what here. Listen, it's just food. Real. Good. Food.
MISO SAGE ROAST CHICKEN
yep it's an original, tweaked I'm sure from my years of perusing food magazines and thinking of flavours
Because I'm a fan of making gravy with roast meats, know that this one is one that should be good to go for everyone at the table. No one will be left out of this one.
THE PLAYERS
one whole chicken, preferably pasture-raised
1 small onion
1 lemon, juiced
2 tbsp miso (I used this one but you can find a few different kinds in a few different spots in town)
18 leaves of sage, fresh
2 tbsp Harissa Olive Oil (this one came from the good folks at Blue Door Calgary)
1/4 cup ghee or butter
paprika
THE VEG TRIVET
this is the first layer you'll lay down in your roasting pan, it will cook under your chicken and become your scrumptious gravy
2 parsnips, chopped in big chunks (swap for 1-2 carrots for GAPS)
1 carrot, chopped in big chunks
1 onion, peeled and quartered
3 celery sticks, chopped in big chunks
1 head of garlic
Thyme Fused Olive Oil (a limited edition item from Blue Door Calgary)
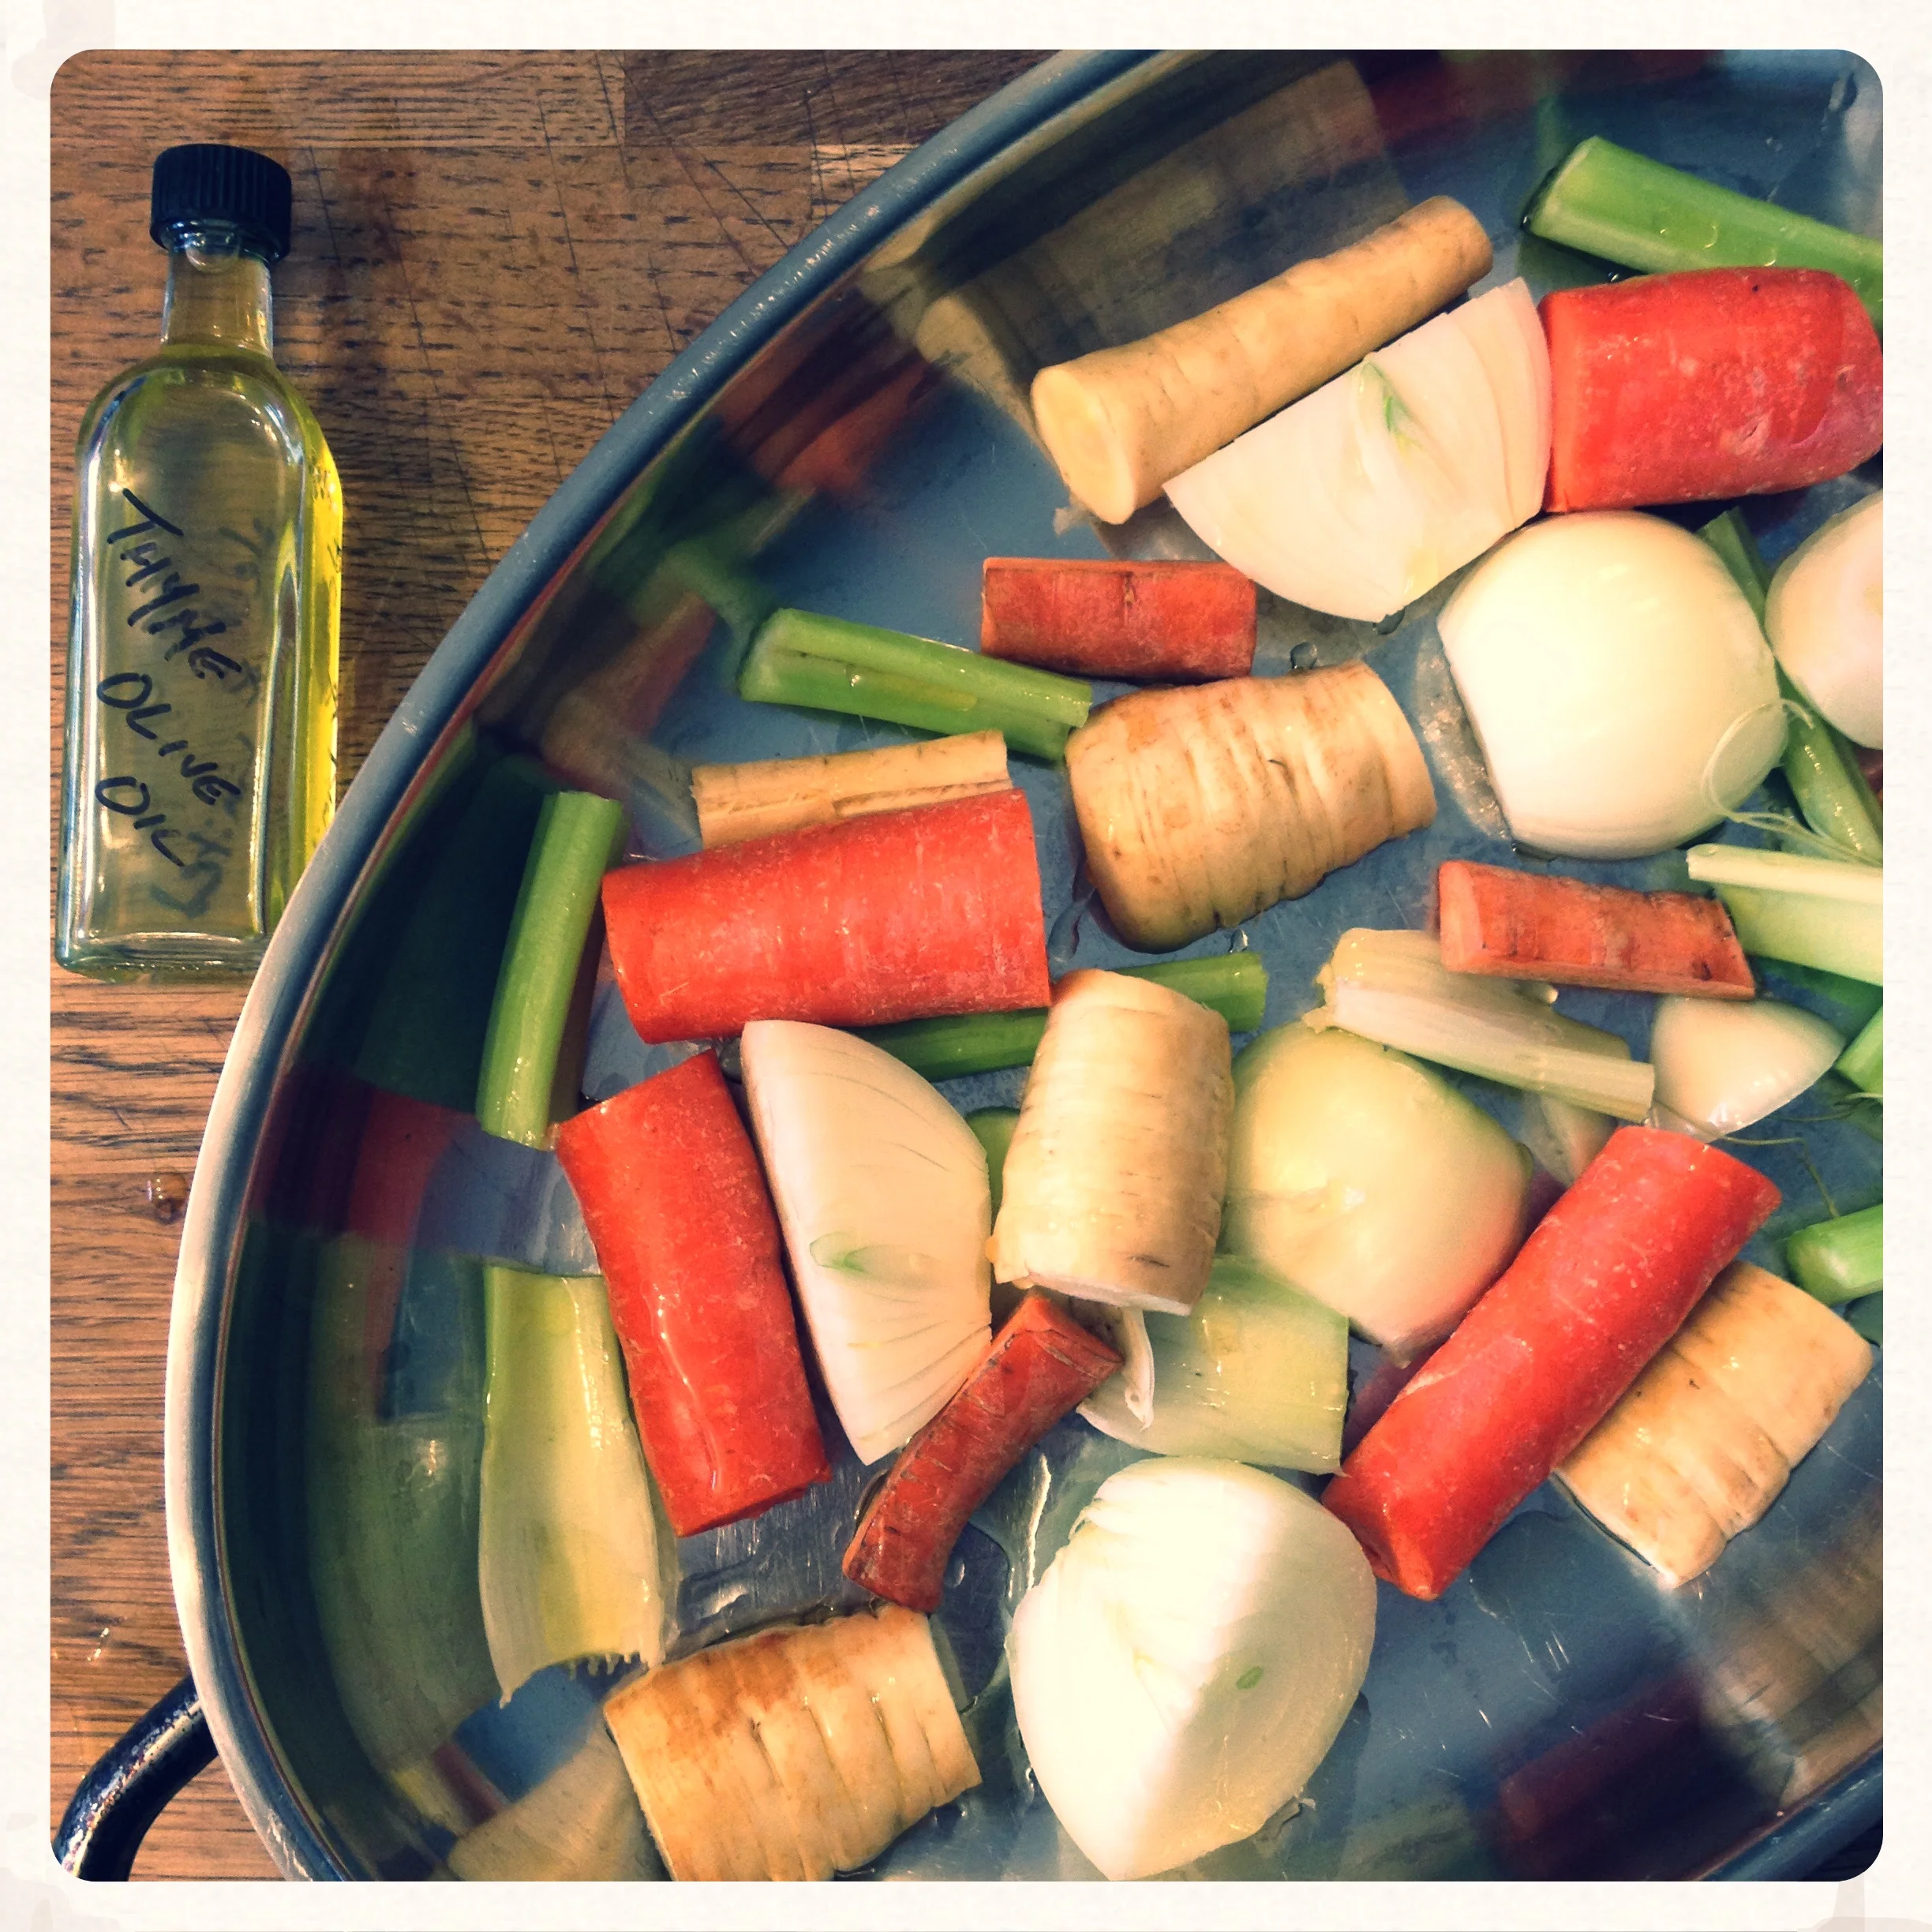
the veg trivet
THE HOW-TO
- Pre-heat your oven to 475ºF.
- Chop your vegetables for the veg trivet, and scatter them on the bottom of a good roasting pan, including the whole head of garlic (keep it whole, just trim a bit off the top). Drizzle your Thyme Fused Olive Oil on top of all veg. Set aside. (Thyme and chicken and veg. Kind of a match made in heaven, wouldn't you agree?)
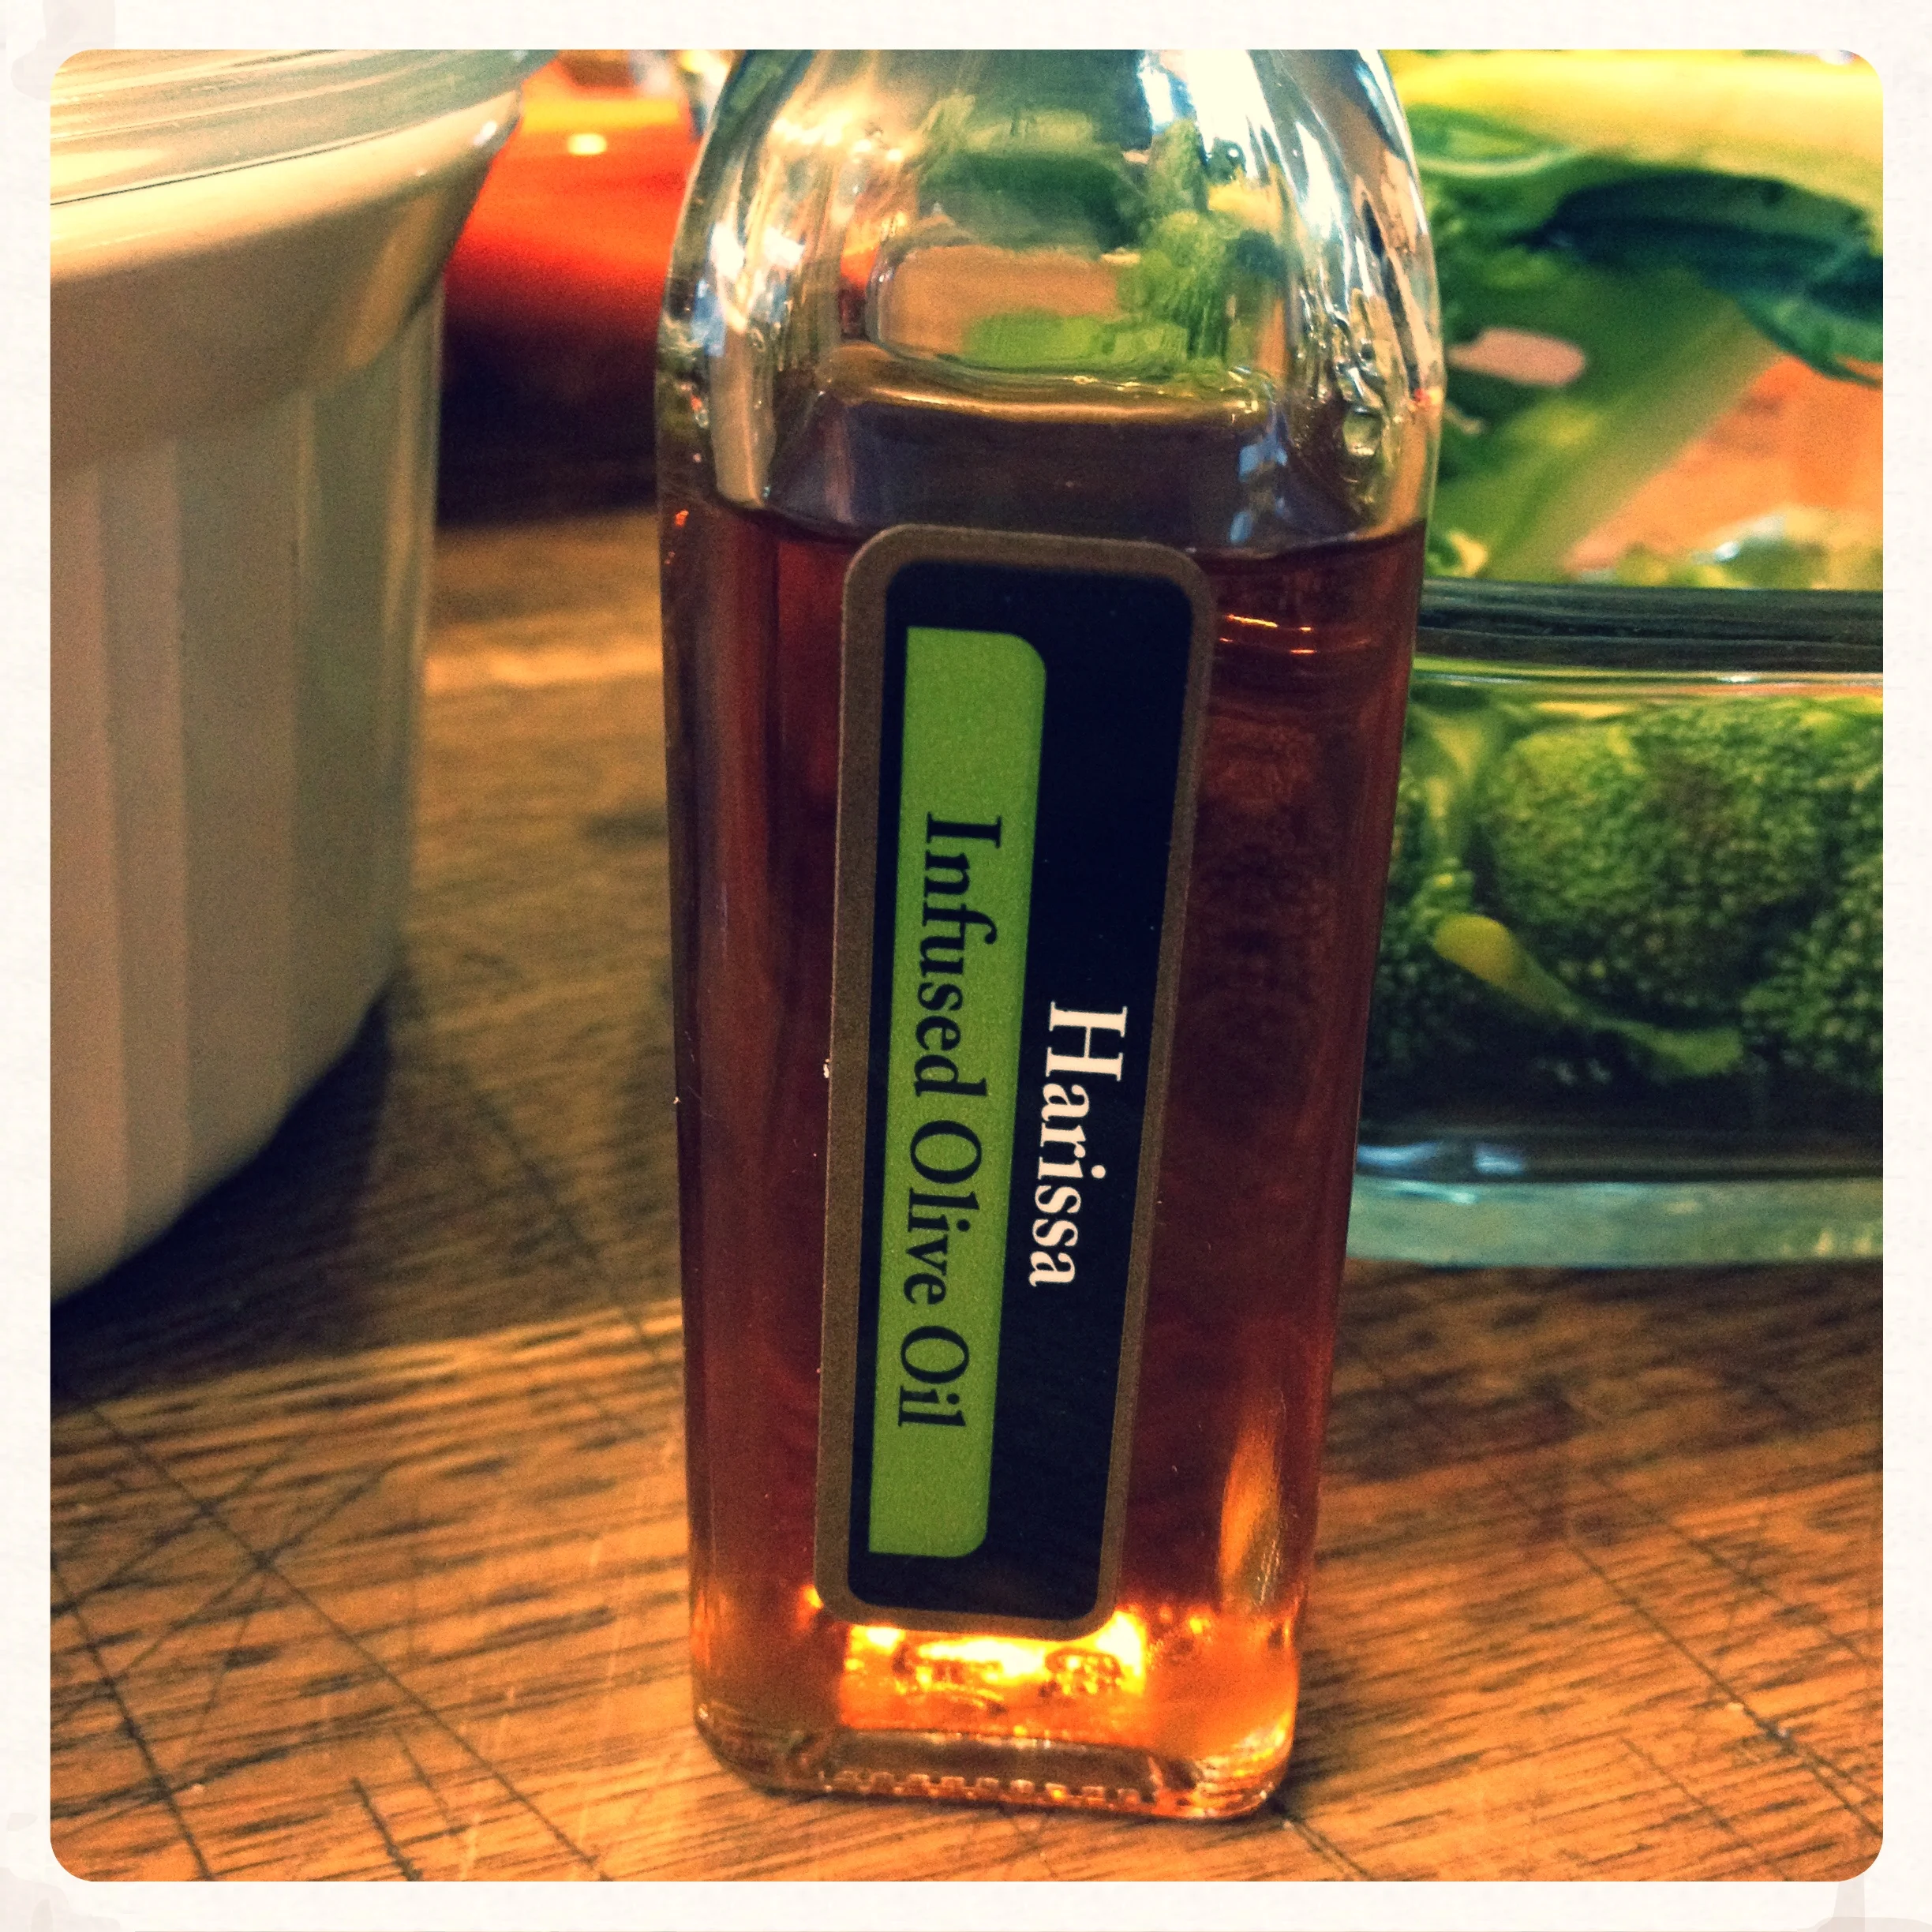
this one's got KICK
- In a small blender or using your hand blender, blitz together the small onion, the lemon juice, miso and sage leaves along with the Harissa Olive Oil. Set aside.
- Set your ghee or butter in a small pan and heat just to melt.
- Pop your chicken on top of your veg trivet, tucking the wings underneath the chicken. Using your hand, slip under the skin on top of the chicken, and separate the skin from the breast meat. You will need to gently pull it away from the meat, especially in between the two breasts where there is a sort of seam. Once it is separated, fill the space between breast and skin with your blended miso/lemon/sage/harissa paste, getting all that good paste right to the top corners. This will infuse your chicken with a most delicious flavour, and ensure it stays juicy. It will also influence the flavour of your gravy! Yum.
- Wash your hands. Drizzle the melted ghee or butter on top of the skin, and sprinkle with a dusting of paprika on top.
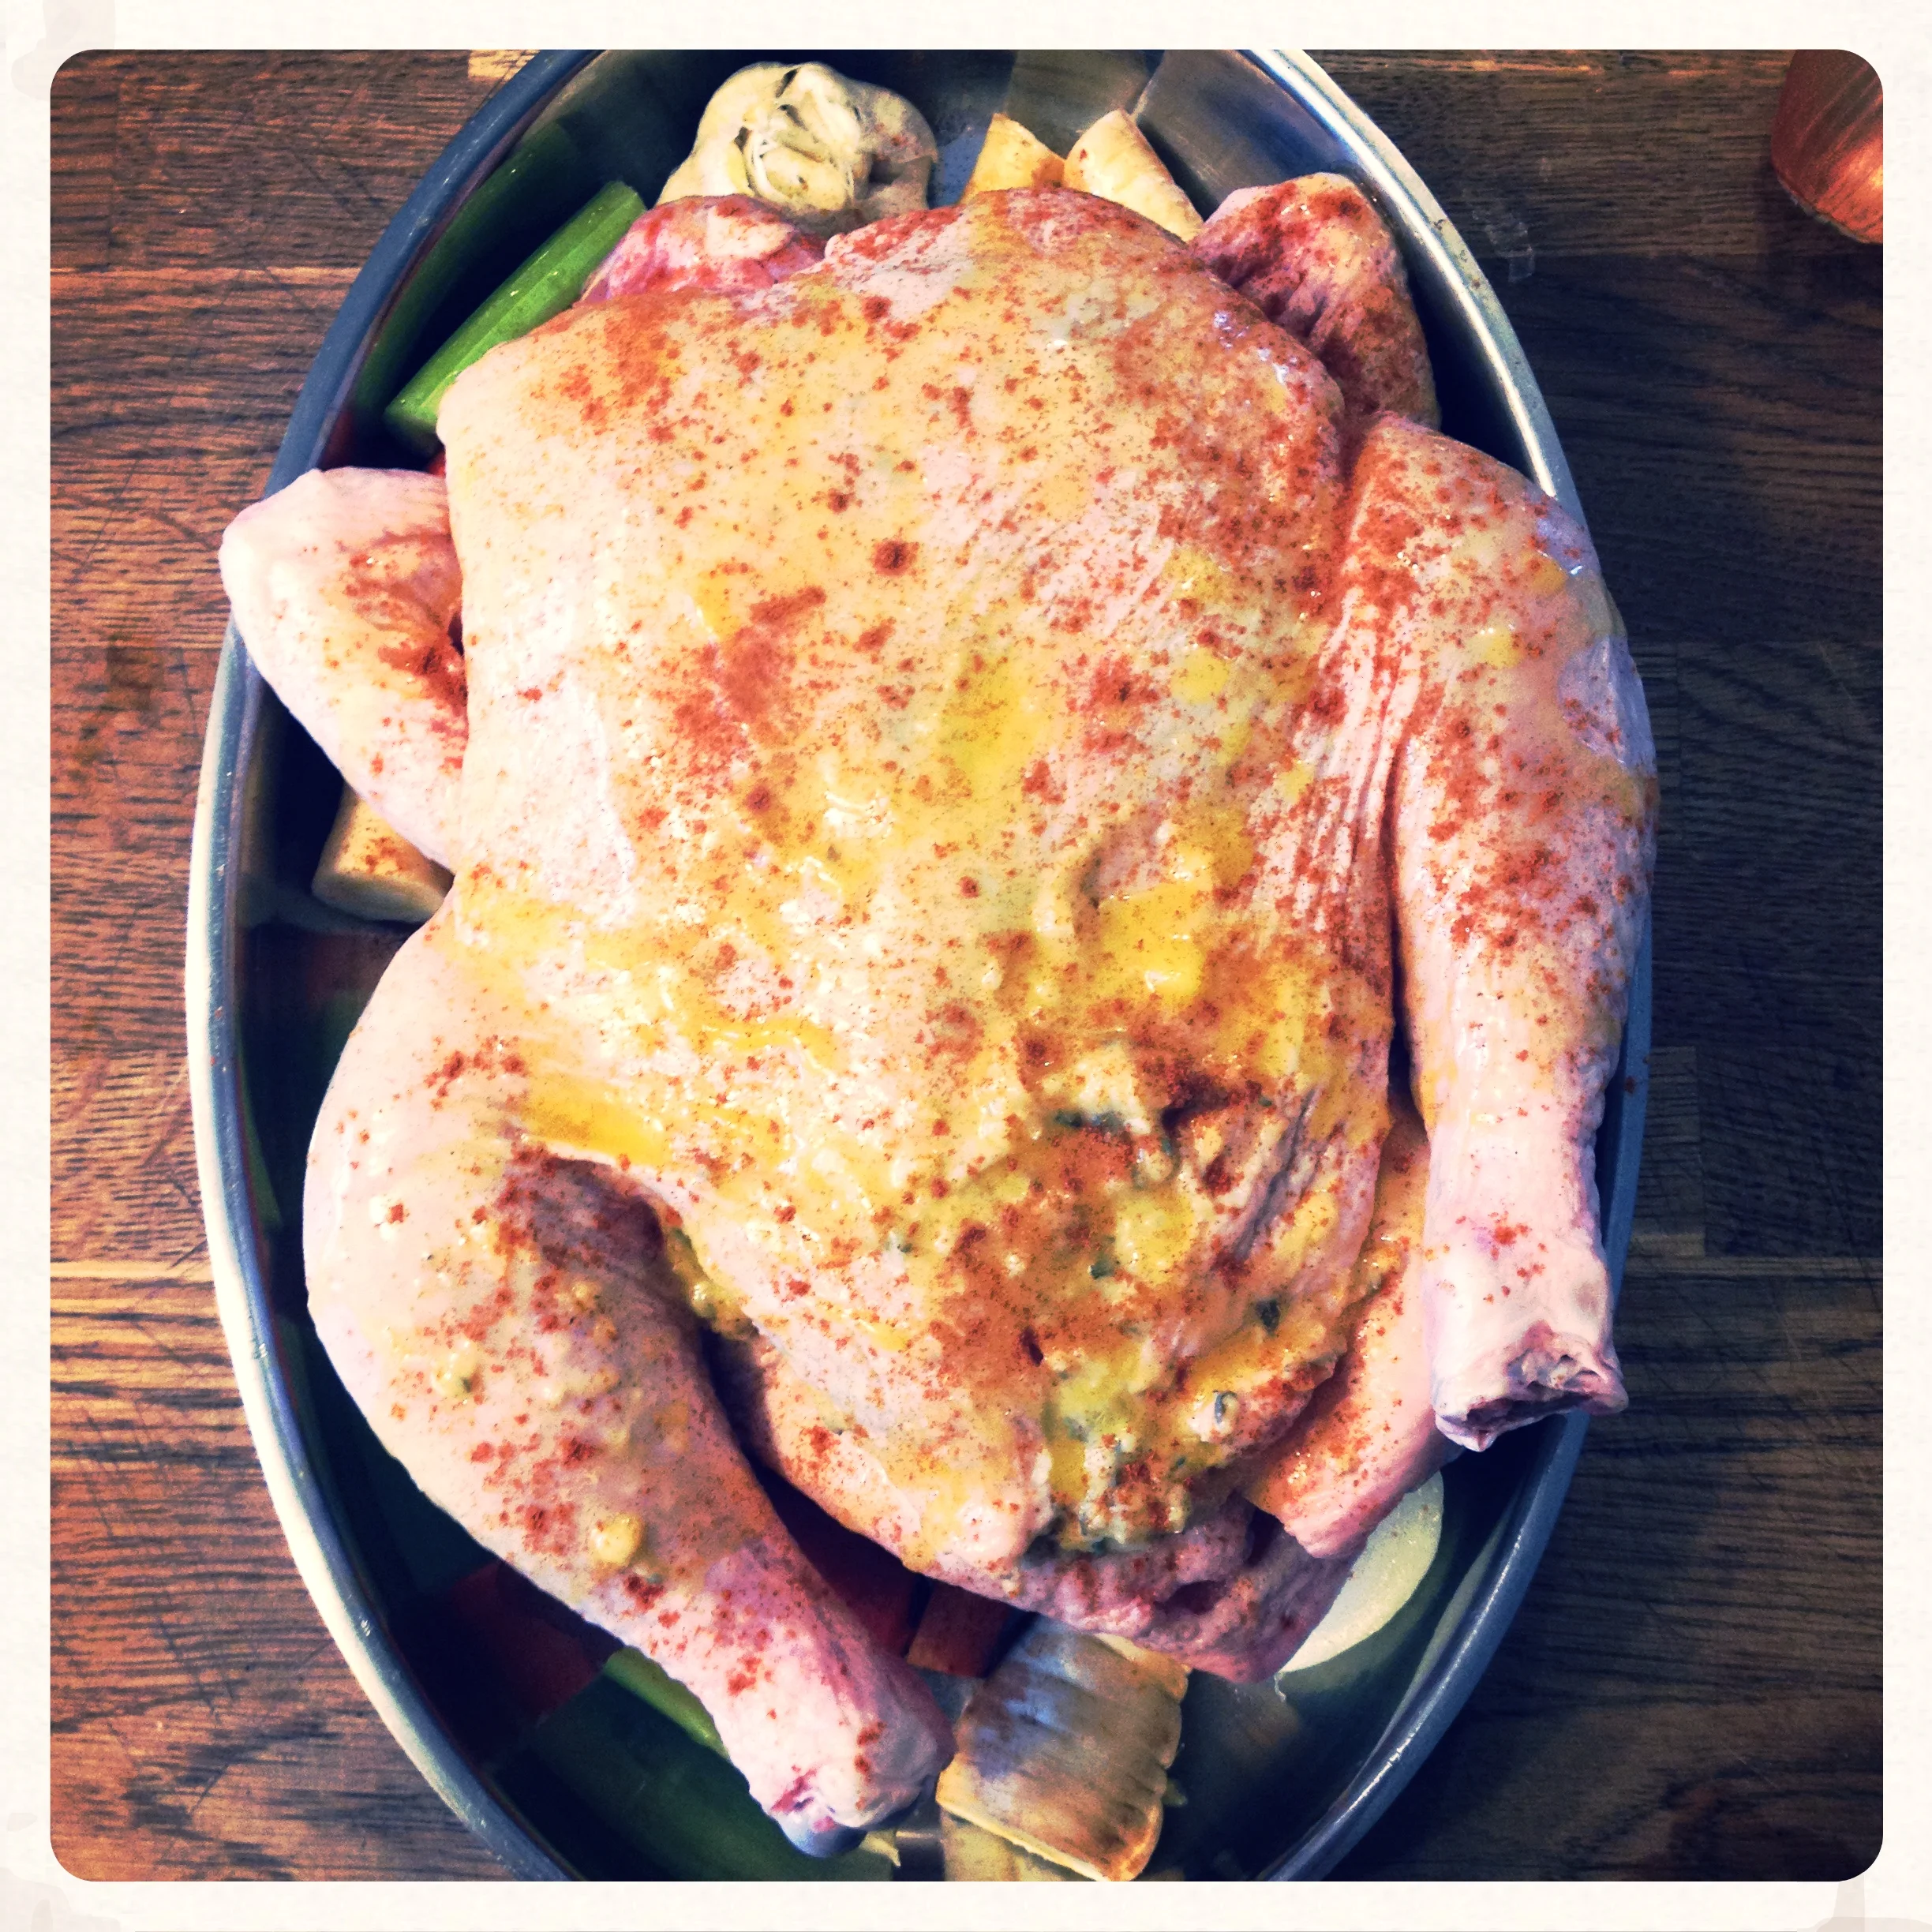
It may not be pretty, but it sure promises to be pretty delicious.
Tuck your roasting pan in the oven and close the door, reducing your heat immediately to 400ºF. Let it roast until it is cooked through, temperature reading of 165-170ºF on your meat thermometer. I'm not as adept at knowing when the meat is done as my mom is (comes from working in a commercial kitchen where you HAD to ensure the chickens were roasted to an appropriate temp in order to make sure no one would get inadvertently sick) but my mom swears by jiggling the leg, and if it seems loose in the joint, your chicken is done. (For a 3-4lb chicken, you are looking at approximately 1.5 hours of cooking time.)
Take the chicken out and pop on a plate, top with foil in order to keep it warm and let it rest for 15 minutes in order to distribute the juices. Slice either at the table for that fancy dinner effect, or simple prepare just before serving. While the chicken is resting, return your pan to the stovetop with your veggies and pull out the head of garlic and set aside. Using a hand blender, blitz the veggies together with the juices that have accumulated in the pan. Squish out the roasted garlic out of the paper, and add to your gravy, blitzing again and adding water if it's too thick for your liking. Adjust the flavours with salt and pepper and if you'd like more of a punch of flavour, you can add some more paprika too.
And hey, because I like to multi-task, once your chicken is in the oven, you can prepare the side veggies that will go along. I put a medium pot of water on to boil, chopped some carrots into carrot sticks and broccoli into 'trees', blanched them separately in the boiling water until softened just a bit. Once they were soft, in an oven-proof dish they went and drizzled on top with a bit of fat and some flavour. For the carrots, my fat was a plain olive oil and the flavour was a maple balsamic vinegar, S+P. For the broccoli, I used ghee and a lemon-pepper spice blend with just lemon and pepper with a smattering of sea salt. Make sure to tuck these babies in the oven with the chicken for that last half hour of cooking. Yum!
Bon appetit!
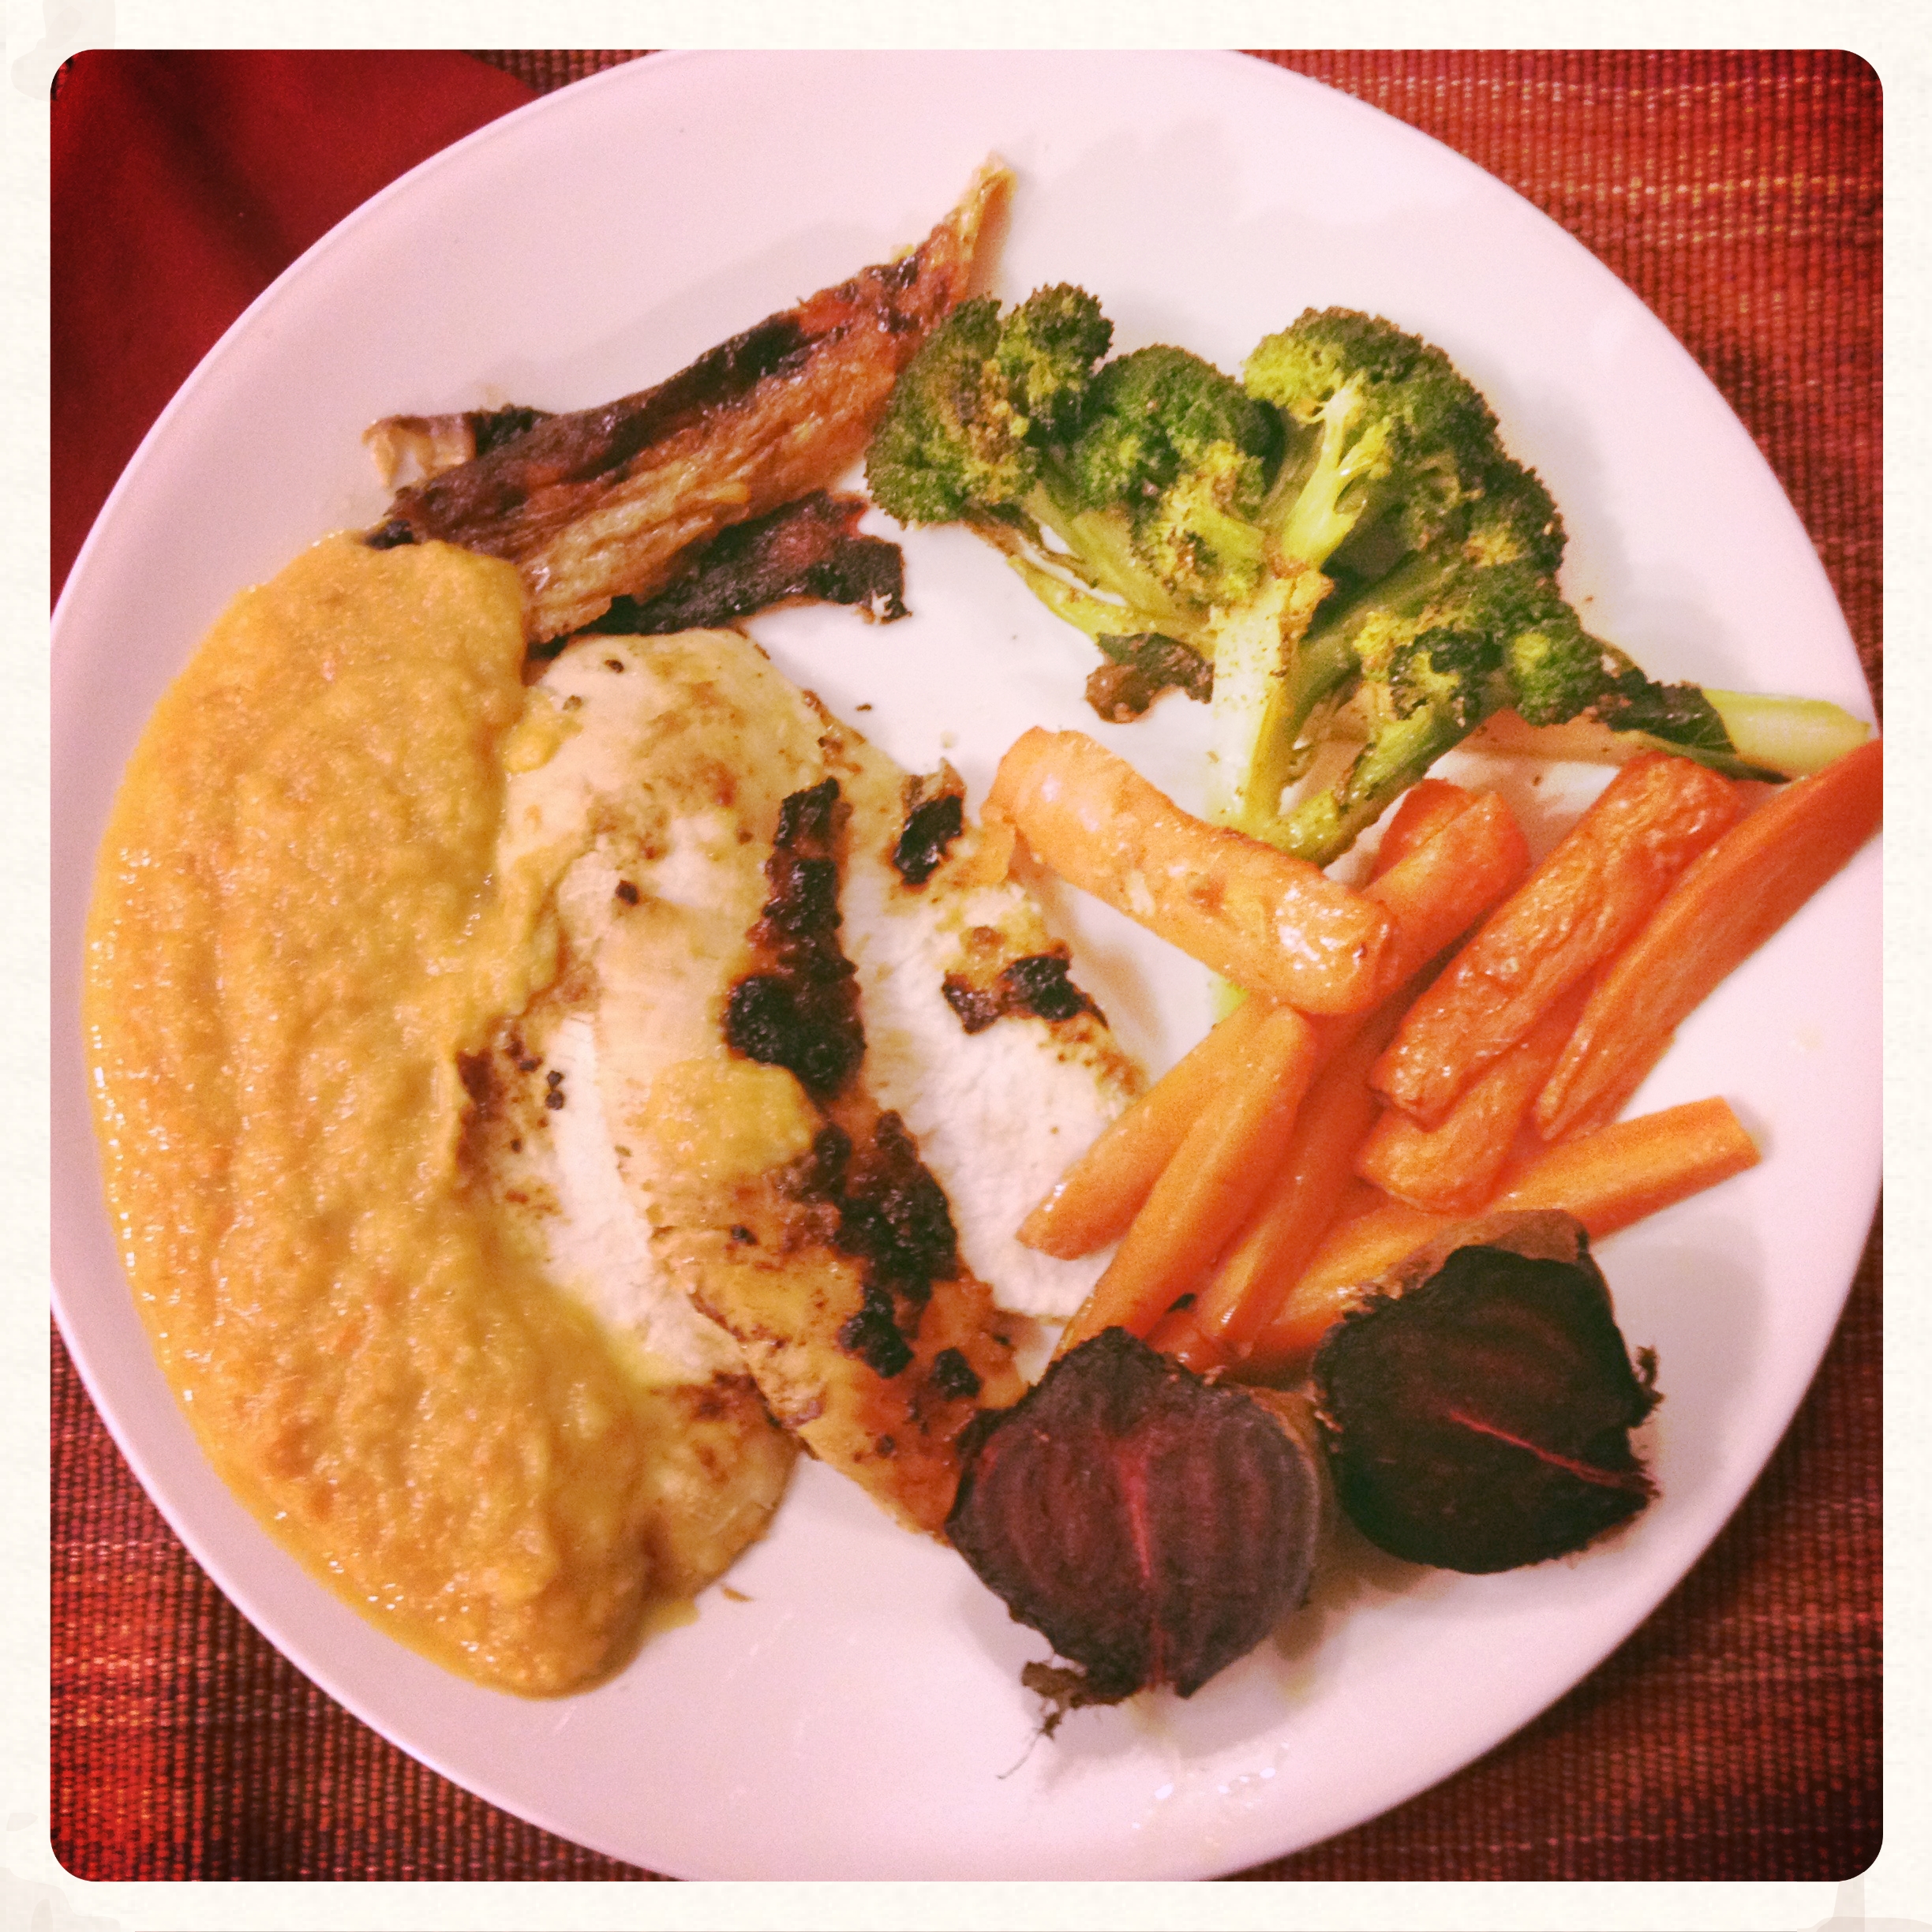
Make sure to have some of the skin, it's delicious! Miso Sage Roast Chicken.
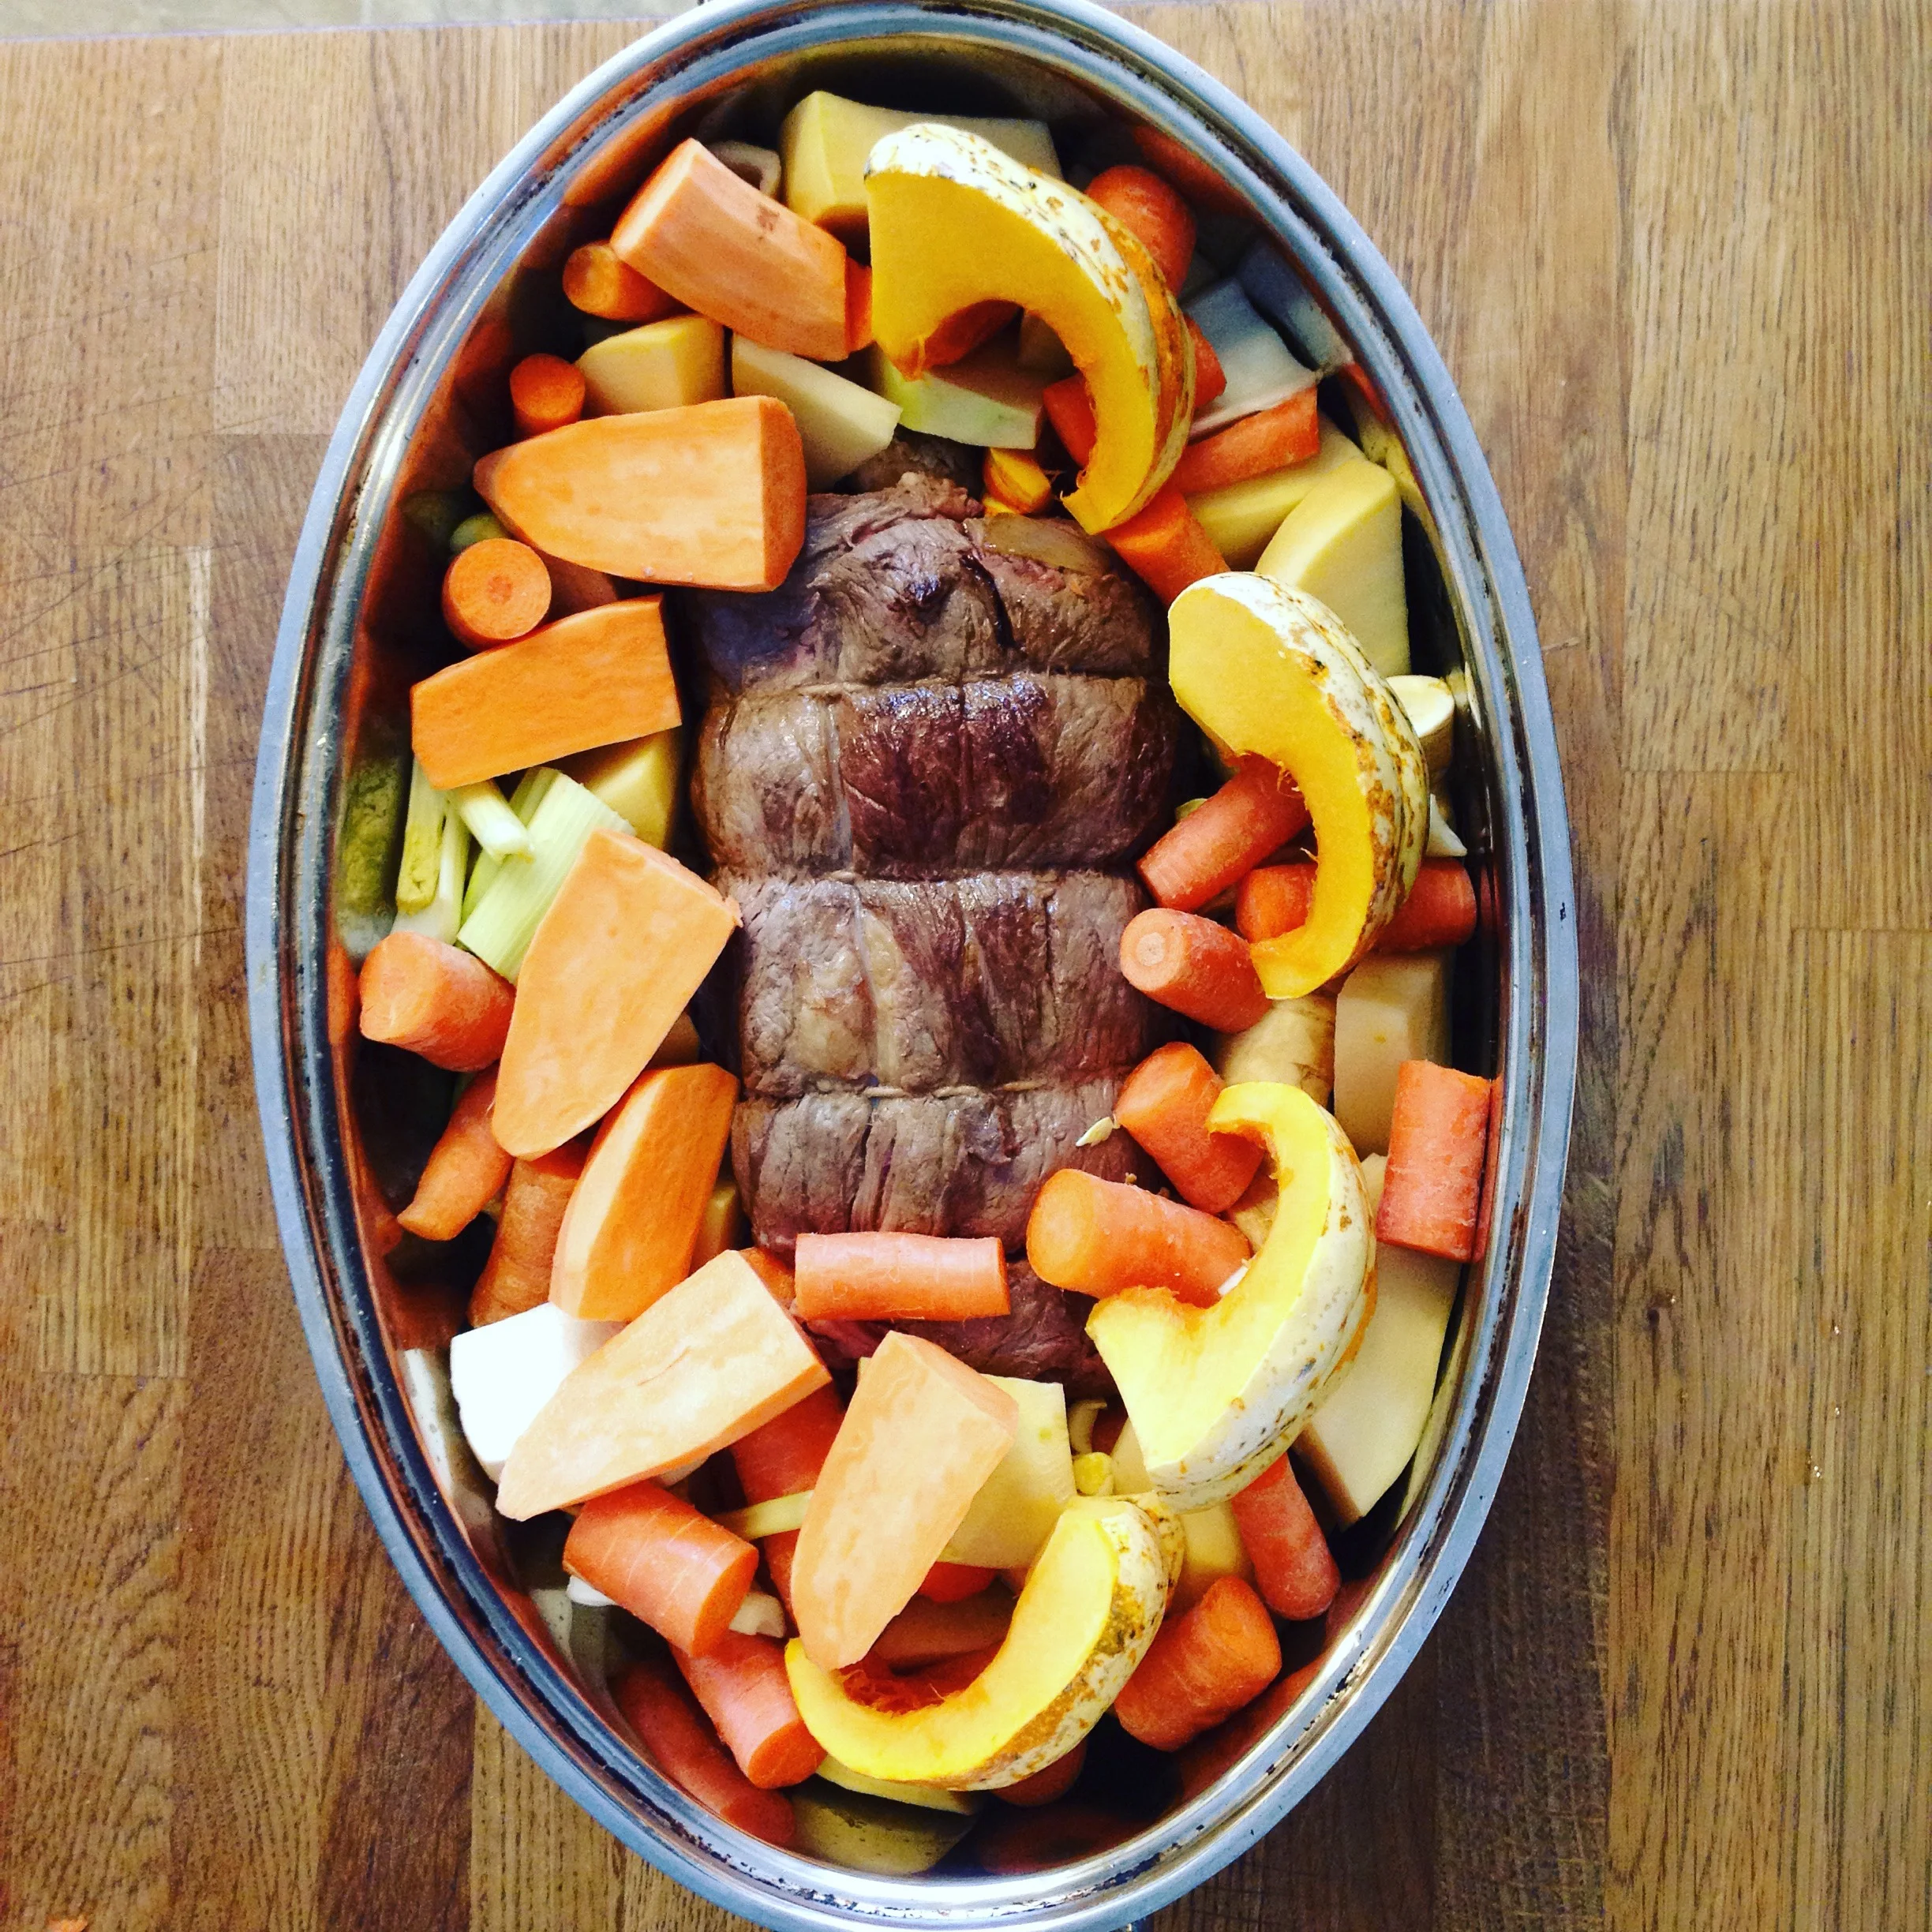
Pot Roast With Loads of Veg and Zing
It's the time of the year for many things: for warming foods, for a frugal approach to cooking, for upping your veg intake, for cooking more from scratch, <insert your own take here>. As a Holistic Nutritionist, I often share meal plans and recipe ideas along with my food recommendations in order to best support my clients in improving their current health status. This is a recipe I have long been wanting to document, in order that I may do just that: Share. Share. Share. It also regularly appears in my weekly meal plans and is one of our family's favourites. This is all about the good food, my friend!

It's the time of the year for many things: for warming foods, for a frugal approach to cooking, for upping your veg intake, for cooking more from scratch, <insert your own take here>. As a Holistic Nutritionist, I often share meal plans and recipe ideas along with my food recommendations in order to best support my clients in improving their current health status. This is a recipe I have long been wanting to document, in order that I may do just that: Share. Share. Share. It also regularly appears in my weekly meal plans and is one of our family's favourites. This is all about the good food, my friend!
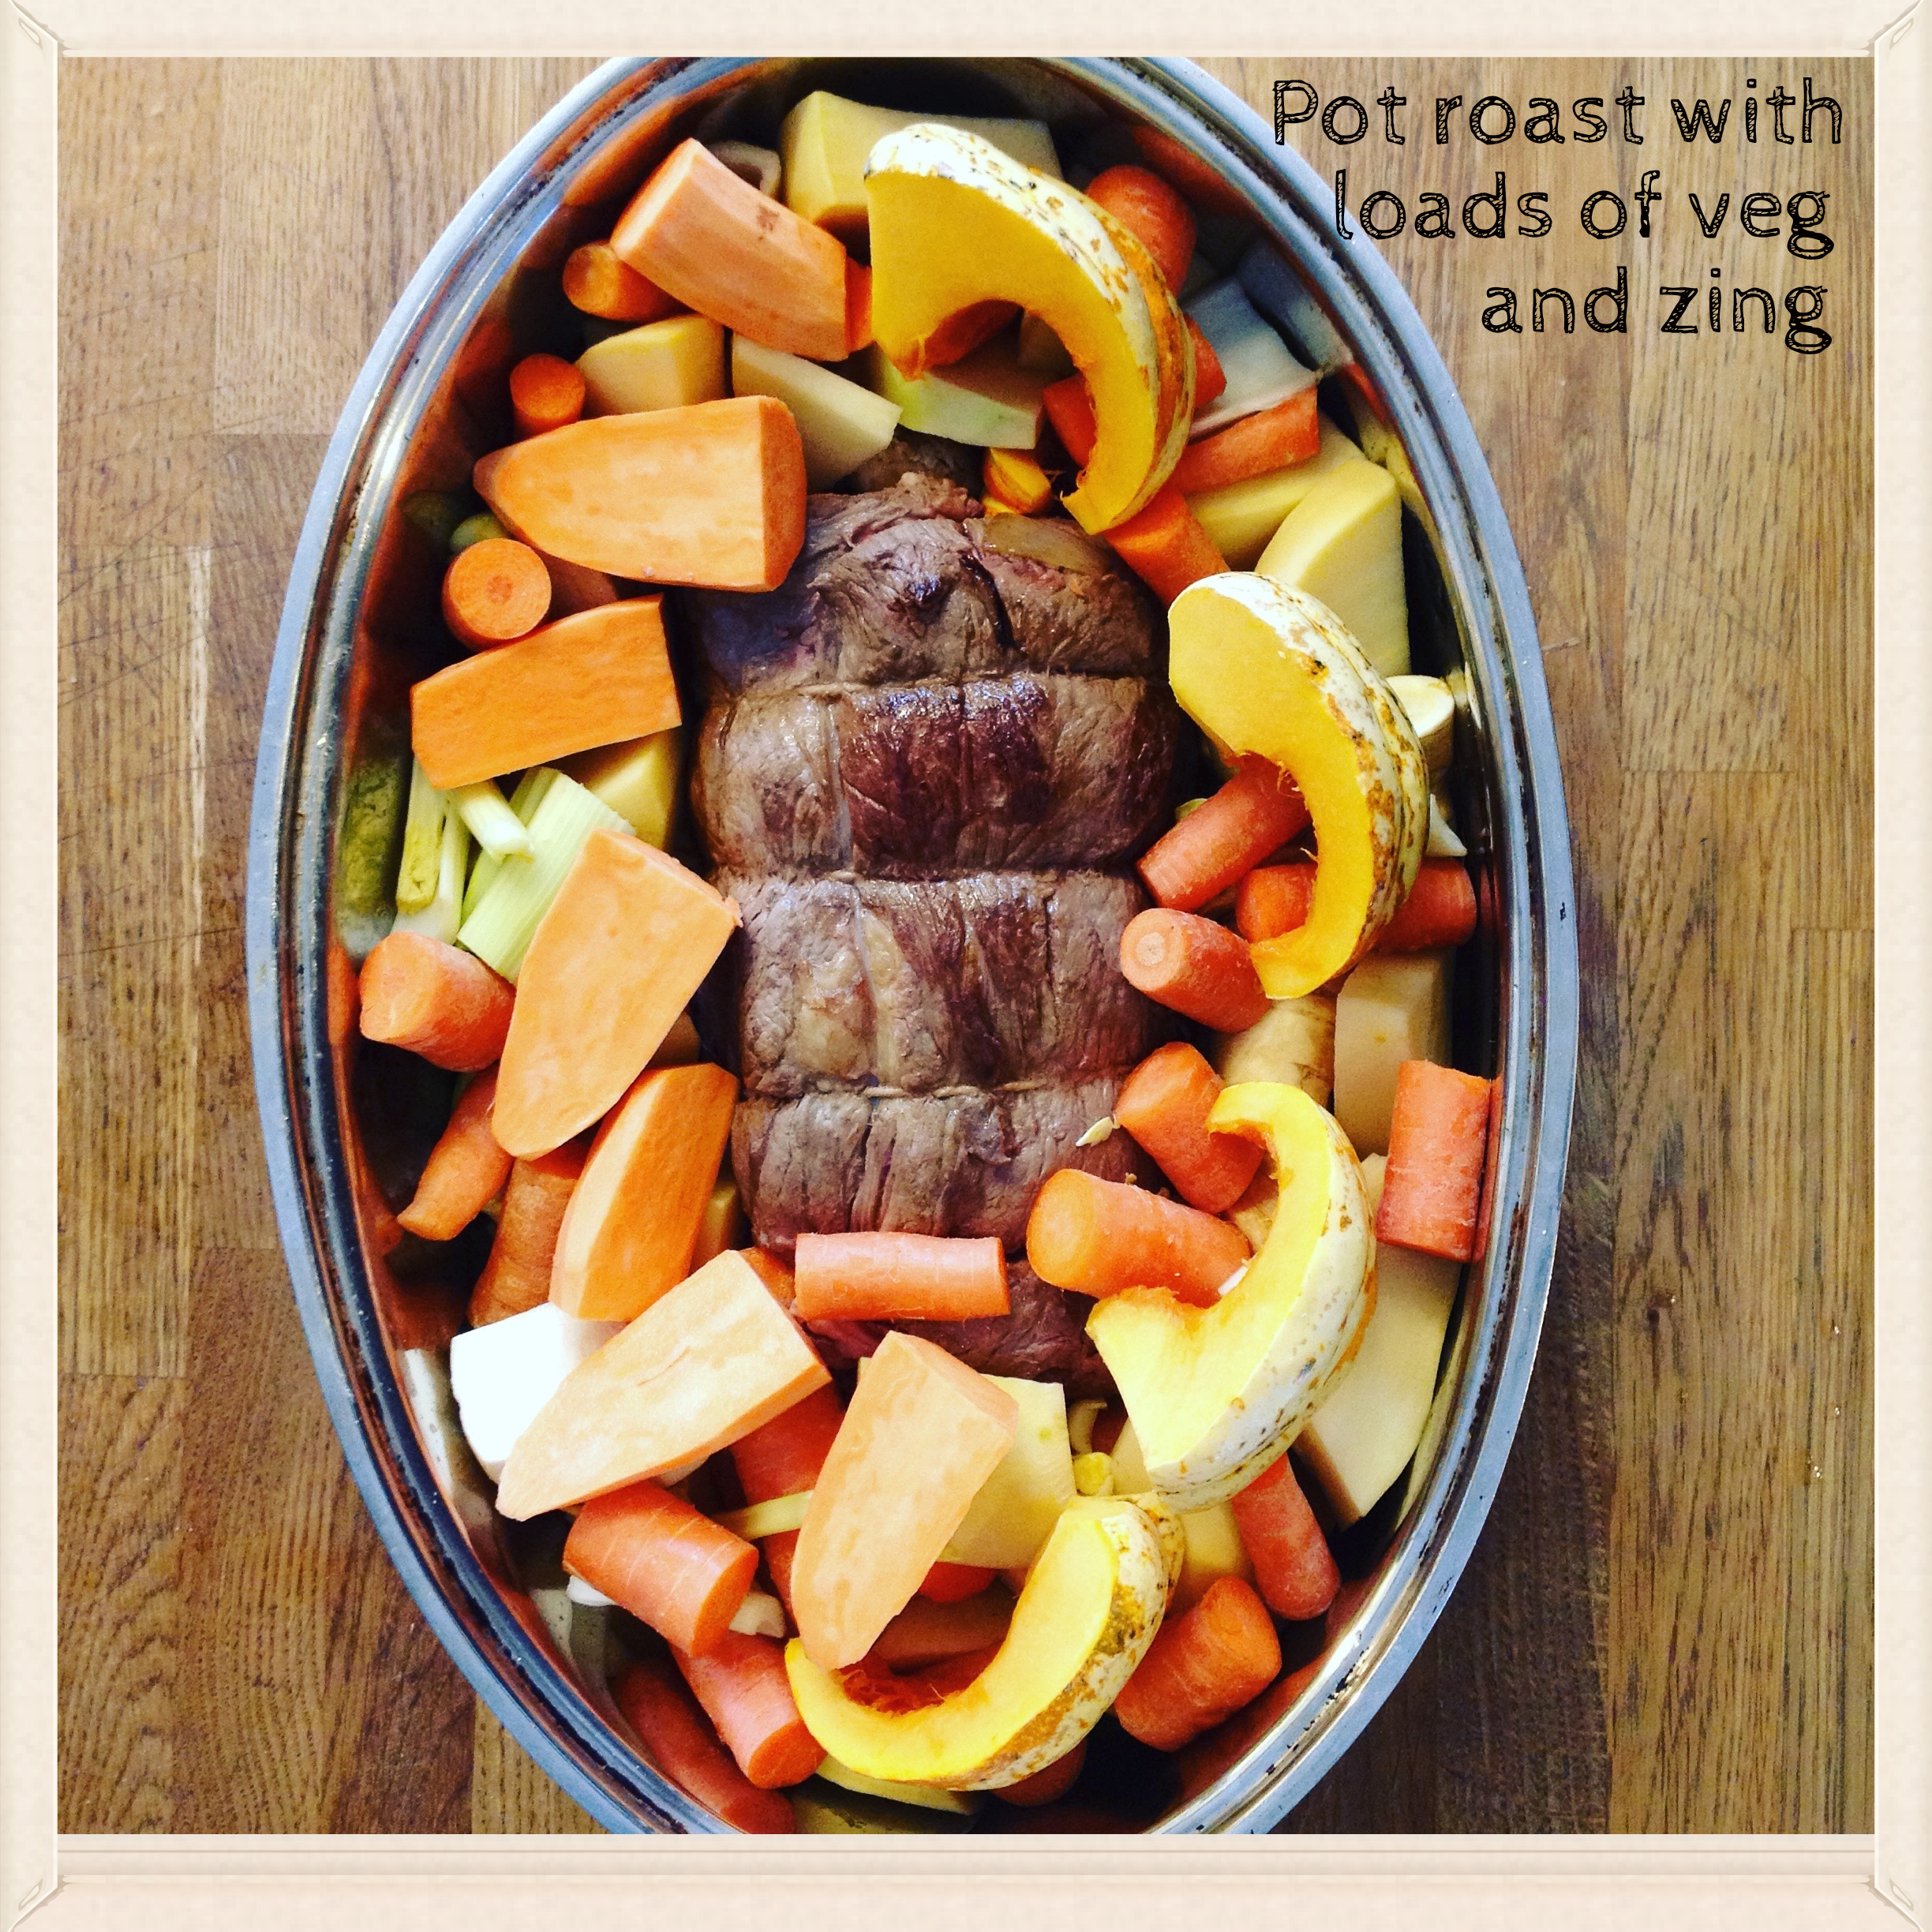
Pot Roast with Loads of Veg and Zing
I love this pot roast because I can prep it the morning of, or the night before and it will still taste delicious. I find the rush between after school and dinner can sometimes feel like a crunch. (Let's go sledding! The skating rink is ready! Come over for a cup of tea! Oh and errands.) This is the meal for that kind of day.
I started making gravy similar to that found in this recipe after my daughter's dayhome caregiver shared with me that it was how she prepared sauces for the children in her care. I think you'll find it's truly genius. Nary a flour to be found, glutinous or non.
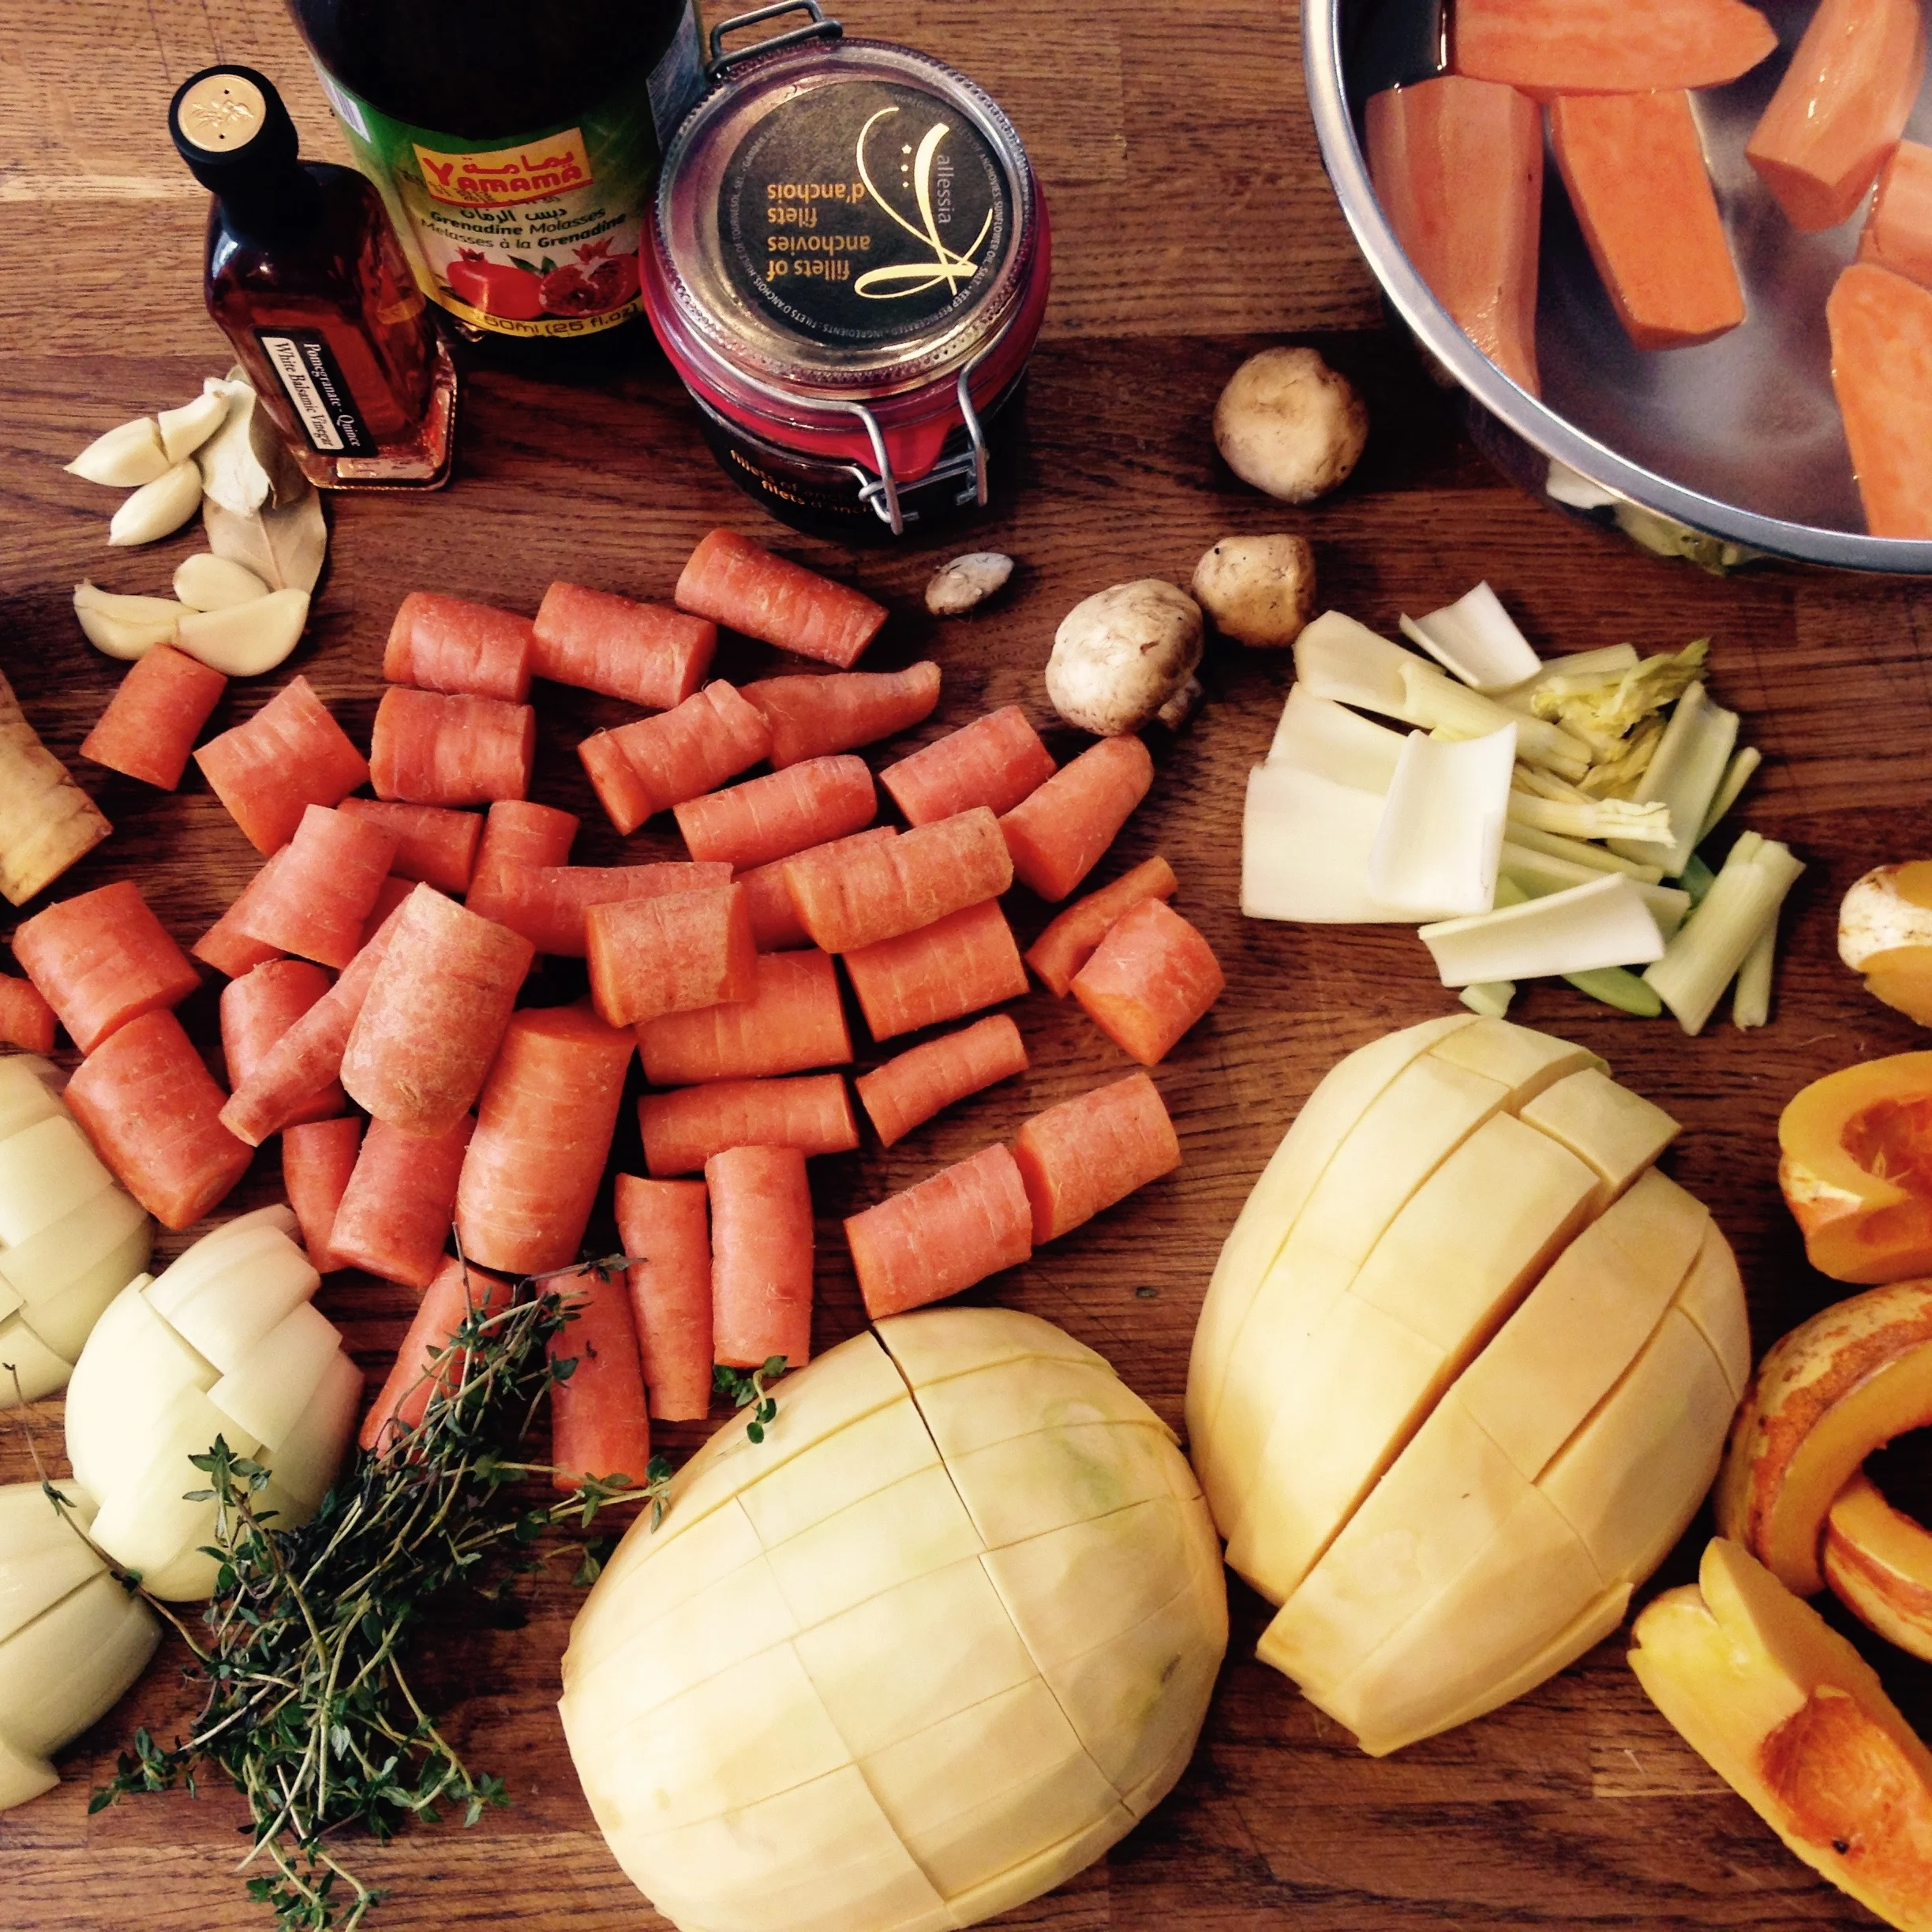
POT ROAST WITH LOADS OF VEG AND ZING
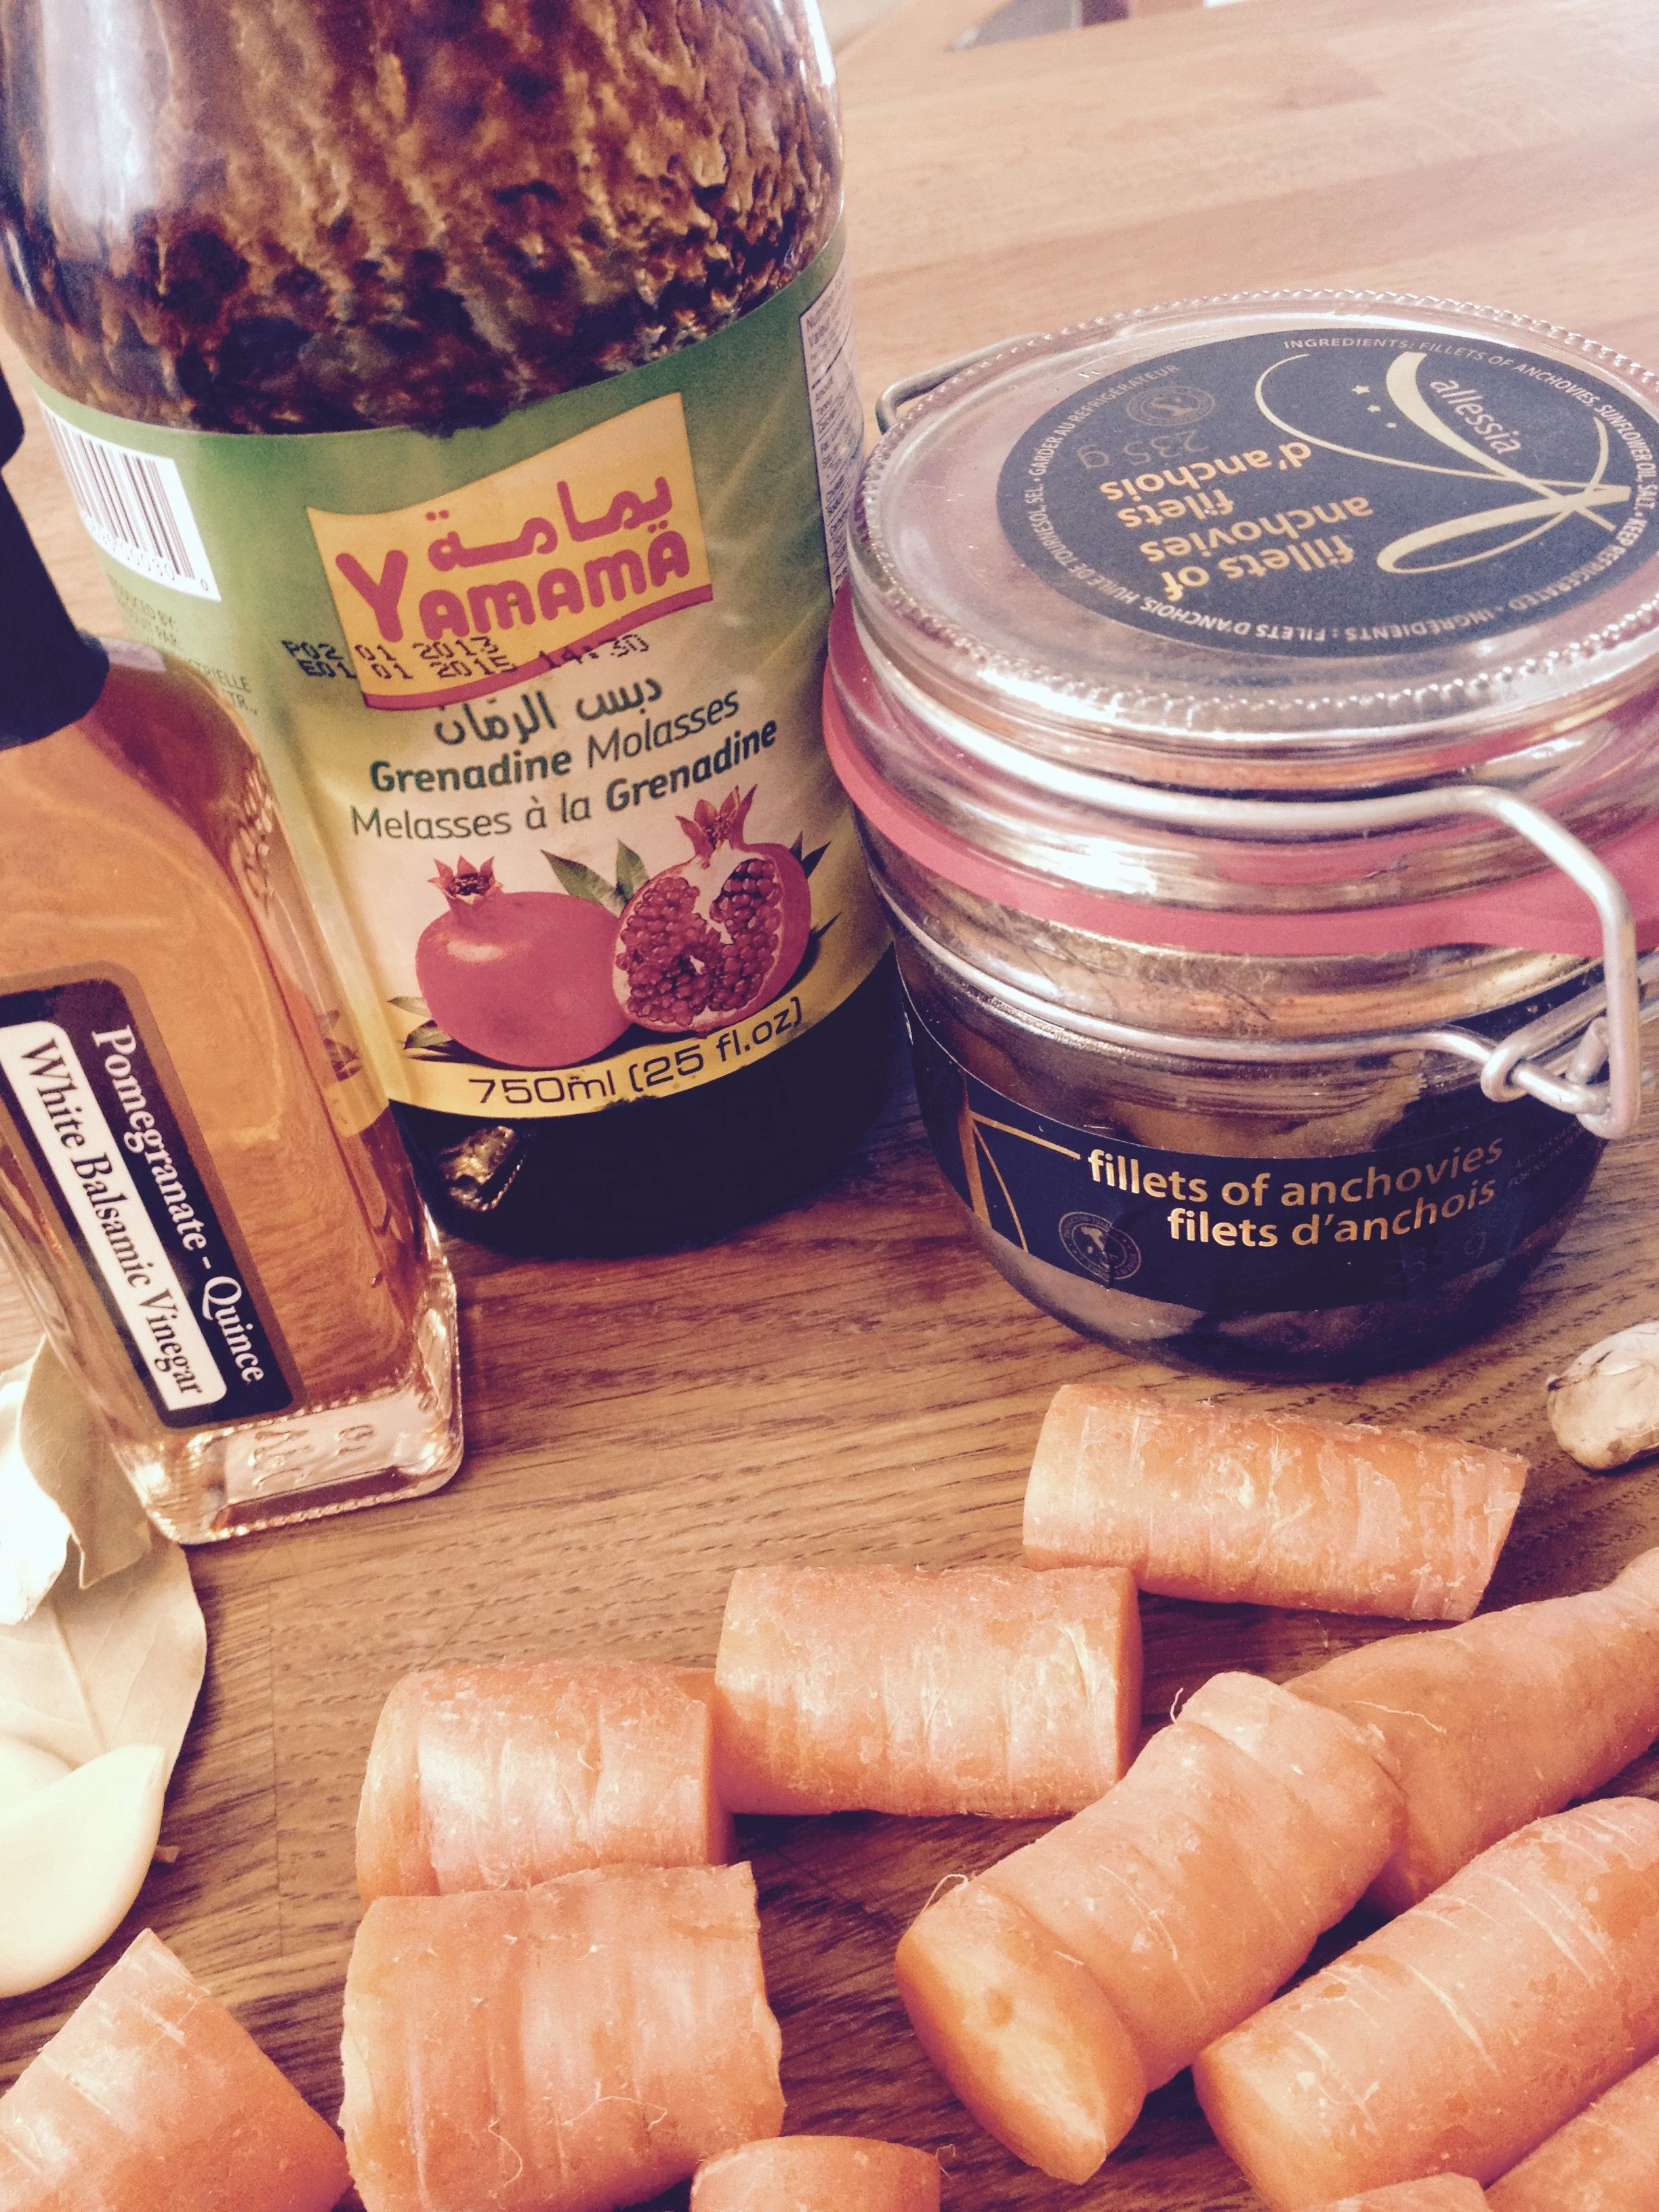
You can prepare everything the night before or the morning of, keep in fridge until ready to cook. I sometimes partially defrost the meat and prepare the morning of, and tuck in the oven and set the timer in order that it may be ready by dinnertime. Frees me up for important skating dates with my kiddo. And really, please don't be swayed by the anchovies. Give it a try; if you'd really rather not include them, you can add 2 tbsp of fish sauce instead, ensuring the fish sauce has no added sugar. *If you are following a GAPS diet, I have indicated where substitutions should be made.
THE PLAYERS:
3 tbsp solid cooking fat (bacon fat would be divine here, but butter, ghee, lard or tallow works)
2 onions, peeled and chopped
6 anchovies, rinsed
3-4 lb roast of beef (I opt for the cheaper/tougher cuts like chuck roast, brisket, top or bottom round roast, bottom round, rump (I just love this word – RUMP), sirloin tip)
6-8 carrots, chopped
3-5 celery ribs, chopped
3 cloves of garlic, minced
few sprigs of fresh thyme
handful of mushrooms
1 rutabaga or turnip, peeled and chopped
1 small winter squash, chopped
2 parsnips, chopped (substitute with 1 celery root for GAPS legal)
3-4 yams, peeled and chopped (omit for GAPS legal)
3 cups meat stock (I used chicken stock as it was what I had on hand; beef or bison would be divine)
3 tbsp pomegranate molasses (omit for GAPS legal) (find at a Middle Eastern grocery, like Shaganappi Grocery in Calgary)
4 tbsp vinegar (white wine or apple cider vinegar works and are GAPS legal; I used a pomegranate quince white balsamic vinegar from Blue Door Oil & Vinegar which is not GAPS compliant)
3 bay leaves
2-4 dried shiitake mushrooms
2 slices of reishi mushrooms (optional – find them here)
Sea salt & pepper (omit the pepper for GAPS legal)
THE HOW-TO
- Set the pot you will be making the roast in on the stovetop and preheat on medium. Add your butter and onions, and saute until softened. Add your anchovies and allow to melt, chopping them up in bits with your spatula or spoon. Toss in your garlic and thyme and saute for 30 seconds. Add your roast and sear lightly on each side. (For true GAPS compliance, forego searing the meat as you do not want any browning of the meat.)
- Remove your pot from the stovetop, and add your chopped vegetables, nestling them next to and around the meat.
- In a separate bowl, mix together the meat stock, pomegranate molasses if using, vinegar, bay leaves, shiitake mushrooms and reishi mushrooms if you are using, along with about a teaspoon of salt and few cranks of the pepper mill if using. Pour this marinade over the meat in the pot, put your lid on, and tuck in the fridge until ready for cooking.
- Cook in a 325F oven for 4 hours, or until the meat is fork-tender and just melts. Take the roast out of the pot and set aside in a bowl. Add to this bowl about half of the vegetables: I pull out some of the squash, rutabaga, carrots and all of the sweet potatoes and leave the other vegetables in the mix. (onions, garlic, celery, parsnips, half of carrots, rutabaga and squash) Keep warm.
- Put the pot back on the stovetop, and pull out the reishi mushroom slices (if using) and bay leaves. Using your immersion blender, blitz the veggies and sauce up in order to make a thick gravy. If your gravy needs thinning, add more meat stock or water; if it needs thickening, pull out more of the vegetables you had set aside in order to thicken it up. Taste and adjust seasonings if needed. You will have an abundance of gravy, but fret not, I have an idea on how to use it up...
- I use an electric knife in order to slice the pot roast in thick slices, as it yields quite readily to little pressure. Serve immediately, pouring your veggie-rich gravy liberally on everything!
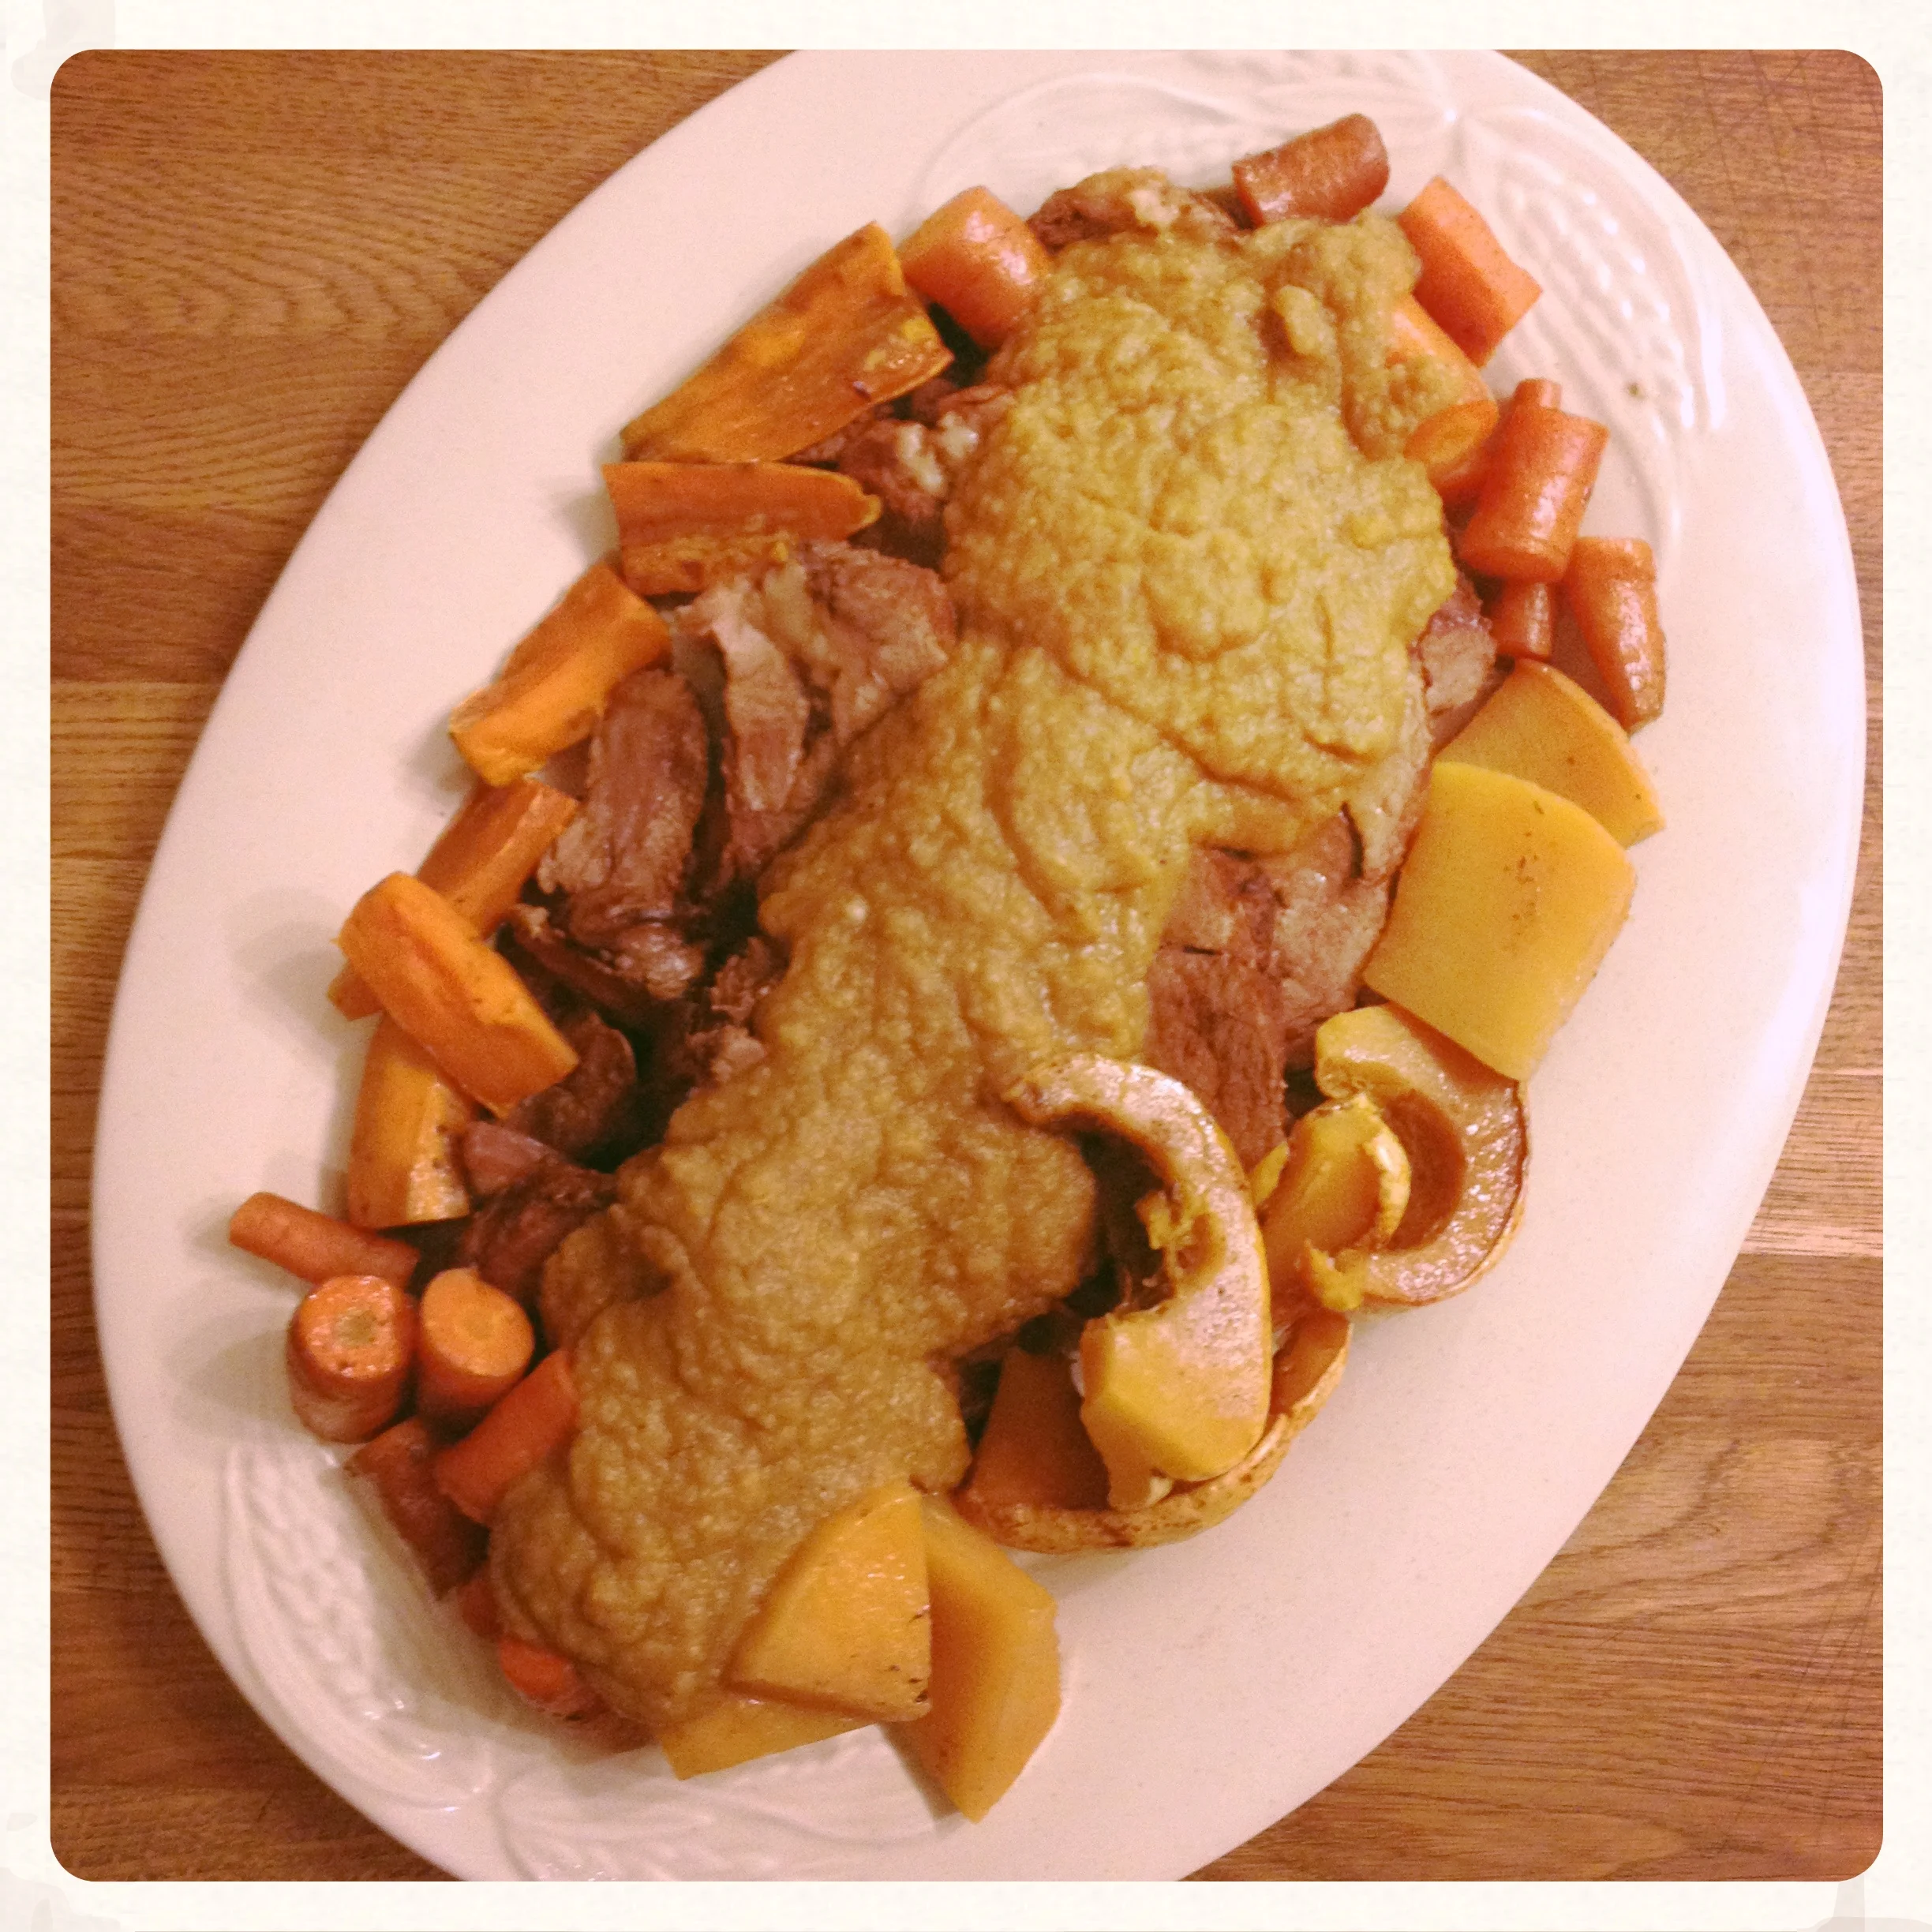
What it lacks in colour, I assure you it more than makes up in flavour.
This is pretty much as nutrient-dense as it gets. My kiddo used to request only hunks of meat with lots of gravy. So happy to oblige.
Bon appétit!
*Find yourself with a glut of gravy left over? It's the fabulous start to your next pot-o-leftover soup! What I would do: saute some leeks in ghee, toss in more carrots and celery, when soft add your leftover gravy along with some more meat stock so the thickness is to your liking. Add any leftover bits of meat you may still have on hand, some finely chopped greens like kale or chard and if you're ok with grains, toss in a handful of barley or rice and simmer until all is cooked through. The end delicious bit: add some homemade pesto after taking it off the stovetop, enough to make it taste delicious. Voila, Soupe Pistou.

Yeah we went skating...