
A MONTH OF PUTTING UP THE HARVEST - Day 20
Harvest season is well underway, and this next chunk of time is perhaps one of the busiest for most farmers. It is also one of my favourite times in the harvest, as it is when the good big cabbages start rolling in, and all other longer season vegetables and fruits start to show up at farmers' markets and stalls, as well as grocery stores. The humble cabbage is, in my opinion, one of the best vegetables out there. It is prized for its ability to ward off scurvy (meaning VITAMIN C rich it be), high in fibre which can mean many things from improving your visits to the bathroom to assisting in lowering cholesterol and facilitating the exit of excess hormones. It is high in glucosinolates which have been shown to be protective against cancers, and they have anti-inflammatory properties to boot. Cabbages are especially good and helpful for stomachs and intestinal linings, so if you have one or both of these, I'd say eating cabbage is a good bet for you.
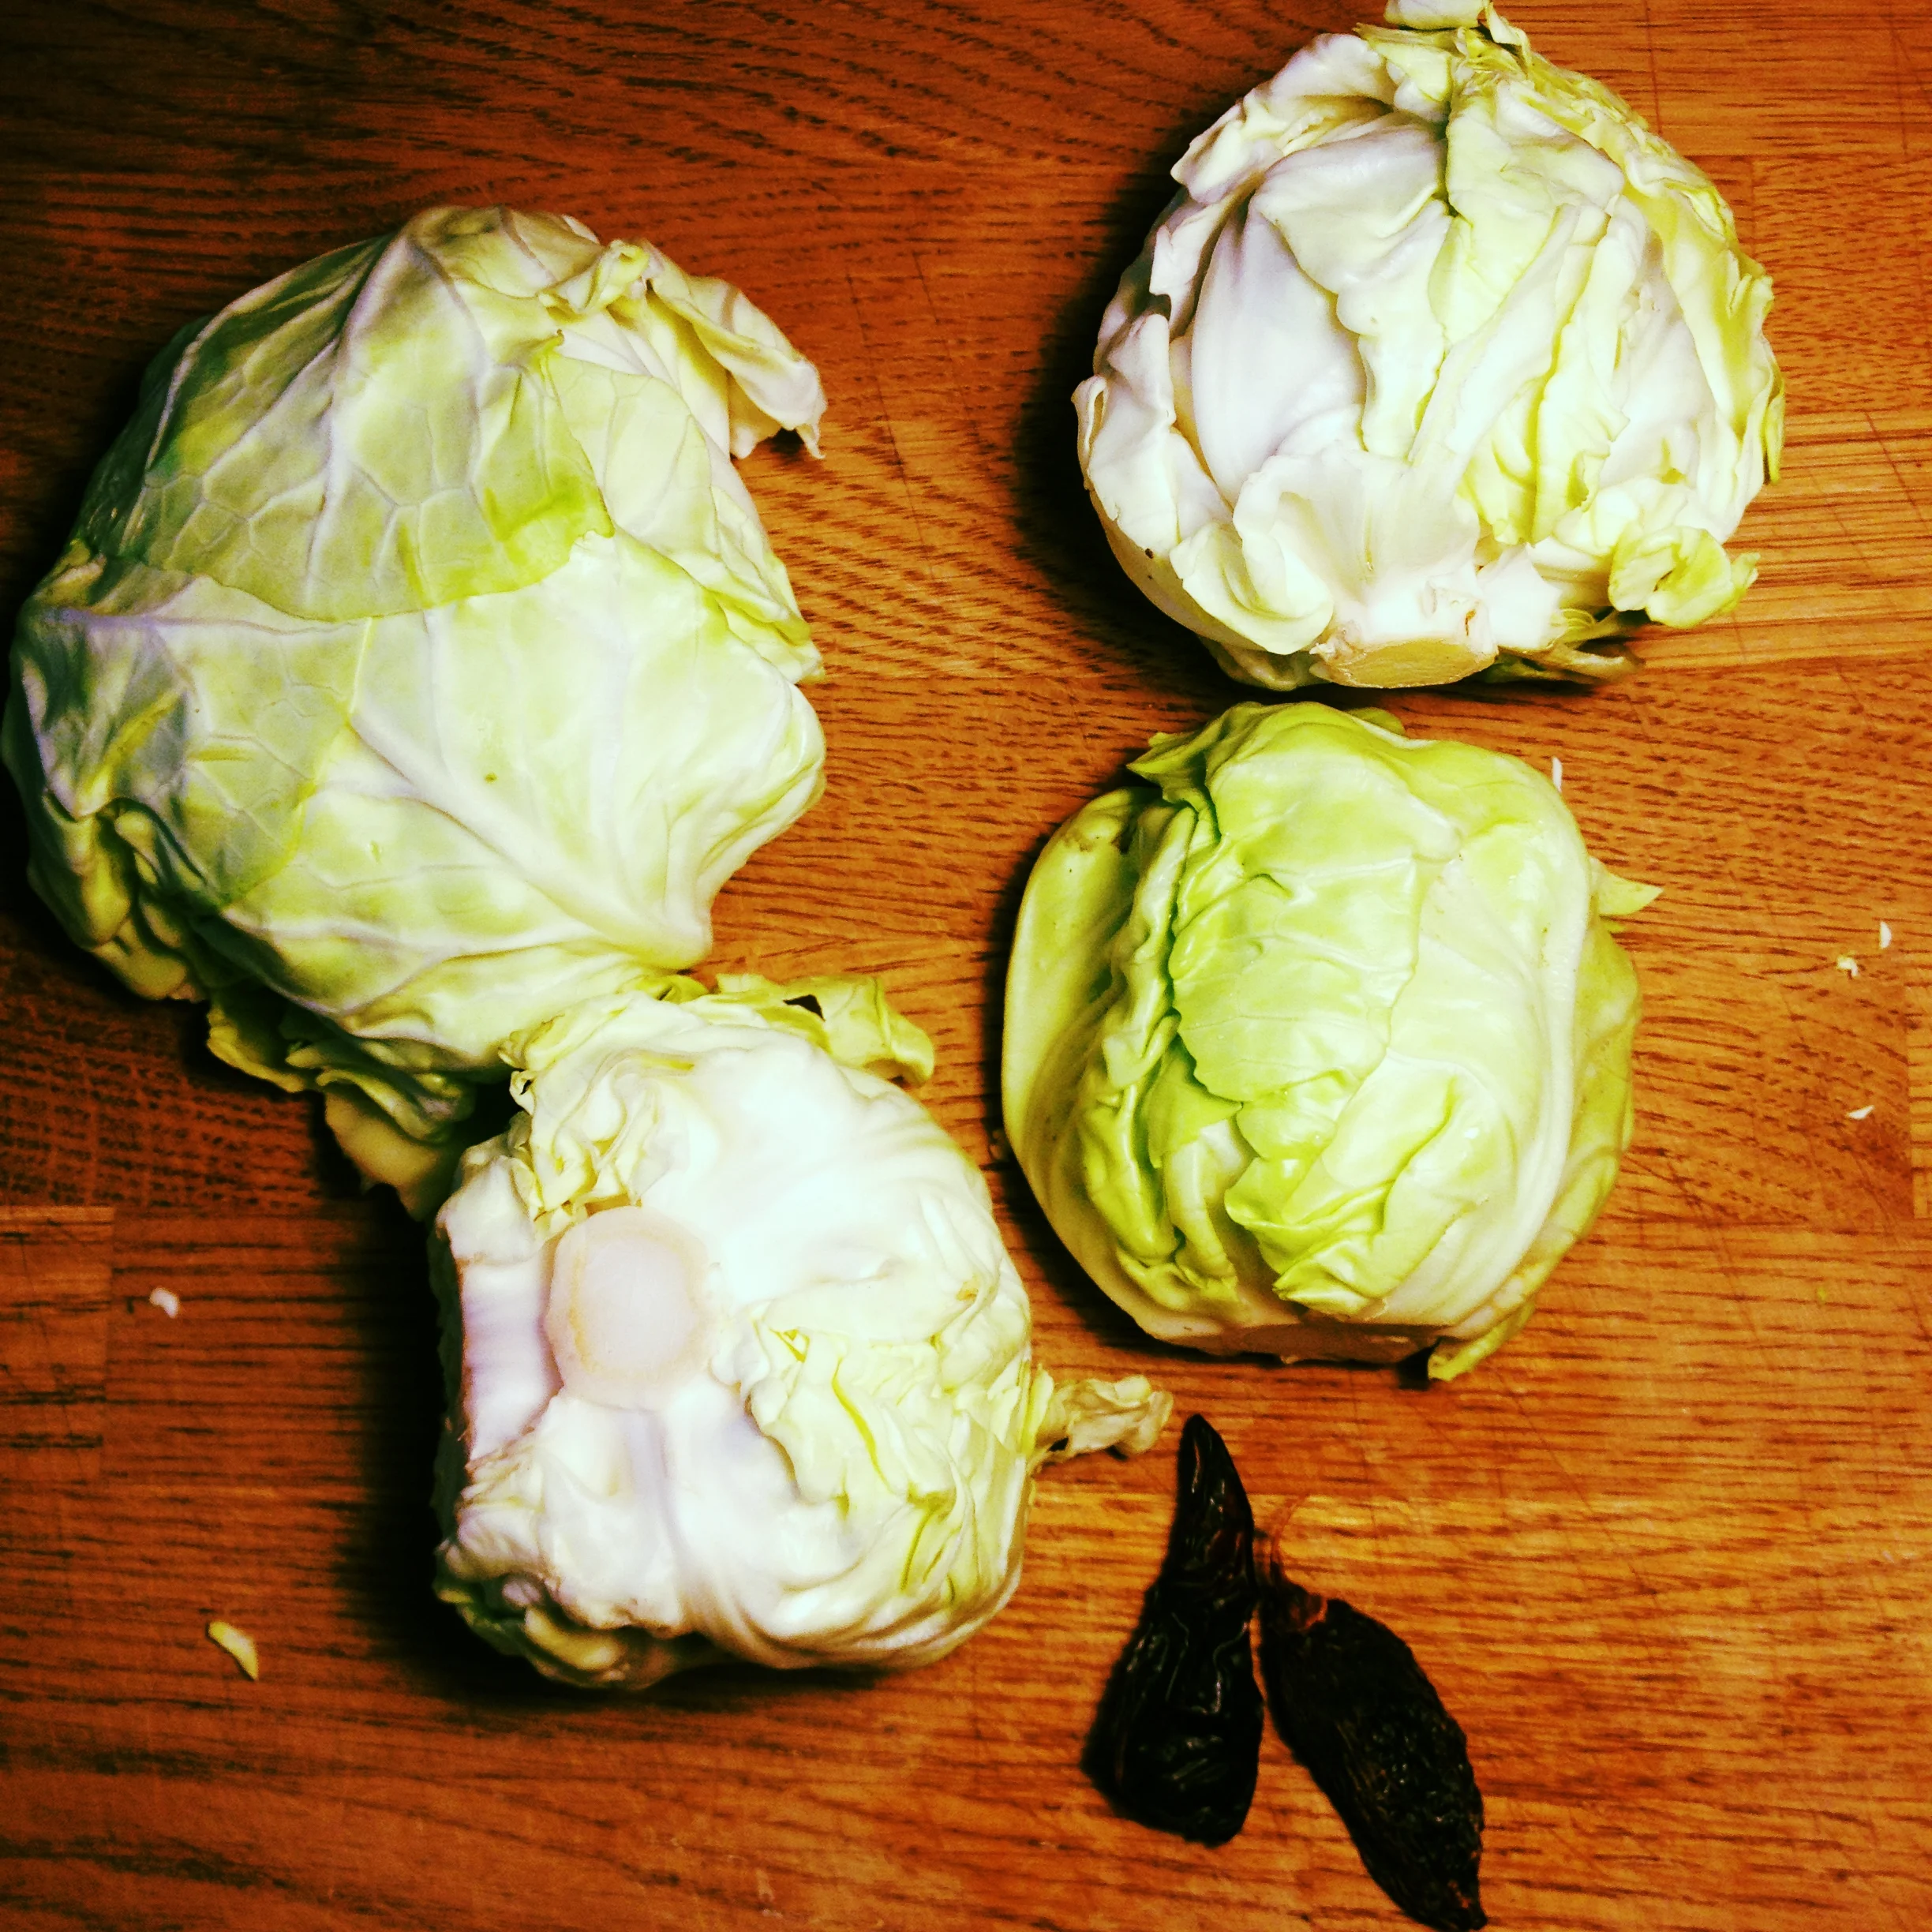
Blue Mountain Biodynamic Farm's glorious first cabbages of the season! #harvest2015
Harvest season is well underway, and this next chunk of time is perhaps one of the busiest for most farmers. It is also one of my favourite times in the harvest, as it is when the good big cabbages start rolling in, and all other longer season vegetables and fruits start to show up at farmers' markets and stalls, as well as grocery stores. The humble cabbage is, in my opinion, one of the best vegetables out there. It is prized for its ability to ward off scurvy (meaning VITAMIN C rich it be), high in fibre which can mean many things from improving your visits to the bathroom to assisting in lowering cholesterol and facilitating the exit of excess hormones. It is high in glucosinolates which have been shown to be protective against cancers, and they have anti-inflammatory properties to boot. Cabbages are especially good and helpful for stomachs and intestinal linings, so if you have one or both of these, I'd say eating cabbage is a good bet for you.
Now of course there is the question of goitrogens, so if you are currently working with an under-active thyroid, know that the goitrogenic load goes up when cabbage is fermented. Goitrogens interfere with the regular function of your thyroid gland, so for those who need to be mindful, fermented cabbage is like eating a few extra bowls of raw cabbage. Probably not the best idea. But for those with a sluggish digestive tract? This is probably one of the best foods out there for you, my gastro-hindered friend. For me? Well I add extra minerals to the mix and always add some seaweed in order to provide more iodine in my finished ferment. And when you ferment something, you are freeing up more of the vitamins and minerals locked in those raw vegetables. Your cabbage just became a SUPERFOOD before your very eyes, my friend.
Cabbage. No filter needed. I love it that much. #harvest2015
We picked some cabbage up from the fine folks at Blue Mountain Biodynamic Farms at the Hillhurst Sunnyside Community Centre's Farmers' Market today, the first ones of the season. Hurrah! Blue Mountain is one of my favourite local producers: I have had the good fortune of accompanying my daughter's class on a field trip out to their farm a year and a half ago, and have been a regular consumer of their vegetables and eggs over the years. Check them out at the links above, and support local! (Thanks Tamara and Kris!)
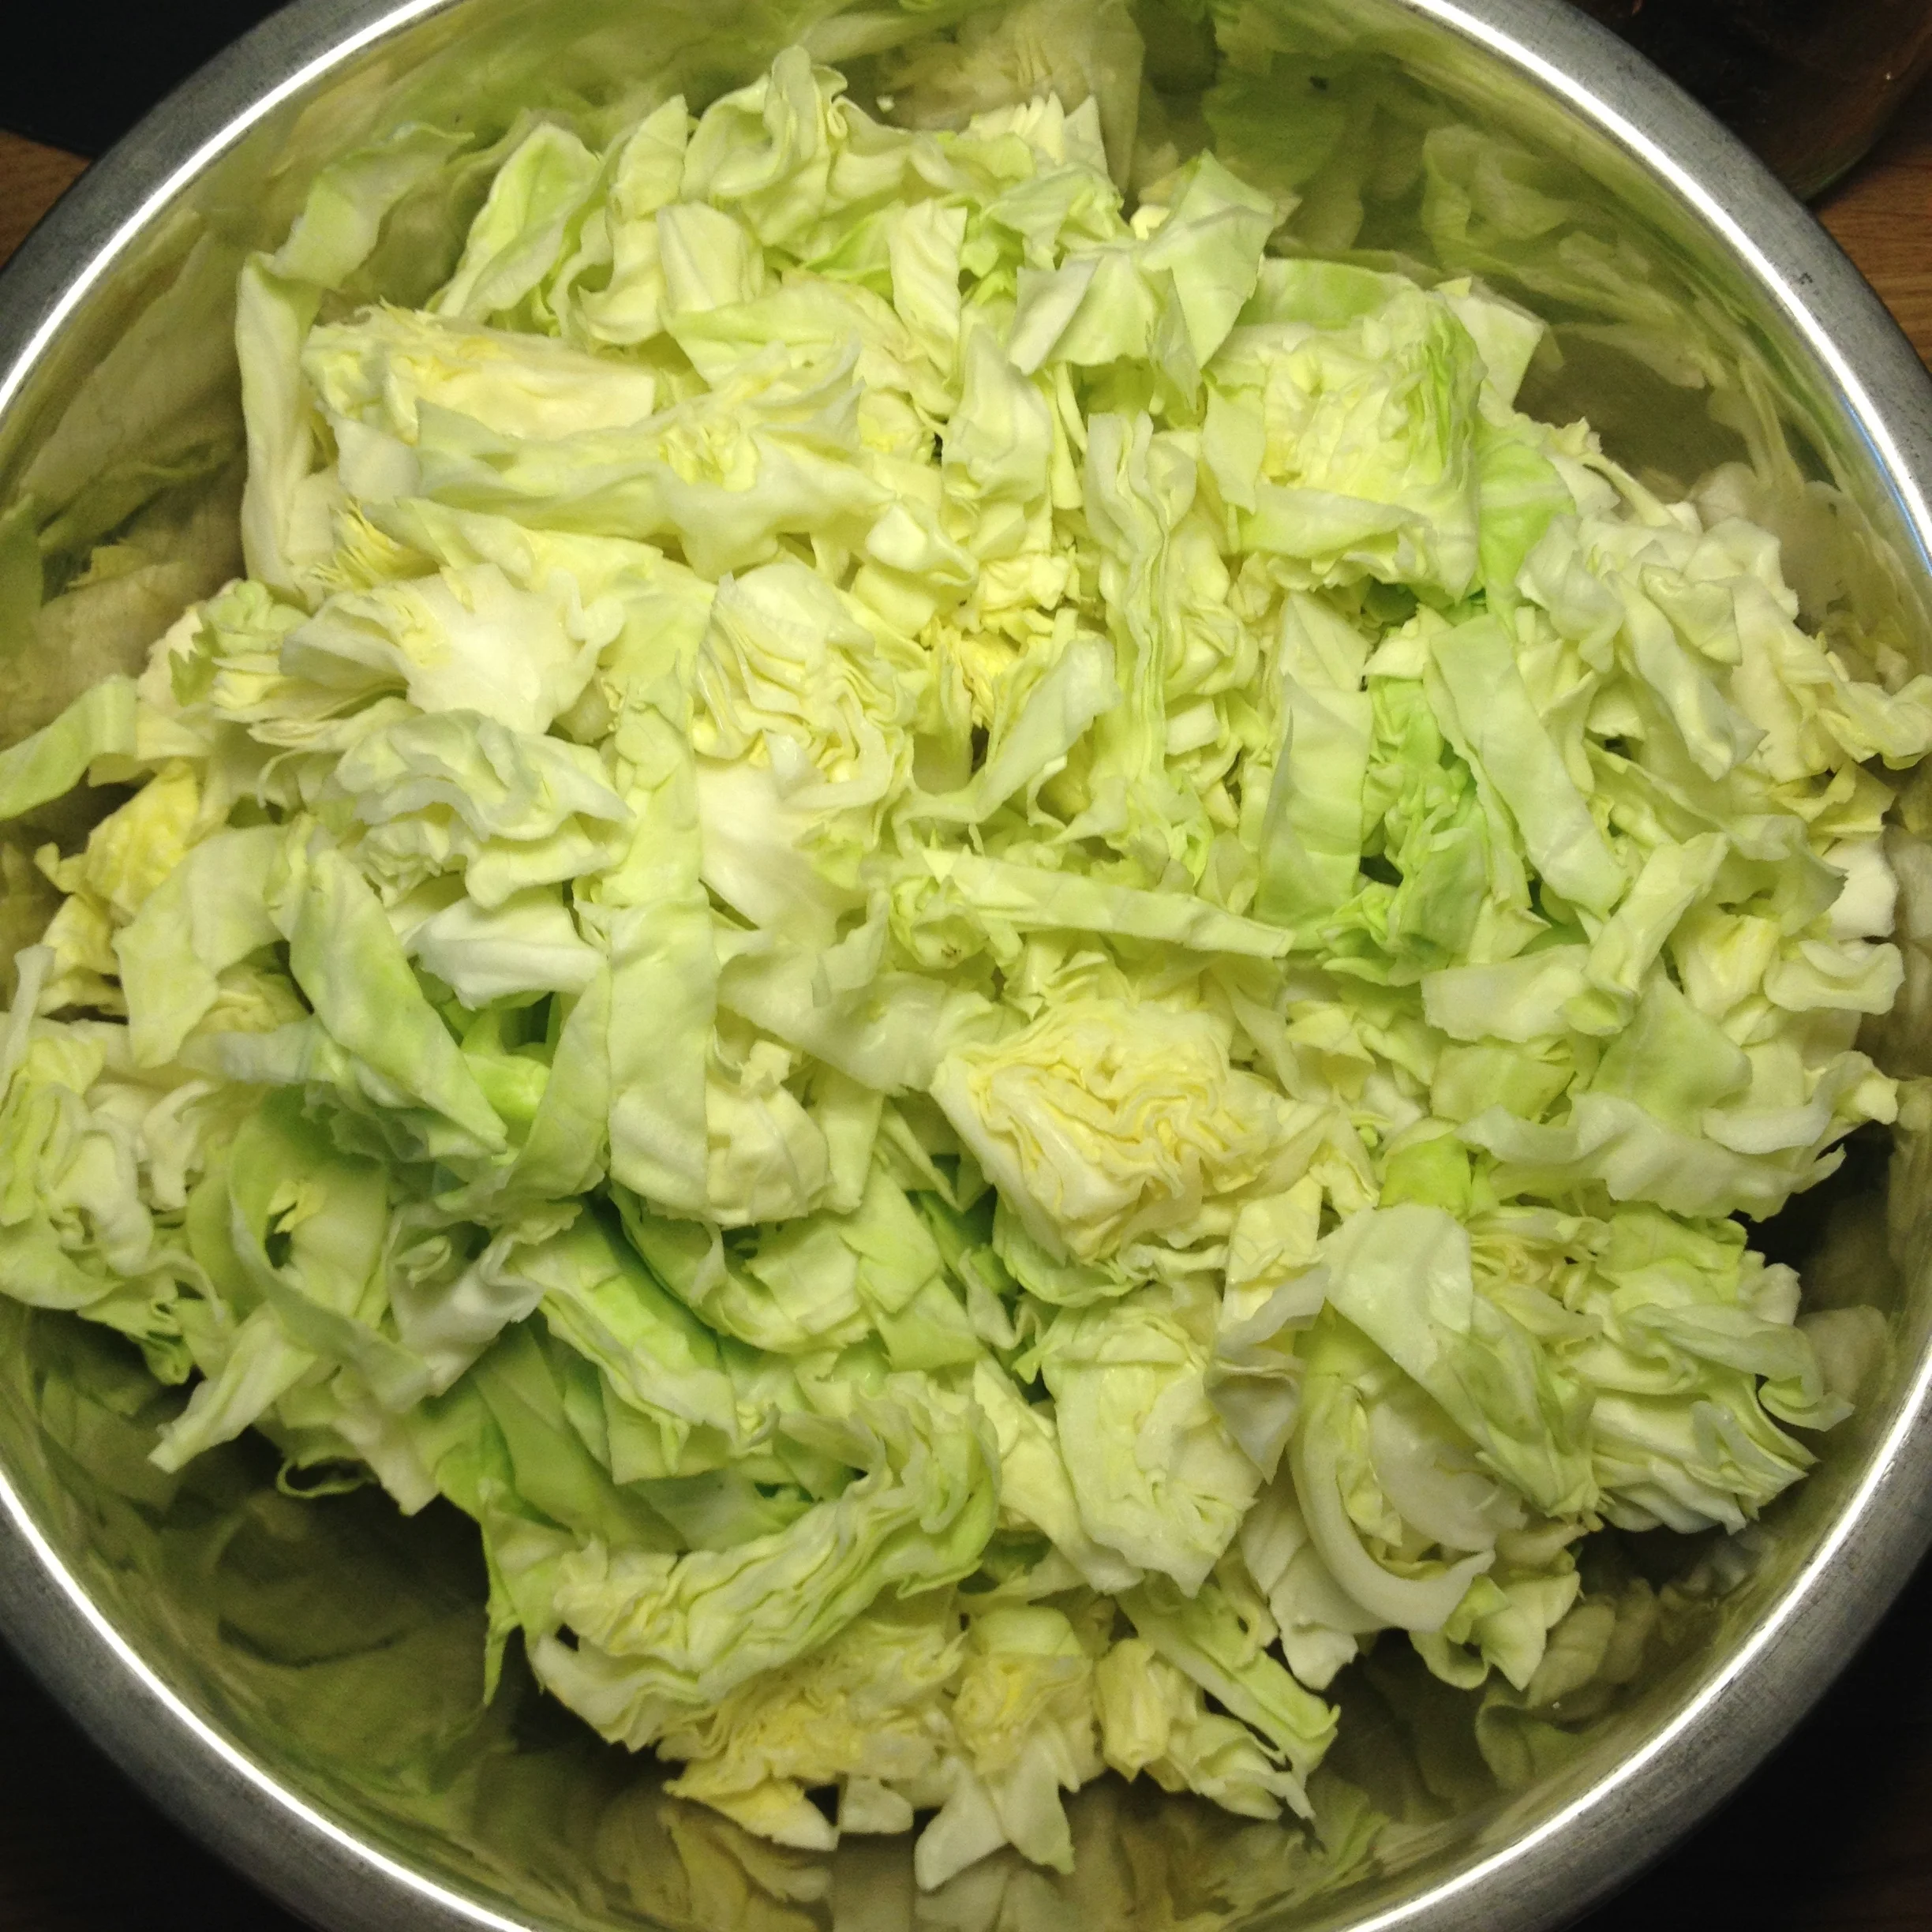
I decided to make a short-ferment kraut with these little guys, as they were the first of the season, and seconds I suppose you could say. I am keeping the big Savoy we brought home for some cabbage rolls this week… I chopped the little heads all into ribbons, and threw them in a big bowl (pictured above). To this roughly 10 cups of chopped cabbage, I added a tablespoon and a half of sea salt. (You must use sea salt here, not table salt as there are anti-caking agents in the table salt that will halt your ferment and allow it to spoil.) Then I got to work, mashing the whole thing together with my hands and crunching the cabbage ribbons, drawing the water out of them so that after about 10 minutes of mashing, there was a good amount of liquid at the bottom of my bowl, and the ribbons had reduced by about half the volume.

Hand-mangled cabbage, ready for kraut. #harvest2015
Incidentally, to this cabbage amount you can add any other fruit or vegetable you think would taste delicious: a chopped apple or two, a few shredded carrots or radishes, maybe grated beets or thinly sliced fennel; play with your food!
When it comes to adding flavours, you can keep it simple or experiment. A good basic start is to go for 1-2 tsp of caraway seeds added to the cabbage. But you can certainly play it up! I made another batch earlier today as part of a demonstration I was leading at the Grand Opening for the clinic where I work, Renewal Homeopathy & Wellness. That one was two fuji apples, half a head of red cabbage (which when combined, gave me about 10 cups) and 1 1/2 tbsp of sea salt, along with 1 tsp of curry powder. Here is the red one:
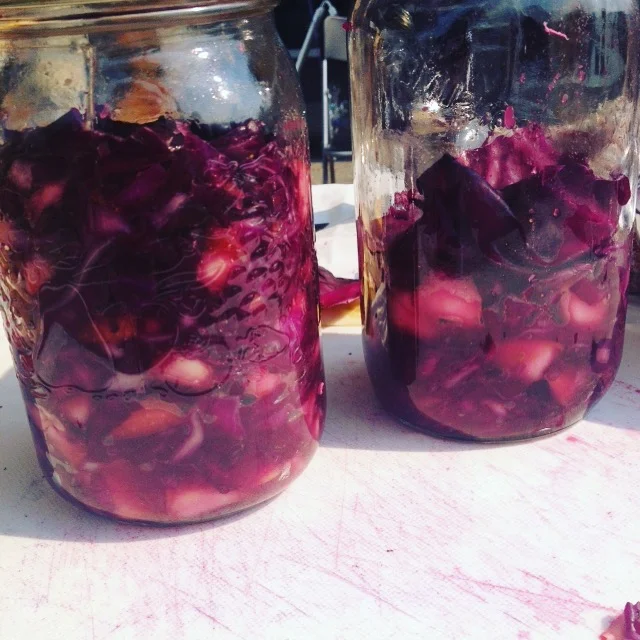
Red cabbage fuji curry kraut. #harvest2015
I have done some interesting mixtures: a few tsps of fresh dill, along with seaweed; some fresh garlic cloves along with some chipotle peppers; juniper berries with red cabbage; a batch with ginger, turmeric, radishes, beets, cabbage; the traditional Cortido, a South American sauerkraut calls for cabbage, onions, carrots and oregano. Truly, this is one place you can really play with your food.
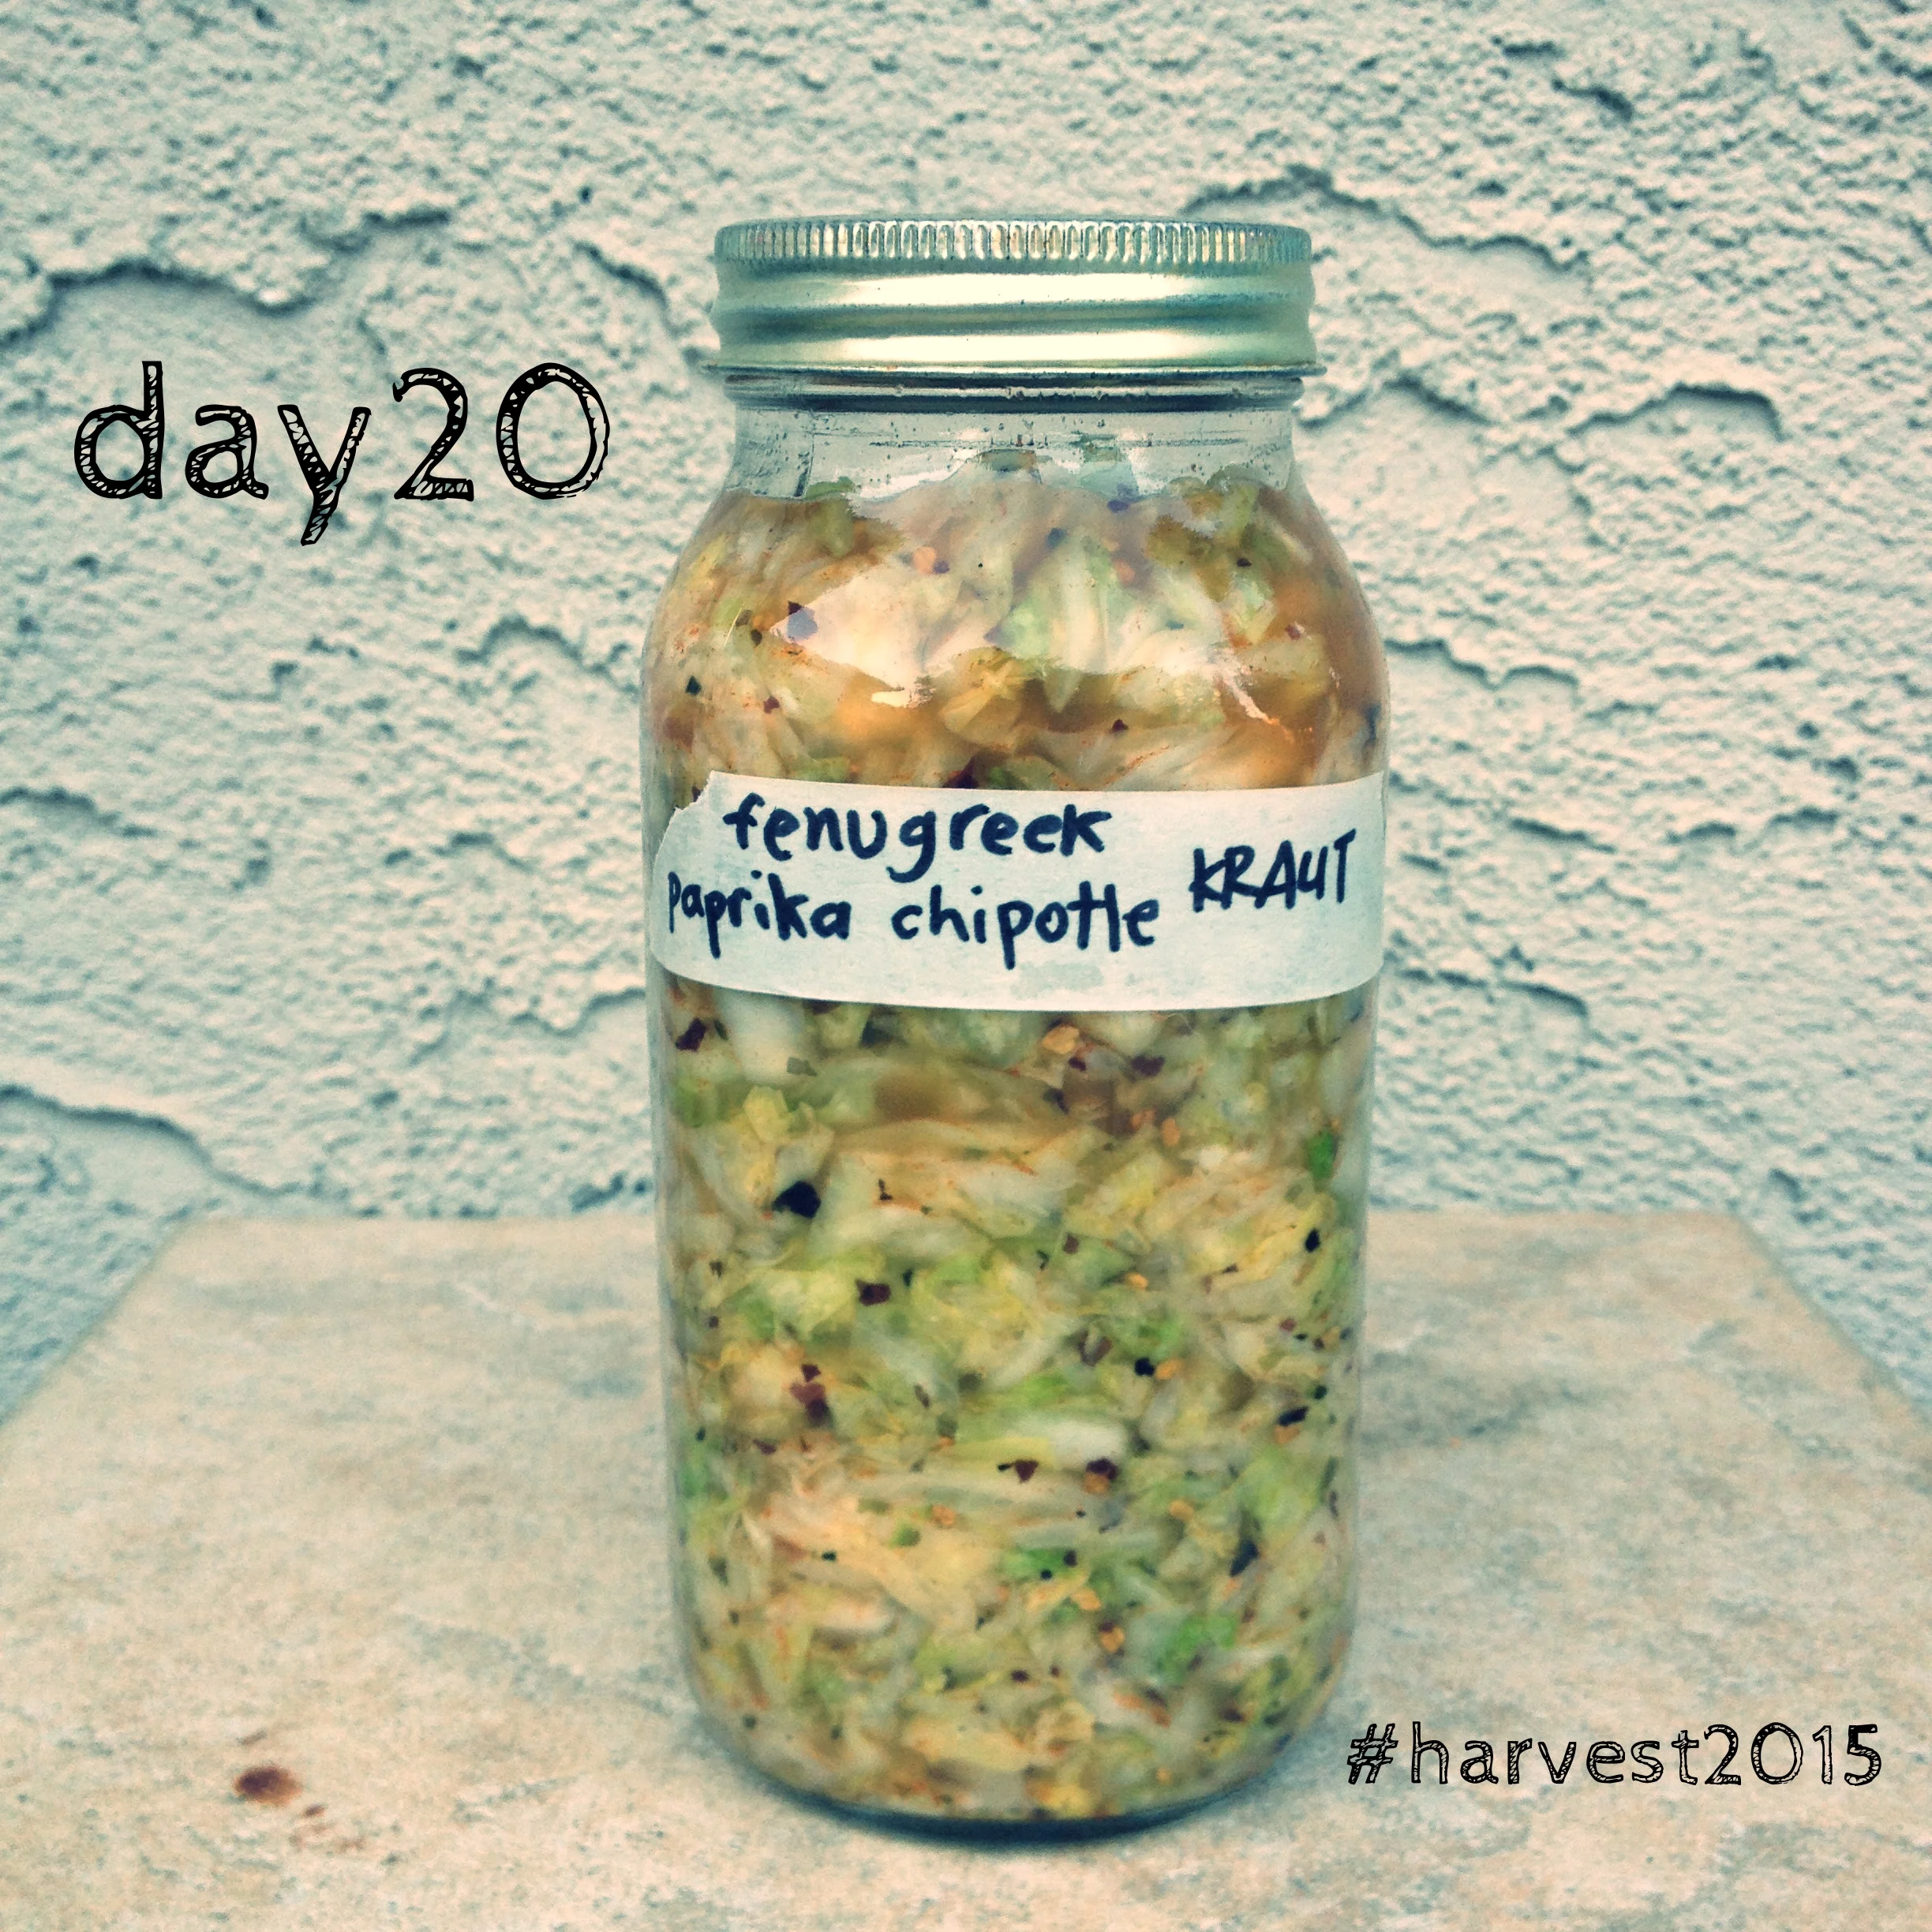
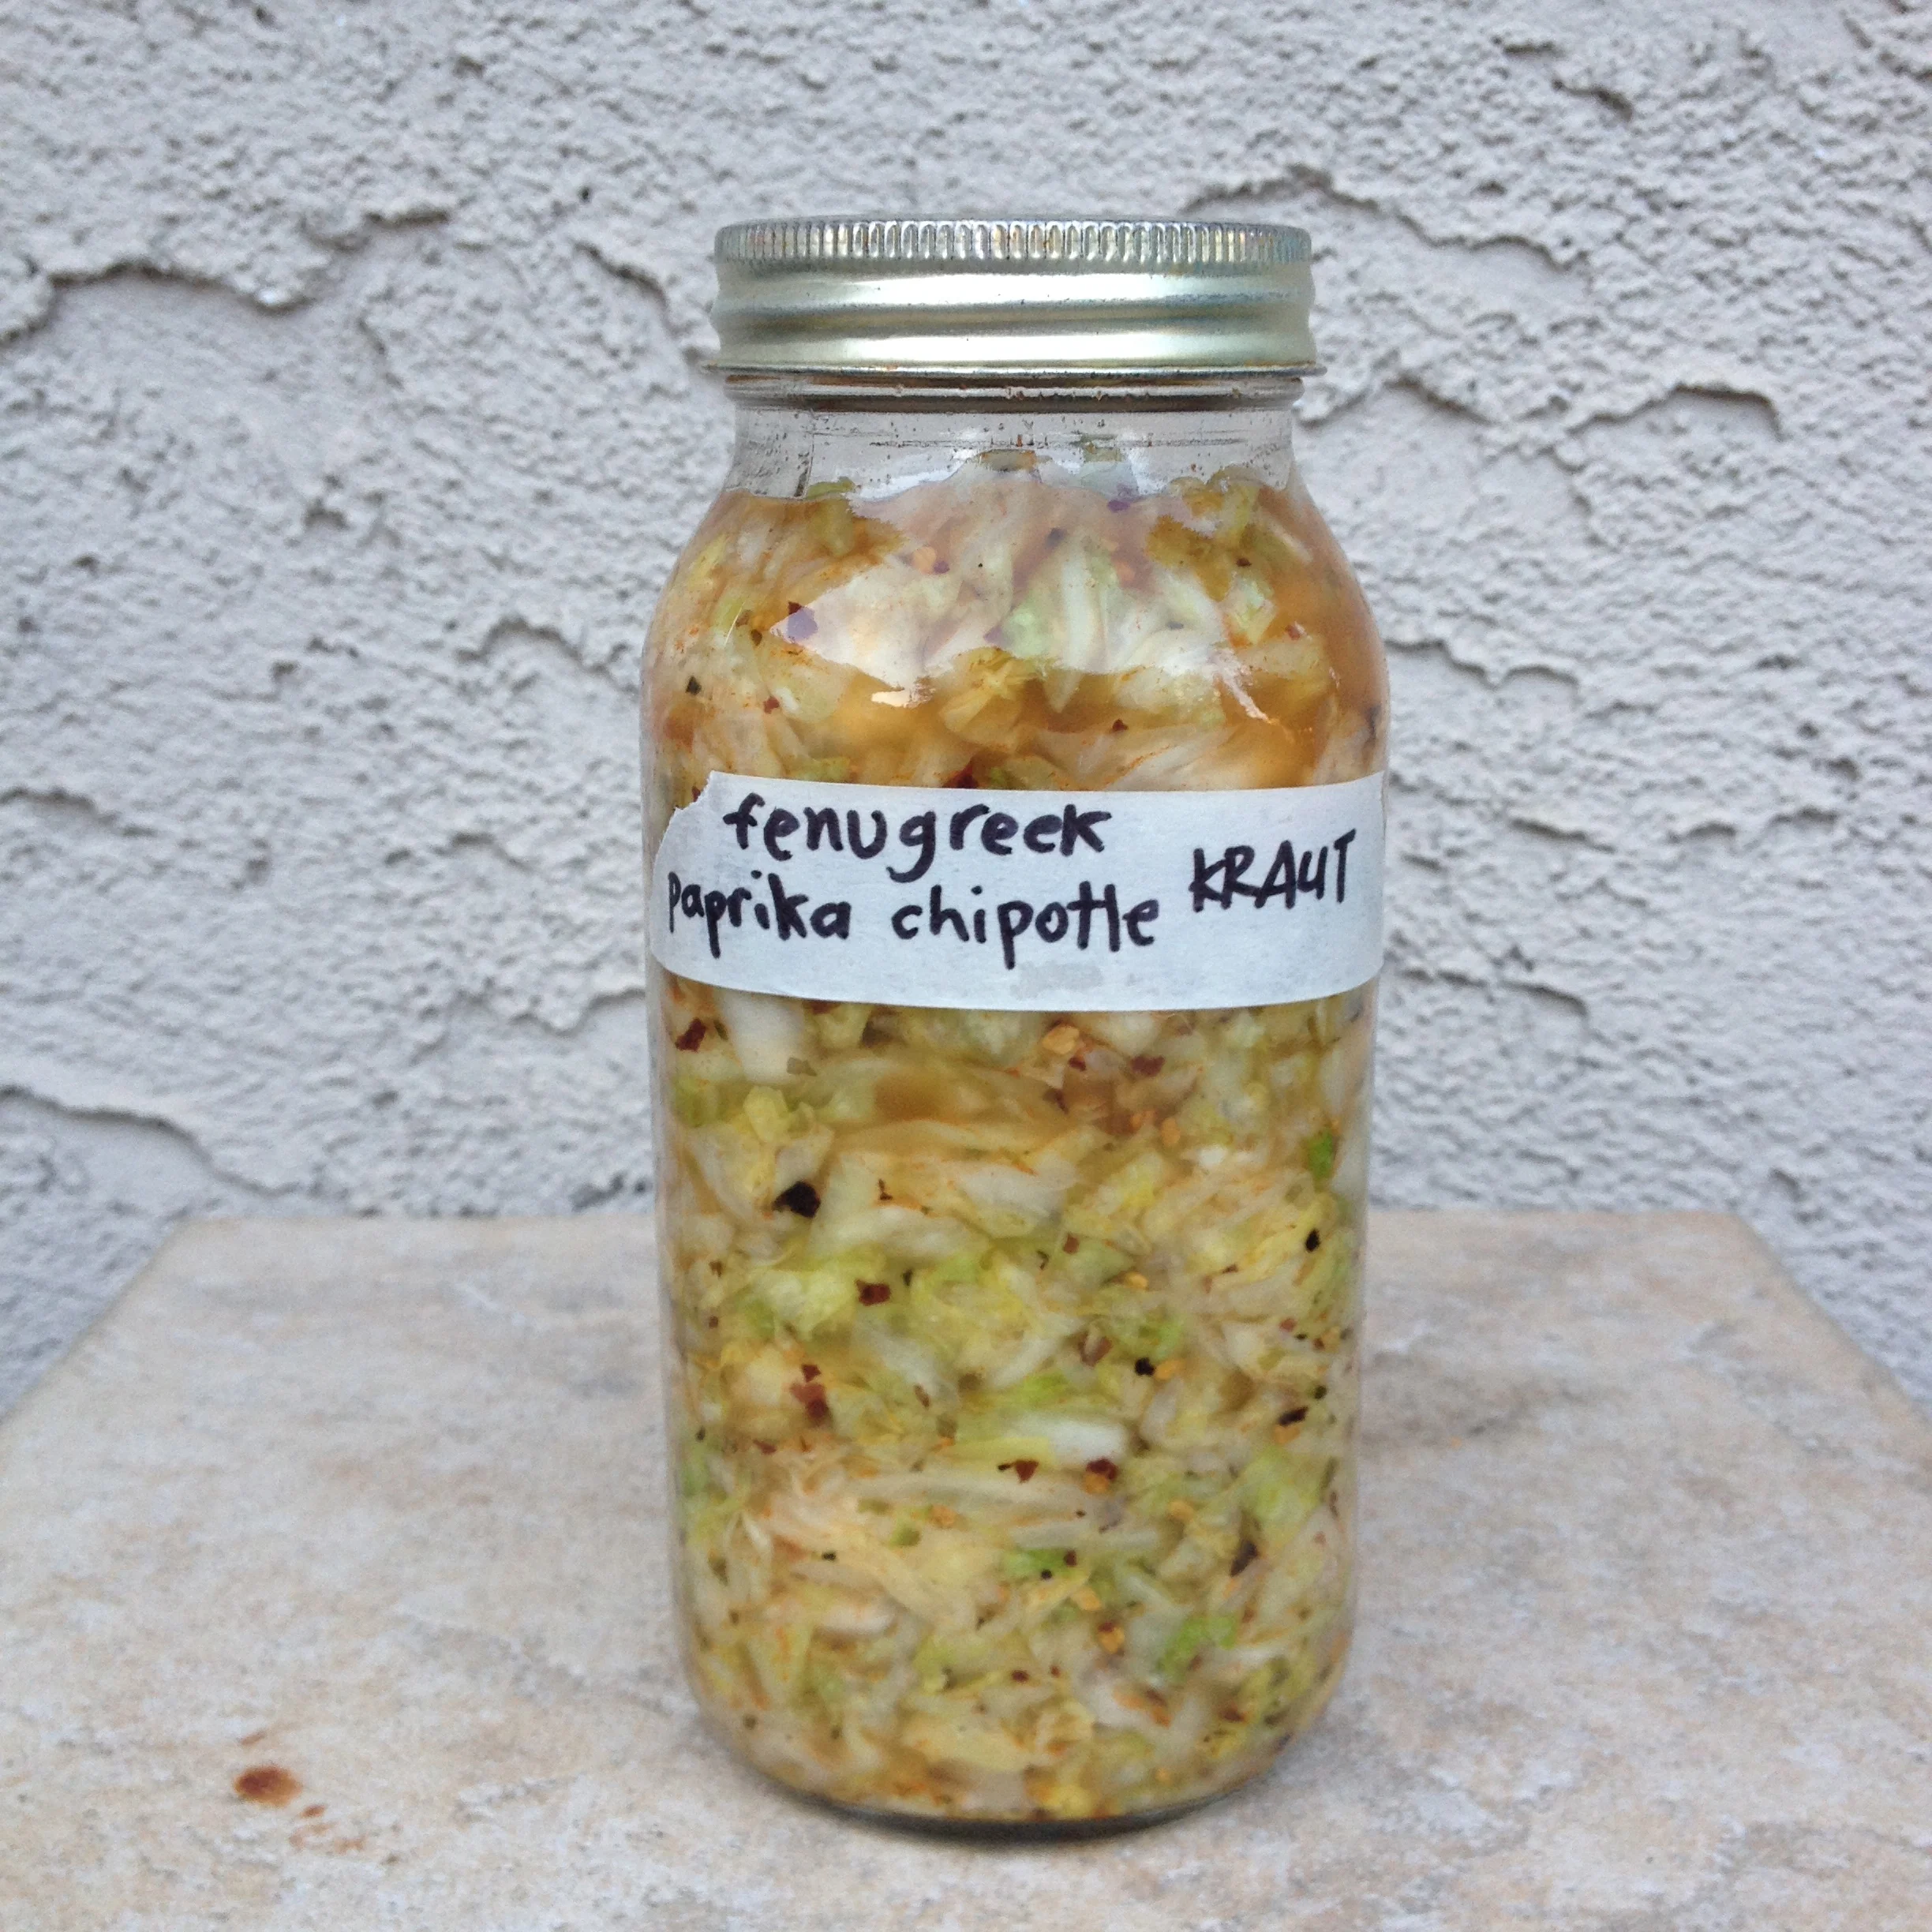
In this evening's ferment, I decided to flavour this batch up a bit differently, and went with fenugreek, as it lives on my shelf but I don't use it all that often. I added 2 tsp fenugreek, 1 tsp paprika, 1 tsp of shredded seaweed and two dried chipotle peppers. Once you have all of your ingredients mixed in, start filling a clean, dry glass jar up with the mixture, really packing it in in order to get rid of the oxygen between layers. I use a mint muddler to jam it in the jar, but you can use the back of a wooden spoon or a small pounder if you got it. You will be leaving an inch and a half below the neck of the jar: this added space at the top will allow the kraut to expand as it ferments. It is imperative here to make sure your cabbage is completely submerged in the brine that has come out during your mashing stage. The brine creates that anaerobic environment that is necessary for proper fermentation to take place; if you find your cabbage isn't completely submerged, you can tuck a leaf of cabbage on top as the 'lid' to the ferment; you can also make sure that you tip your jar upside-down at least once a day to redistribute the cabbage back into the juices. As the fermentation process continues, the oxygen in the jar will eventually get crowded out by the carbon dioxide produced by the good bugs, rendering it anaerobic.
Put your lid on tight at this point, and you can tuck it in your pantry or in a warm room away from direct light from the sun. You can leave it to ferment anywhere from 3 days to a few months, depending on your taste buds. The longer it ferments, the more sour it gets, the less salty it becomes.
Once a day, you will be very quickly 'burping' your jar to let those accumulated gases escape by unscrewing the lid just briefly, and tightening it right up. It will be quite active those first few weeks on the counter, slowing down the gas buildup along the way. When the kraut has fermented to your liking, you may now tuck it in the fridge where it will keep for months, slowly developing more sour notes as time goes on.
If you want more support for your fermentation forays, there are plenty of online tutorials that could be of service; you should also know that I lead fermenting workshops in Calgary and sometimes give presentations and demonstrations on the benefits of fermenting. Make sure you sign up for my newsletter to get the ongoing details! If you're in and around southern Alberta, know that there is a Fermentation Festival taking place mid-October in which I will be participating, including leading a workshop at the Light Cellar in how to make beet kvass following the weekend festival. Make your way to The Light Cellar's page to get the full info on the fermentation festival; the inimitable Sandor Katz will be speaking on the benefits and cultural aspects of fermentation. I will be the gleeful and shy person standing in the corner with my apron on, working one of the booths at the festival. Hope to see you there!
Now go play with your food!
A MONTH OF PUTTING UP THE HARVEST - Day 19
On the weekend, I had the good fortune of a large vehicle with lots of loading potential (read: fresh fruit and veggie haul). I spent the weekend in the Shuswap, running away from the frost threat in Calgary and visiting family, hanging by the beach, and visiting my favourite local fruit stands in search of a good deal. So haul I did. I brought back 80 pounds of roma tomatoes, 10 pounds of organic peaches, 5 pounds of locally grown blueberries, a few bundles of locally grown organic beets, a carton of fresh plums, some this-year's-apples and many-a-bag of fresh basil. That was just my order, never mind a few friends' that went in to the back of my red van.
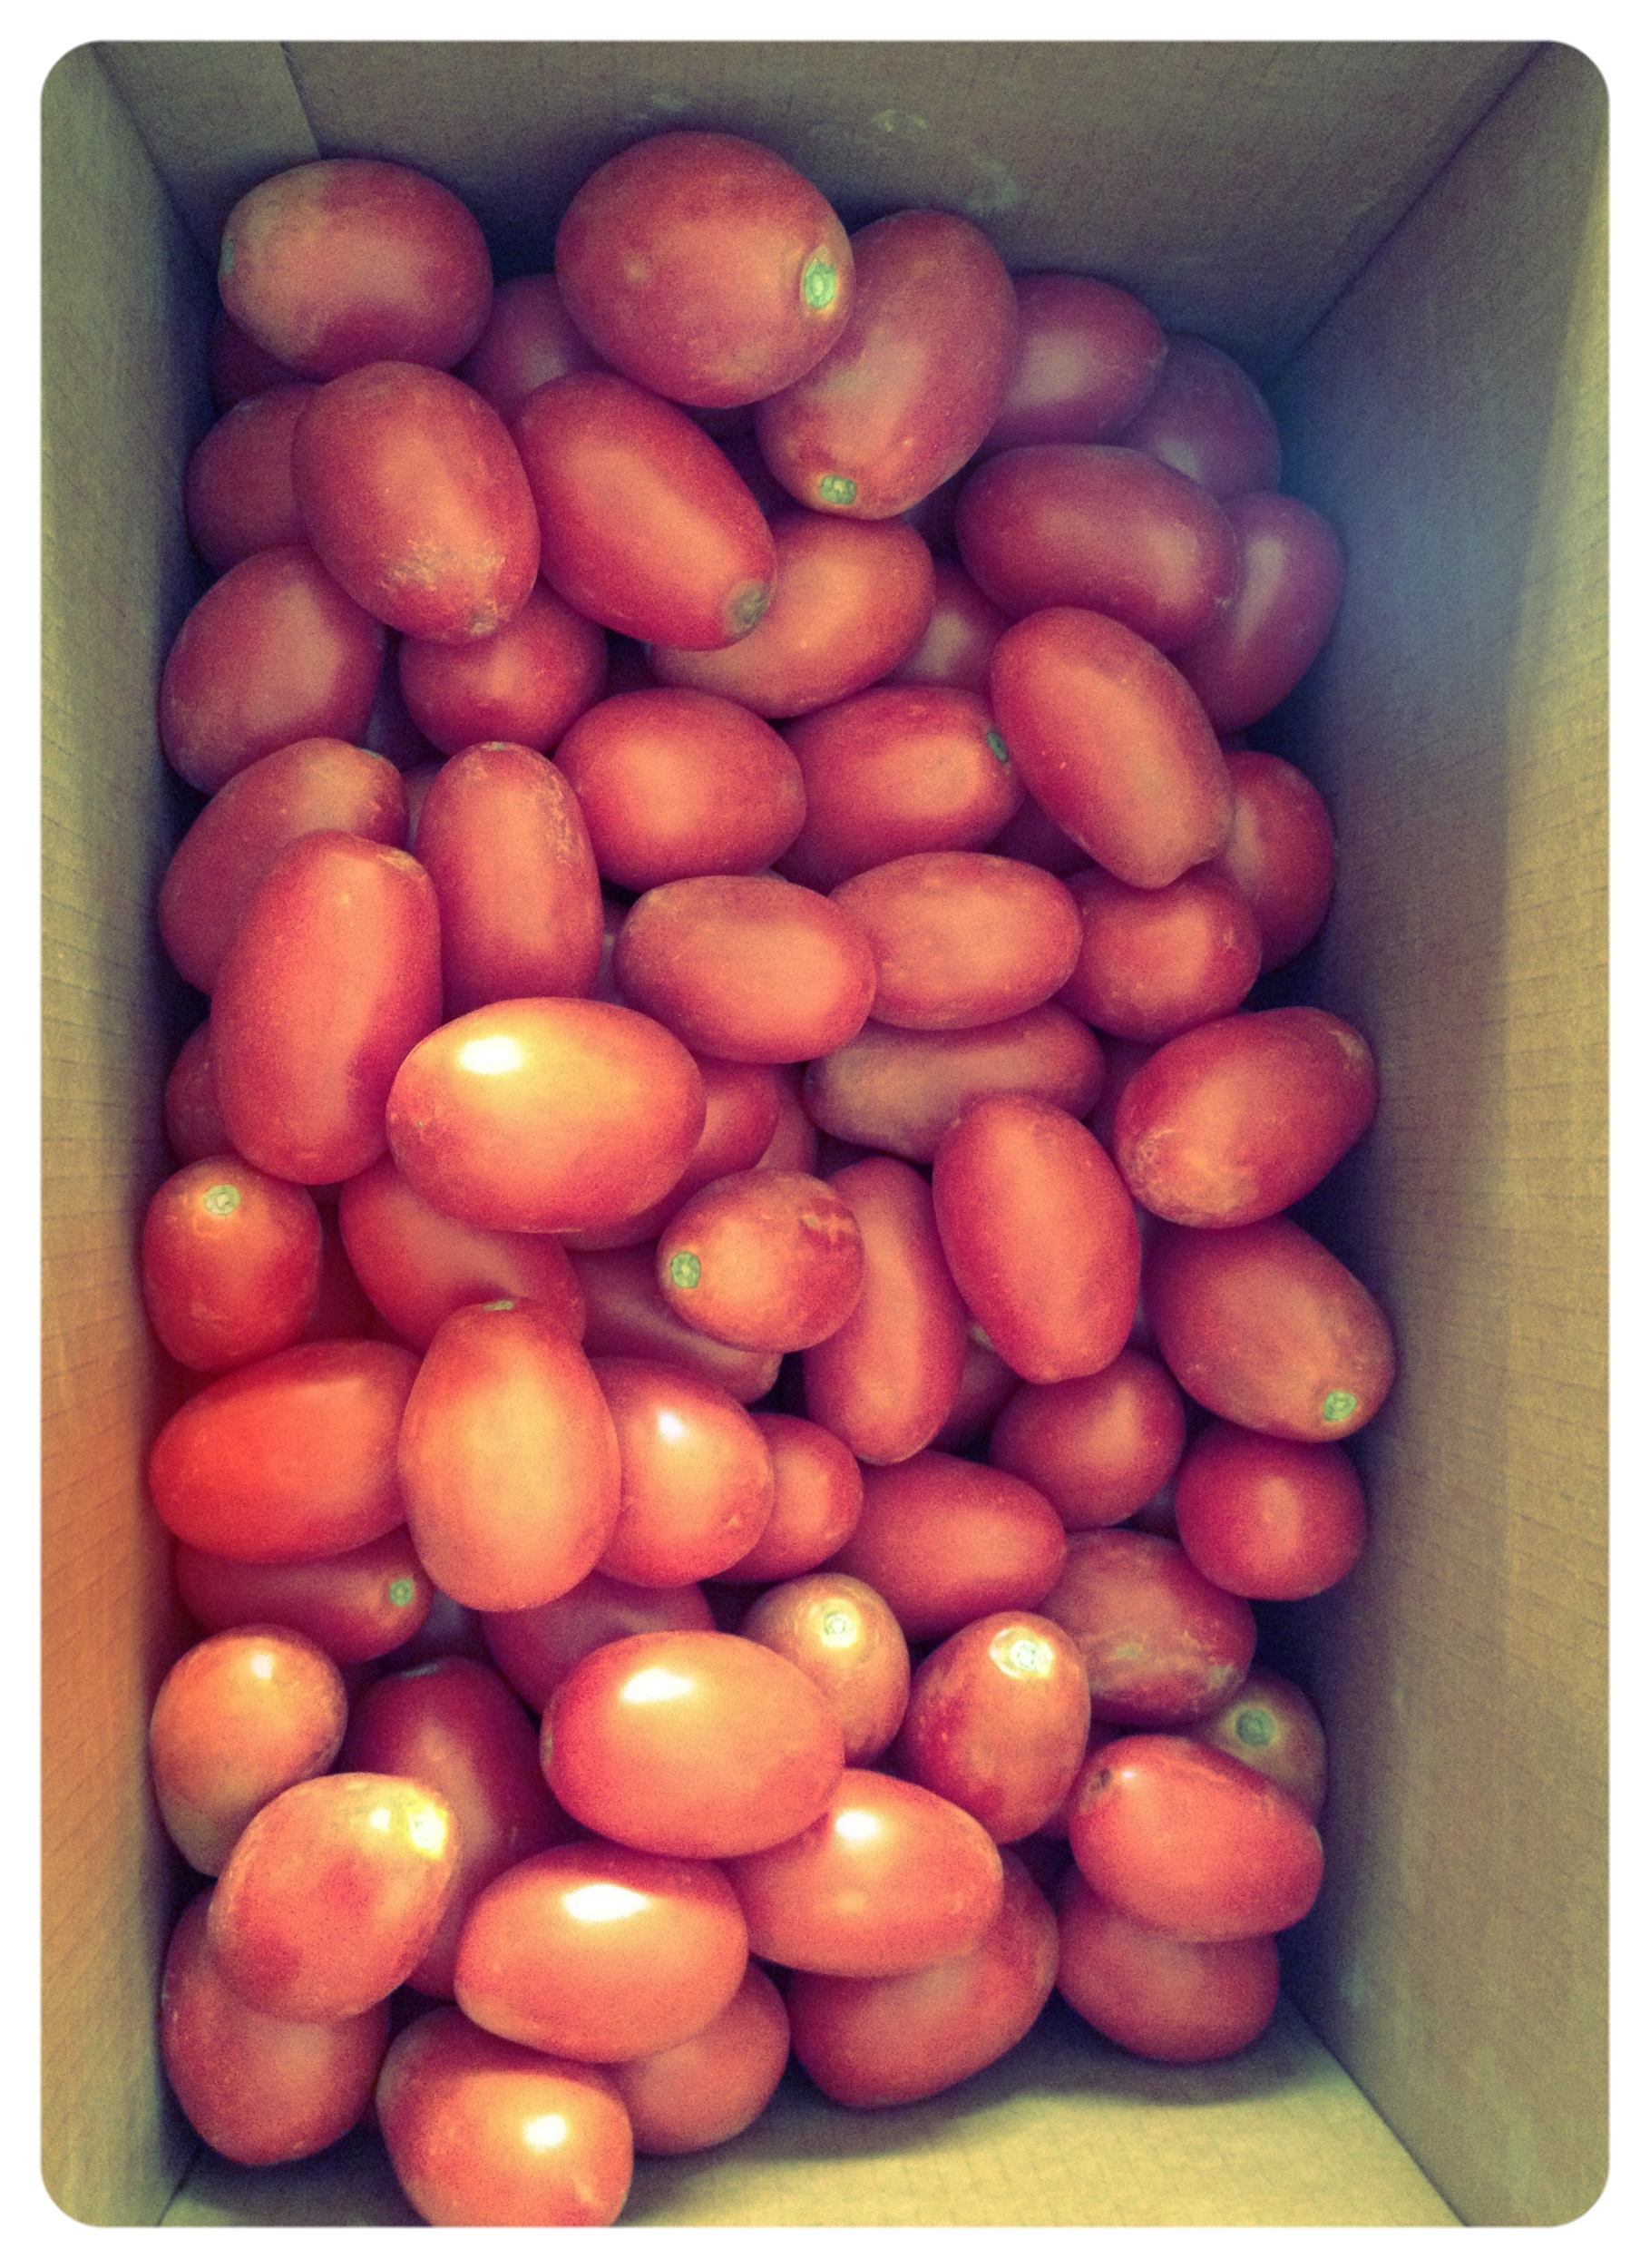
What to do, what to do. I love tomatoes. #harvest2015
On the weekend, I had the good fortune of a large vehicle with lots of loading potential (read: fresh fruit and veggie haul). I spent the weekend in the Shuswap, running away from the frost threat in Calgary and visiting family, hanging by the beach, and visiting my favourite local fruit stands in search of a good deal. So haul I did. I brought back 80 pounds of roma tomatoes, 10 pounds of organic peaches, 5 pounds of locally grown blueberries, a few bundles of locally grown organic beets, a carton of fresh plums, some this-year's-apples and many-a-bag of fresh basil. That was just my order, never mind a few friends' that went in to the back of my red van.
So while many of my tasks in the coming days involve putting up as I already have this month (let's call it round two for frozen blueberries), I am busying myself with more tomato projects. May I introduce you to the most delicious, unequivocally easiest sauce you will ever make: the pizza sauce.
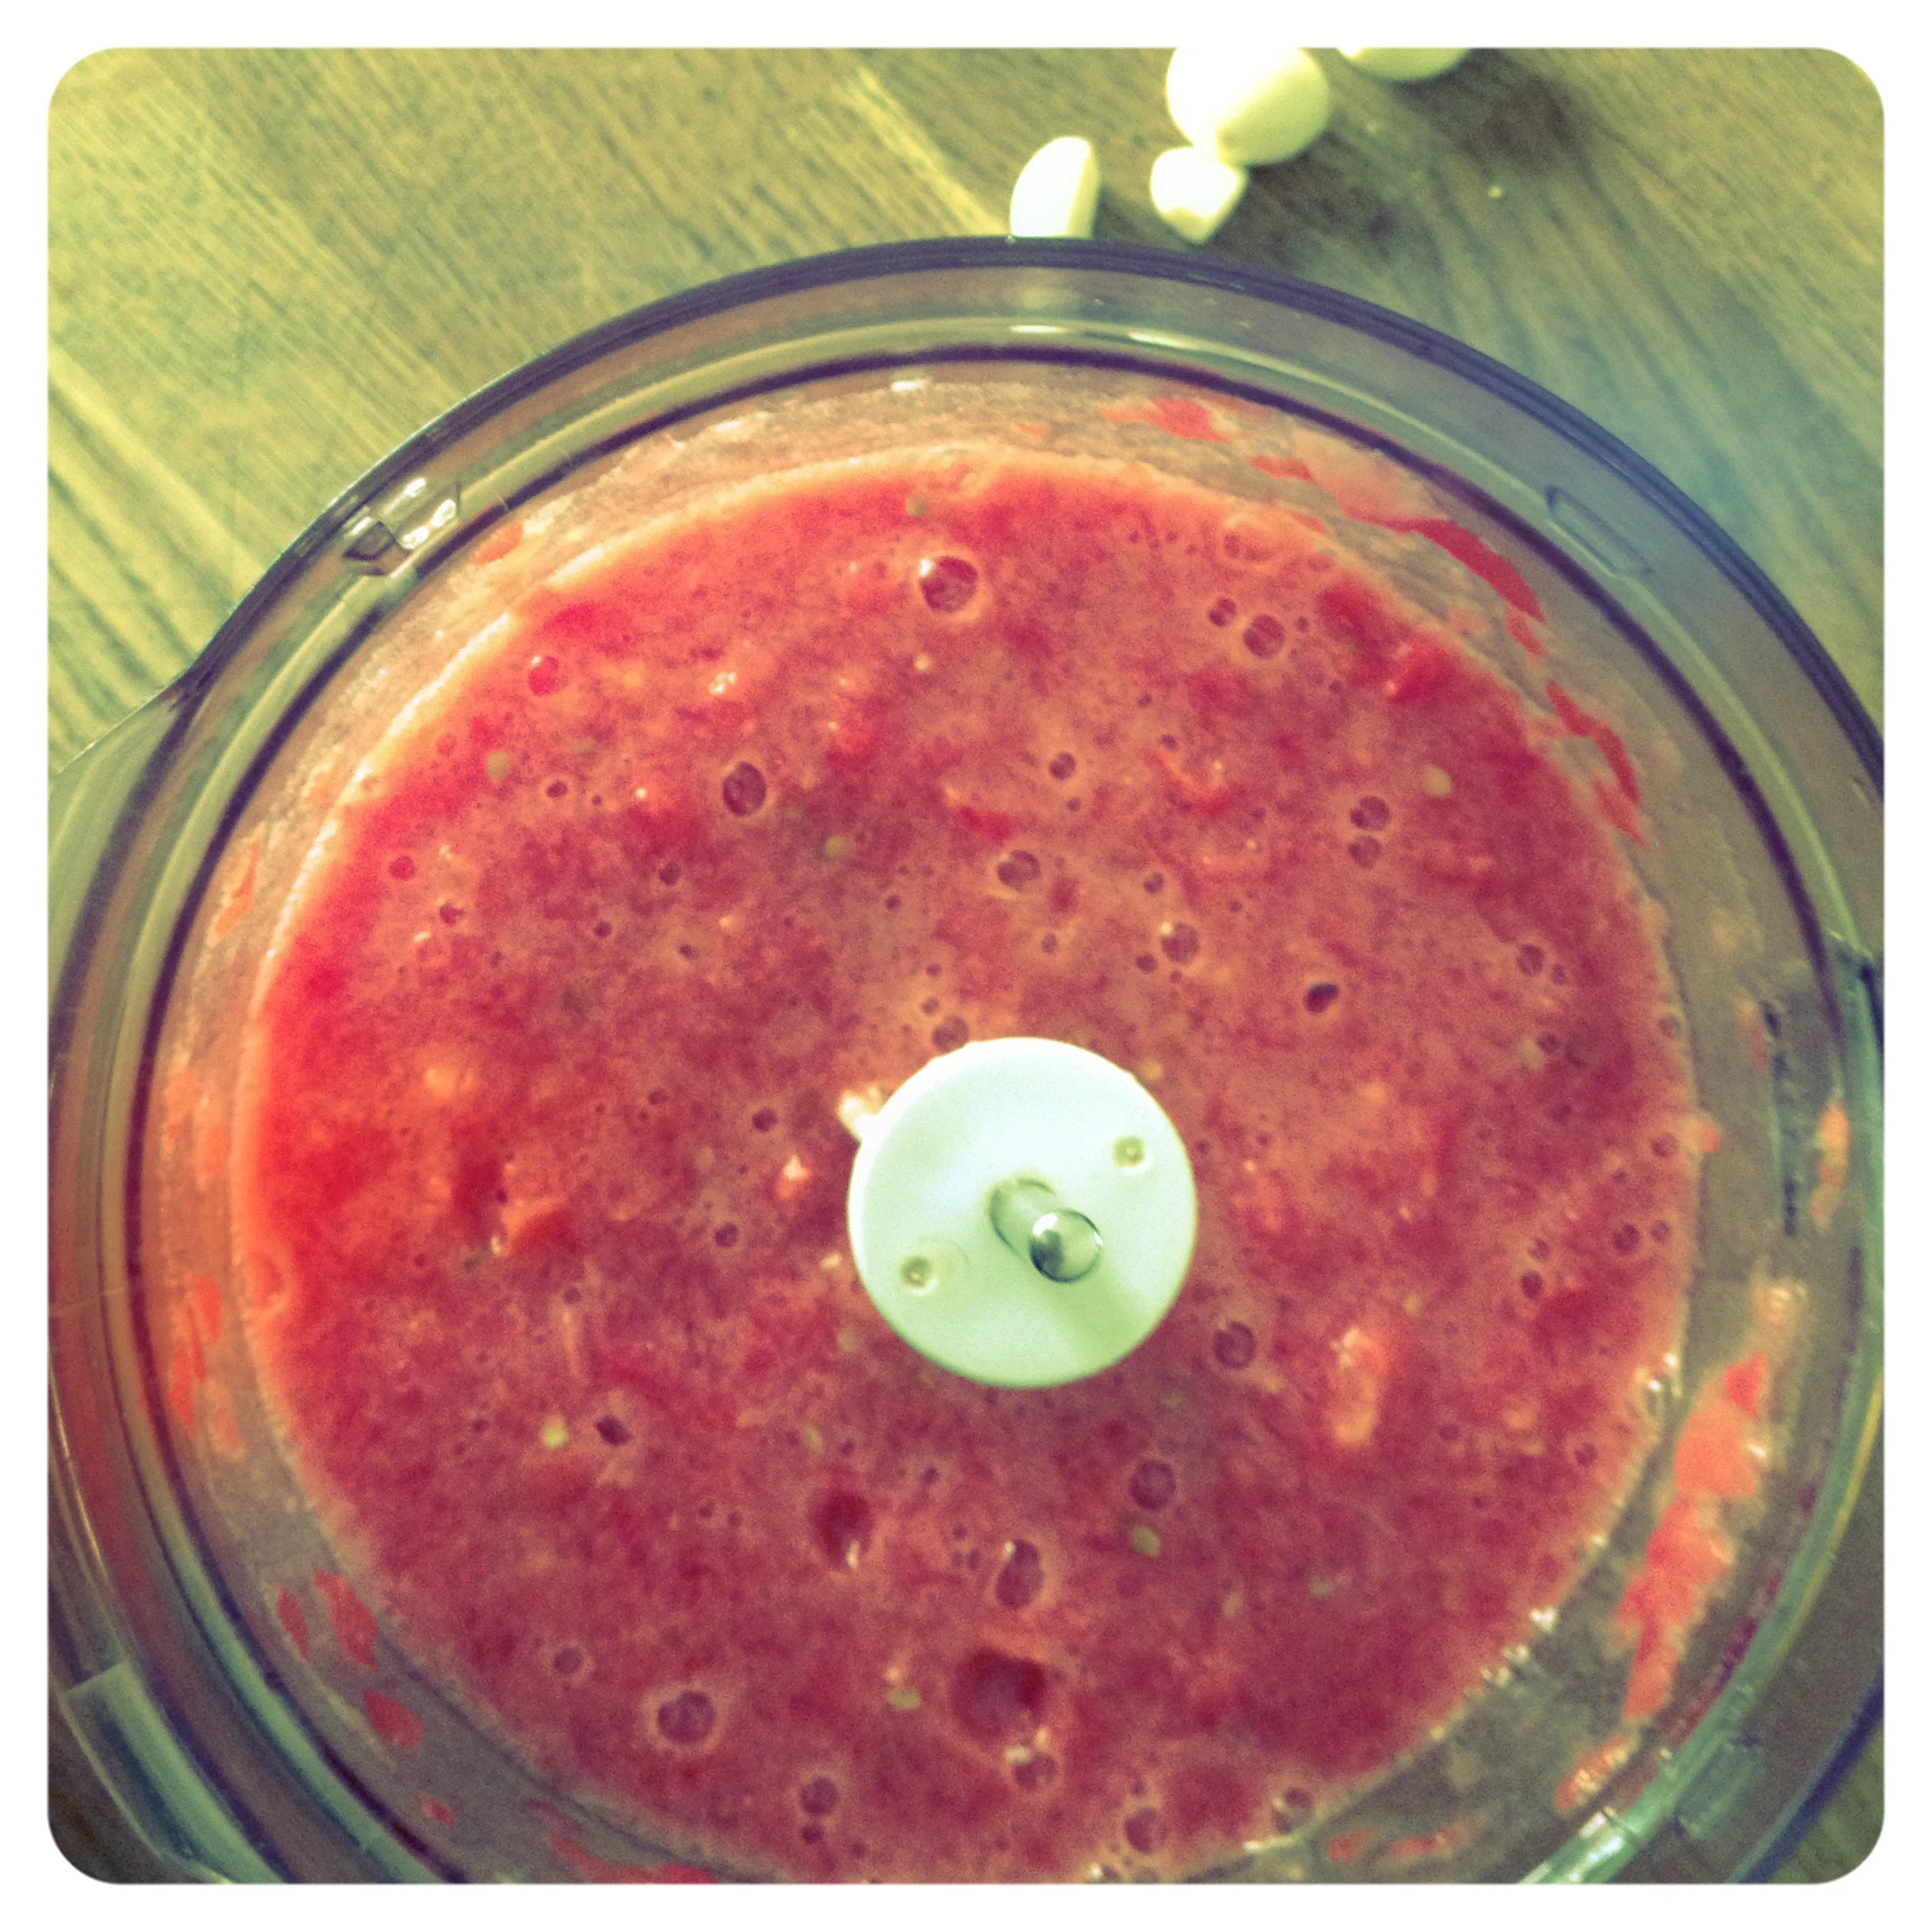
The mixer, my kitchen's workhorse since 1997. #harvest2015
Amongst other things this week, I am putting up an octupled version (yeah I did) of the quick and easy pizza sauce, which I broke out into two big batches. For each batch, I washed about 28-30 roma tomatoes, and threw them in my mixer along with about 9-10 garlic cloves, and blitzed them to high heavens. I did not take off any stems nor did I peel the skins, because have we not figured this out yet? I'm as lazy as they come. To this mash, I added four teaspoons of dried oregano and some dried chili peppers, along with some sea salt and cracked pepper.
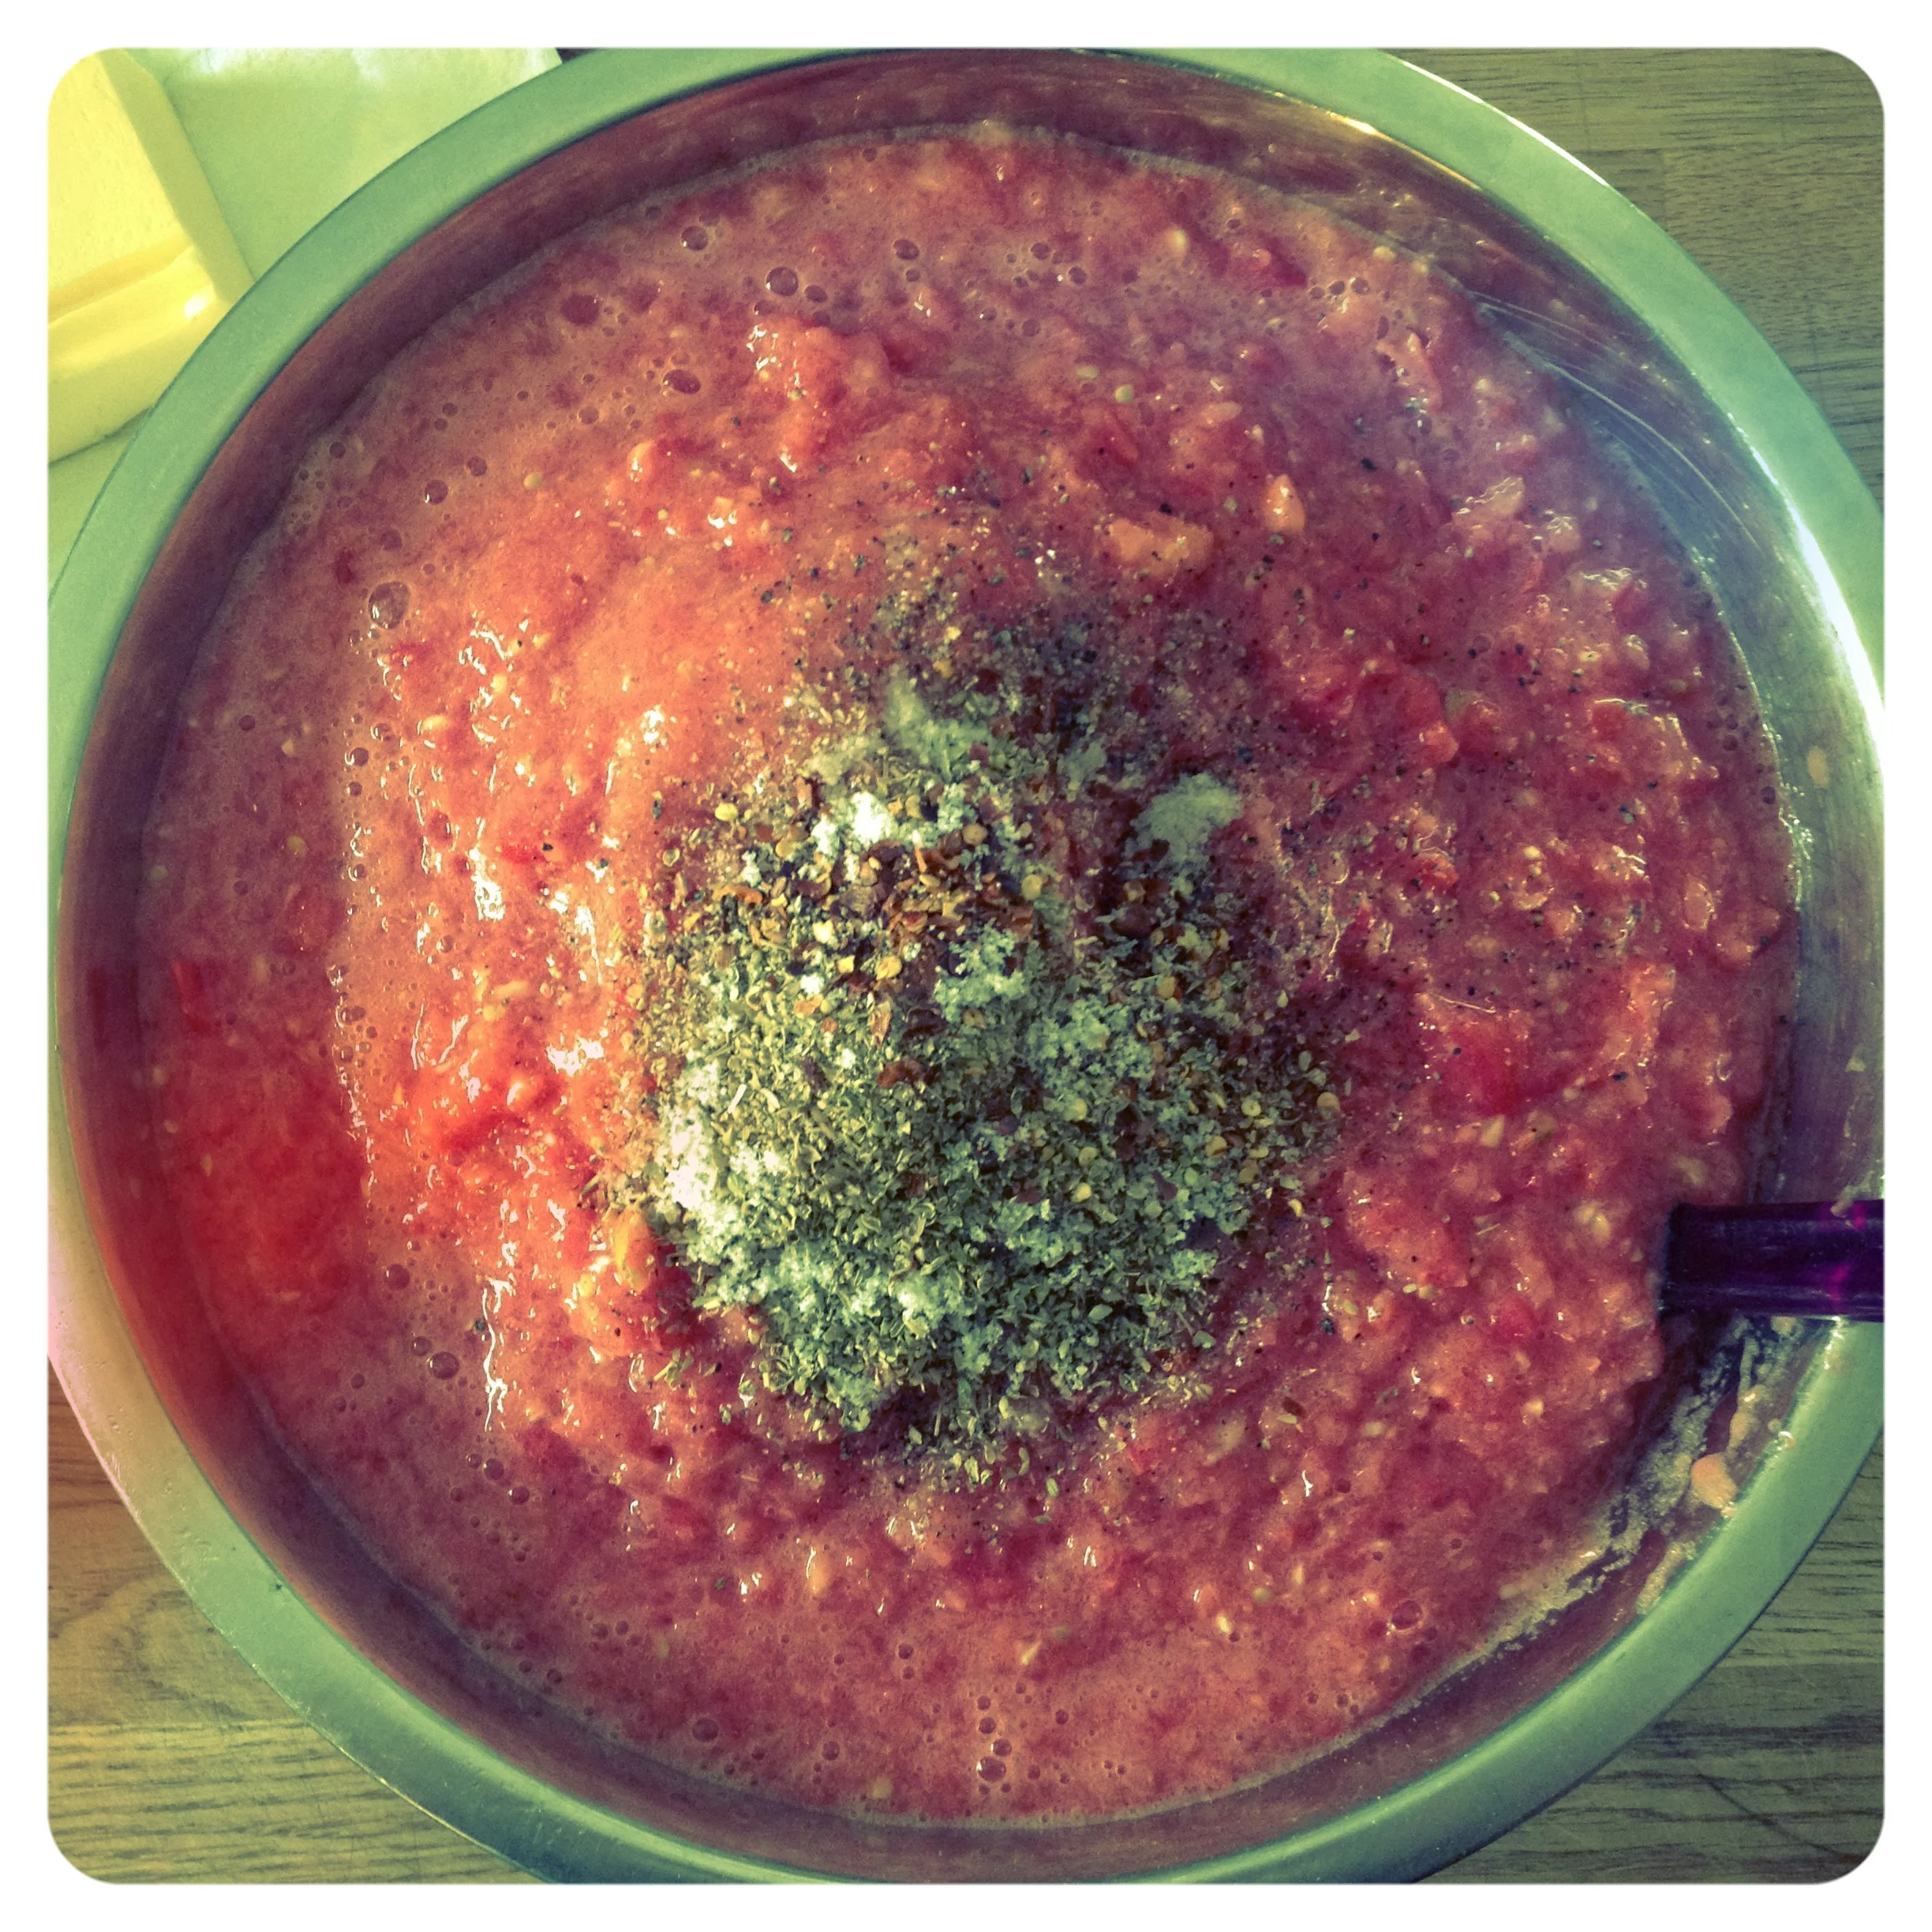
Chopped tomatoes, garlic, oregano, hot peppers, S+P. Coming to a pizza near you. #harvest2015
The trick to this sauce's deliciousness factor (yes, it's a word) (I'm writing this with my sister reading over my shoulder. Bear with me.). Yes, the trick to this sauce's deliciousness factor is to preheat the biggest pot you've got on high heat with nothing in it; the high heat will facilitate the caramelization of those tomatoes, morphing them into saucy goodness. You will want to drop your butter in the pan only a few moments before you will add the tomatoes and herbs to the mix, so make sure you have everything done and ready to go.
Once your pan is smoking hot, drop in about 4 or 5 tablespoons of butter, let it melt (it will turn brown, it's ok) and when it's done melting, throw in your tomatoes/garlic/oregano/chilis/S+P, mixing soon after adding in. Make sure to give your pot a stir every minute or so as it heats up, to make sure the bottom tomatoes don't get too scorched. Keep the high heat high to caramelize the tomatoes. Once your sauce is going at a hard simmer, keep mixing and put the timer on for 12-14 minutes, still on high. Towards the end of cooking, taste the sauce and adjust your flavours (salt to make it taste stronger, a bit of brown sugar or honey to mellow out a particularly acidic sauce). When your sauce is glossy on top and has a sheen to it, that is when you know the pot is ready to take off the stovetop. Taste it at different spots along the timer too, to get to know how it changes in flavours.
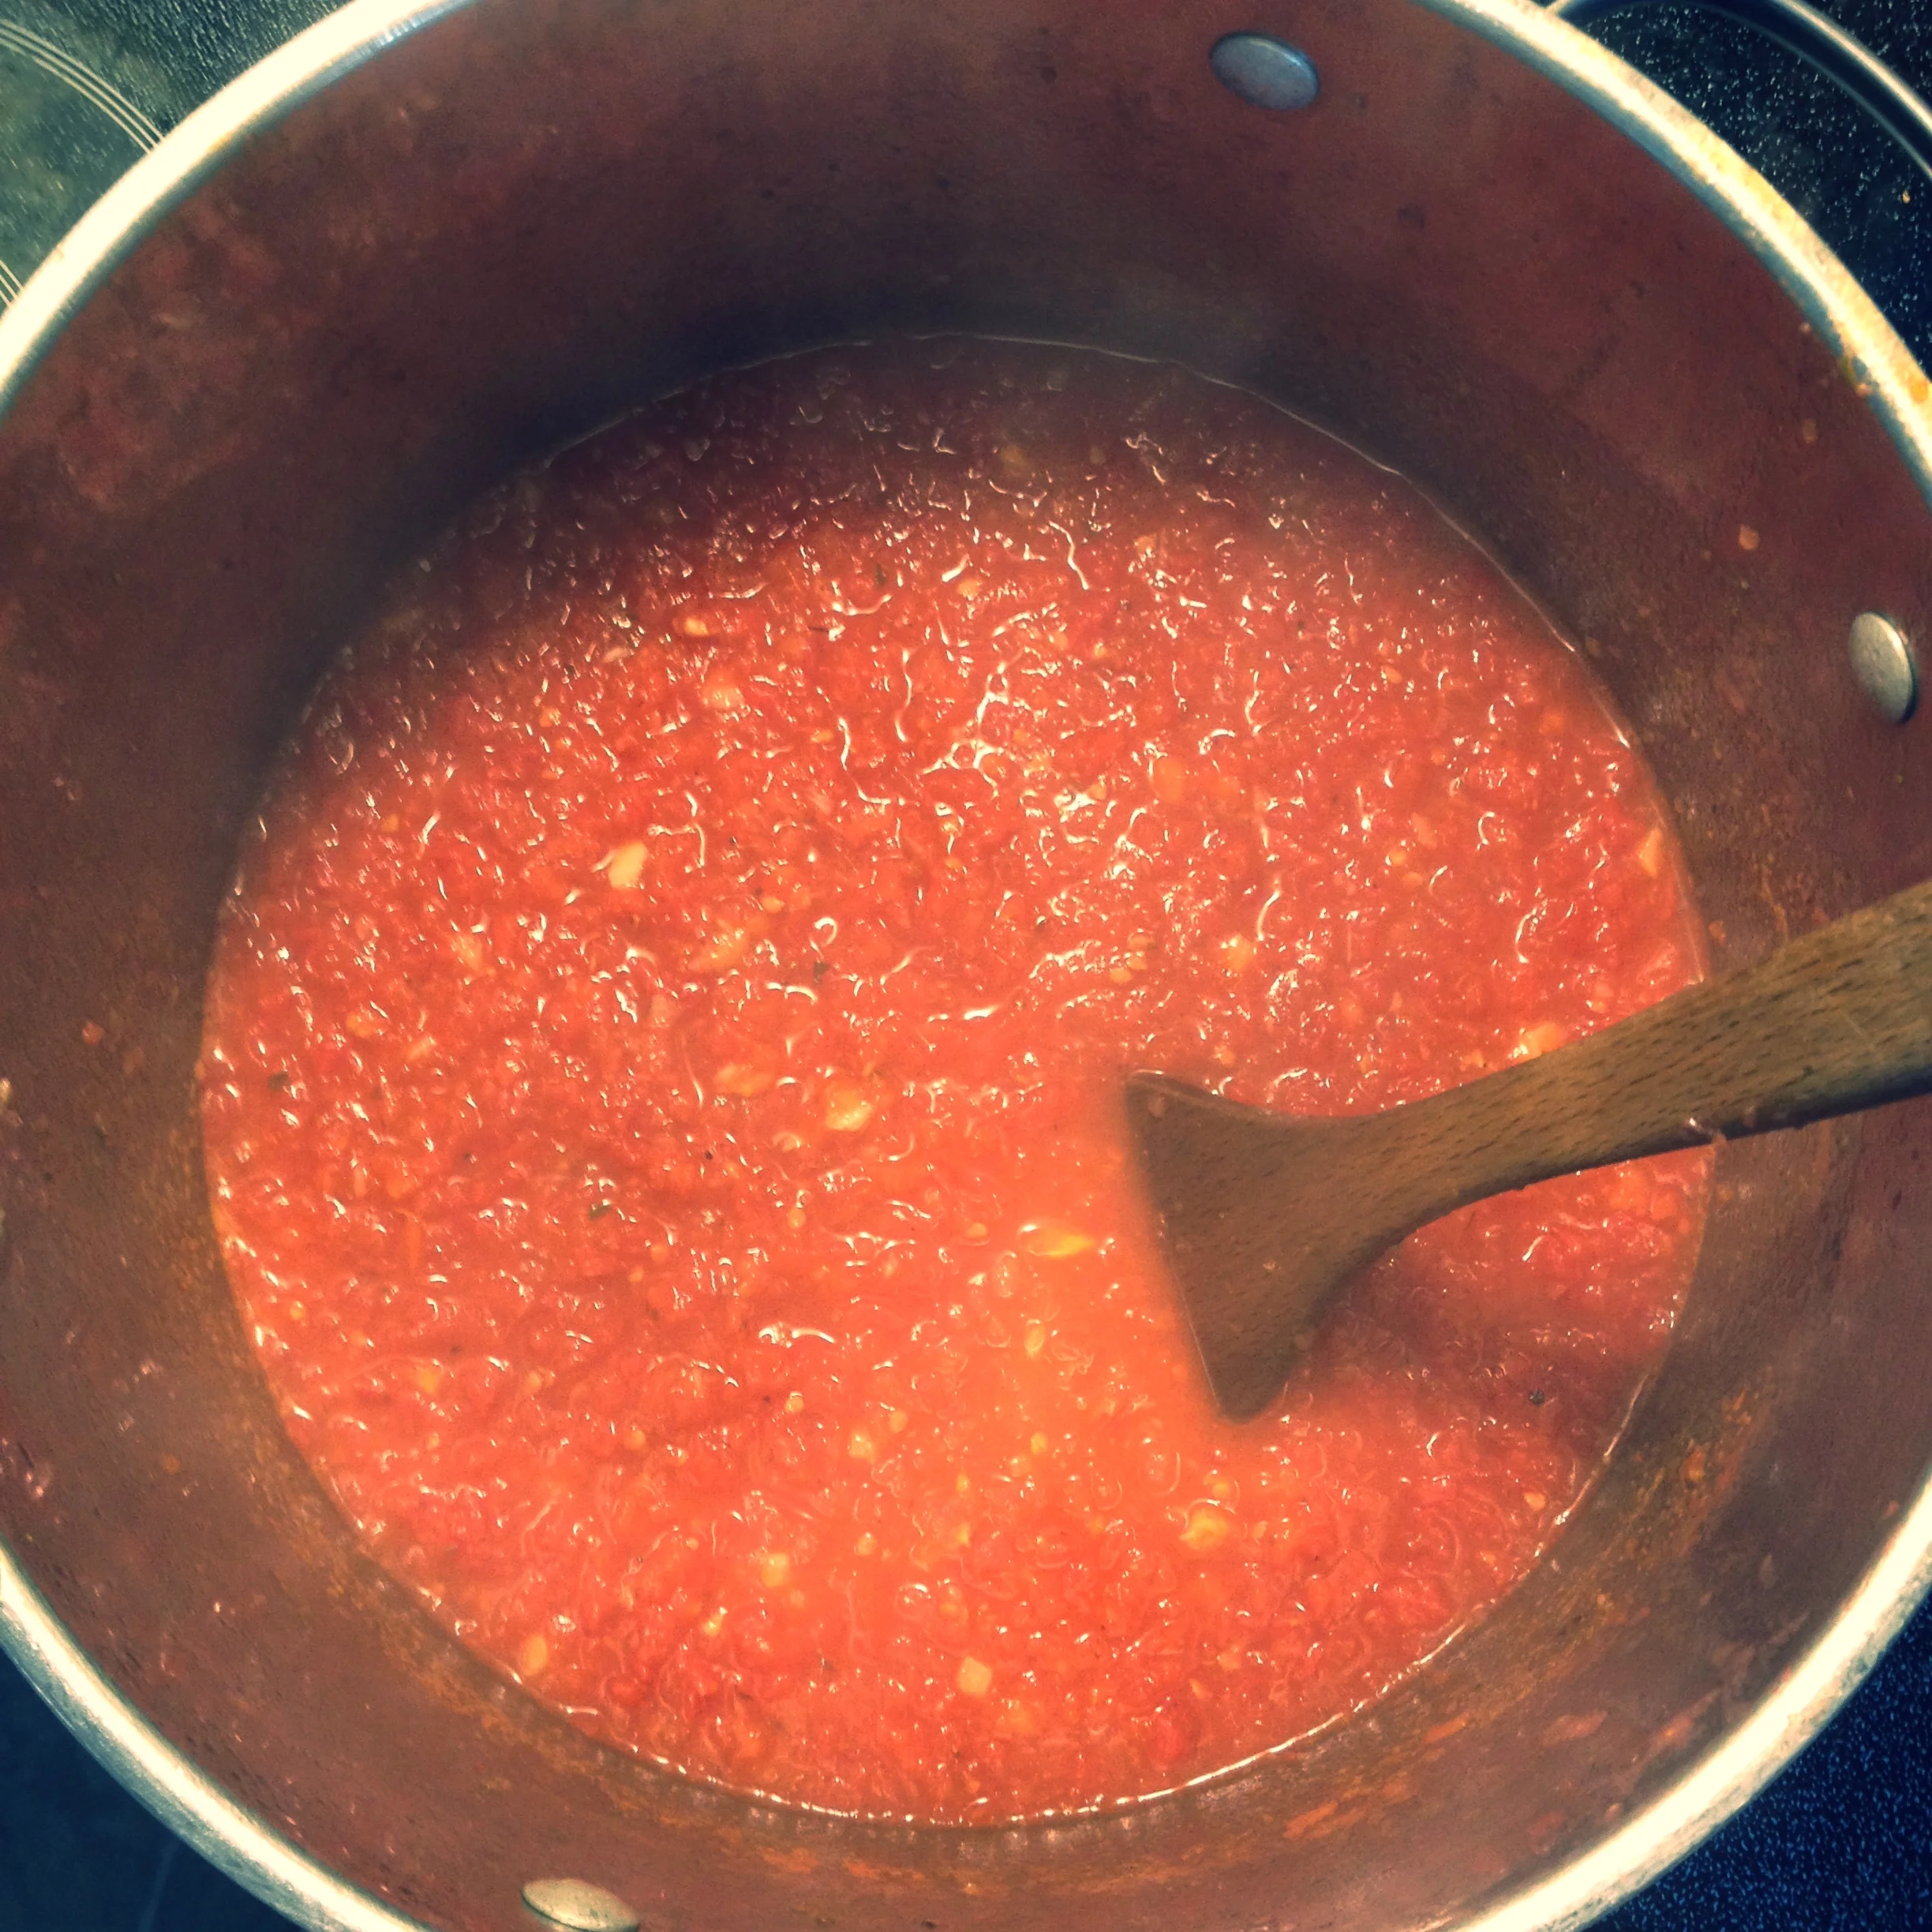
Pizza sauce with gloss making a spluttery mess, ready for the close-up. #harvest2015
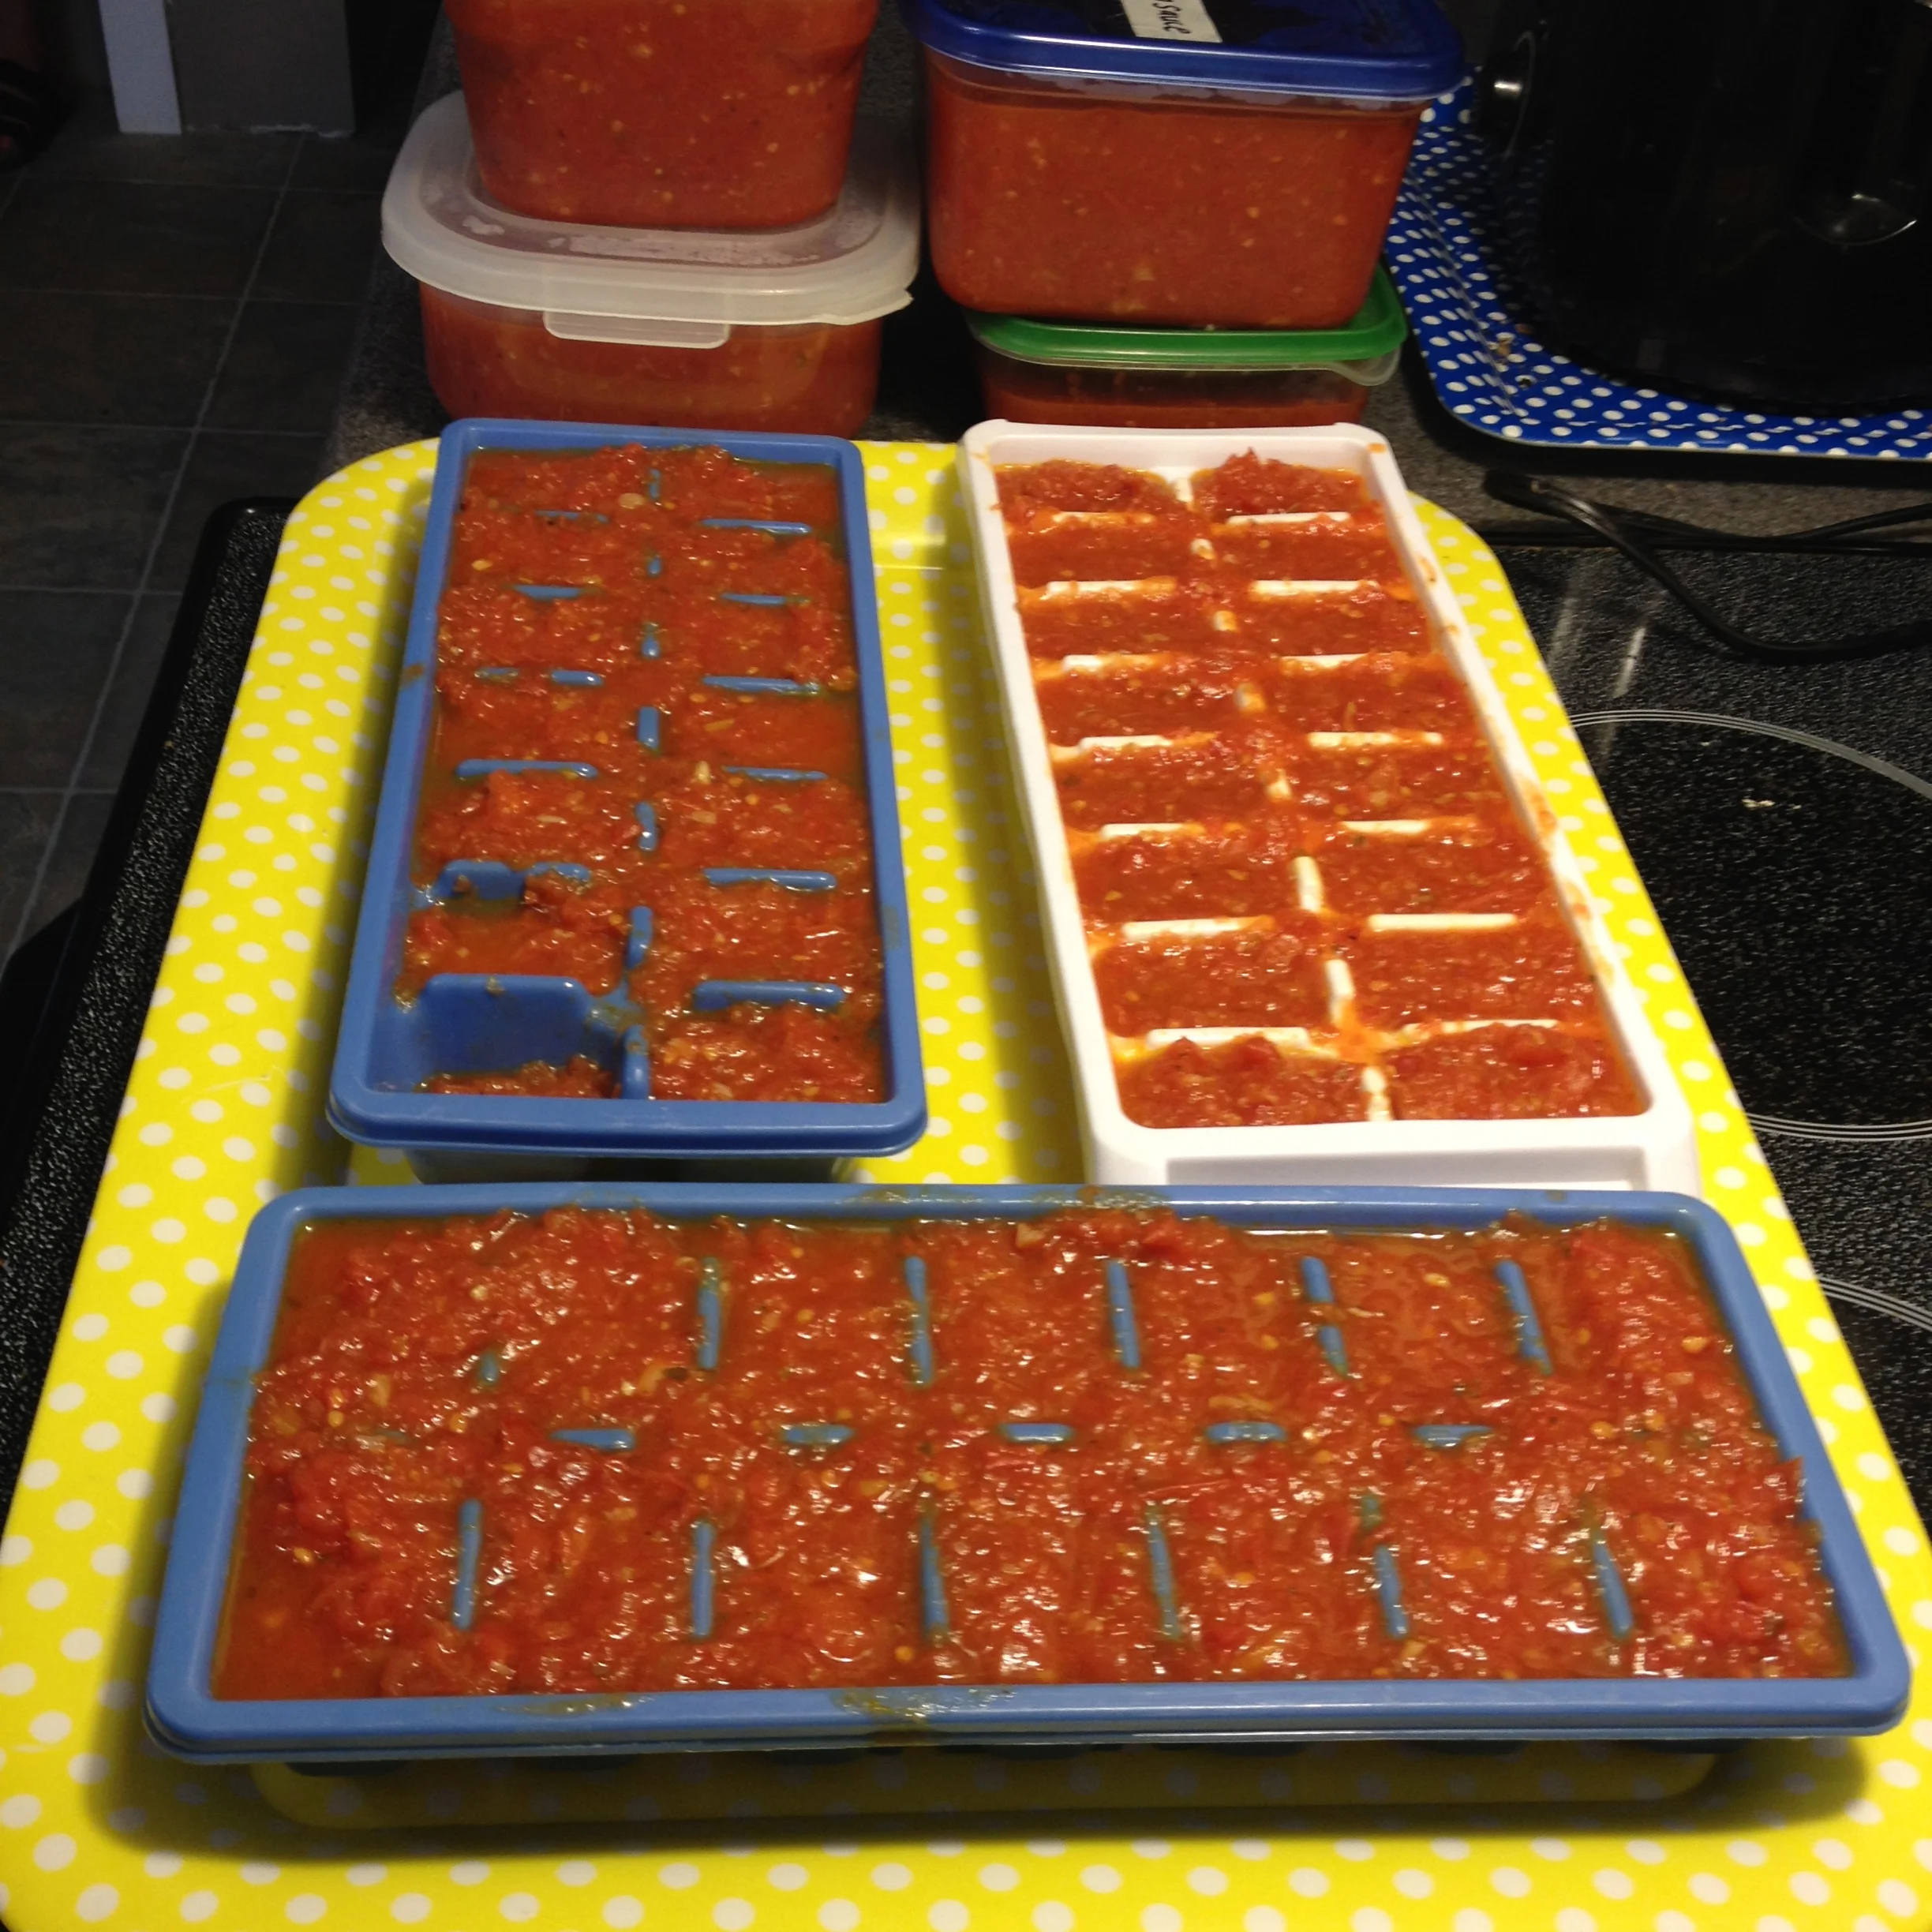
I then went on to make that second quadruple batch making it officially octupled, with the same list of ingredients prepared the same way, and I have enough pizza sauce to last me the next year. Truth be told, I use this sauce as a pasta sauce or like I did for tonight's dinner, as a base along with some balsamic, rosemary, bay leaf, red wine, wild mushrooms and leftover pulled beef I had in my freezer. I like to package in containers to the freezer, but also drop some sauce in ice cube trays and pop in the freezer for a few days, so that I may keep a stash of ready-to-defrost cubes of sauce for those lazy end-of-hectic-week Friday night dinners, or for mornings where I need to whip something up lightning fast to send for lunch with my girlie to school.
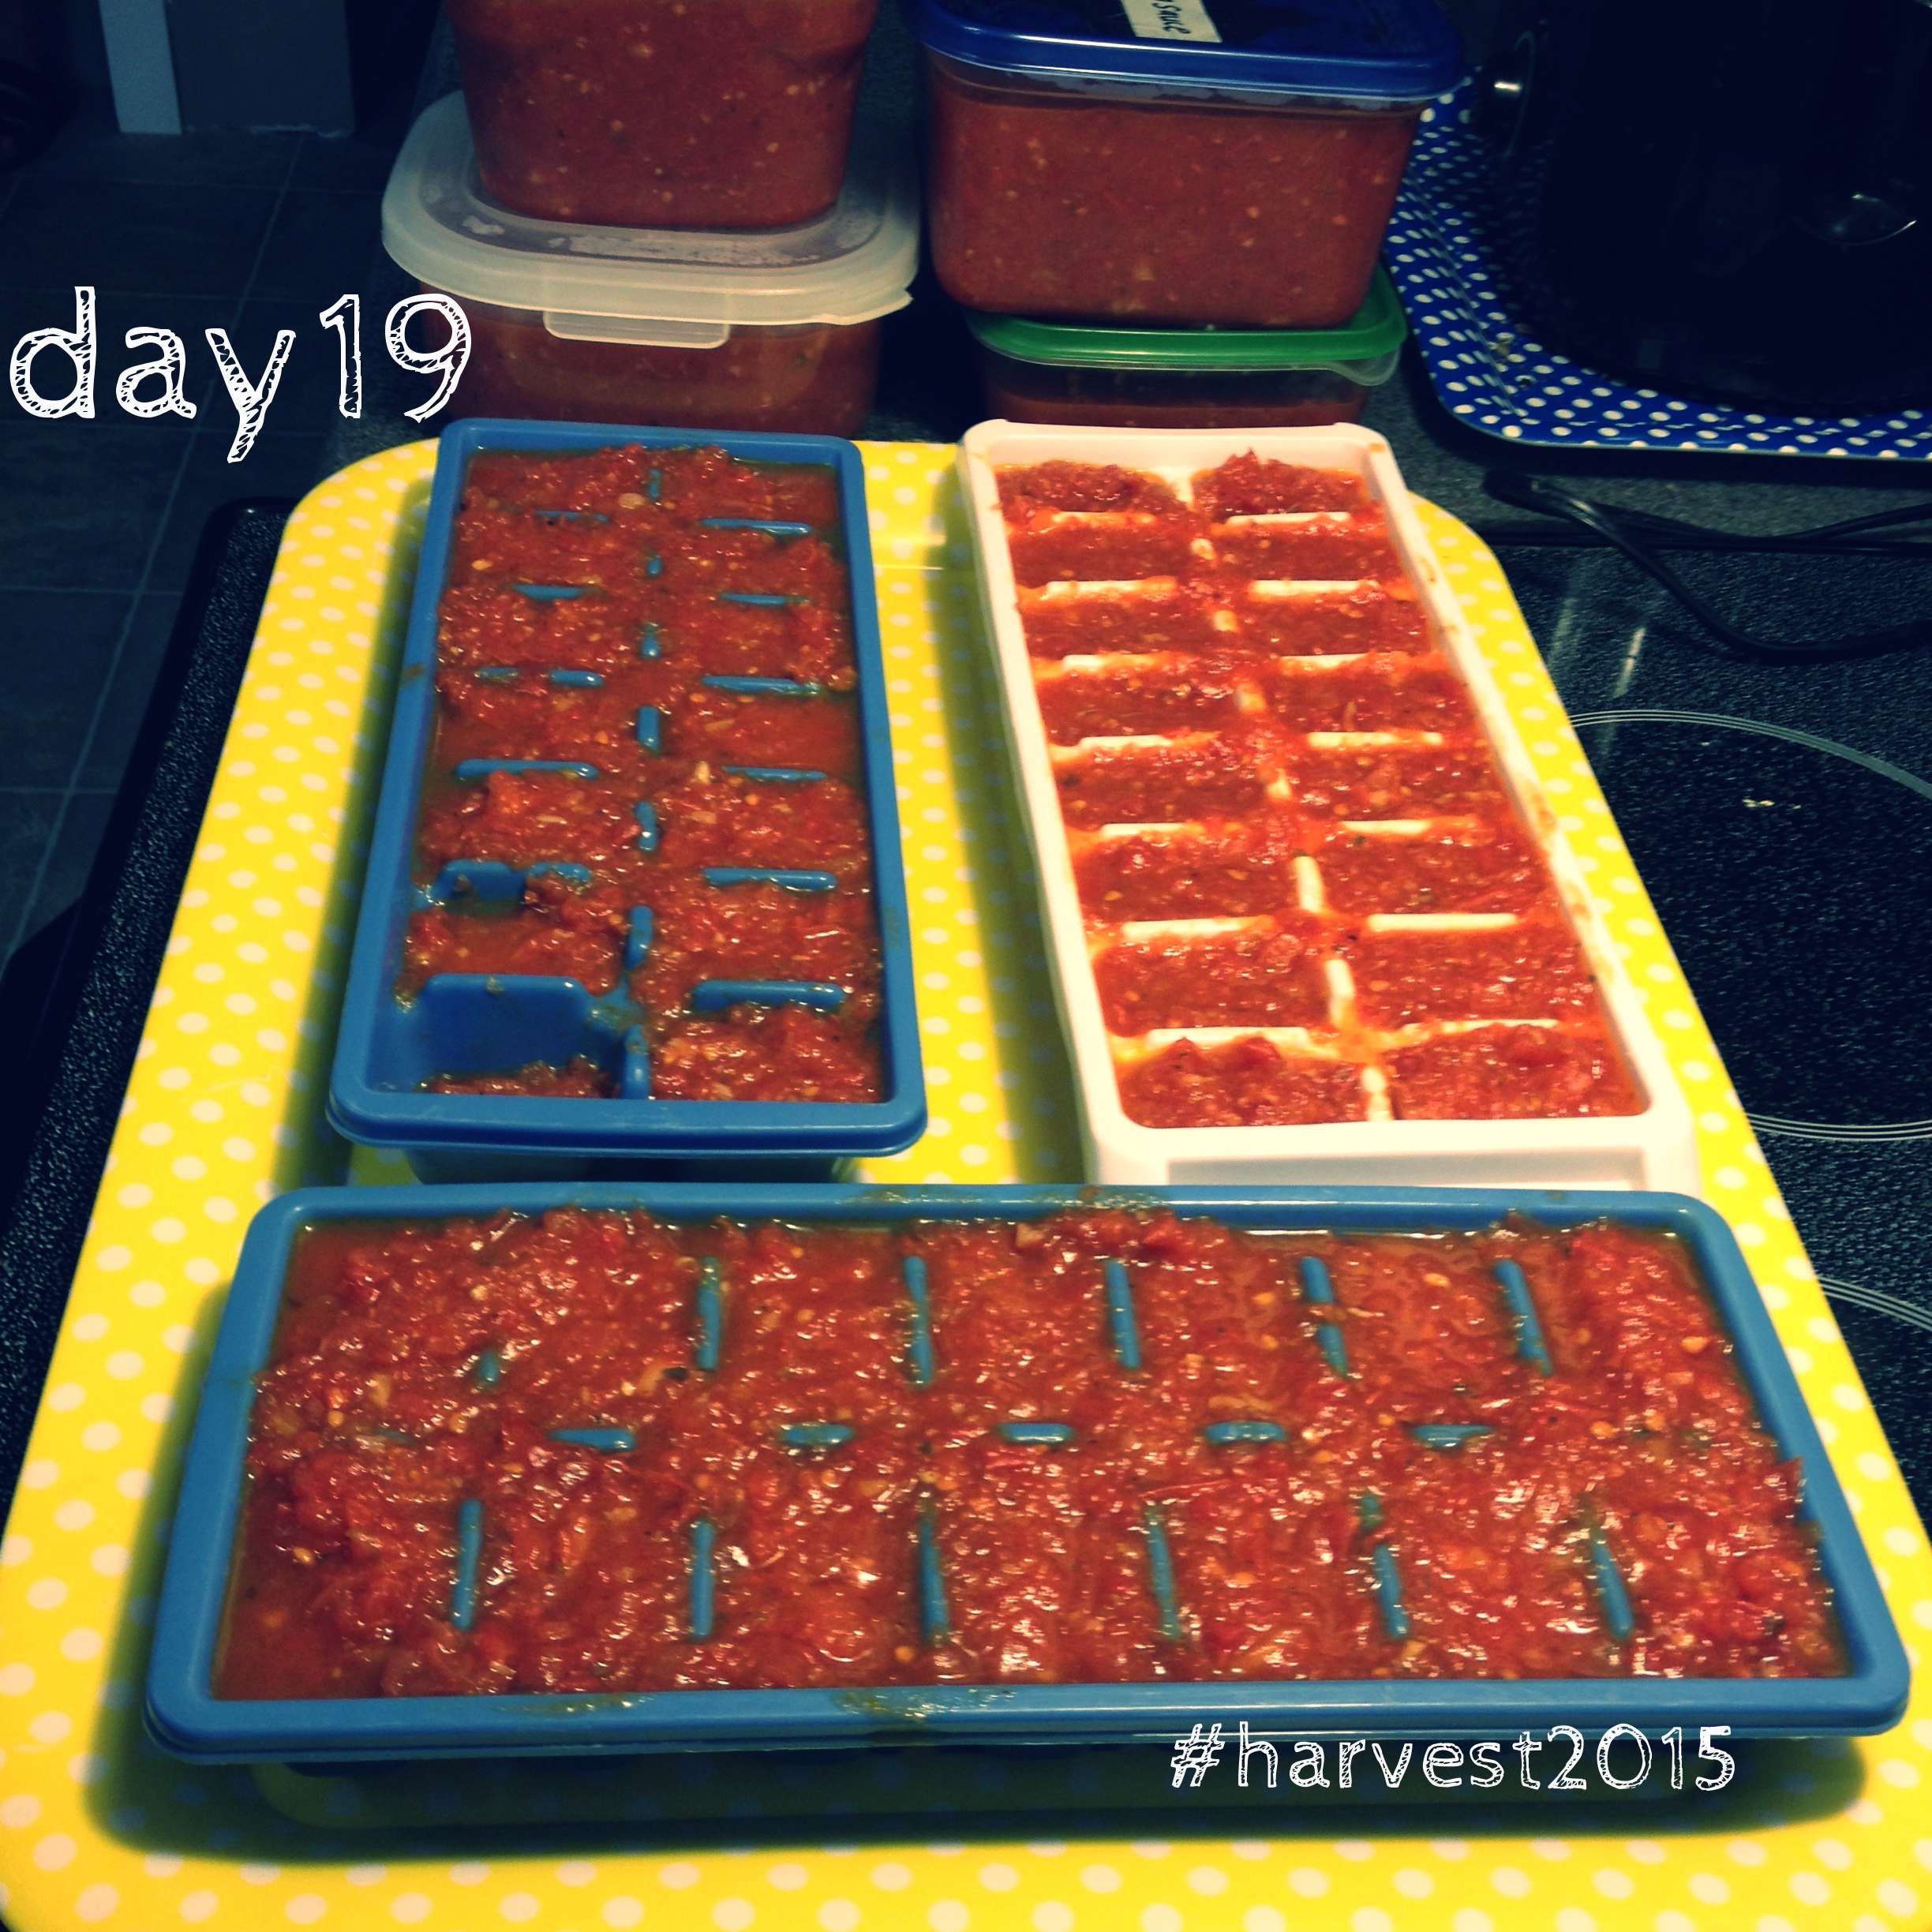
Pre-portioned pizza sauce in ice cube trays for quick-and-dirty meals later in my frazzled year. #harvest2015
Now that I have 40 pounds of tomatoes done for today, must get to the next 40 pounds for tomorrow's work. (Thank goodness this only happens for a few weeks every year. I couldn't keep up this nutty pace!)
A MONTH OF PUTTING UP THE HARVEST - Day 18
I kind of feel like I'm cheating with today's post. It's a non-post, really. I have done a lot of these kinds of things over the years and already this season, but it's one that does in fact come in quite handy over the course of the year. It's putting up the fruit harvest, and there are a couple of ways you can do it. I'll show the simplest ways, and will endeavour to make a fermented version of fruit-keeping in the days ahead, seeing as I just hauled home some great finds from a produce stall in the Shuswap. I tell you, the harvest season is quite easily one of my most favourite times of the year, it has all the excitement that Christmas had for me when I was a kid, but in fresh food form. I know, geek, amiright?
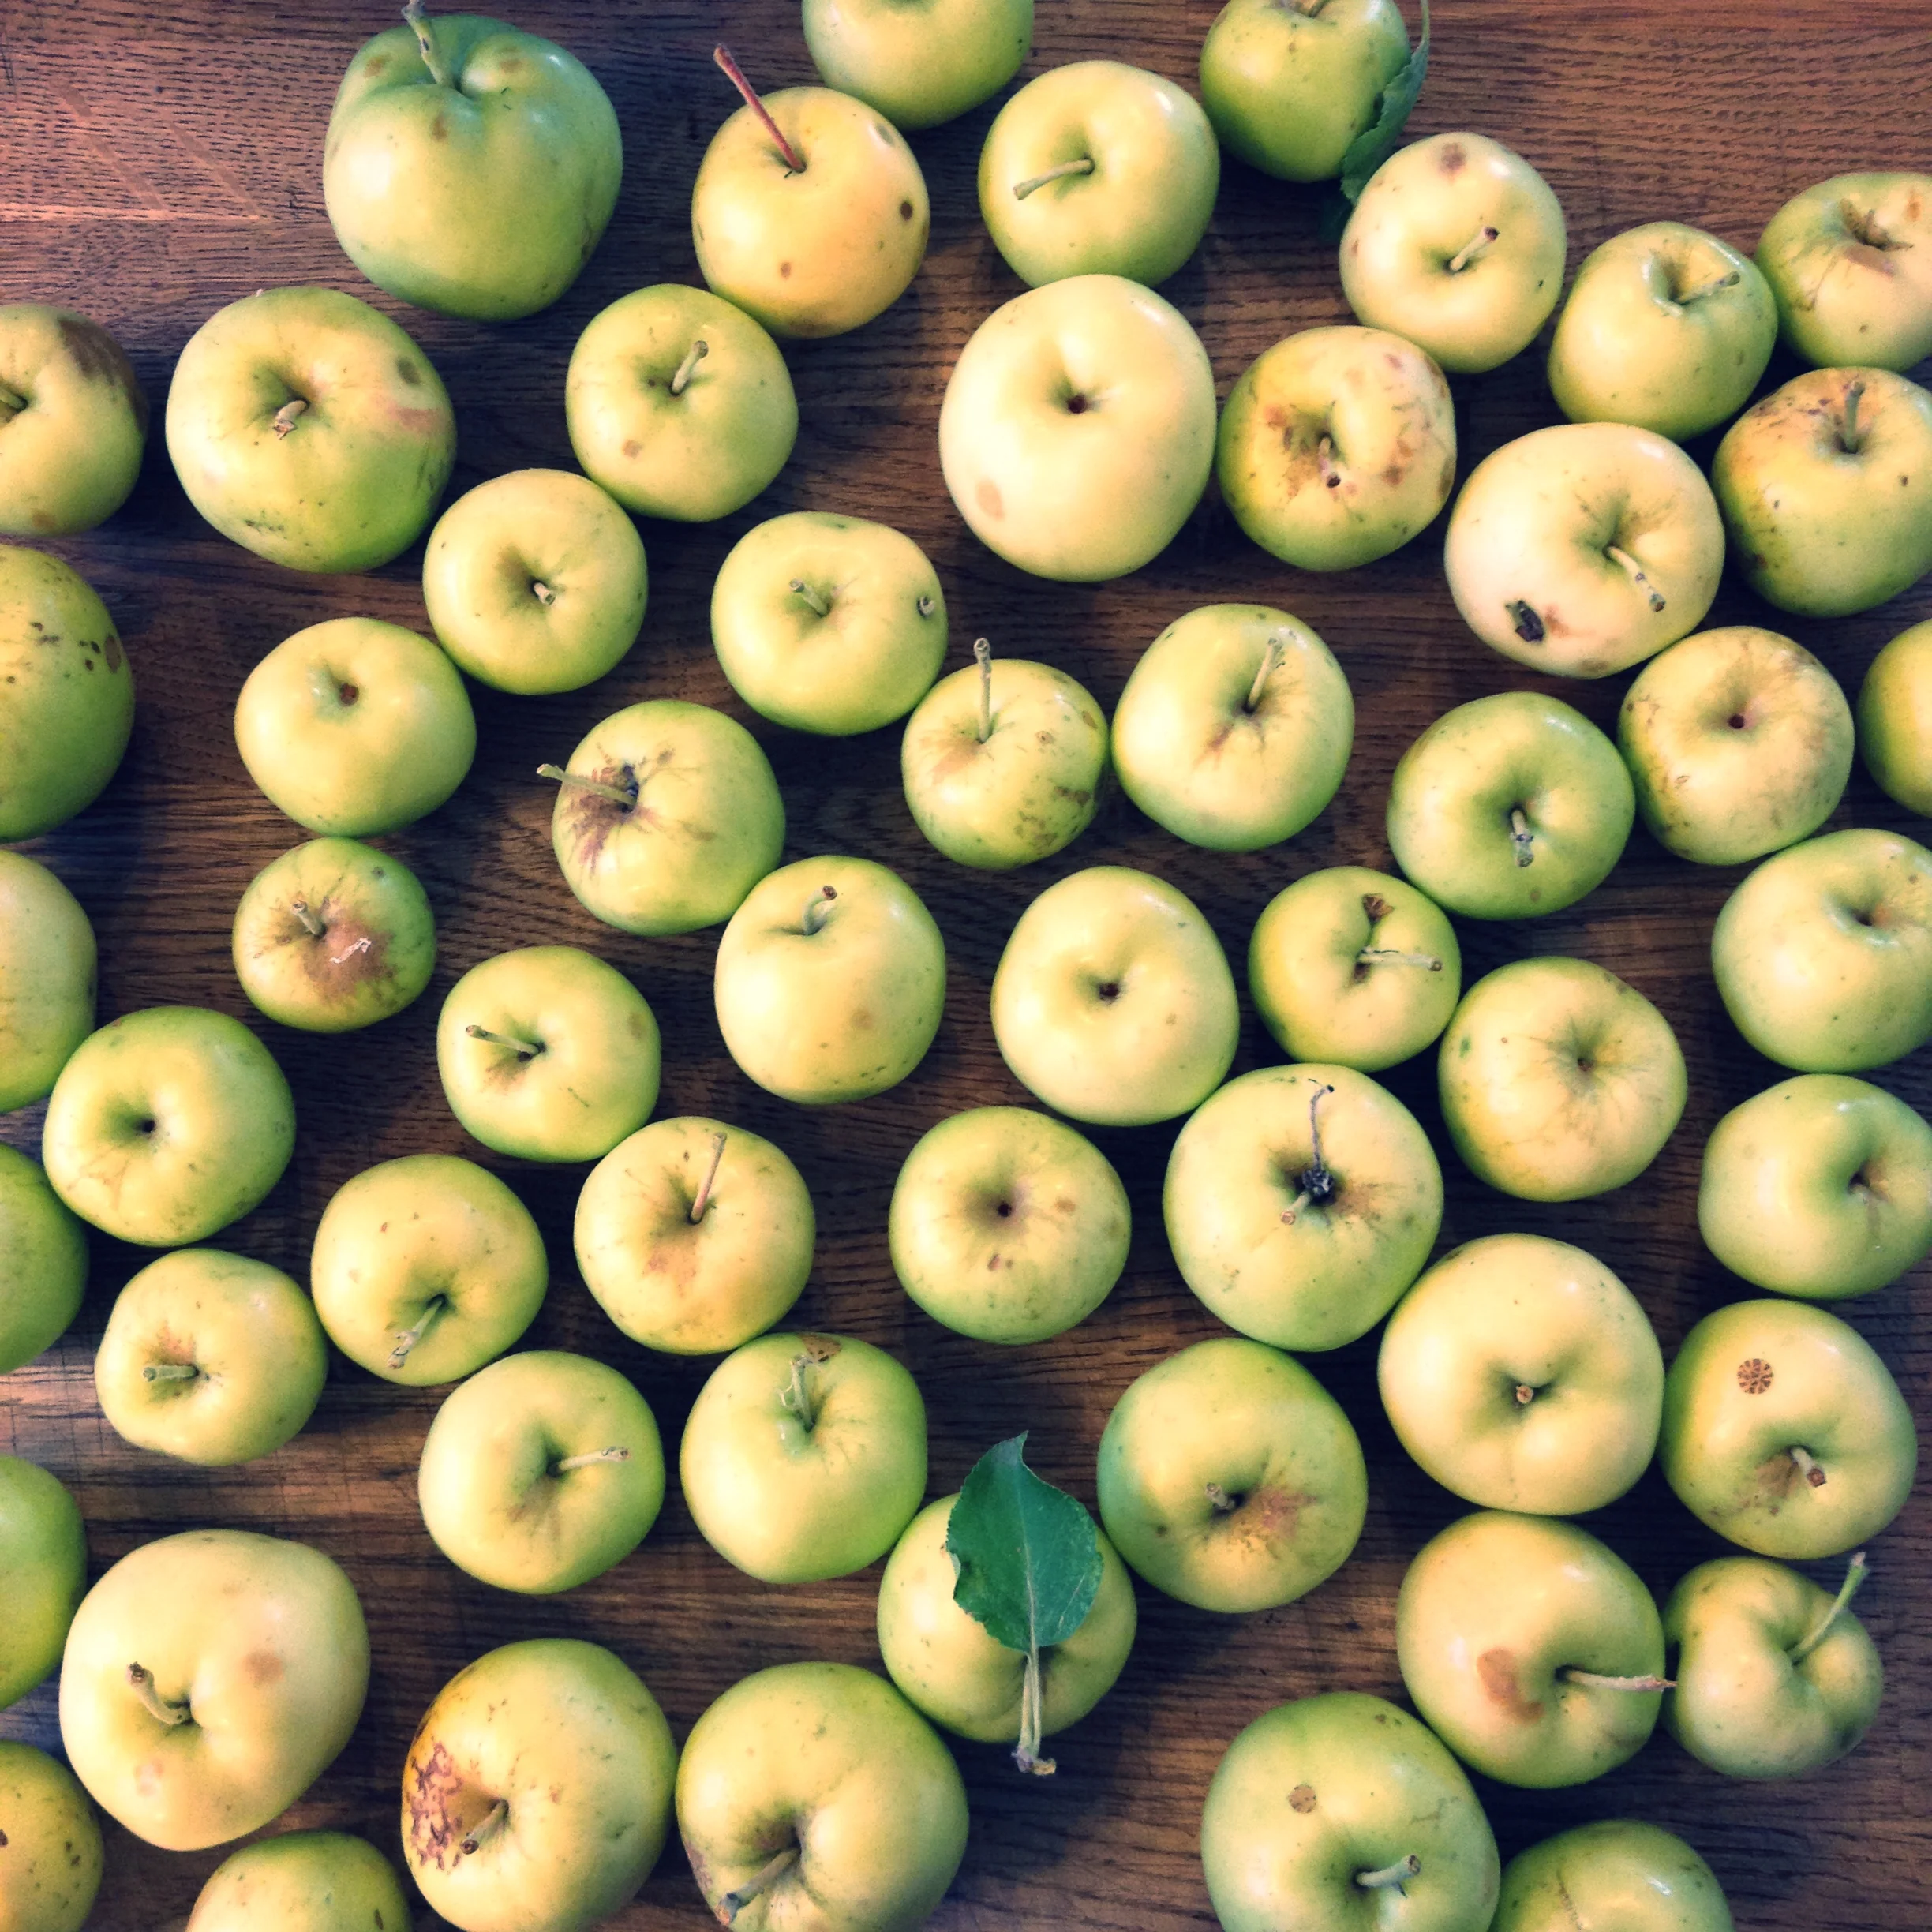
Tart Alberta apples. #harvest2015
I kind of feel like I'm cheating with today's post. It's a non-post, really. I have done a lot of these kinds of things over the years and already this season, but it's one that does in fact come in quite handy over the course of the year. It's putting up the fruit harvest, and there are a couple of ways you can do it. I'll show the simplest ways, and will endeavour to make a fermented version of fruit-keeping in the days ahead, seeing as I just hauled home some great finds from a produce stall in the Shuswap. I tell you, the harvest season is quite easily one of my most favourite times of the year, it has all the excitement that Christmas had for me when I was a kid, but in fresh food form. I know, geek, amiright?
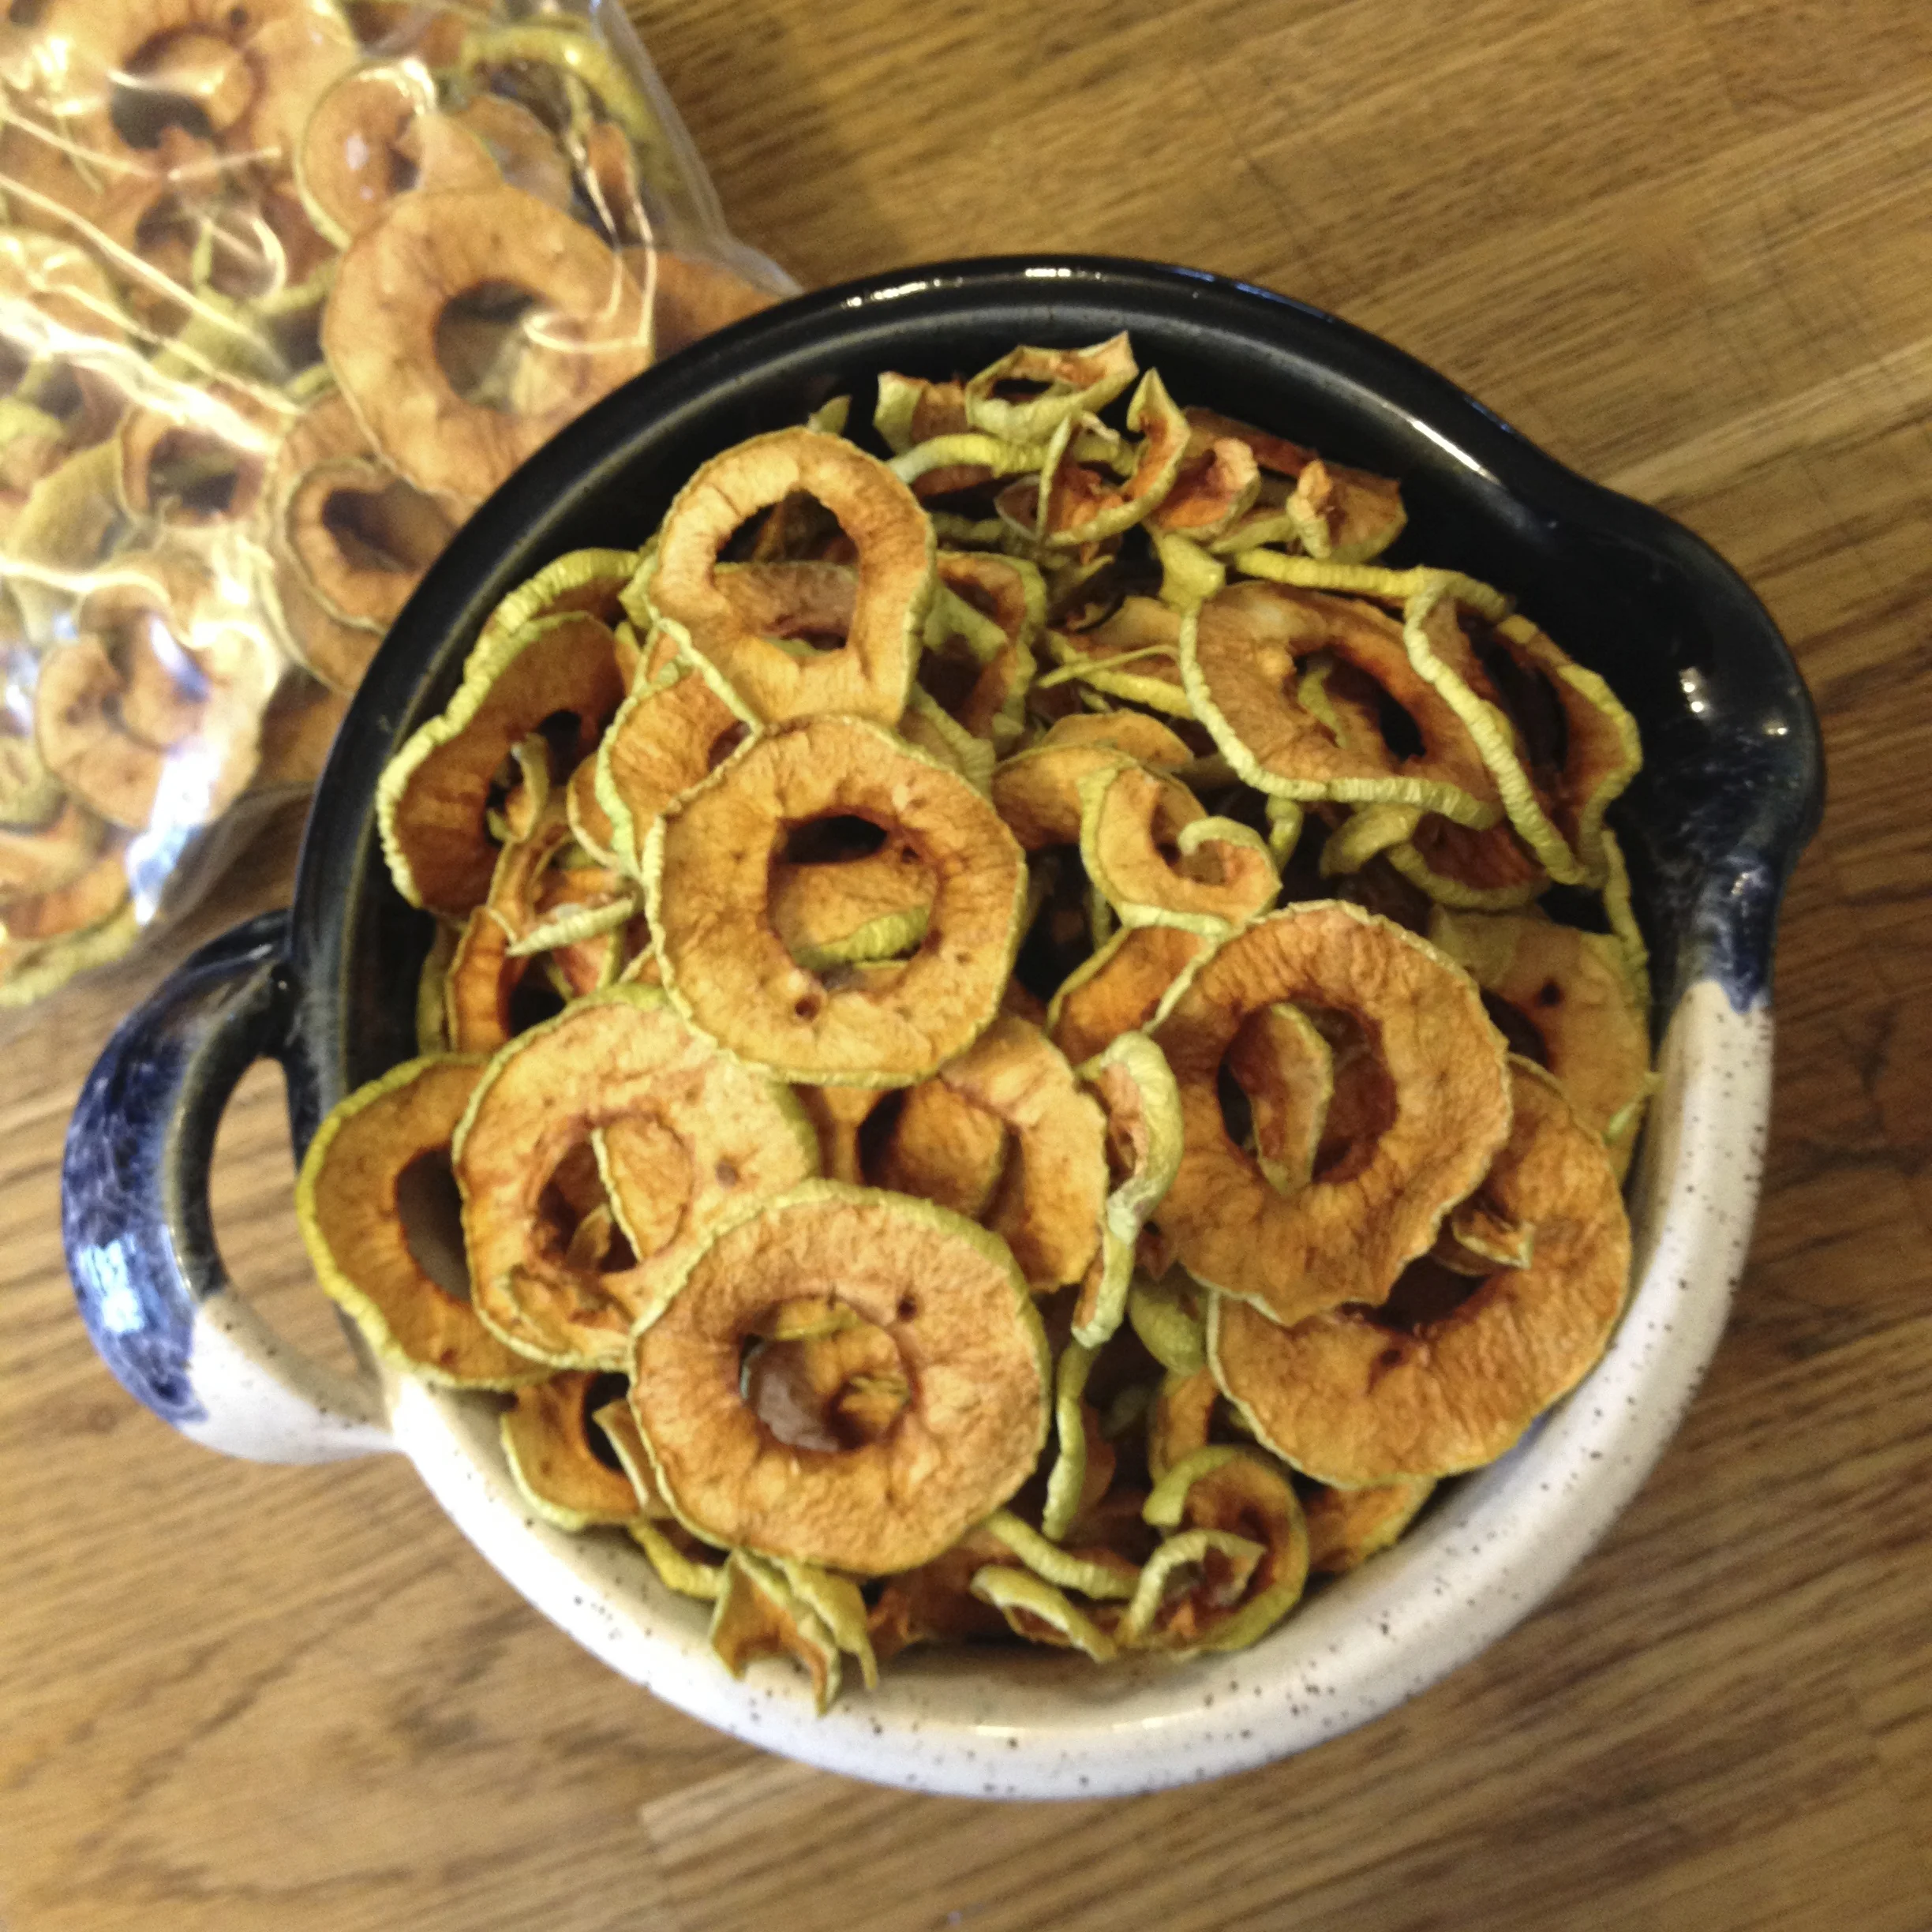
Let's start with apples: they're easy to get, whether they be from your tree or from your local Apple Lady, and they're delicious. And there are many ways you can put these up: the easiest being, if you have access to cold storage, to drop your bounty in there so you can pull some out in small batches. Other ways: I make a big batch of apple sauce every year by melting chopped cored apples in with some honey and cinnamon until it tastes right, and mashed with my hand blender. I freeze it in small containers and pull it out for lunches or desserts or pork chops. There is no recipe, it involves you using your taste buds and making it taste right. THAT'S IT. Also, you could do like I did with this lovely batch of apples, core them and slice thinly (I use my $1 mandolin slicer that is on its last legs) and pop on a dehydrator screen and dry until it's like a dried apple spear. I know, again with the technical stuff. I use these sliced apples in granola, throw them in my girl's lunchbox, and use them as the base for flavouring my water kefir and kombucha drinks. I'm sure there are many other uses, but my favourite thing about this is that it takes just a few hours in the dehydrator, and they will stay for a few years in my pantry, not taking up much space but really earning their keep in my pantry arsenal of tools.
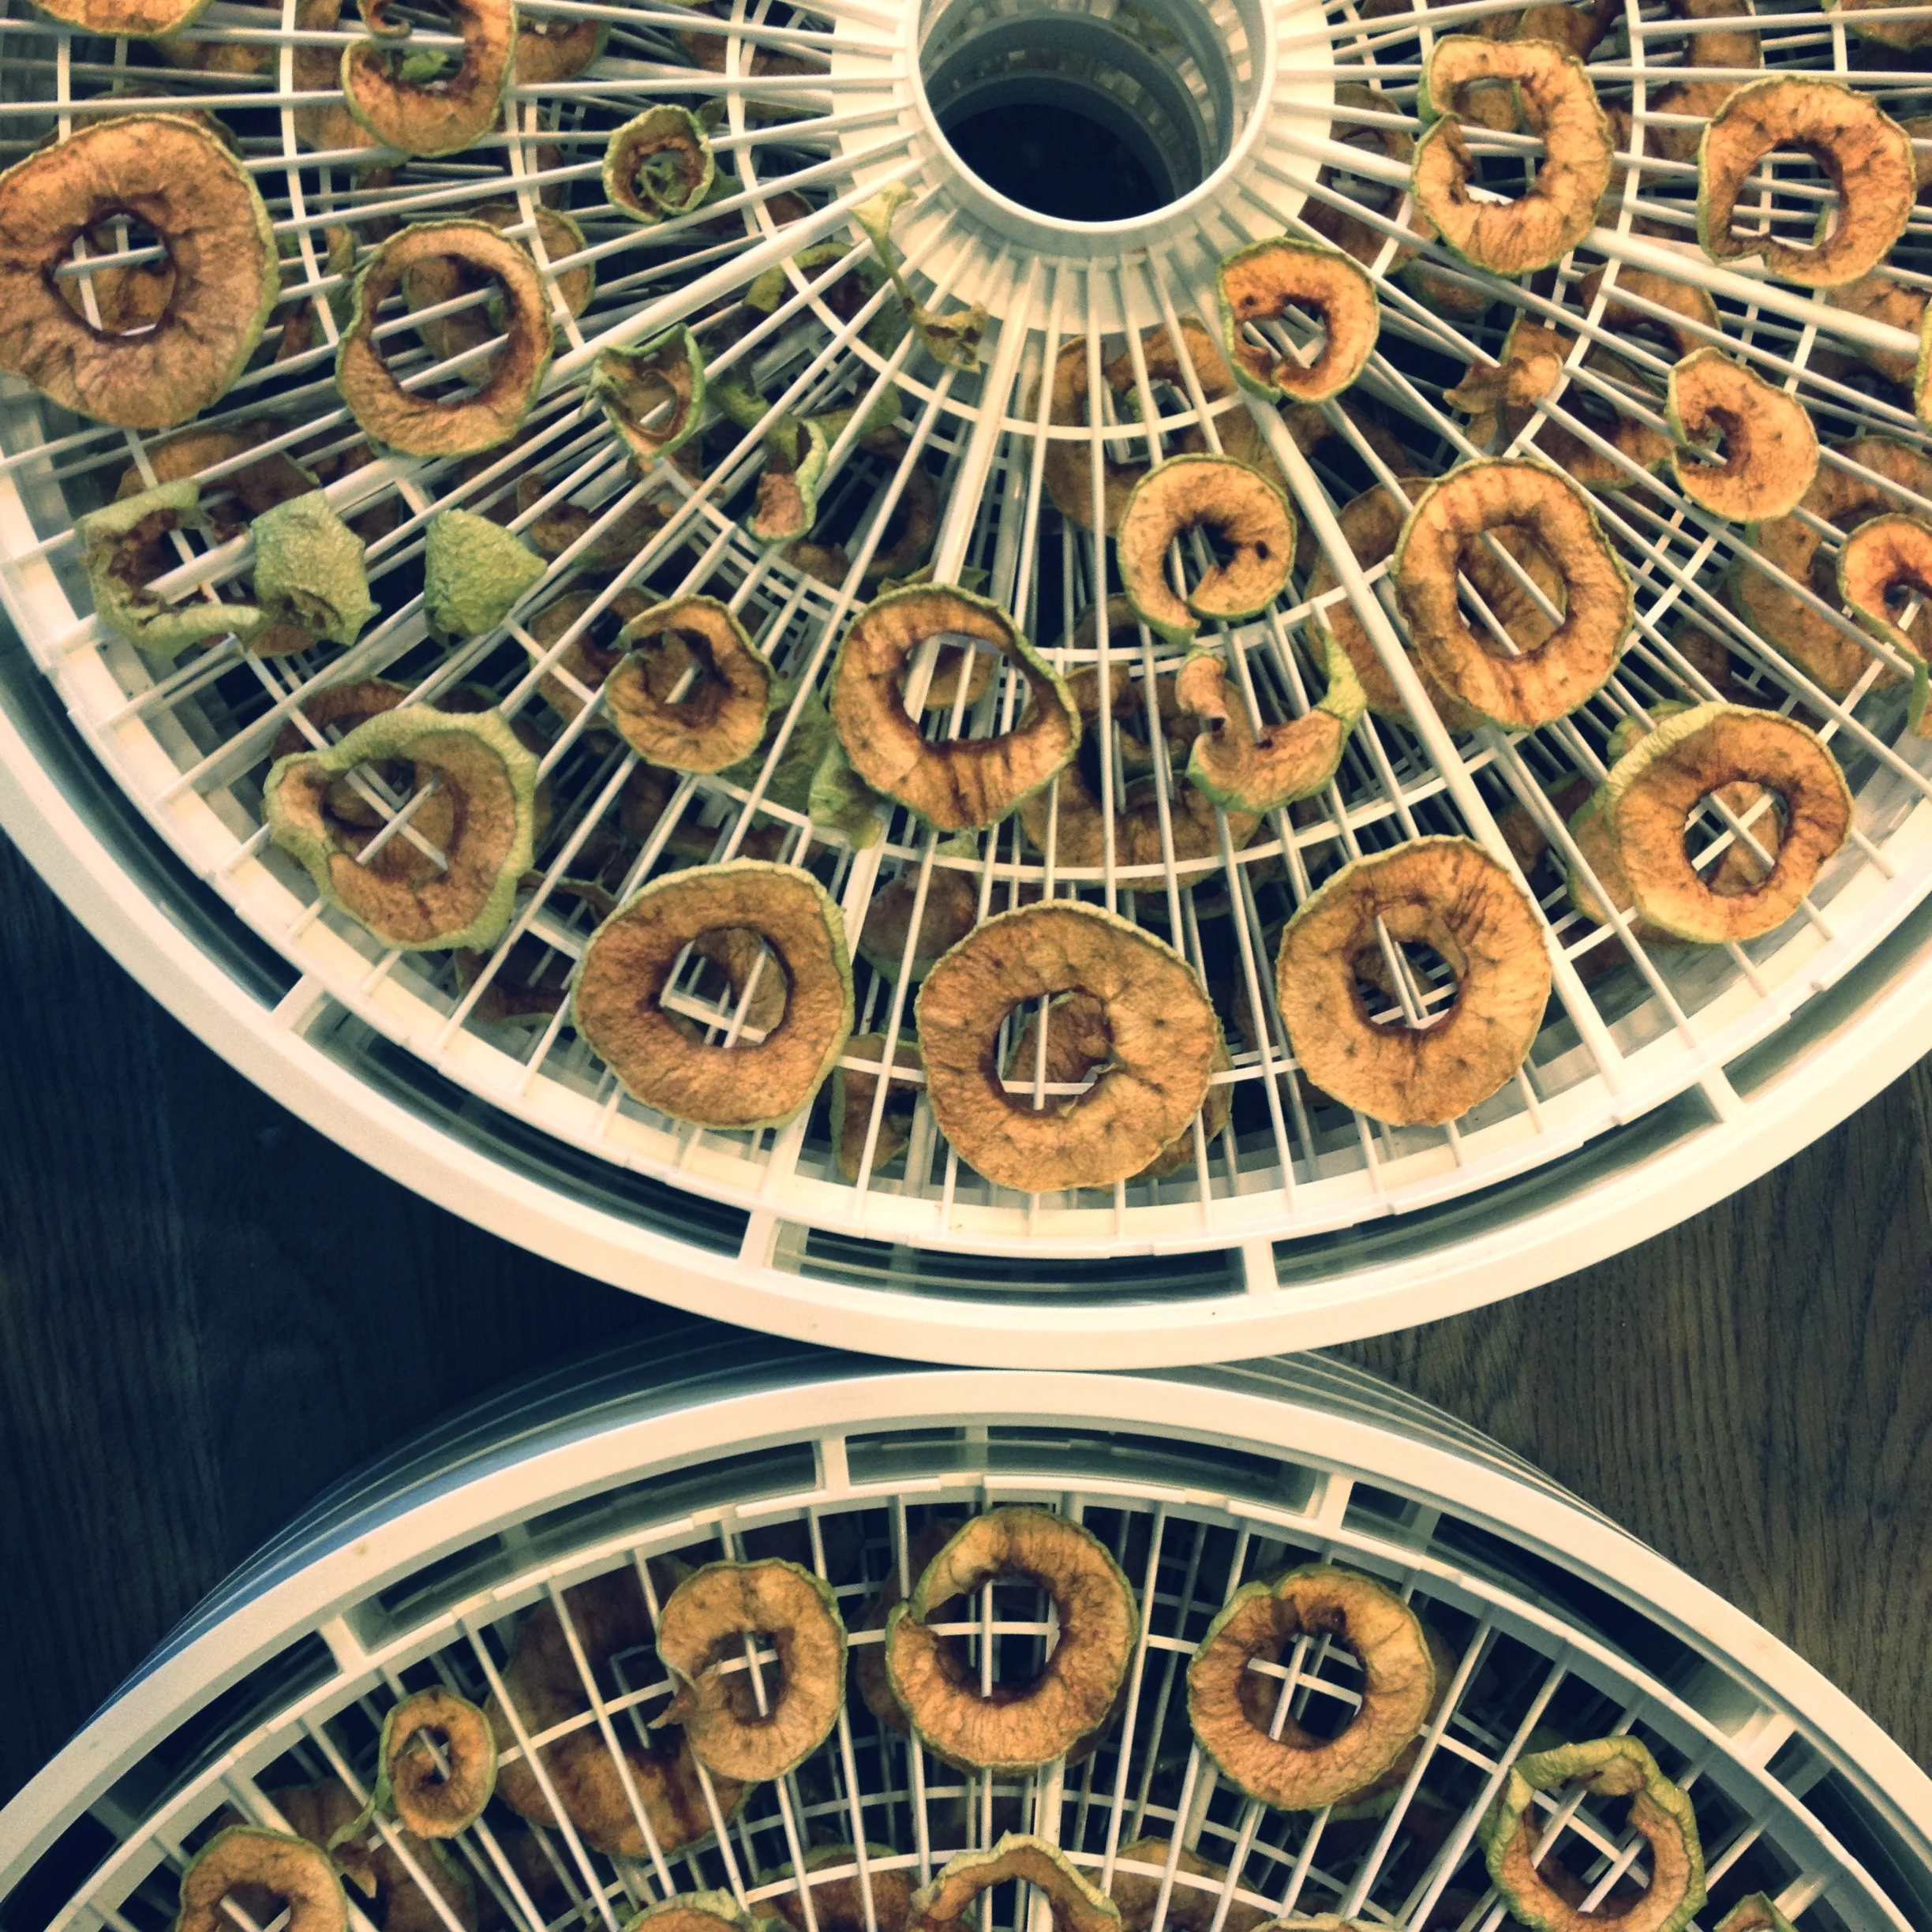
Apples ready out of the dehydrator. #harvest2015
I did the same thing with pears this year, as the pear/ginger combination is a favourite in my homemade probiotic drinks. I did halves though, and sliced three grooves out of the back of each cored half in the hopes it would dehydrate more fully (and because my good friend Di told me to do it this way), and plunked those in the dehydrator (for a considerably longer time than the apples, I might add). My thought here was that it would be a delicious treat for my girlie in her lunches this year, kind of like homemade gummies, with only one ingredient. I will be doing more of these this fall, they are INCREDIBLE. (Make sure to also save the smaller wedges you have cut out of the pears - they're great and dry out before the halves do.)

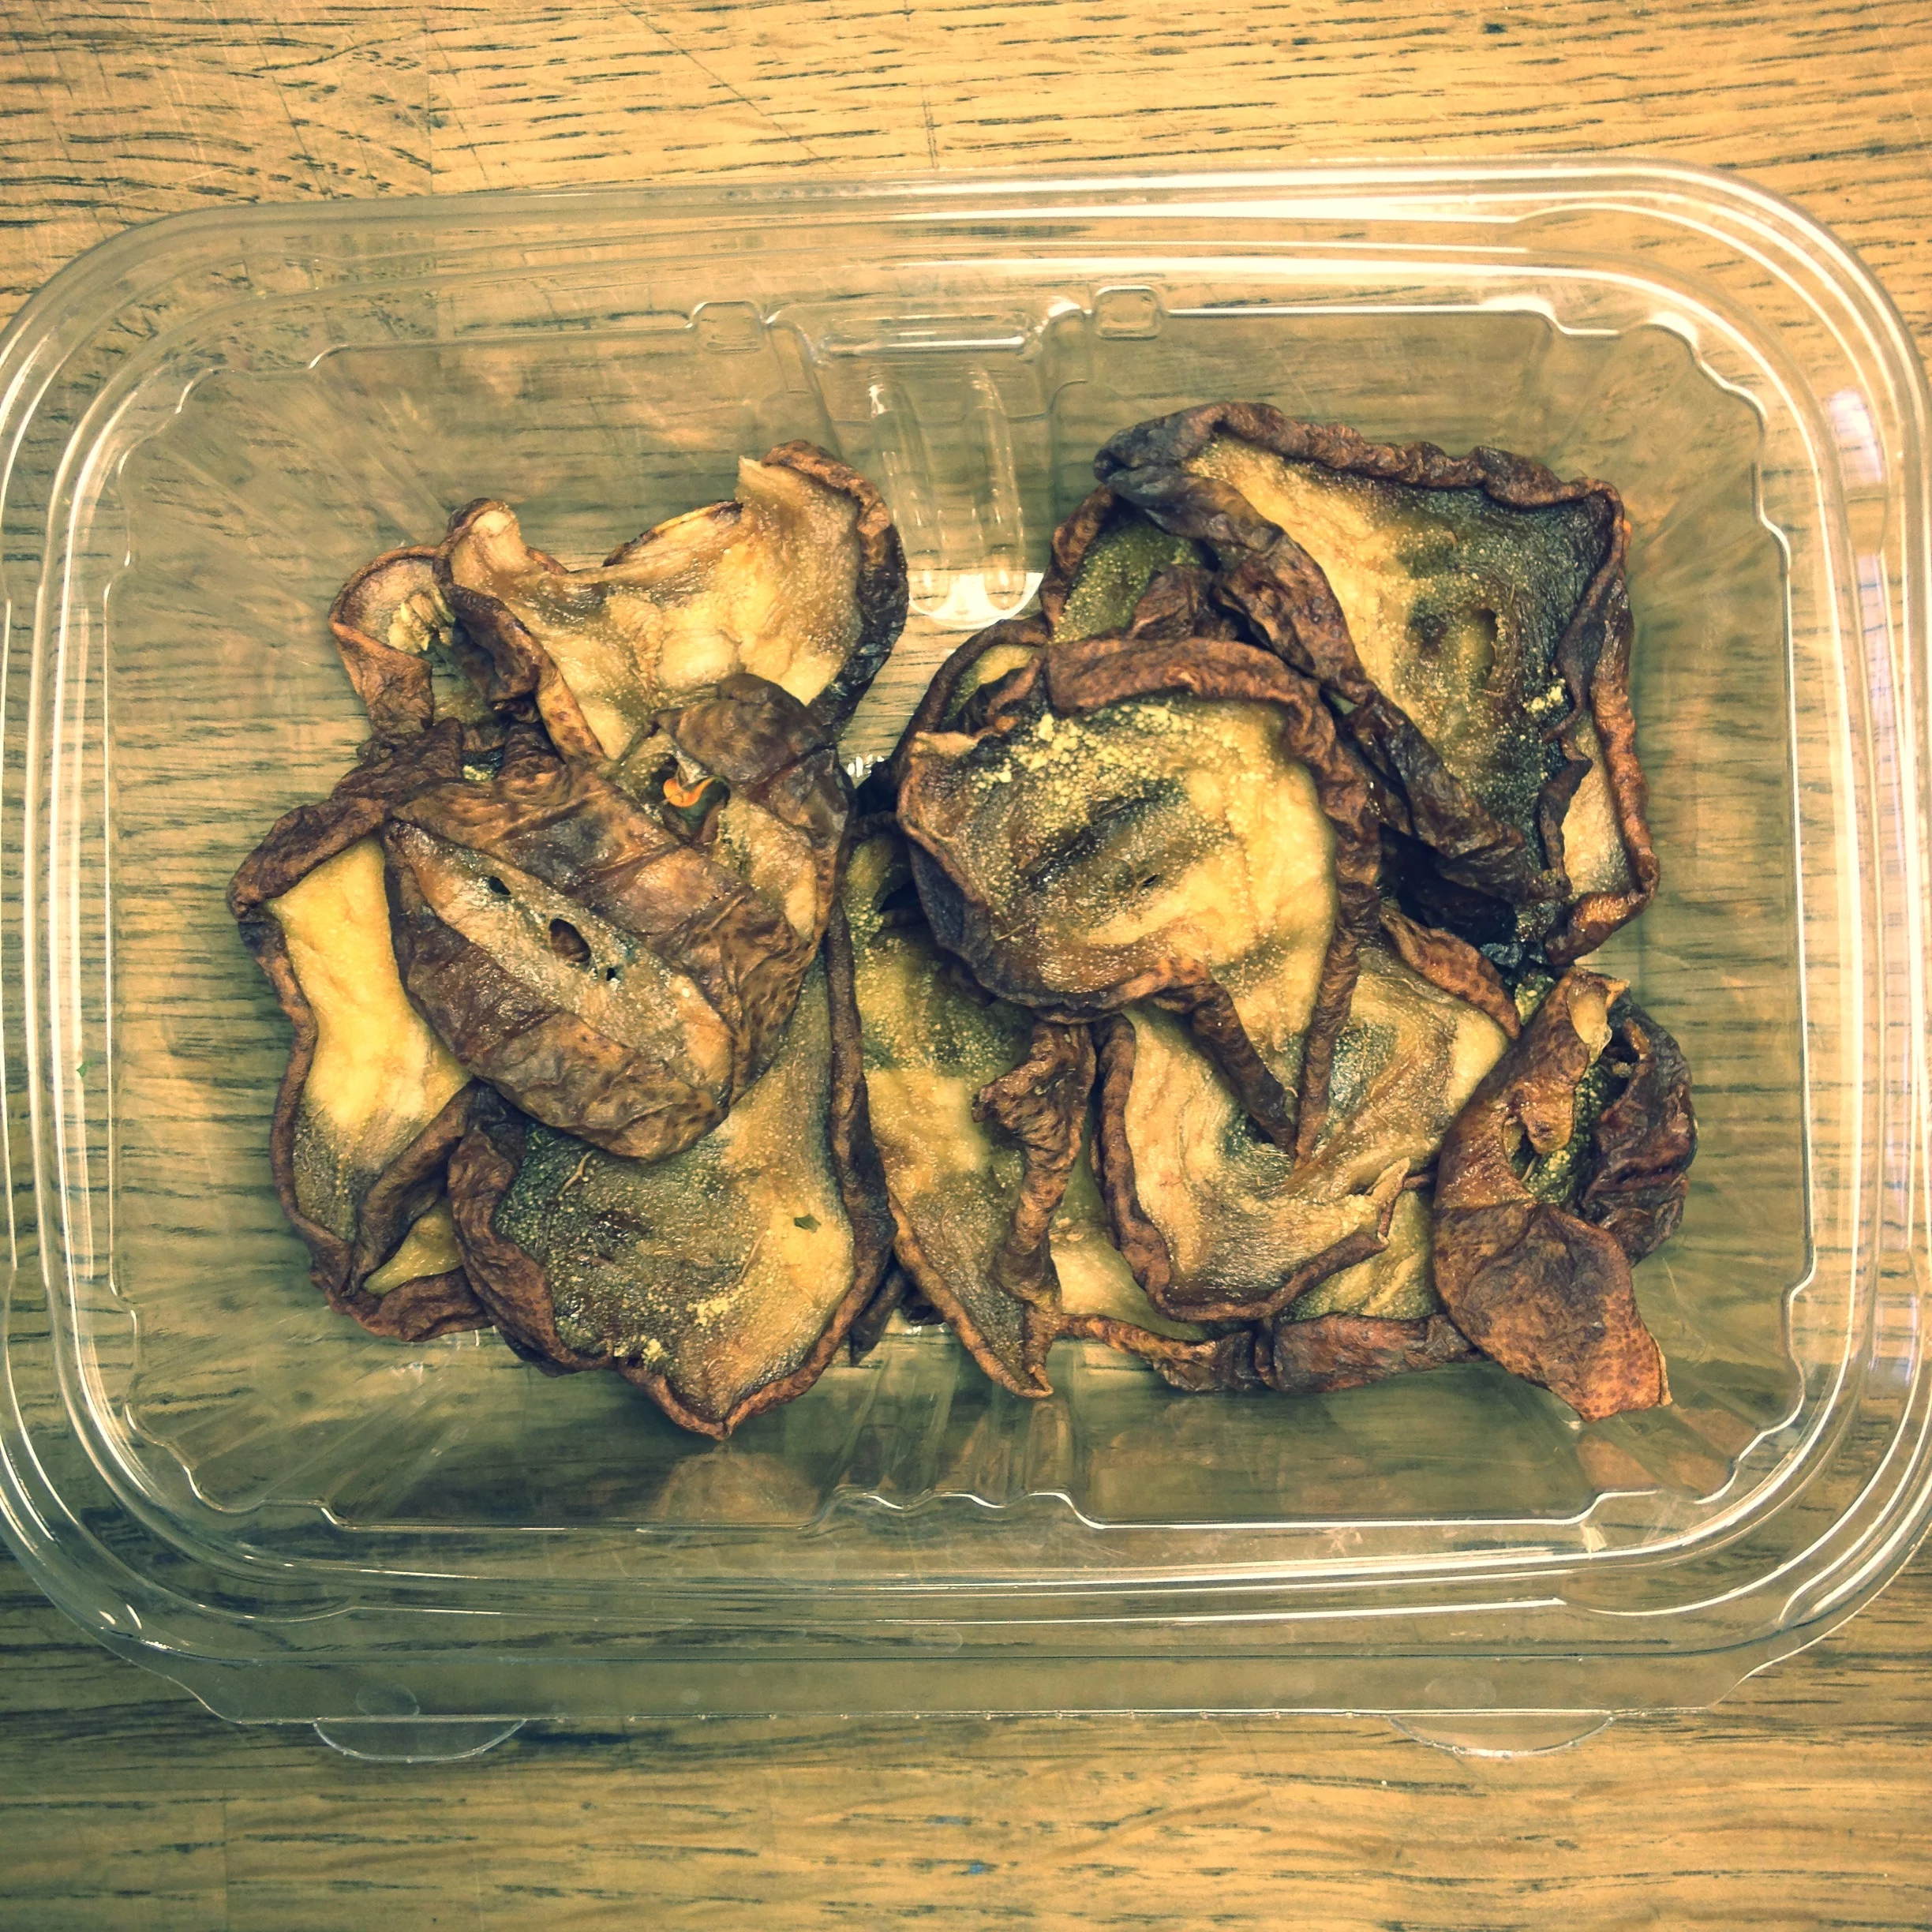
I did soak the apples and pears in a water/lemon juice combination beforehand in the hopes of preventing browning from happening, but wasn't that successful. It's ok, it's how things are supposed to be when dried! They still taste delicious.
Other things you could do with apples or pears instead of dehydrating them: you could make homemade apple cider vinegar from scraps, you could of course ferment it into a myriad of things like apple cranberry relish, this most delicious apple/kohlrabi/fennel relish that ferments beautifully, or if you or a friend has a juicer, you can throw these babies in whole to the juicer, pressing all of the good juice out of there and storing it for drinking up in the following few days or a special treat for the kids on your street.
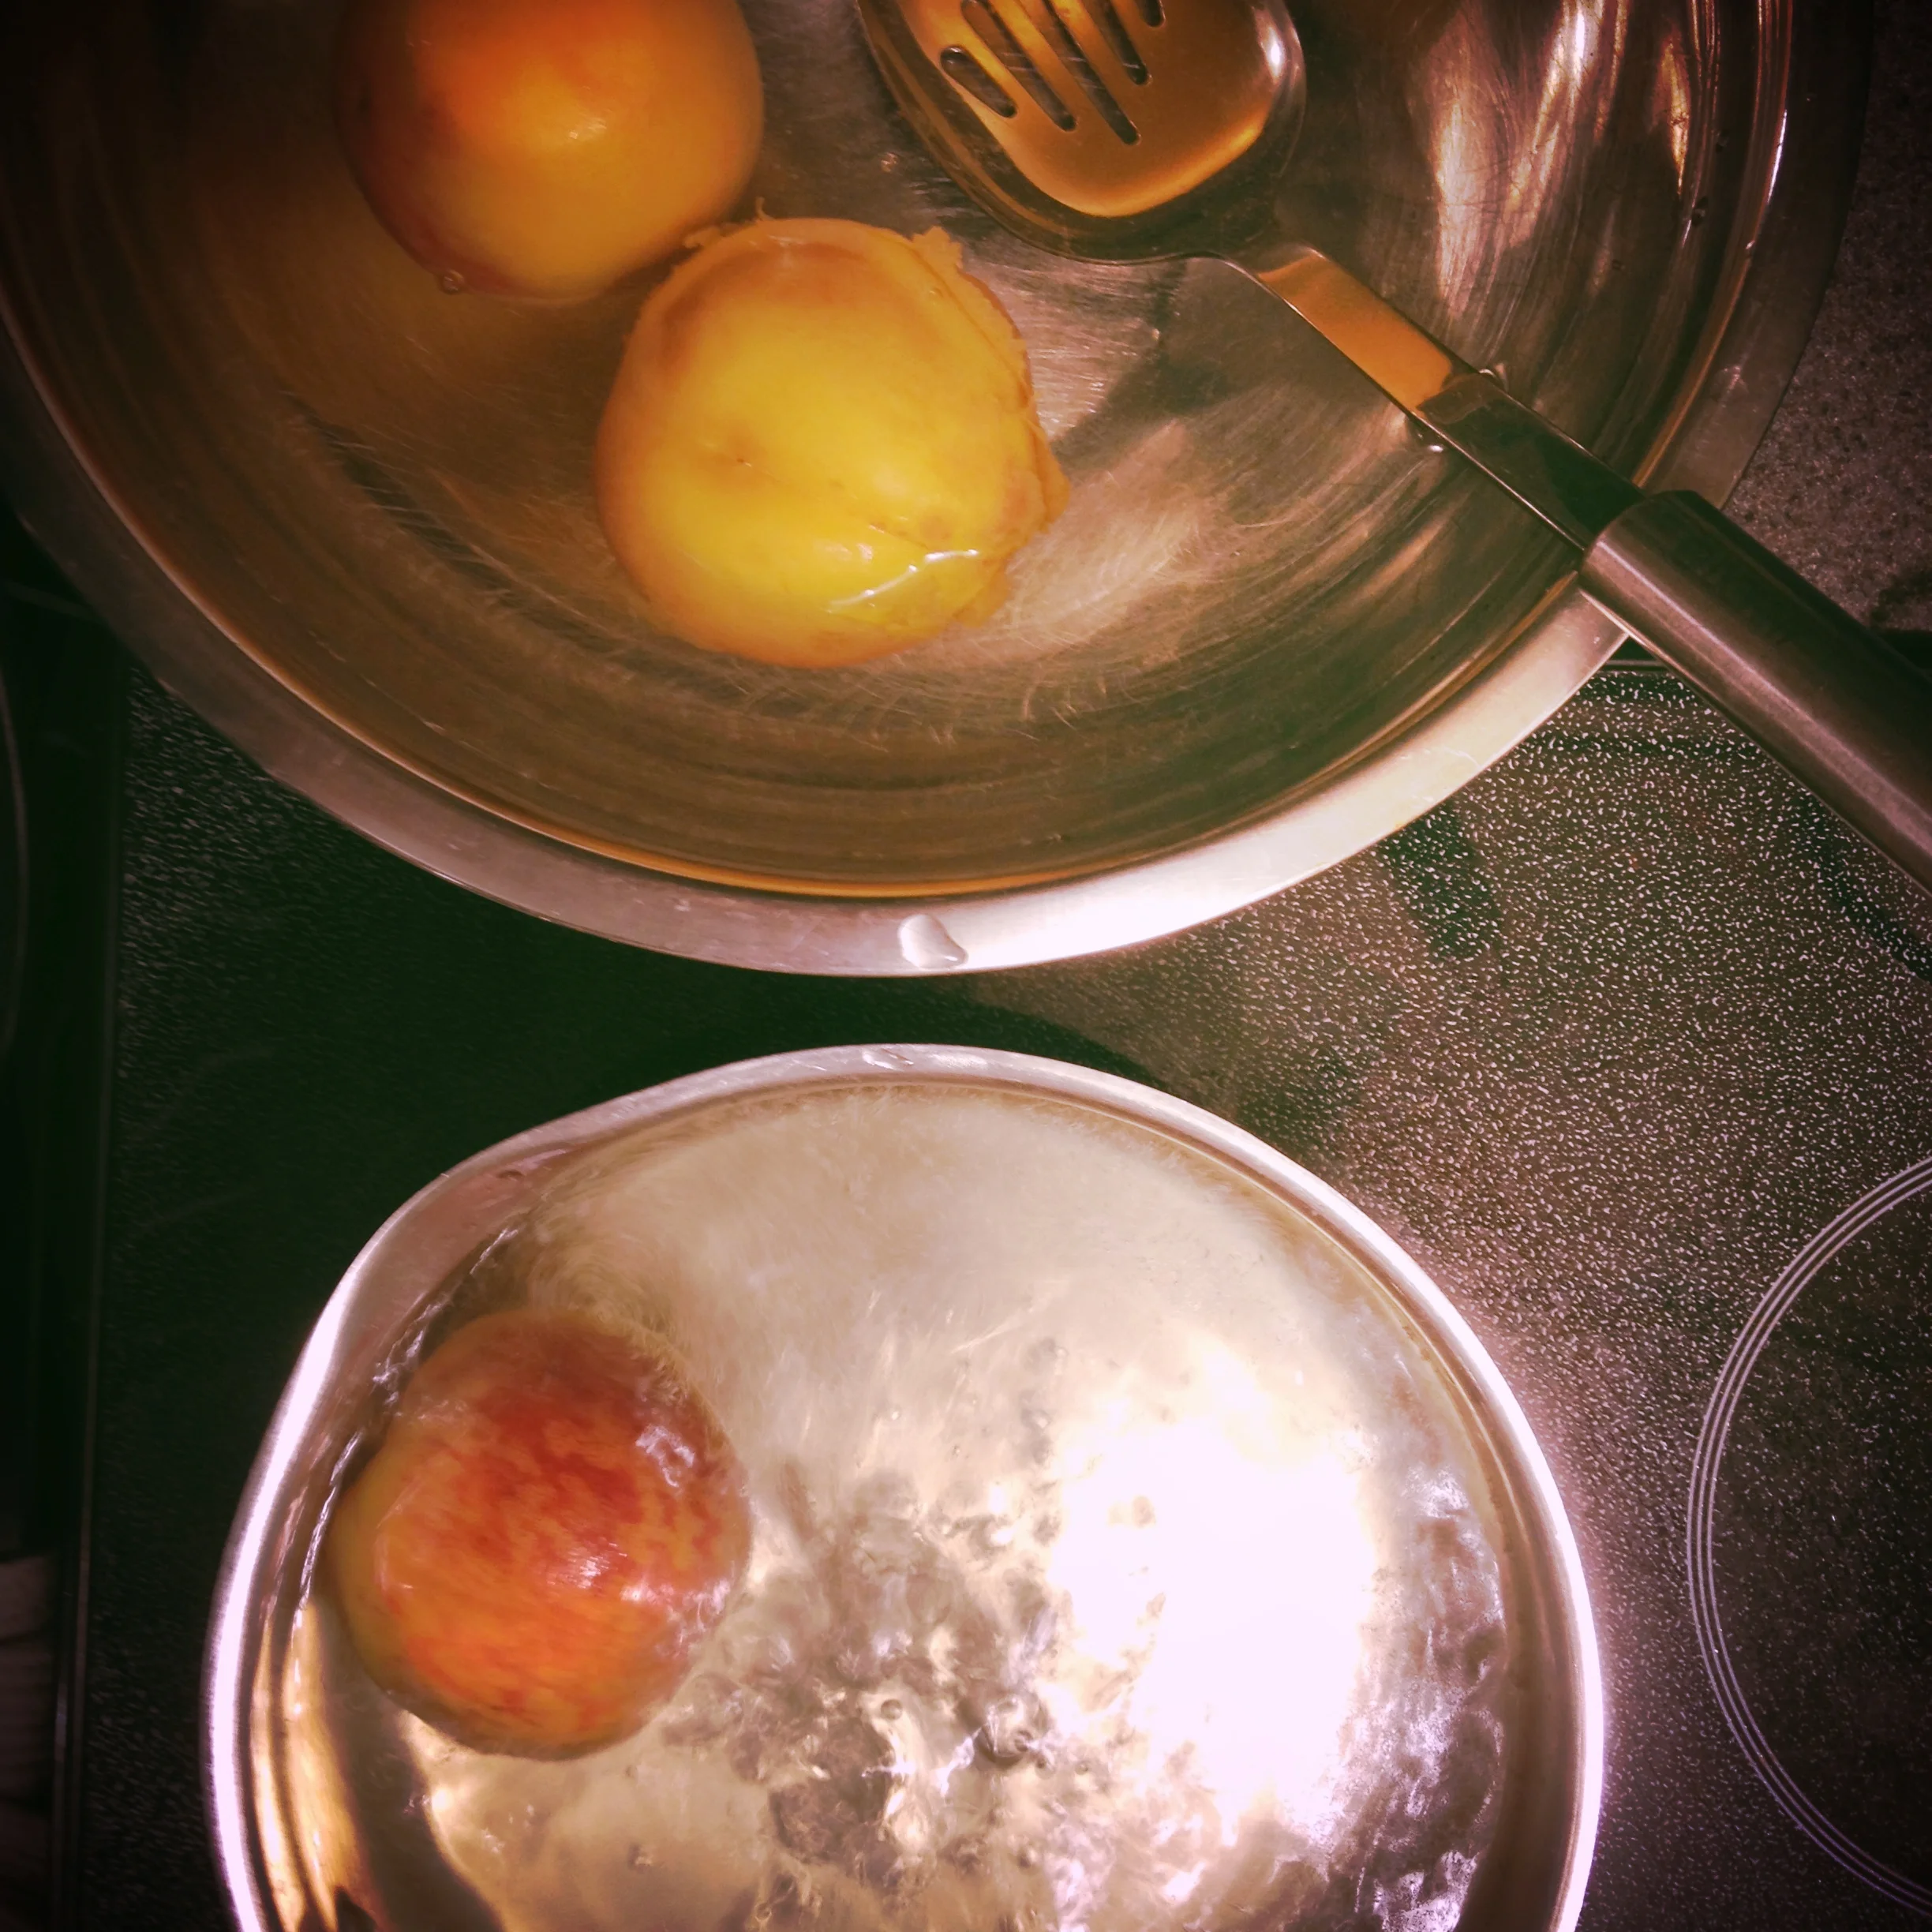
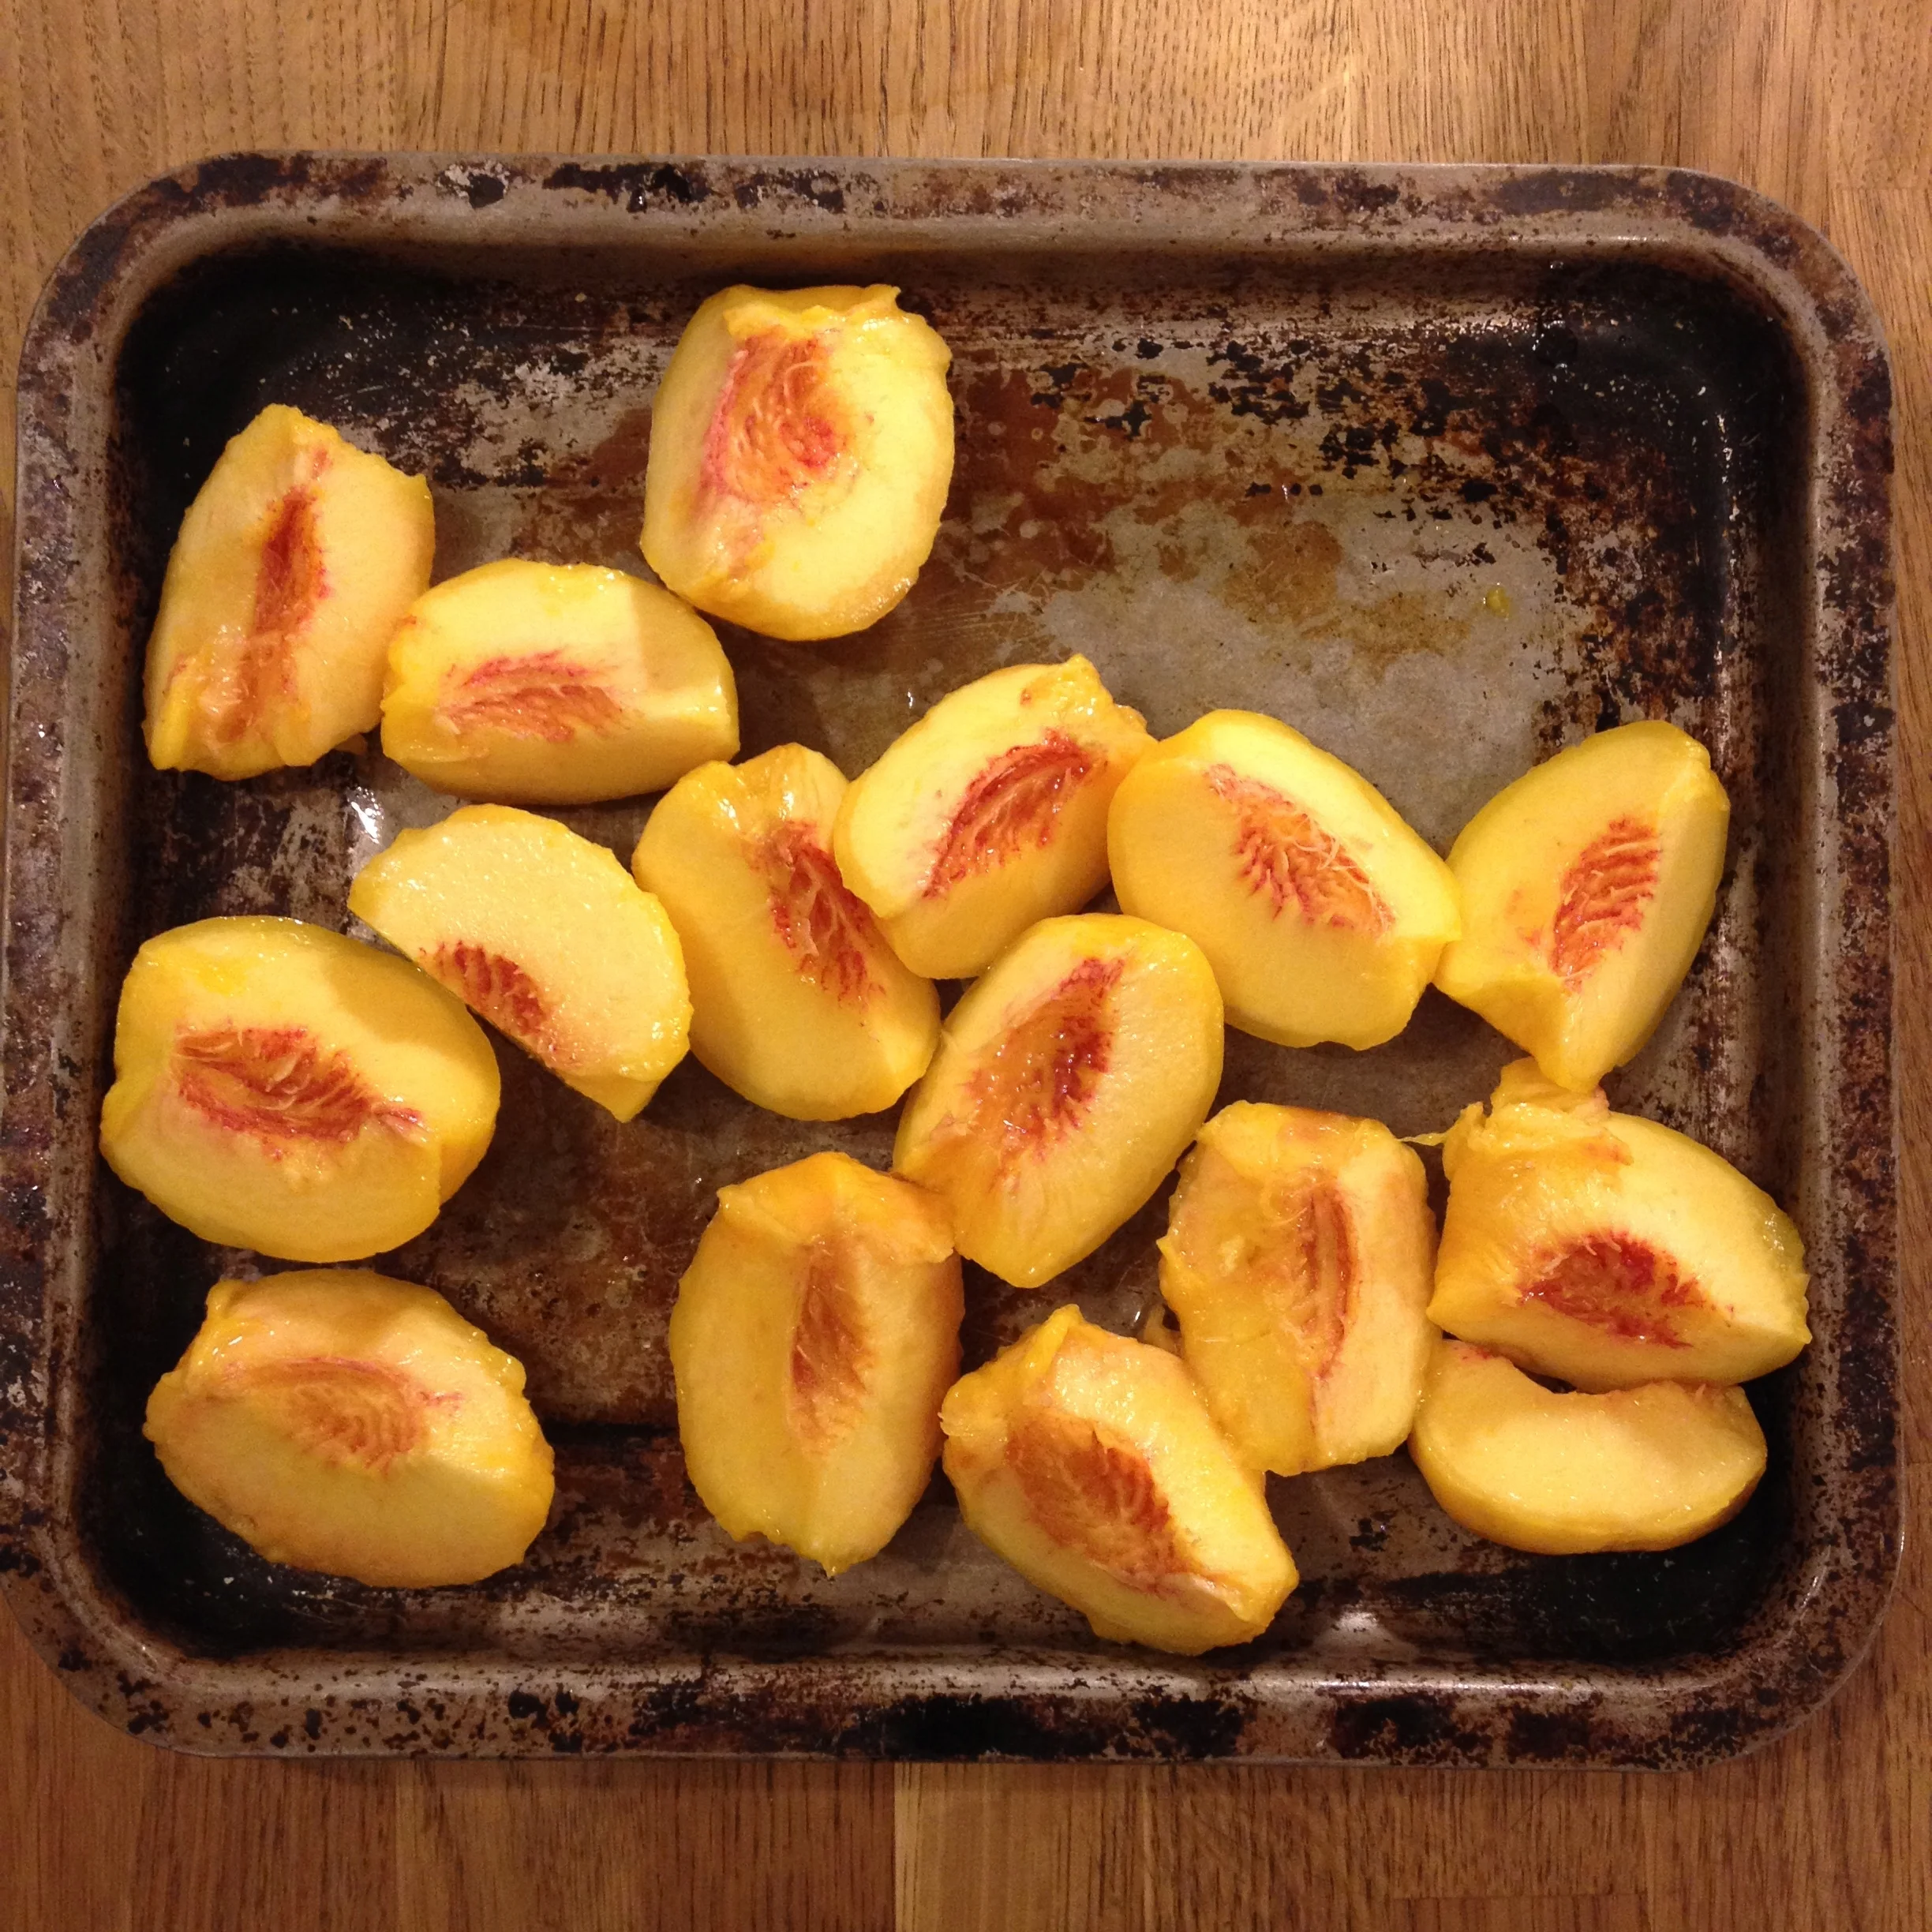
I picked some peaches up when in the Shuswap this past weekend for that last swing at summer, and have plans to make some fermented peach chutney in the coming days. In the meantime though, I did plunk a few in boiling water for a minute at a time, and then shocked them in a cold icy water bath in order to stop the cooking, and then peeled them, scored in quarters and de-pitted them. I dropped them on a tray and popped those babies in the freezer, the idea being that they will end up in smoothies or cobblers down the road. Truly though, I dream that they all end up meddled in with some creme fraiche and turned into peach vanilla ice cream. There really is no other way to describe summer, is there?
For those with an overabundance of rhubarb, you could chop it and freeze it in small batches to use in desserts and to flavour those second ferments, or you could make this wonderful Rhubarb Salsa (oh it's fermented, of course). Whatever you do, make something with that bounty in your yard or by picking up a few boxes of things while out in the Okanagan or your favourite local farmer's market, and play with your food. Your mid-winter self will be thanking your busy-summer-bee self before you know it.
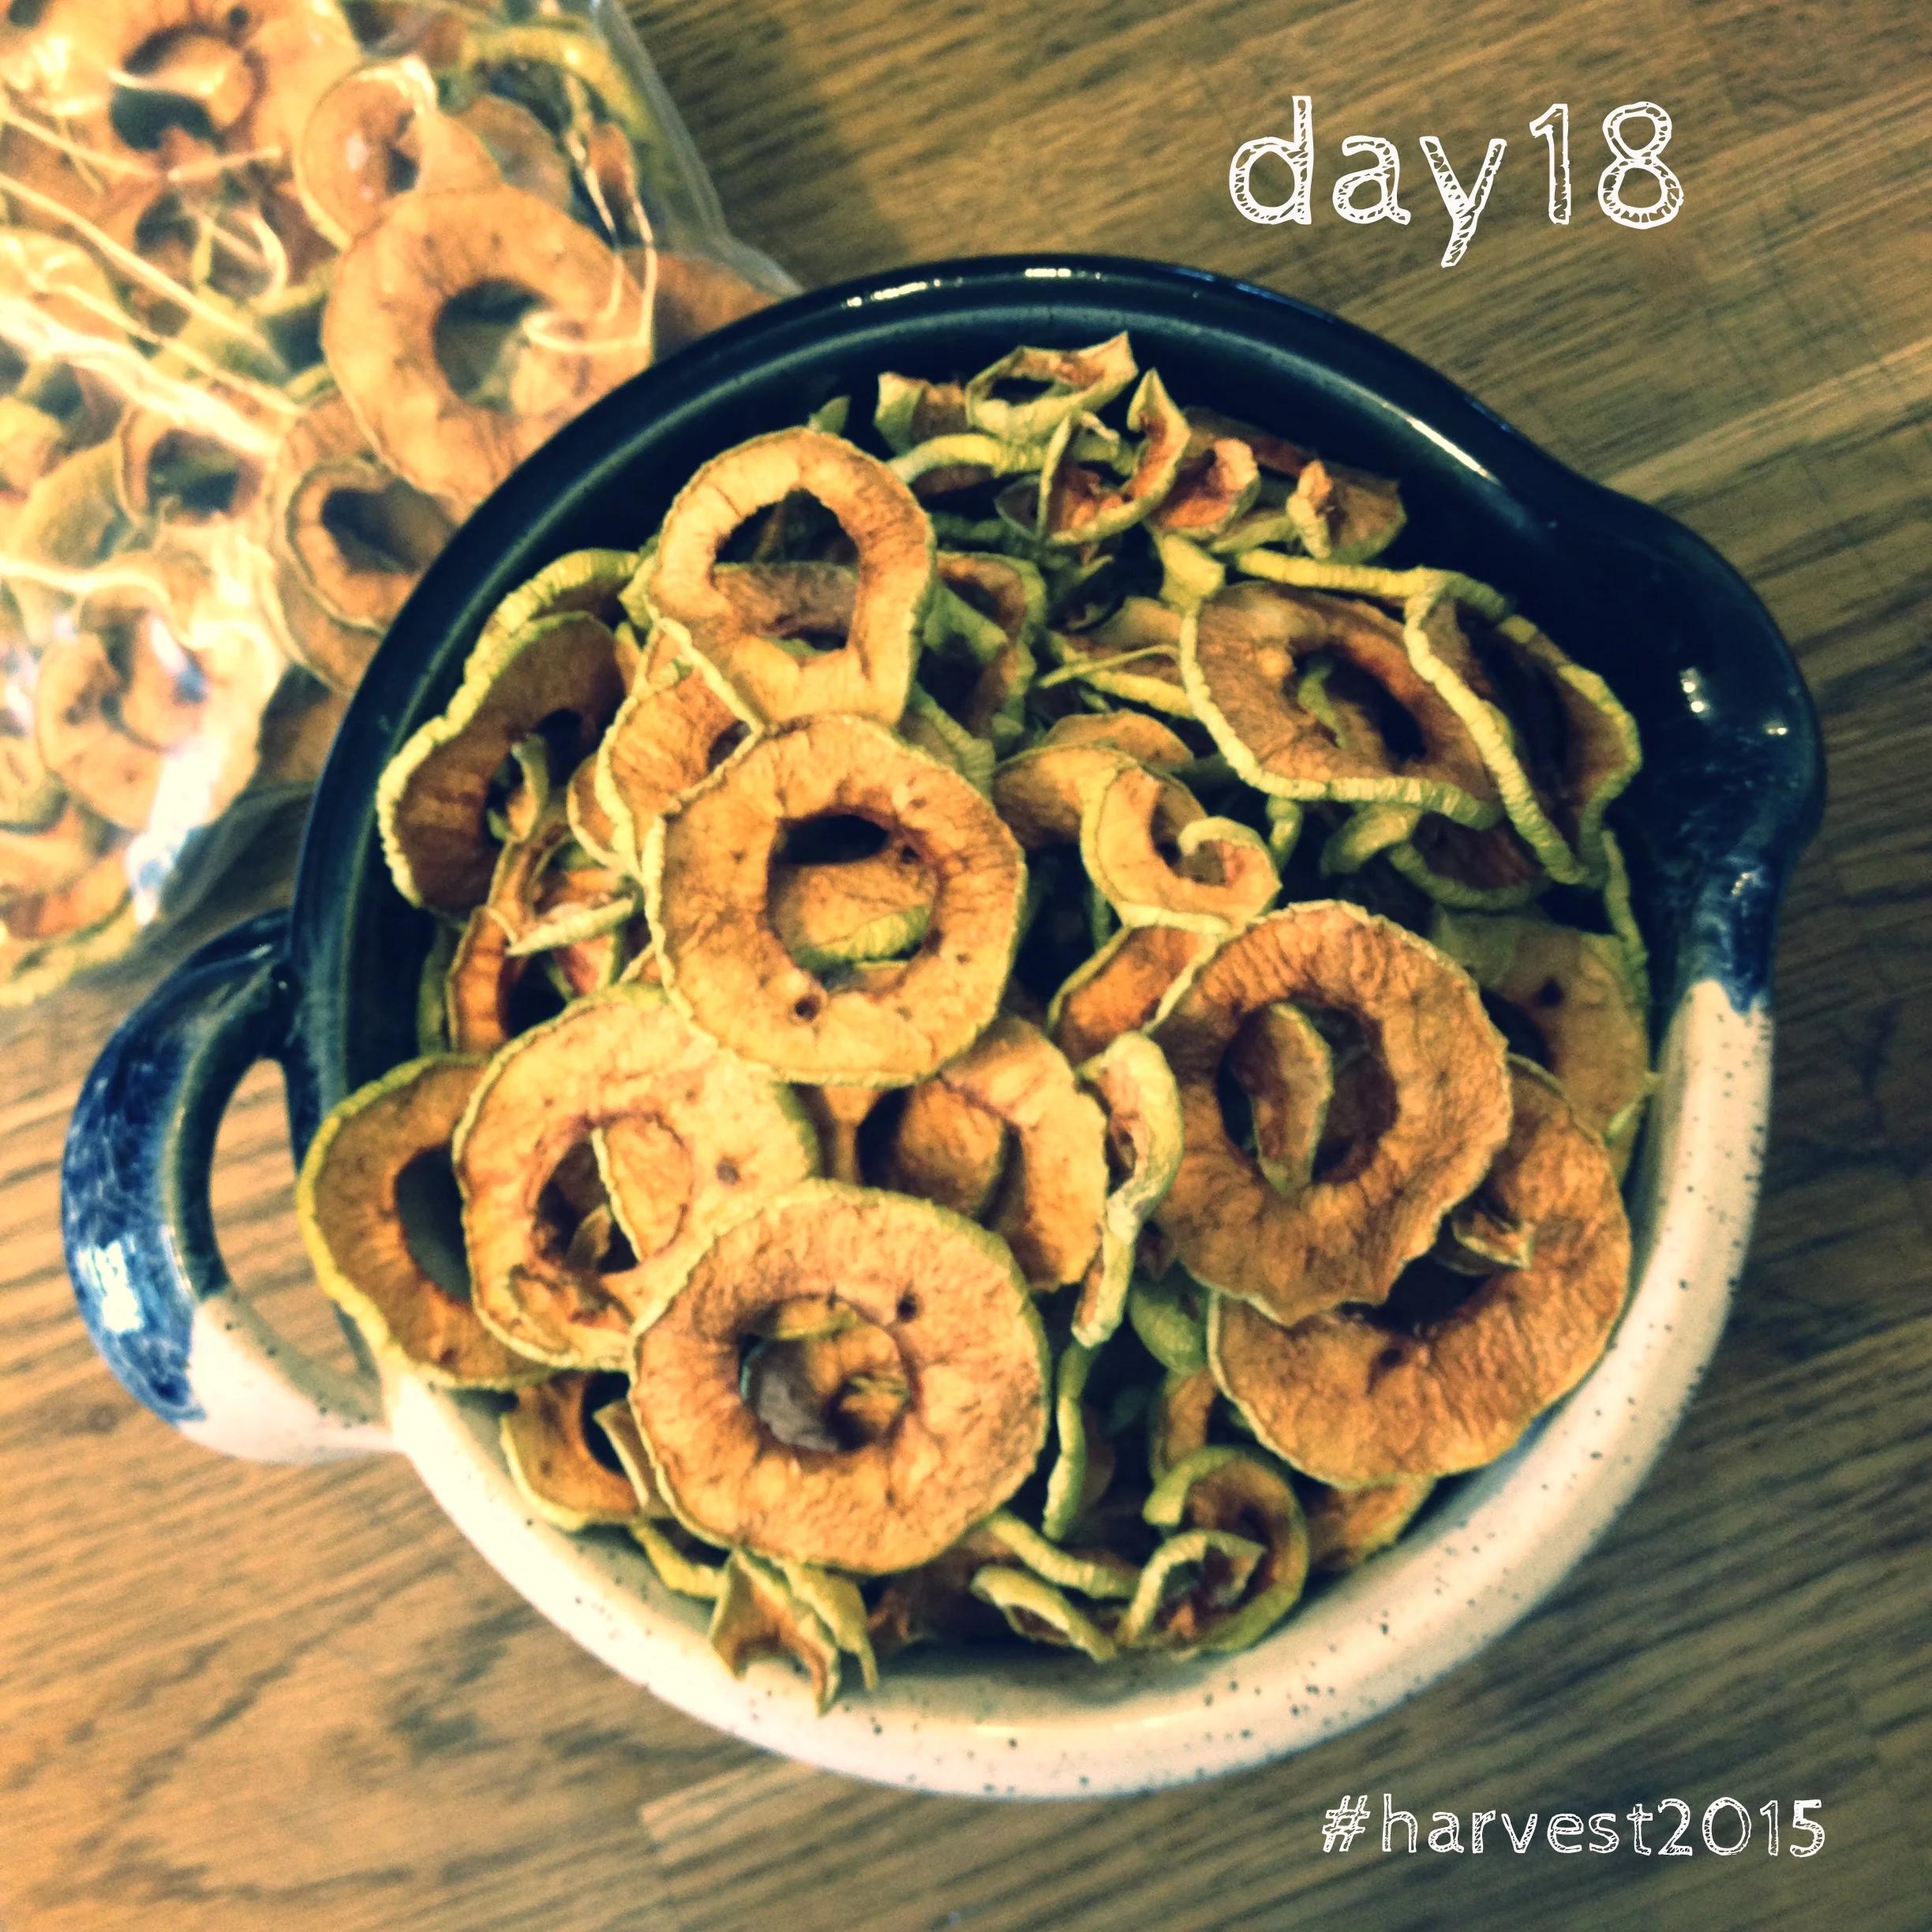
Dried apple rings from tart Alberta apples, for safe-keeping. #harvest2015
A MONTH OF PUTTING UP THE HARVEST - Day 17
There is a french expression "sauve-garder" which when translated, means "to back up". If you translate it literally, it would mean to save and guard, or save and keep. So today's post is in the spirit of sauve-garder, or save and guarding in order to keep. This is a new-to-me method of putting up the harvest, preserving herbs in salt!
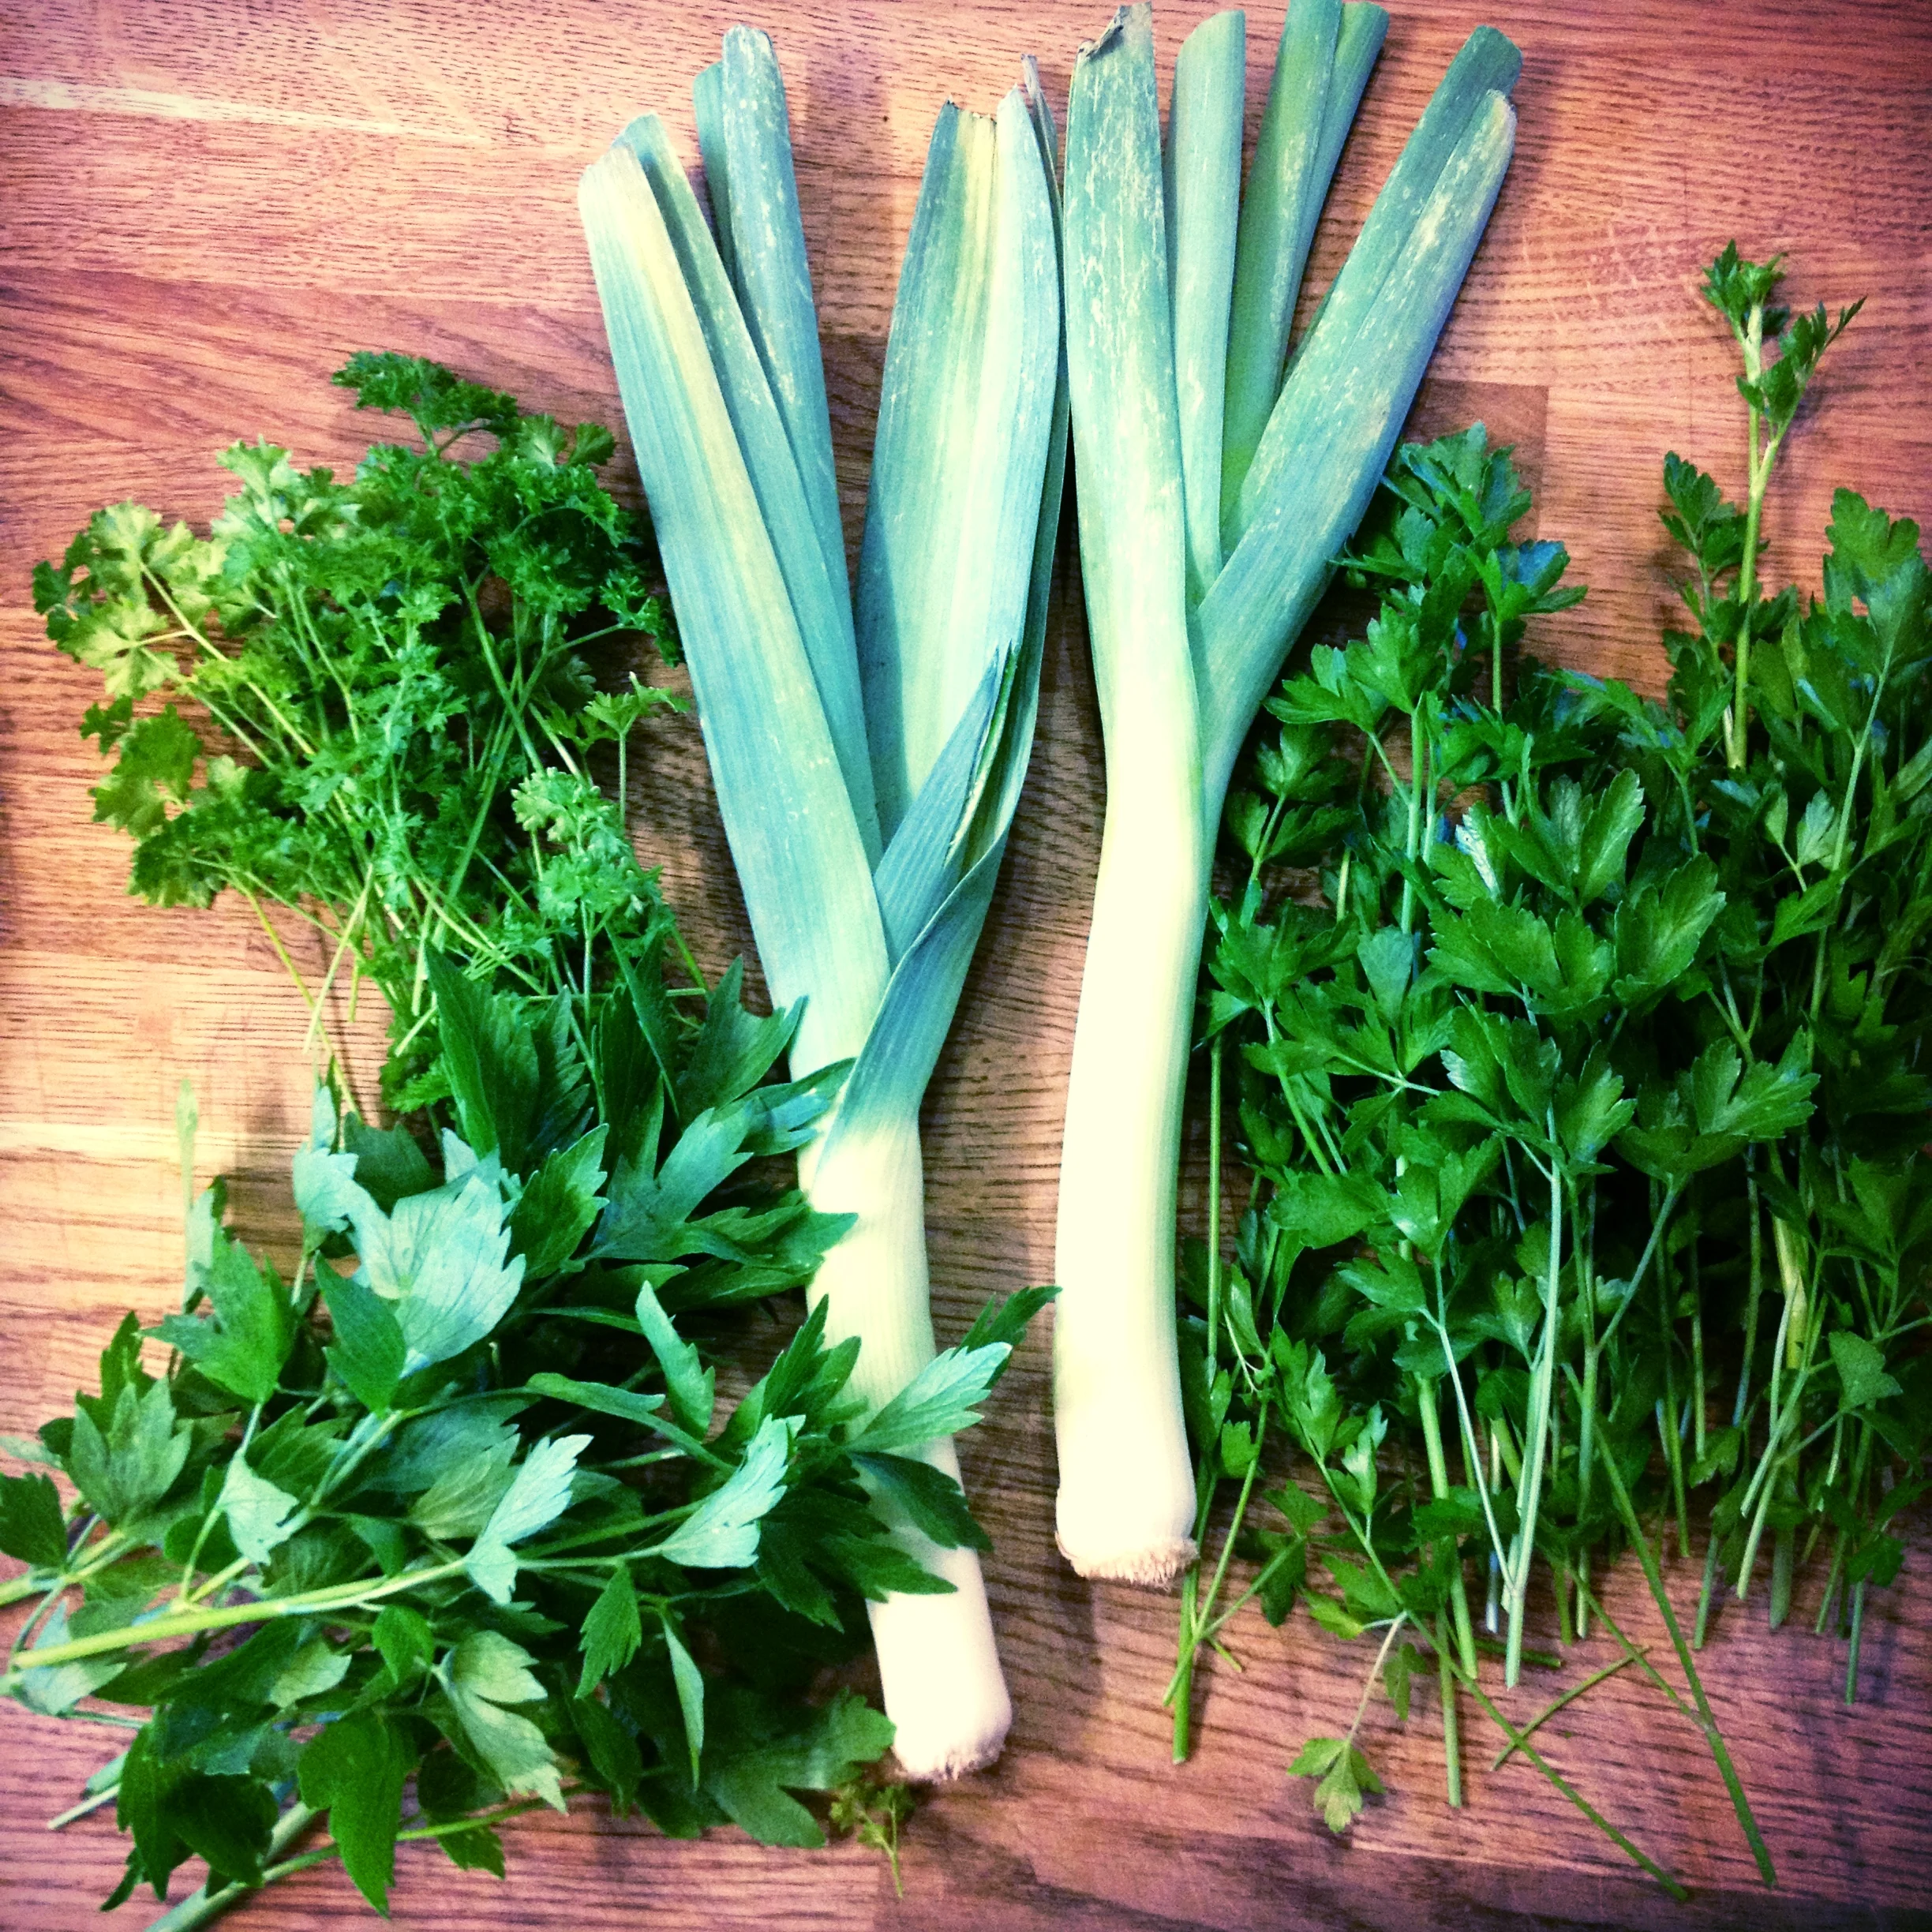
Parsley, lovage and leeks, destined for salt preservation. #harvest2015
There is a french expression "sauve-garder" which when translated, means "to back up". If you translate it literally, it would mean to save and guard, or save and keep. So today's post is in the spirit of sauve-garder, or save and guarding in order to keep. This is a new-to-me method of putting up the harvest, preserving herbs in salt!
I saw a post on someone's instagram feed just recently, someone I follow on a regular basis as he is bringing back some traditional ways to think about food and farming, and he mentioned this in a post a while back. I also saw something posted at The Healthy Home Economist's site a few weeks ago about making your own bouillon cubes, and so am melding the two together in today's project. The leeks are the only item from the store, oh and yes I suppose the sea salt is as well. I went out in my garden and pulled a good handful of curly parsley, flat leaf parsley and a generous handful of lovage leaves to use in this seasoned salt. If you don't yet have lovage, first start by considering growing this delicious perennial herb next year and this year, substitute celery and/or celery leaves instead. It will do the trick.
I did not measure any of these things, it's a loose non-recipe that is serving more as a set of guidelines. I cleaned and cut up 4 leeks from the store, threw them in my food processor along with the bunches of freshly-picked two parsleys and lovage (complete with stems) and whizzed them together until they were minced.
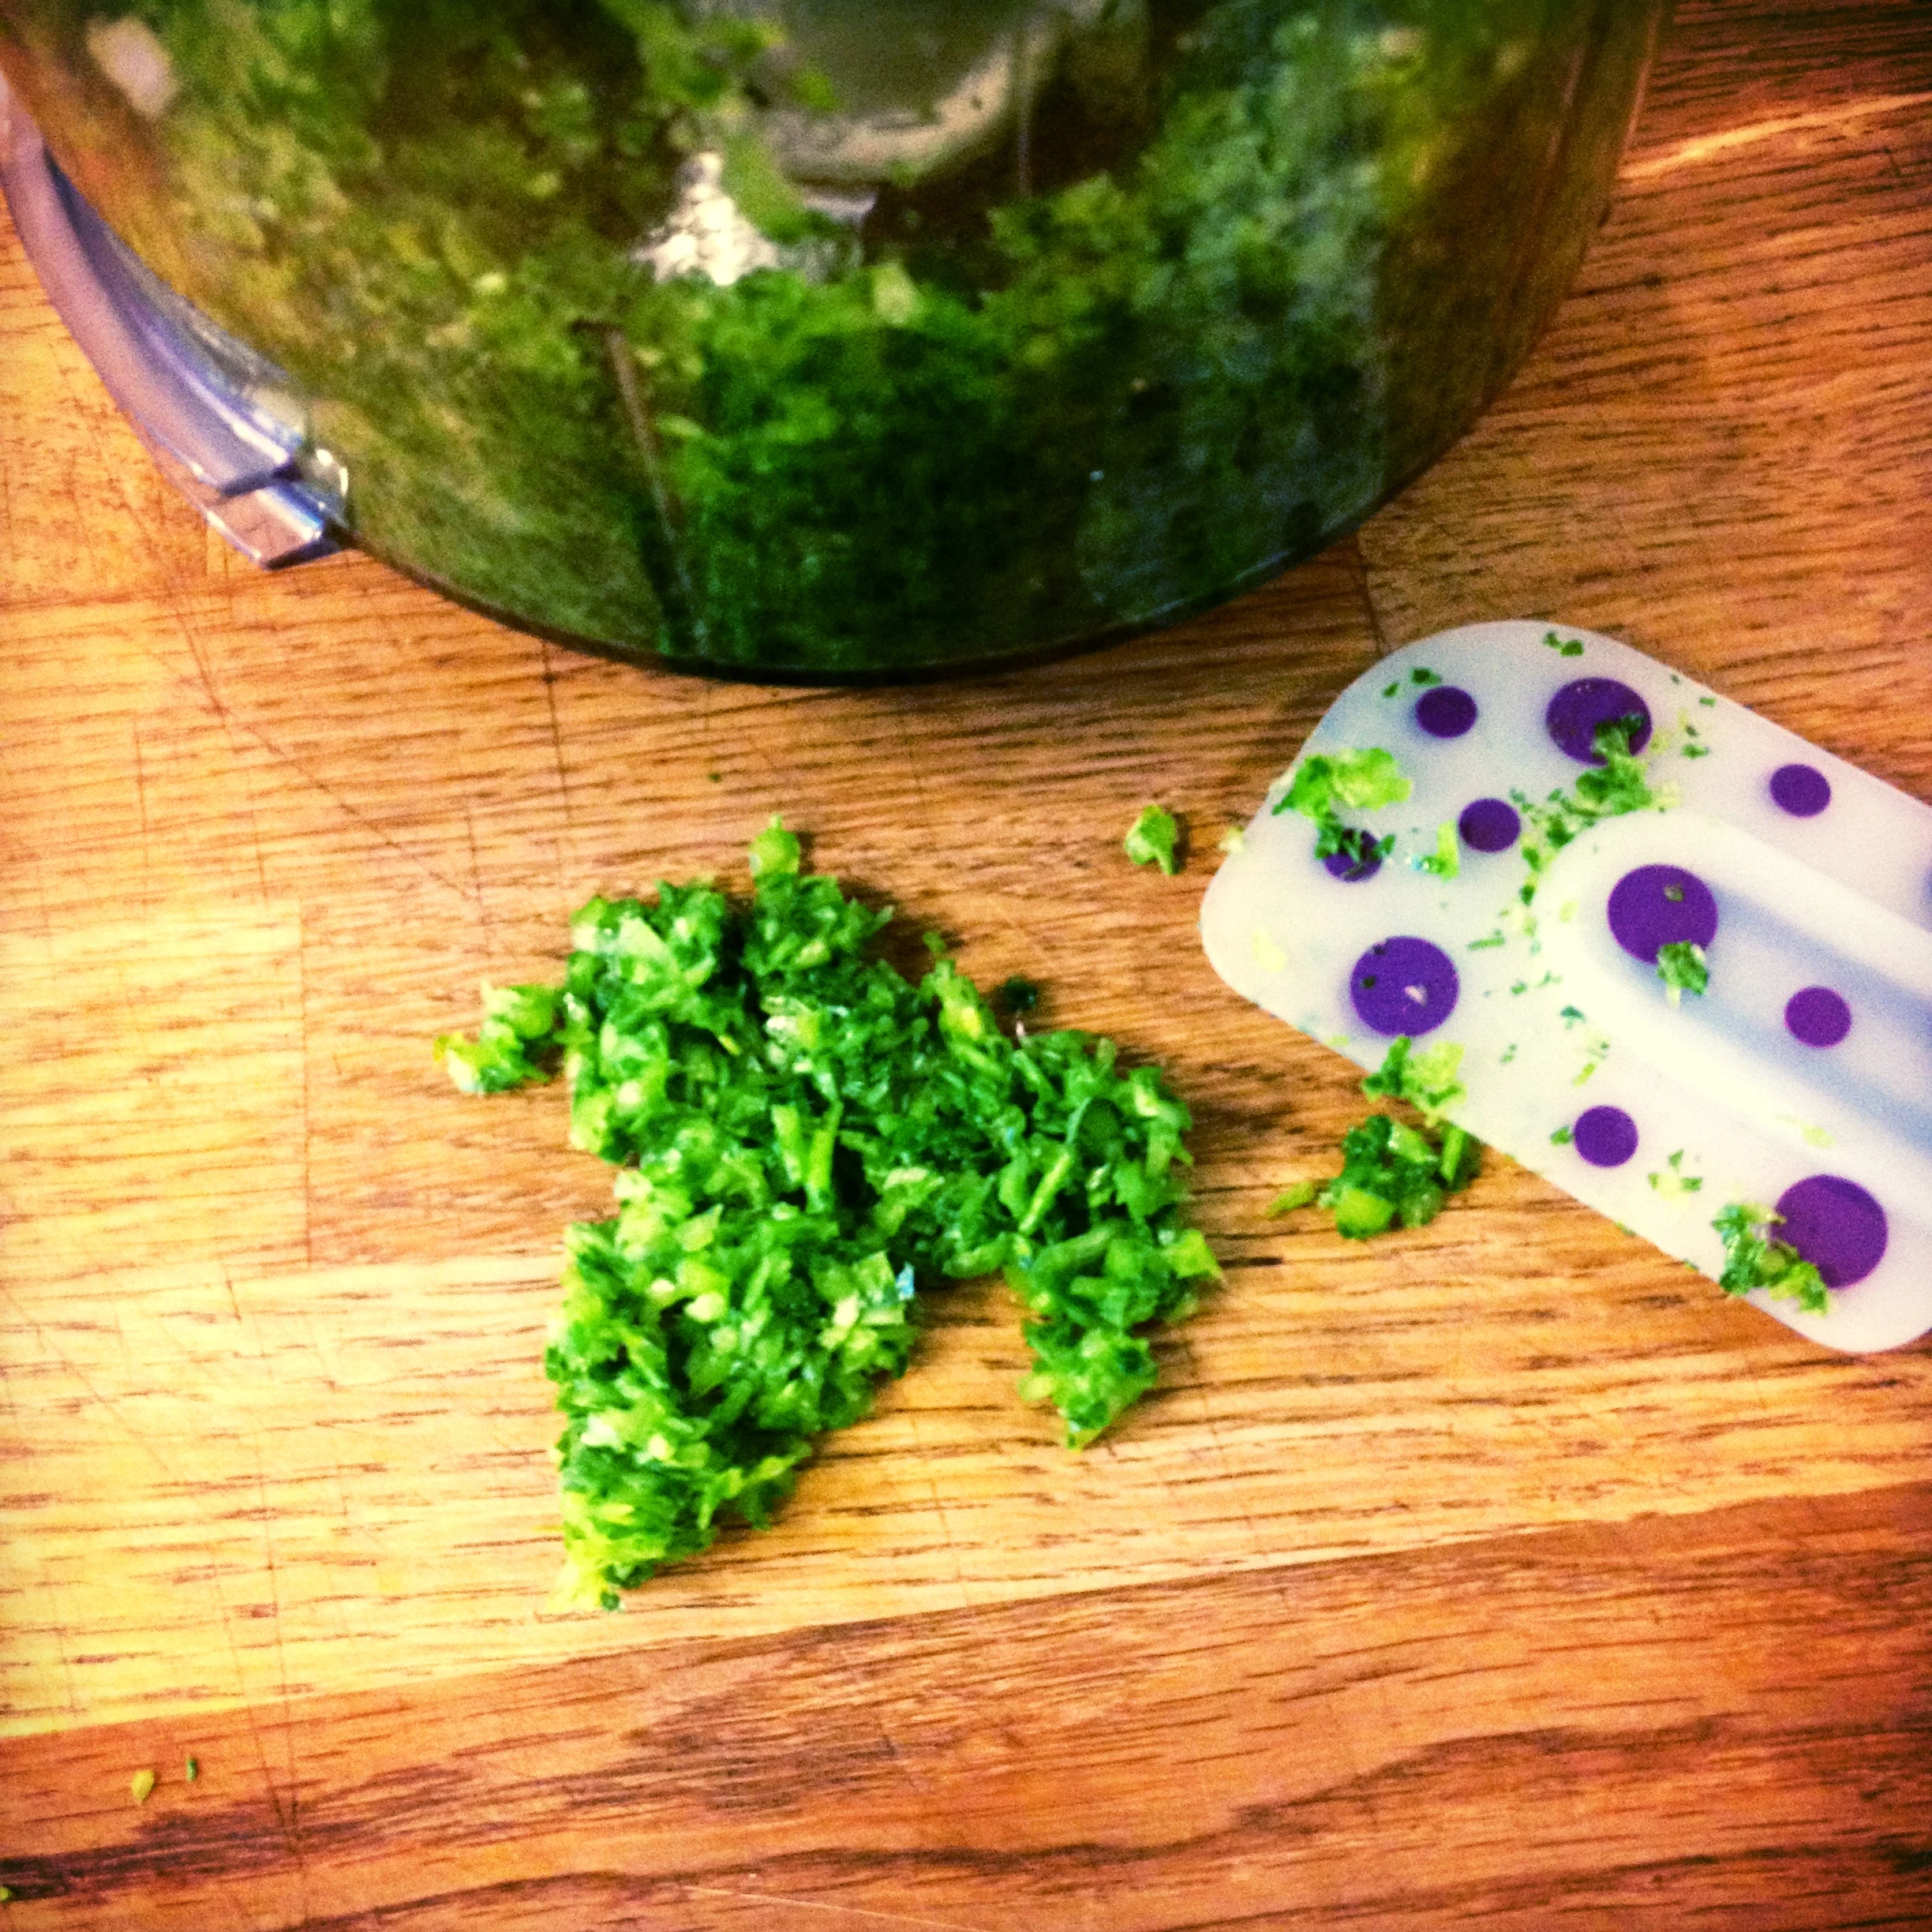
Minced parsley, lovage and leeks. A-seasonings-they-will-be. #harvest2015
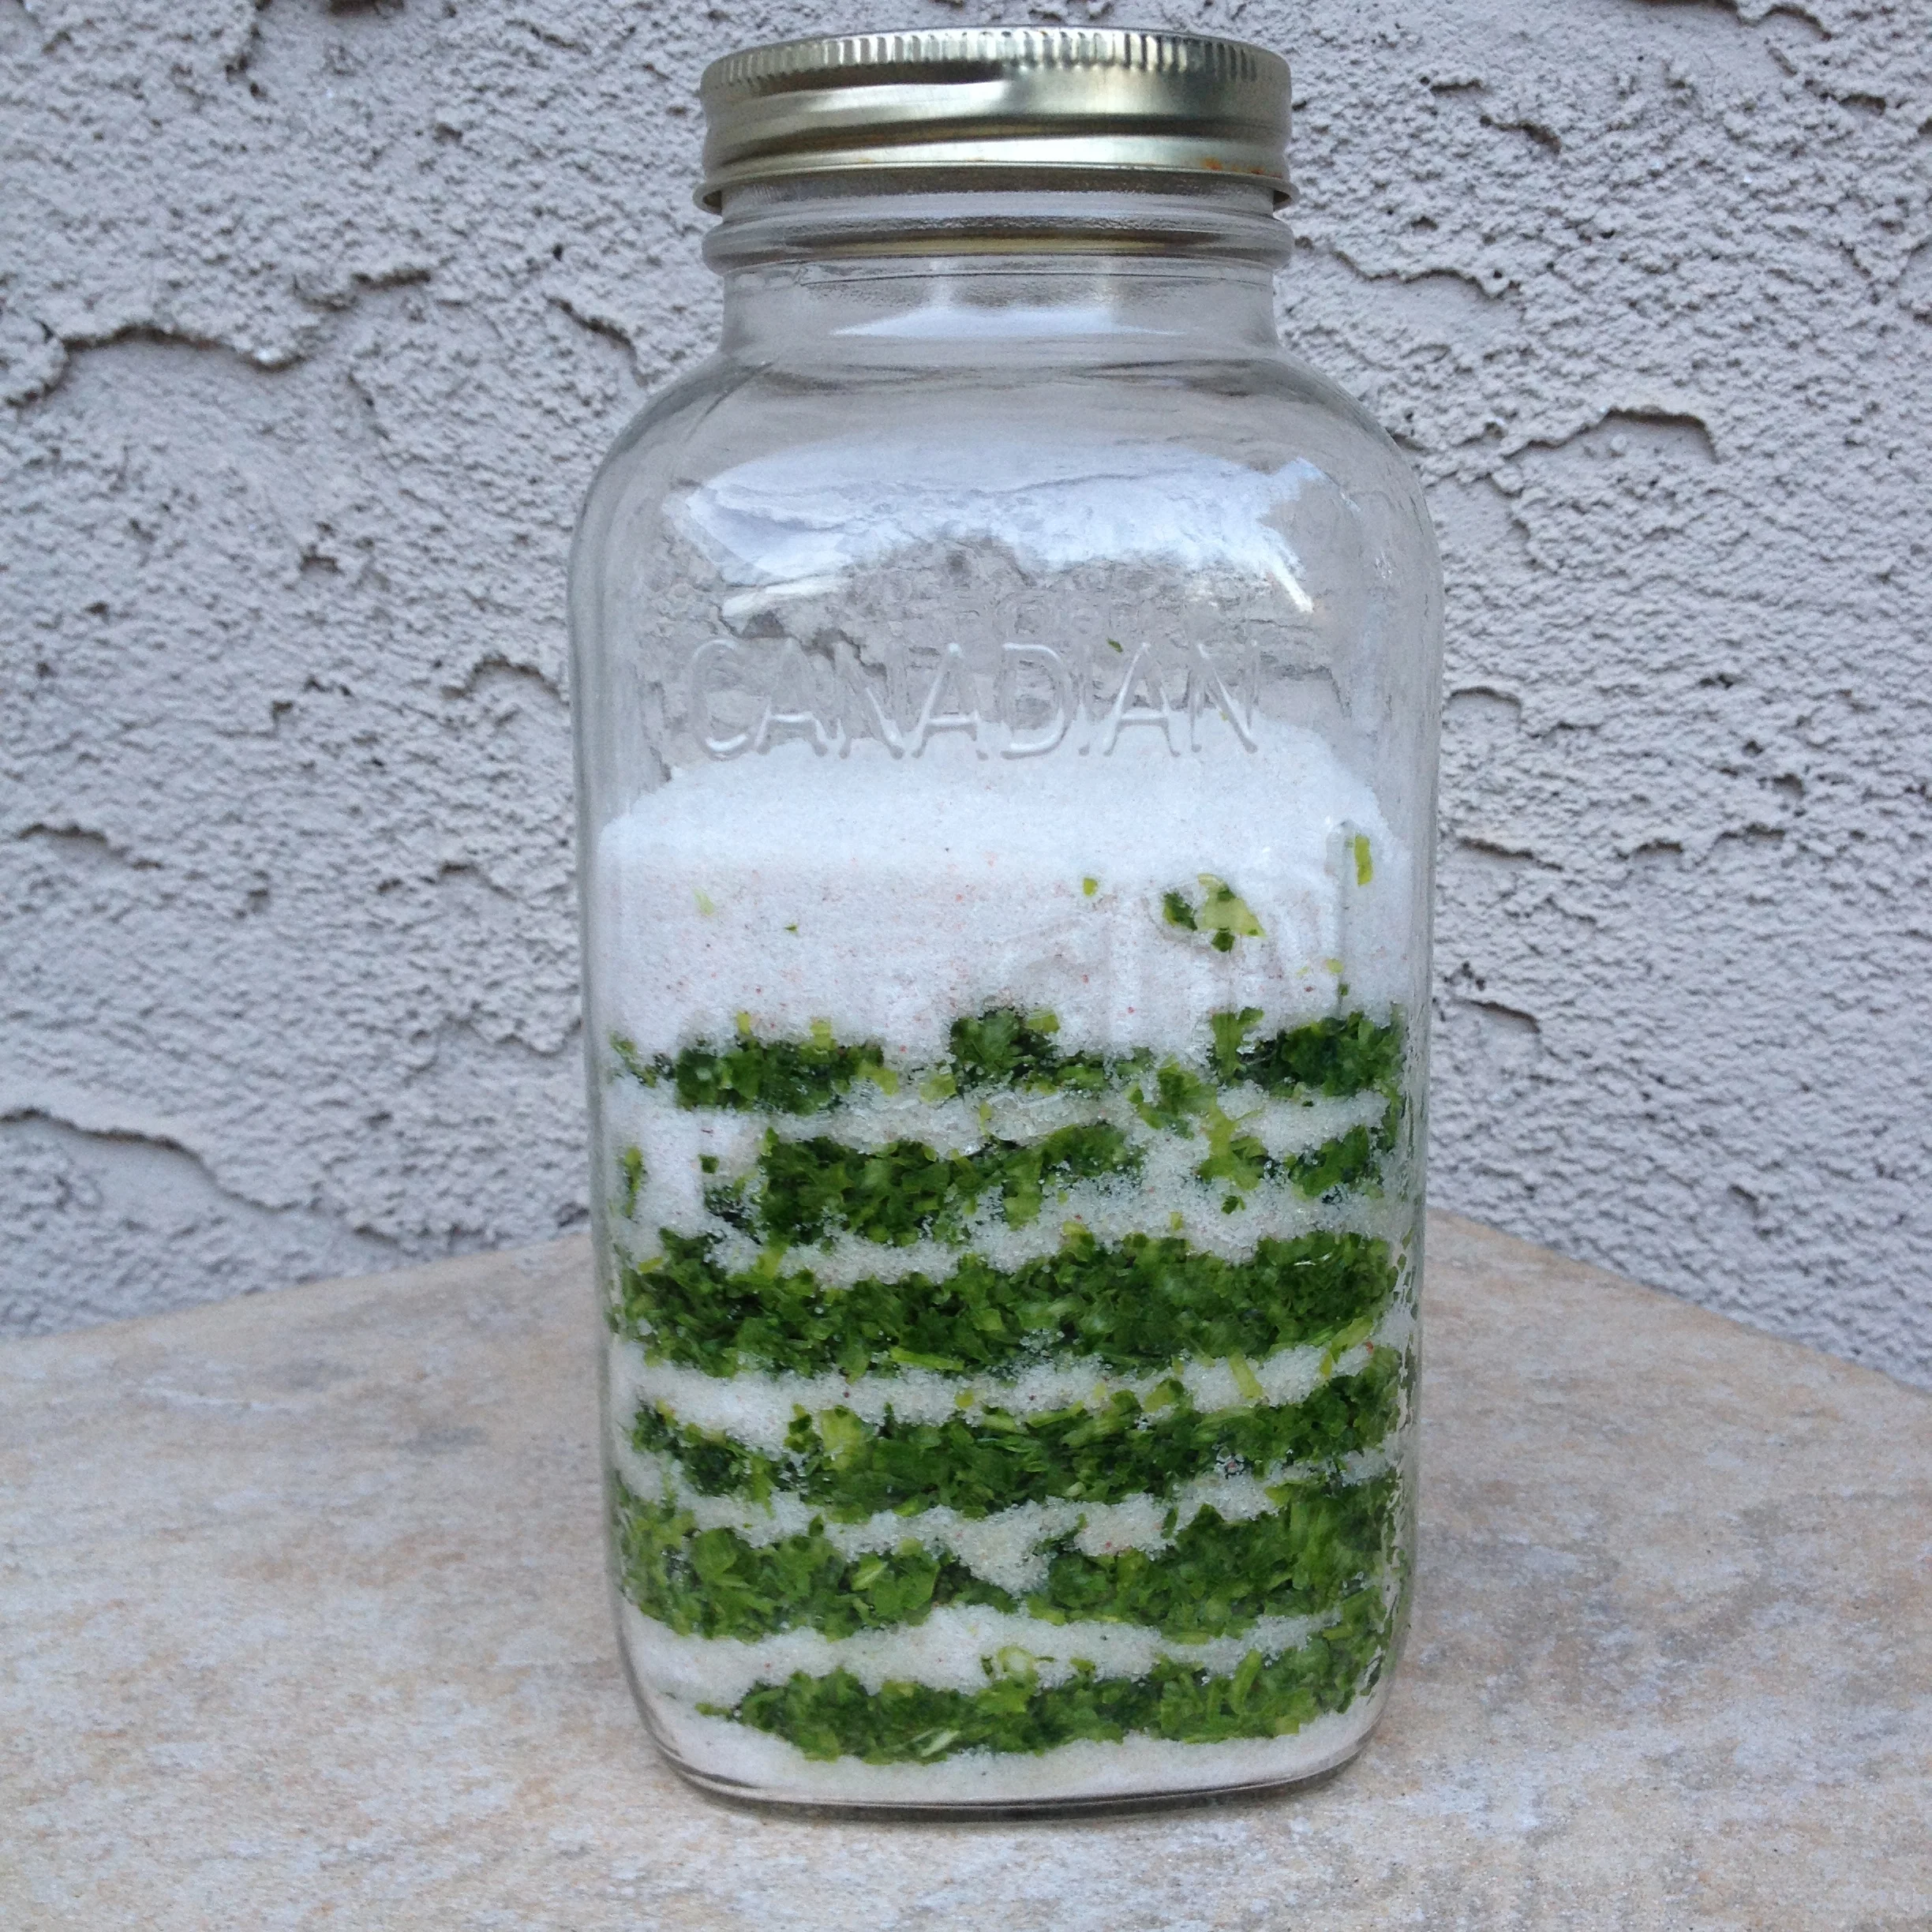
At this point, I took out a clean 1L glass jar (or appropriate size to what you will have harvested) and dropped a few handfuls of good quality sea salt in the bottom of the jar. Next, I layered the freshly minced herbs in small layers with a good covering of sea salt over top each layer, alternating until all of the herbs were used up. I finished with a generous layer of sea salt at the top and that all traces of green on top were covered. And that's it!
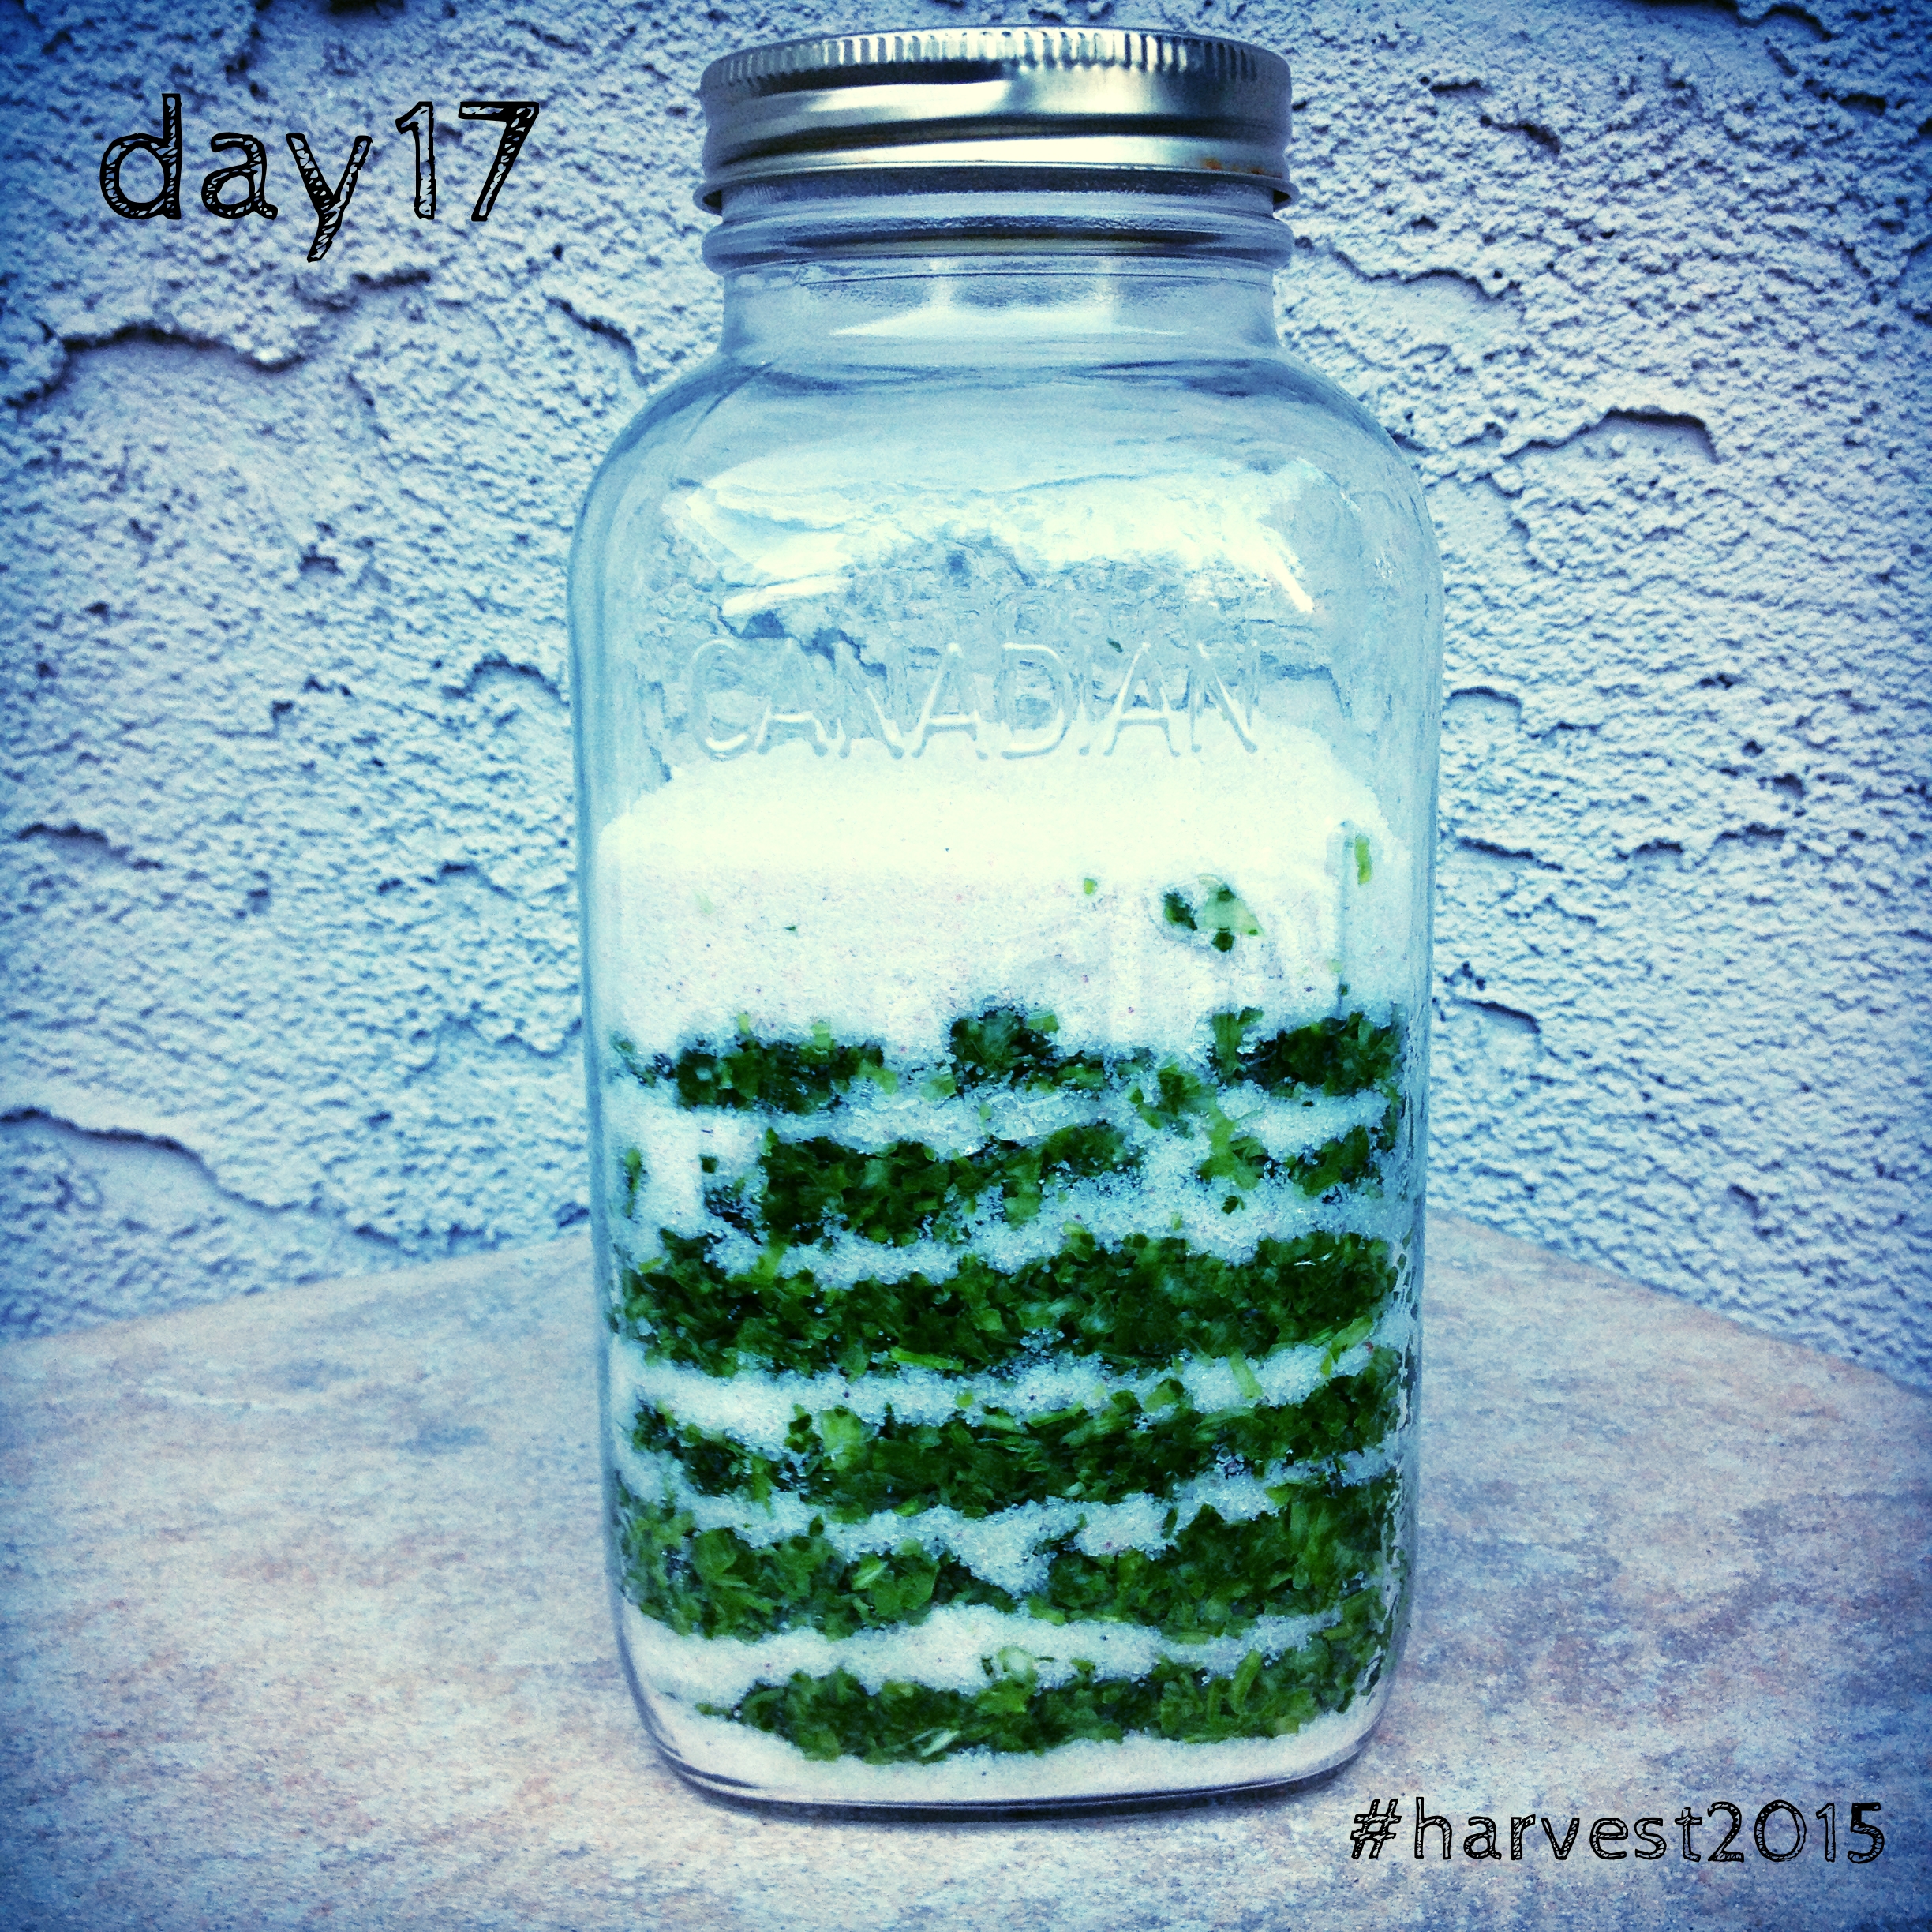
Homemade bouillon-flavoured seasoning salt. #harvest2015
Once I was done, I thought oh shoot, I should have added some crumbled seaweed to the mix, in order to add more minerals to the mash. But alas, I will have to remember for next year. In the meantime, I am planning on leaving this in my pantry to completely dry, as the salt will desiccate the herbs and those flavours will infuse into the salt. In a few weeks' time when it looks ready, I will take the lot and mash it all together with my mortar and pestle, and use it as the perfect seasoning companion for roasted veggies, or will add it to broth (which I drink like tea) or on rice, or wherever those flavours and a bit of salt will elevate the flavour experience.
So go ahead kids, go sauve-garder your gardens and harvest now willya?
A MONTH OF PUTTING UP THE HARVEST - Day 16
Monday Monday. I trust you had a great time picking up the local bounty at this past weekend's farm stalls and markets, yes? Or do you find yourself overwhelmed with the amounts of greens your garden or your CSA seem to be producing? Fret not my greens loving friend, help is near.
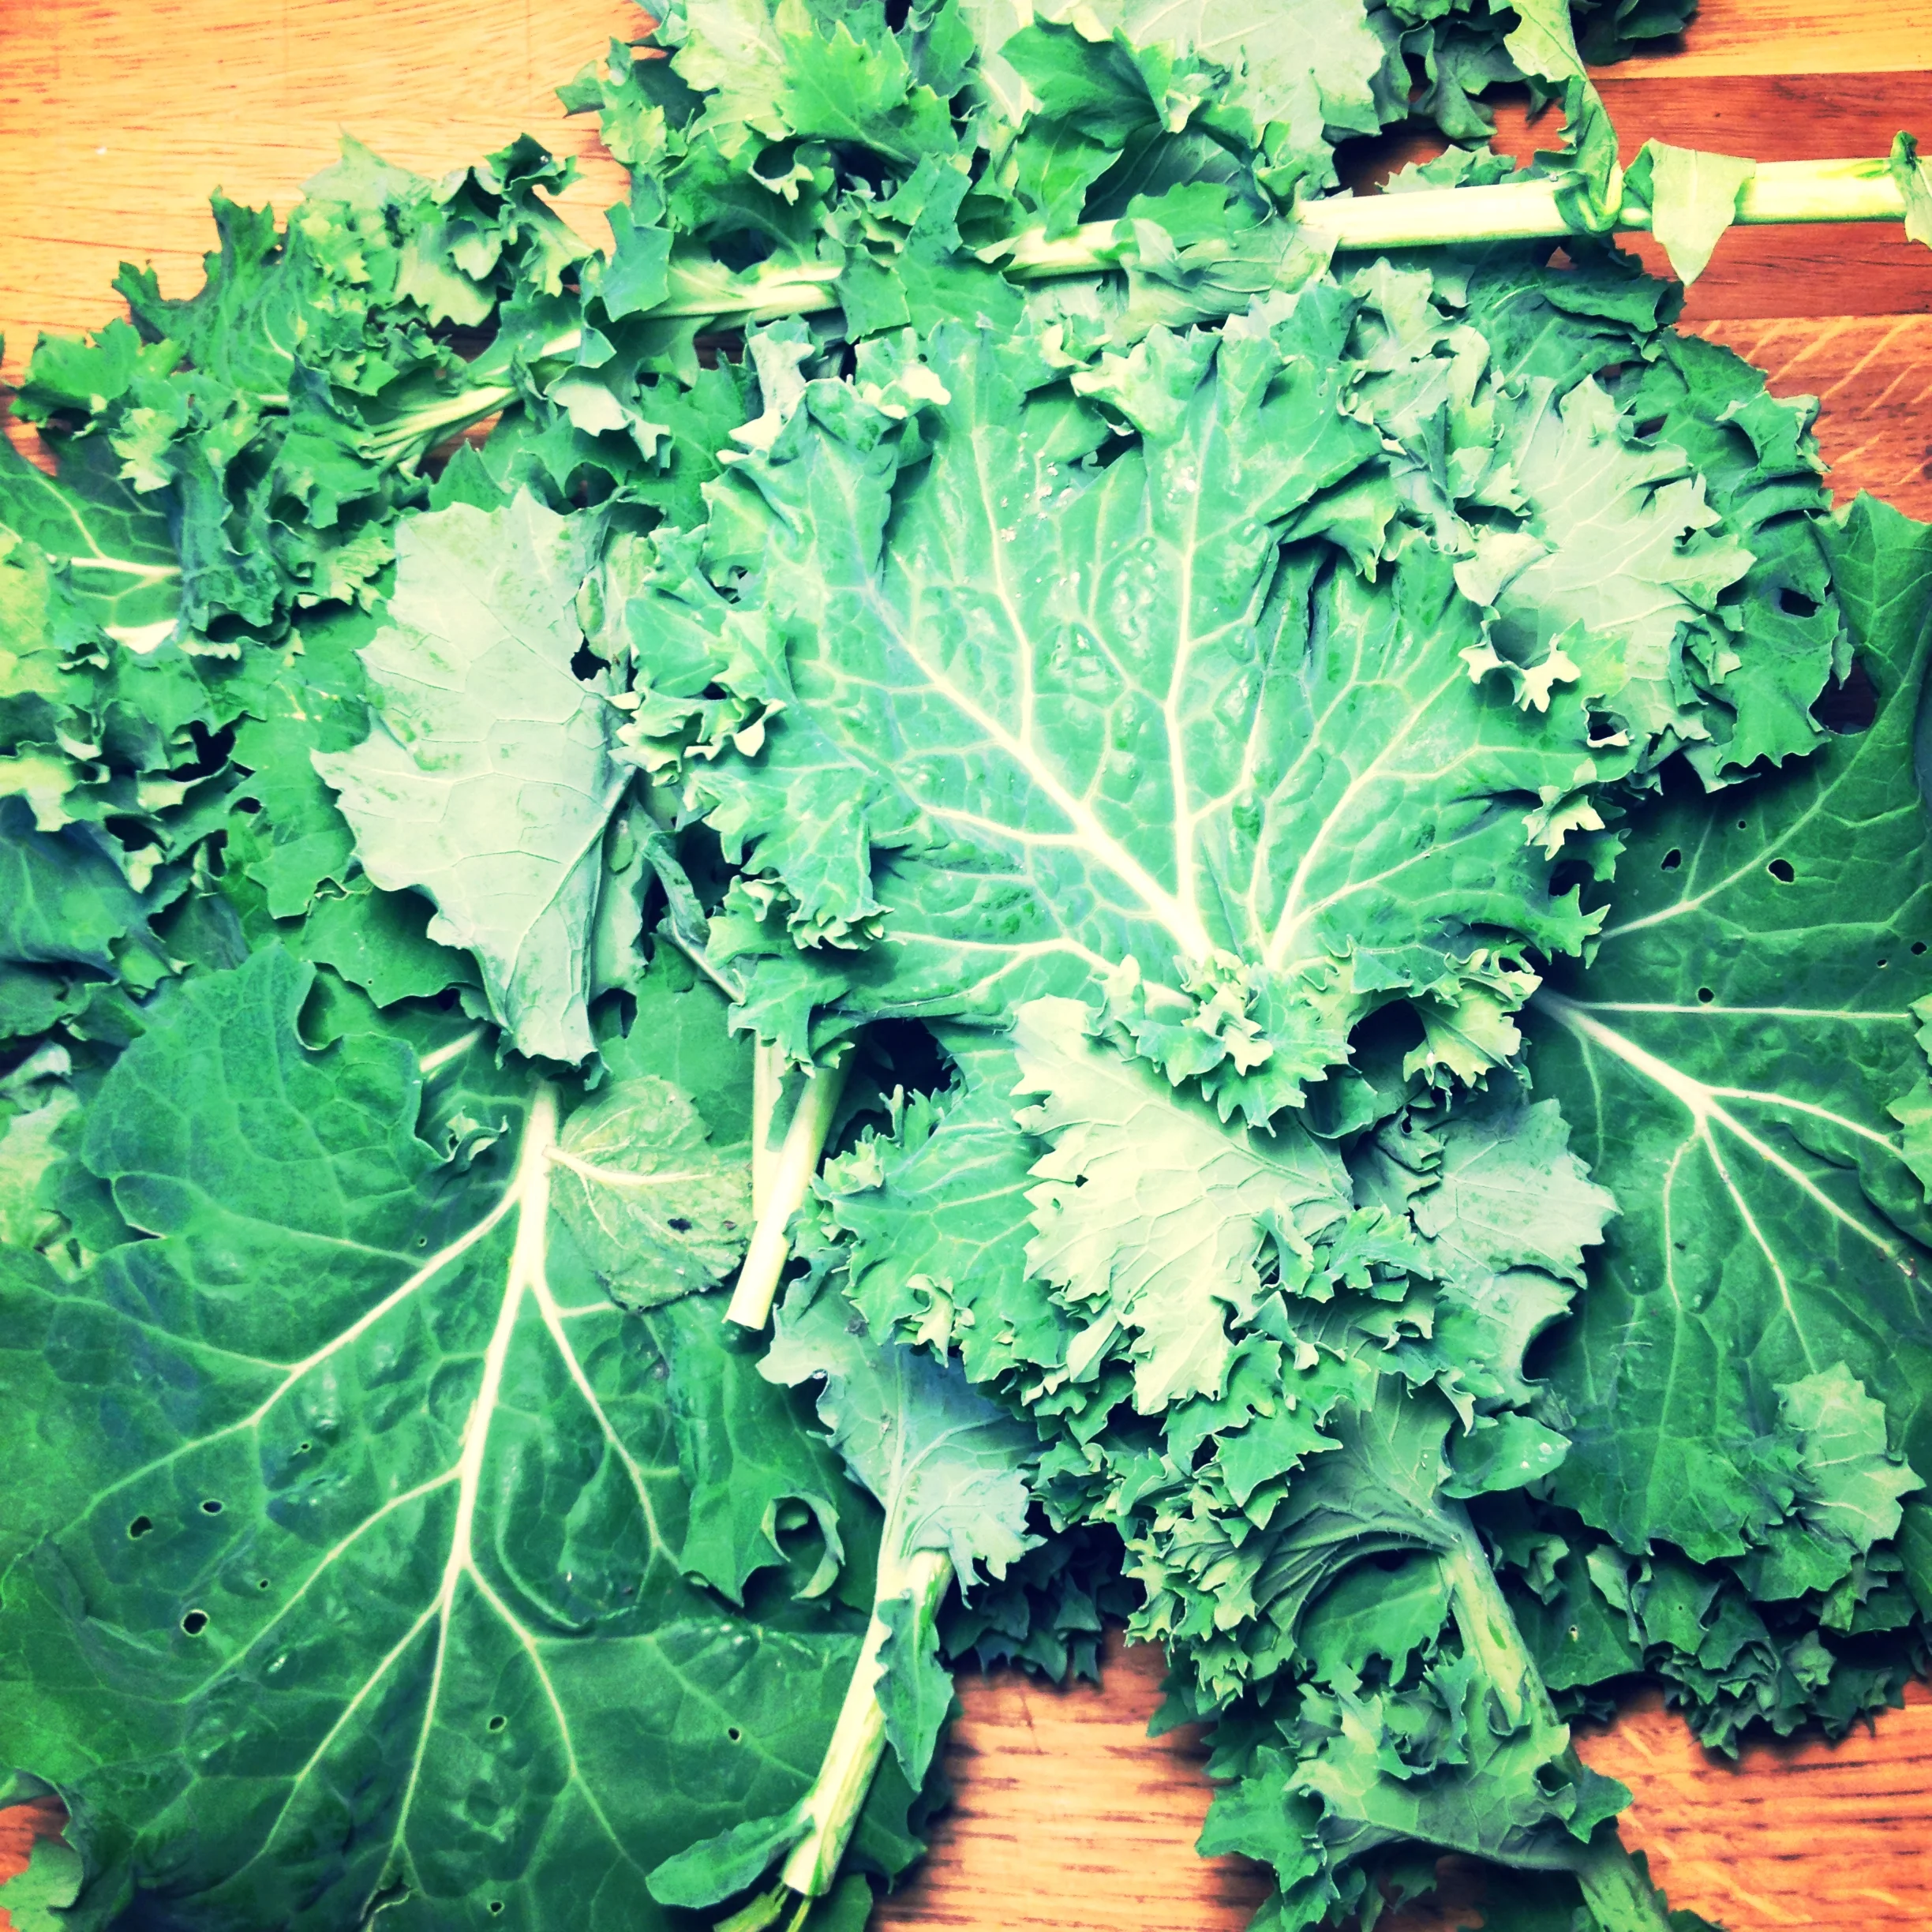
Greens Greens Greens Greens. As far as the eye can see it seems. #harvest2015 (Siberian Kale)
Monday Monday. I trust you had a great time picking up the local bounty at this past weekend's farm stalls and markets, yes? Or do you find yourself overwhelmed with the amounts of greens your garden or your CSA seem to be producing? Fret not my greens loving friend, help is near.
This stuff is perfect for prairie gardens. It grows like the dickens and long into the fall as well. It also looks nice in flower beds. But now you're not here for gardening advice, are you! You're here for harvesting advice! So chop those leaves down, my friend. Do not be intimidated. (Incidentally, you can do this with any hardy edible green like broccoli leaves, chard, lacinato kale, tatsoi, mustard greens, beet greens, spinach, etc.)
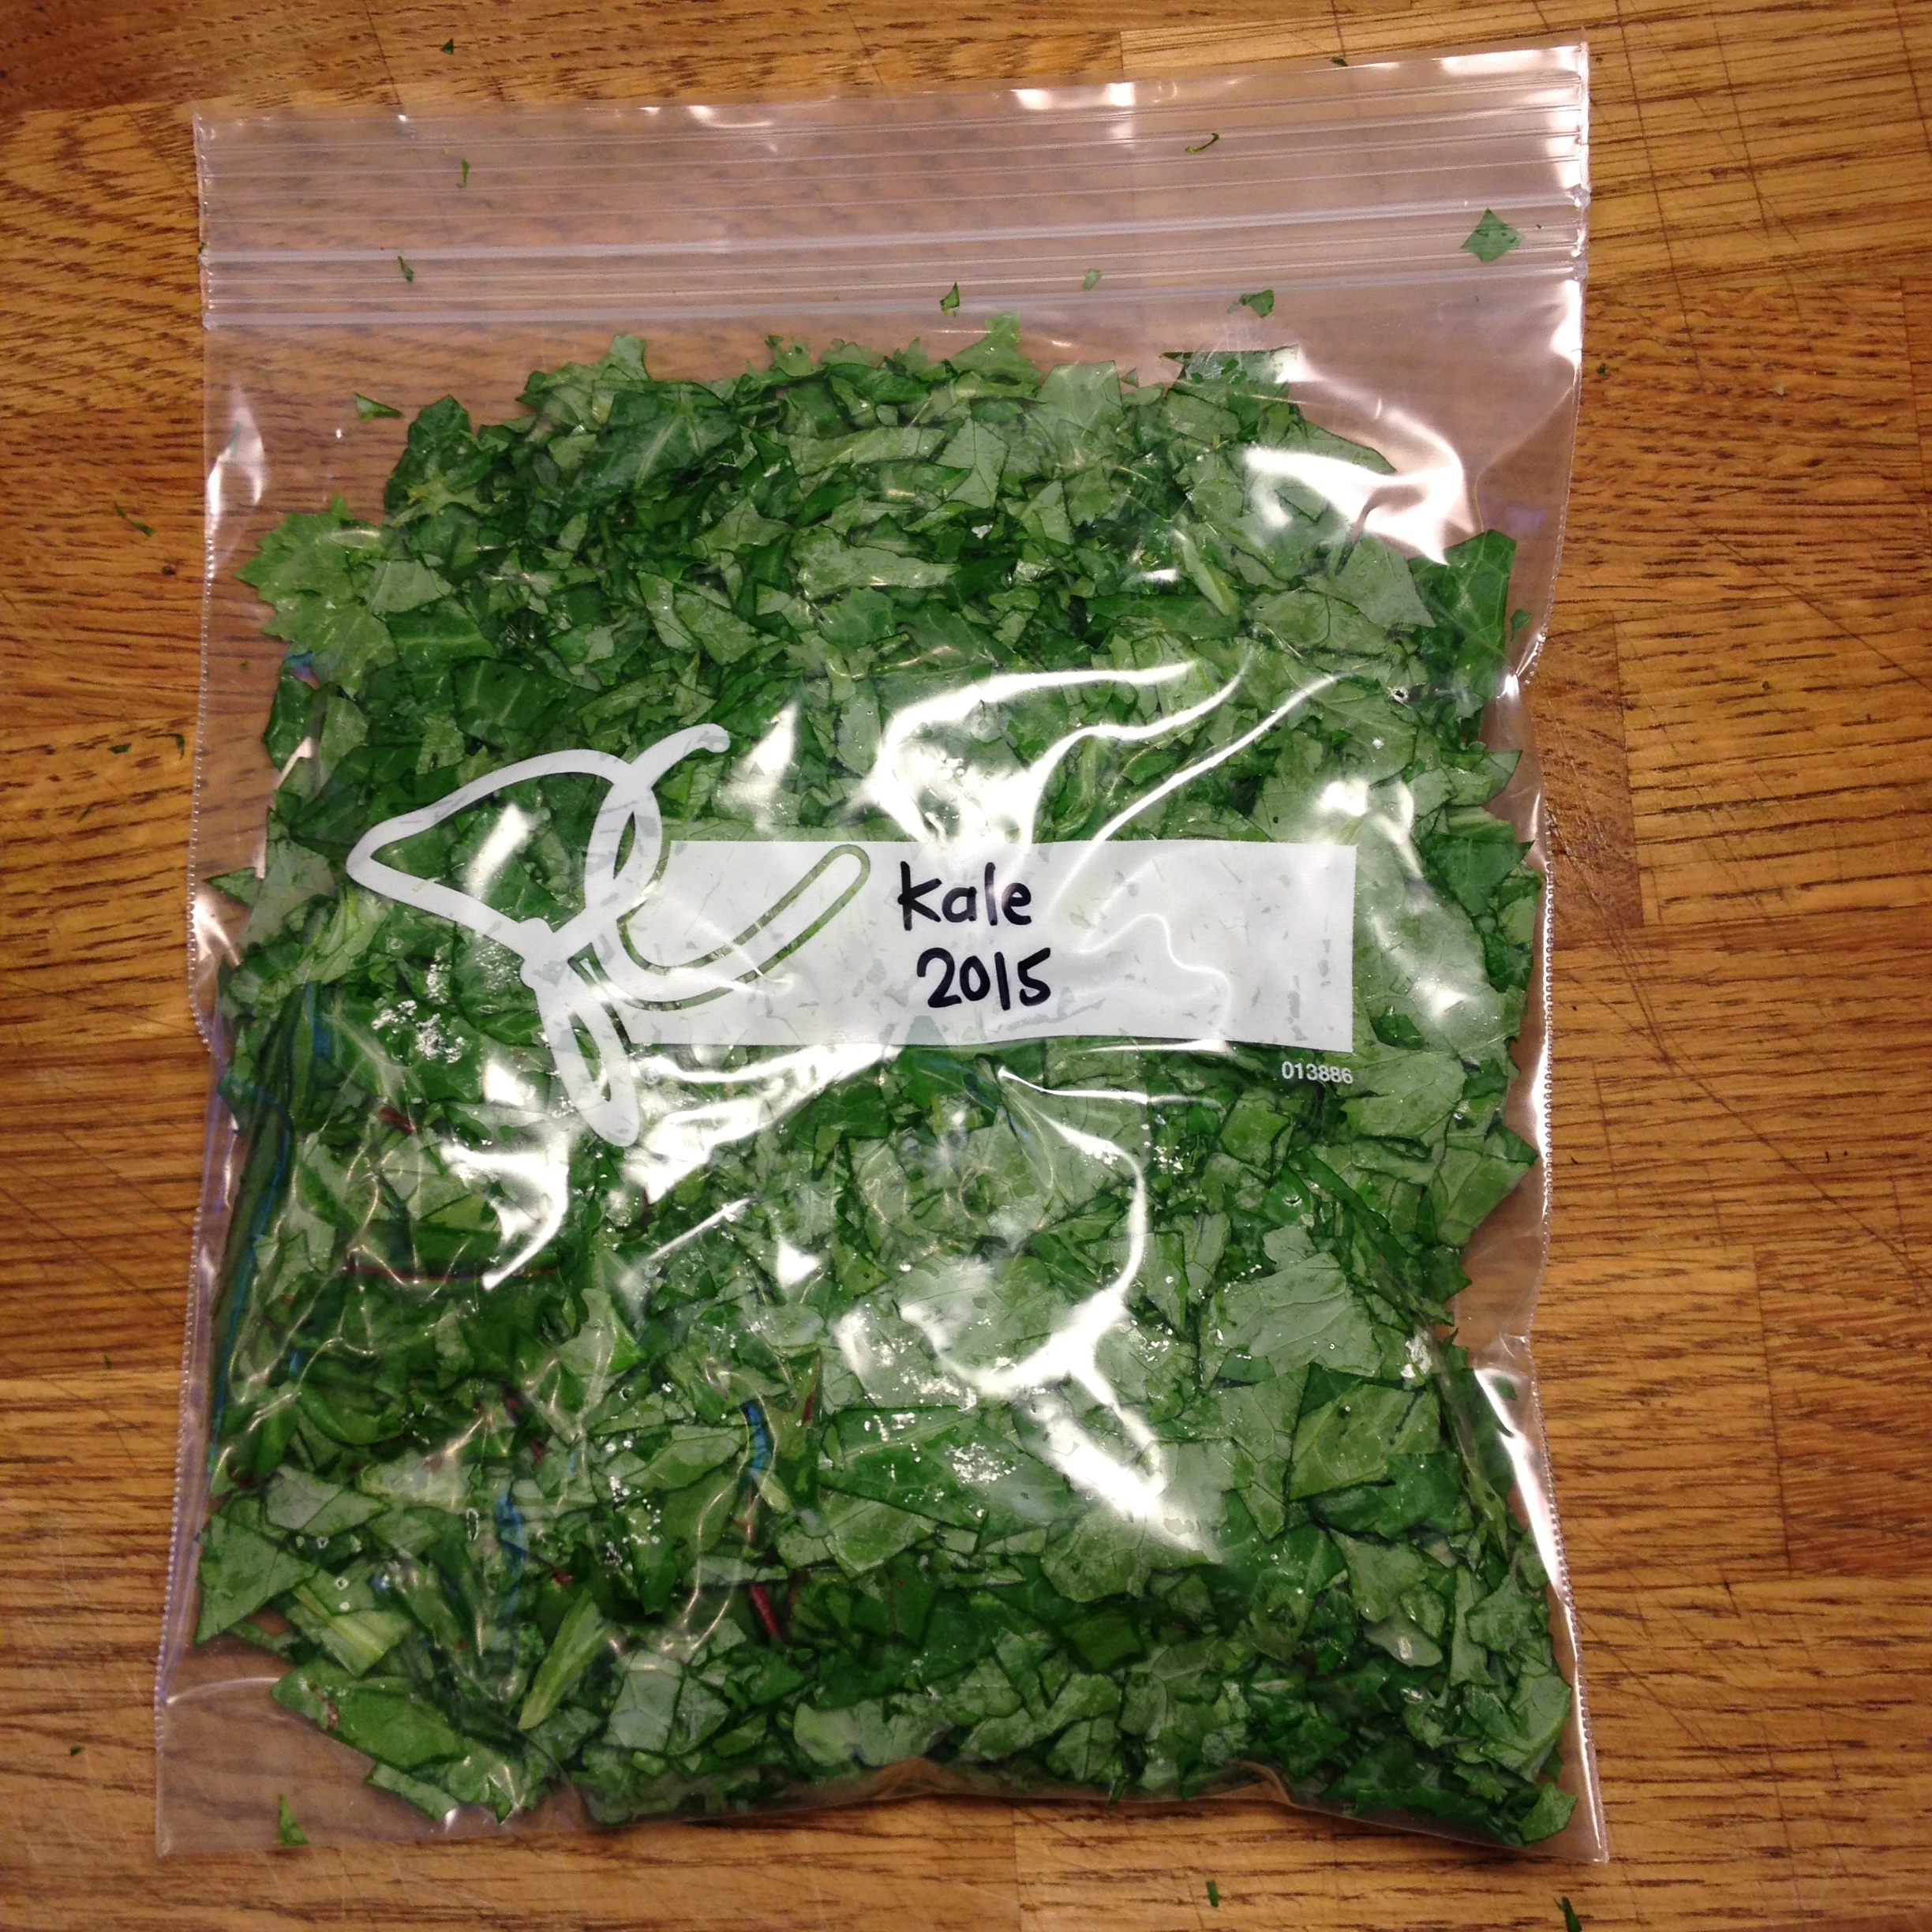
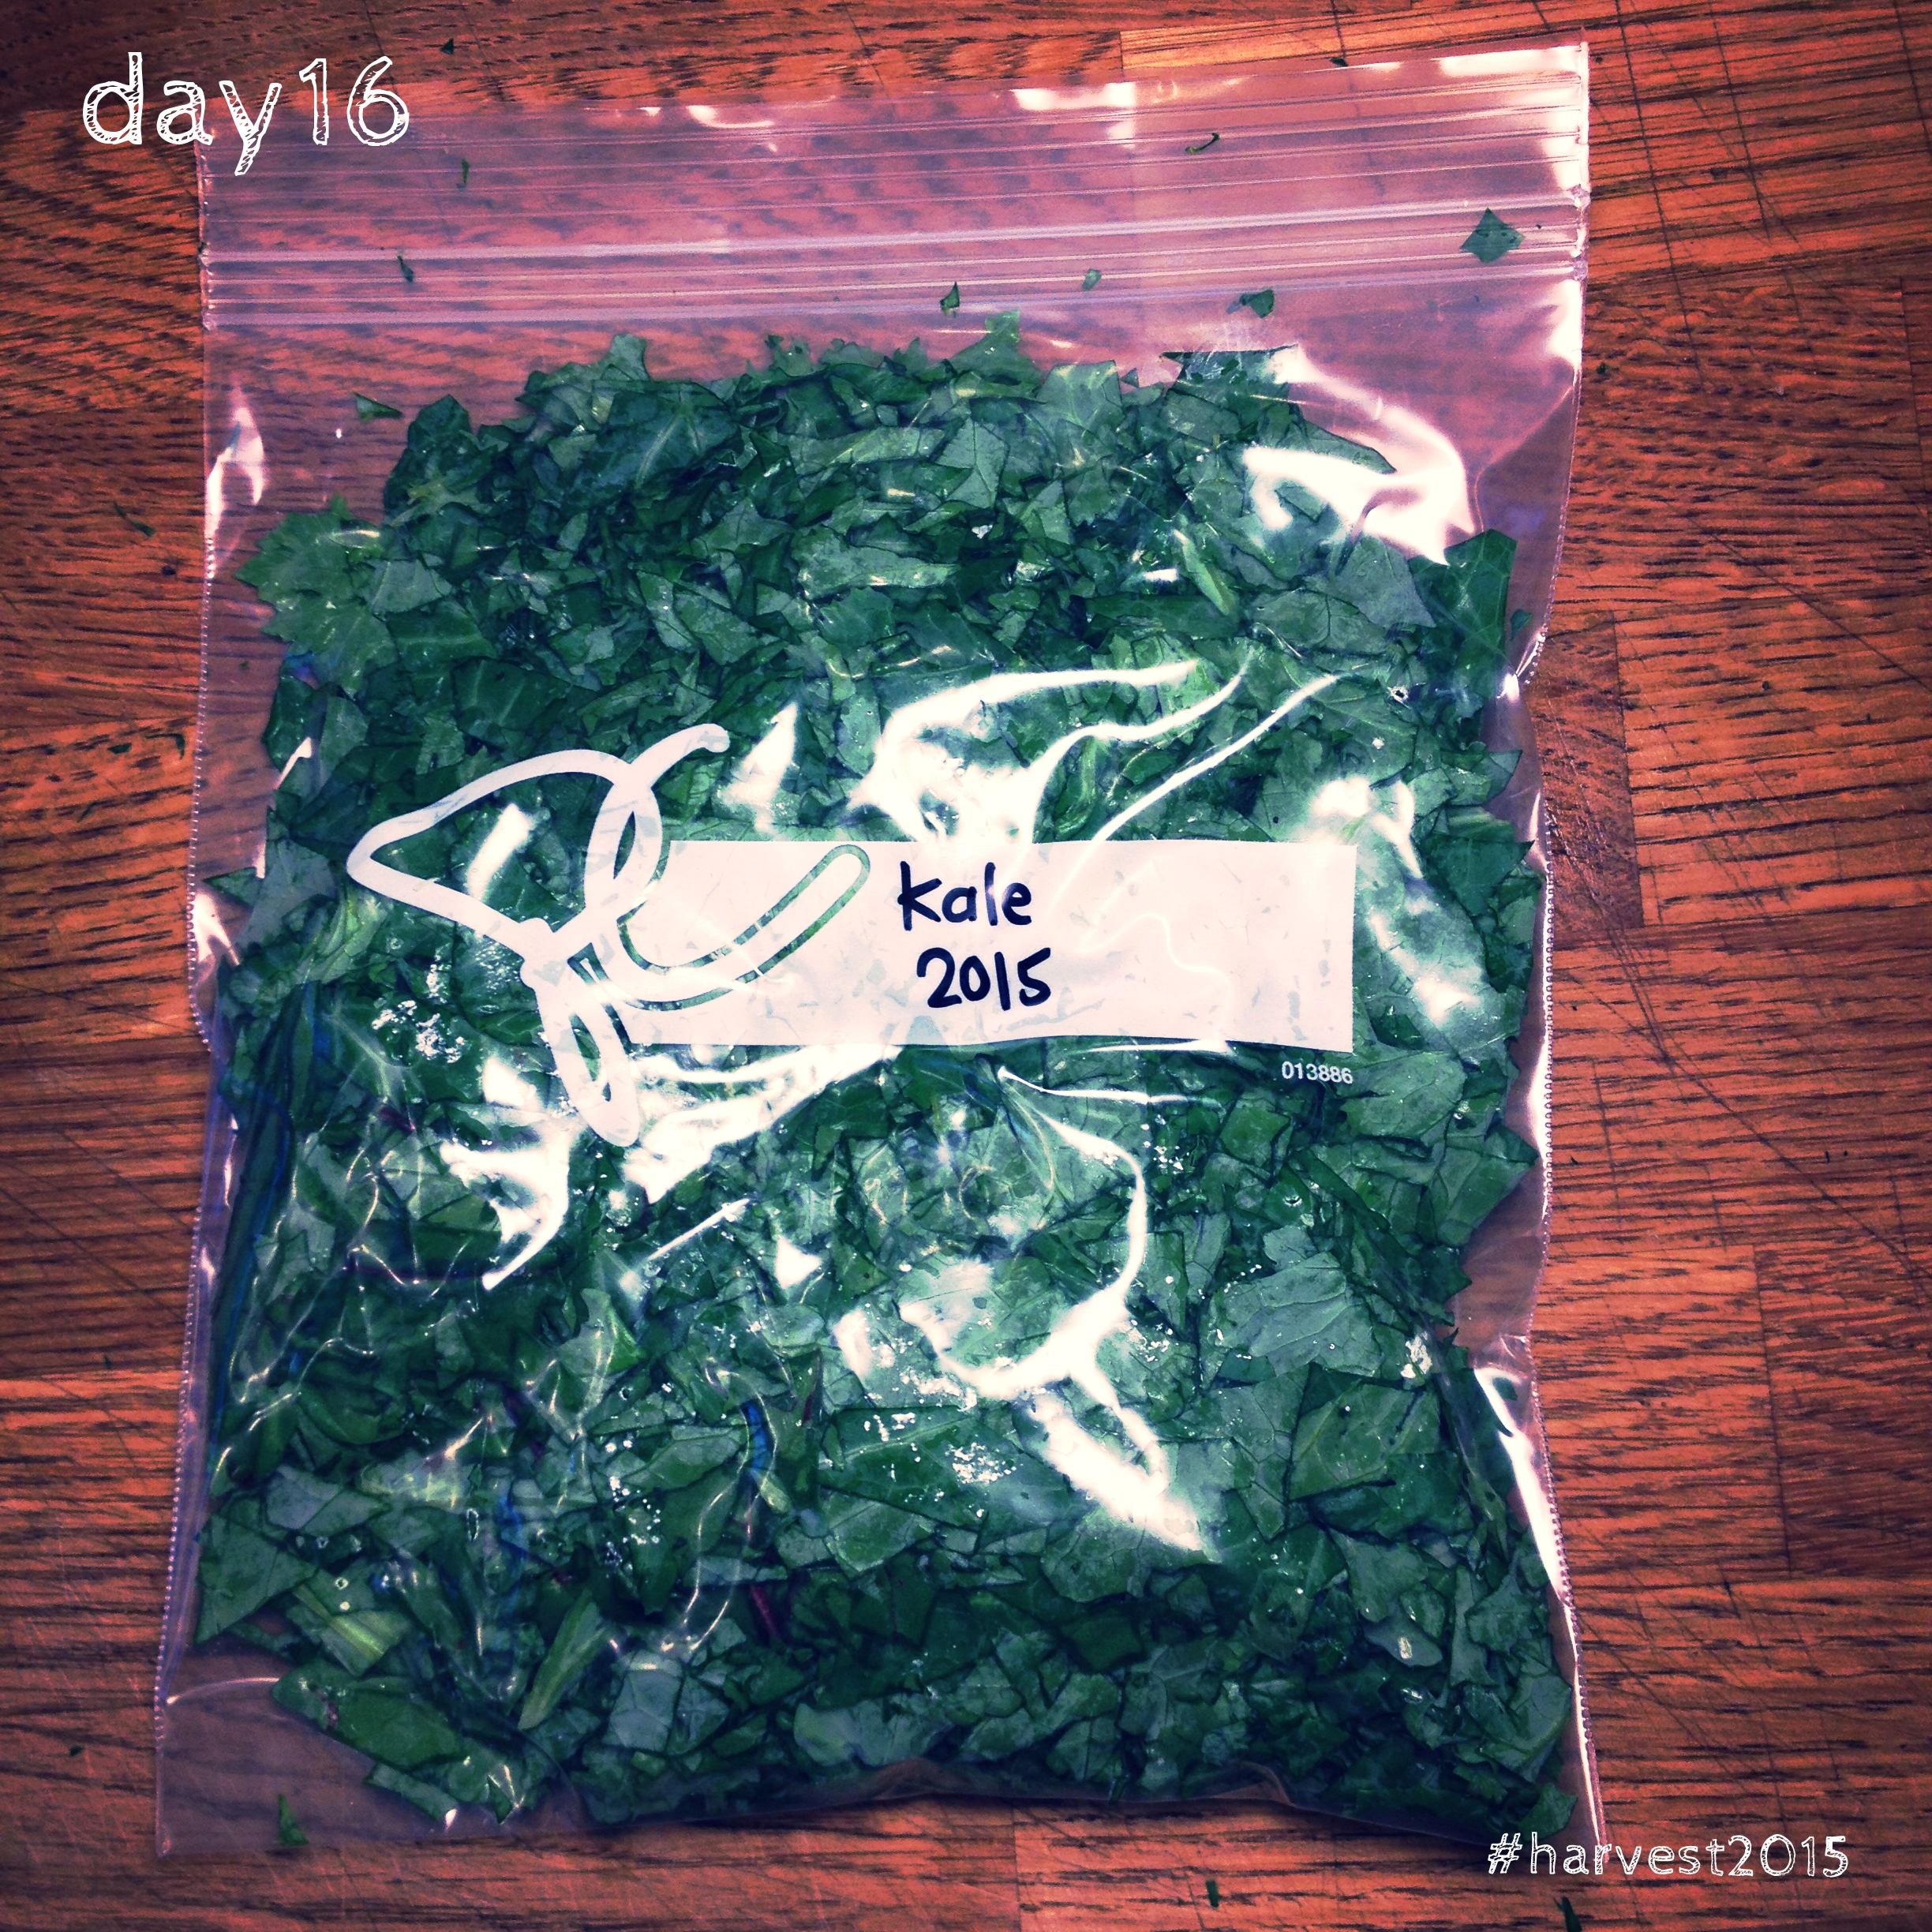
THE HOW-TO: You pull the edible greens out of the garden or out of the bottom of your drawer in the fridge. Wash your greens. Do more than one variety at a time if you like. Spin them dry in a lettuce spinner. Chop into small bits, not quite minced, but small enough they'll disappear into whatever it is you're making. Tuck in a plastic bag. Tuck said bag in freezer, labelled of course with the harvest year. You're done. No blanching here, kids. (*But that's because I plan to use these greens only in places where I know they will be fully cooked.)
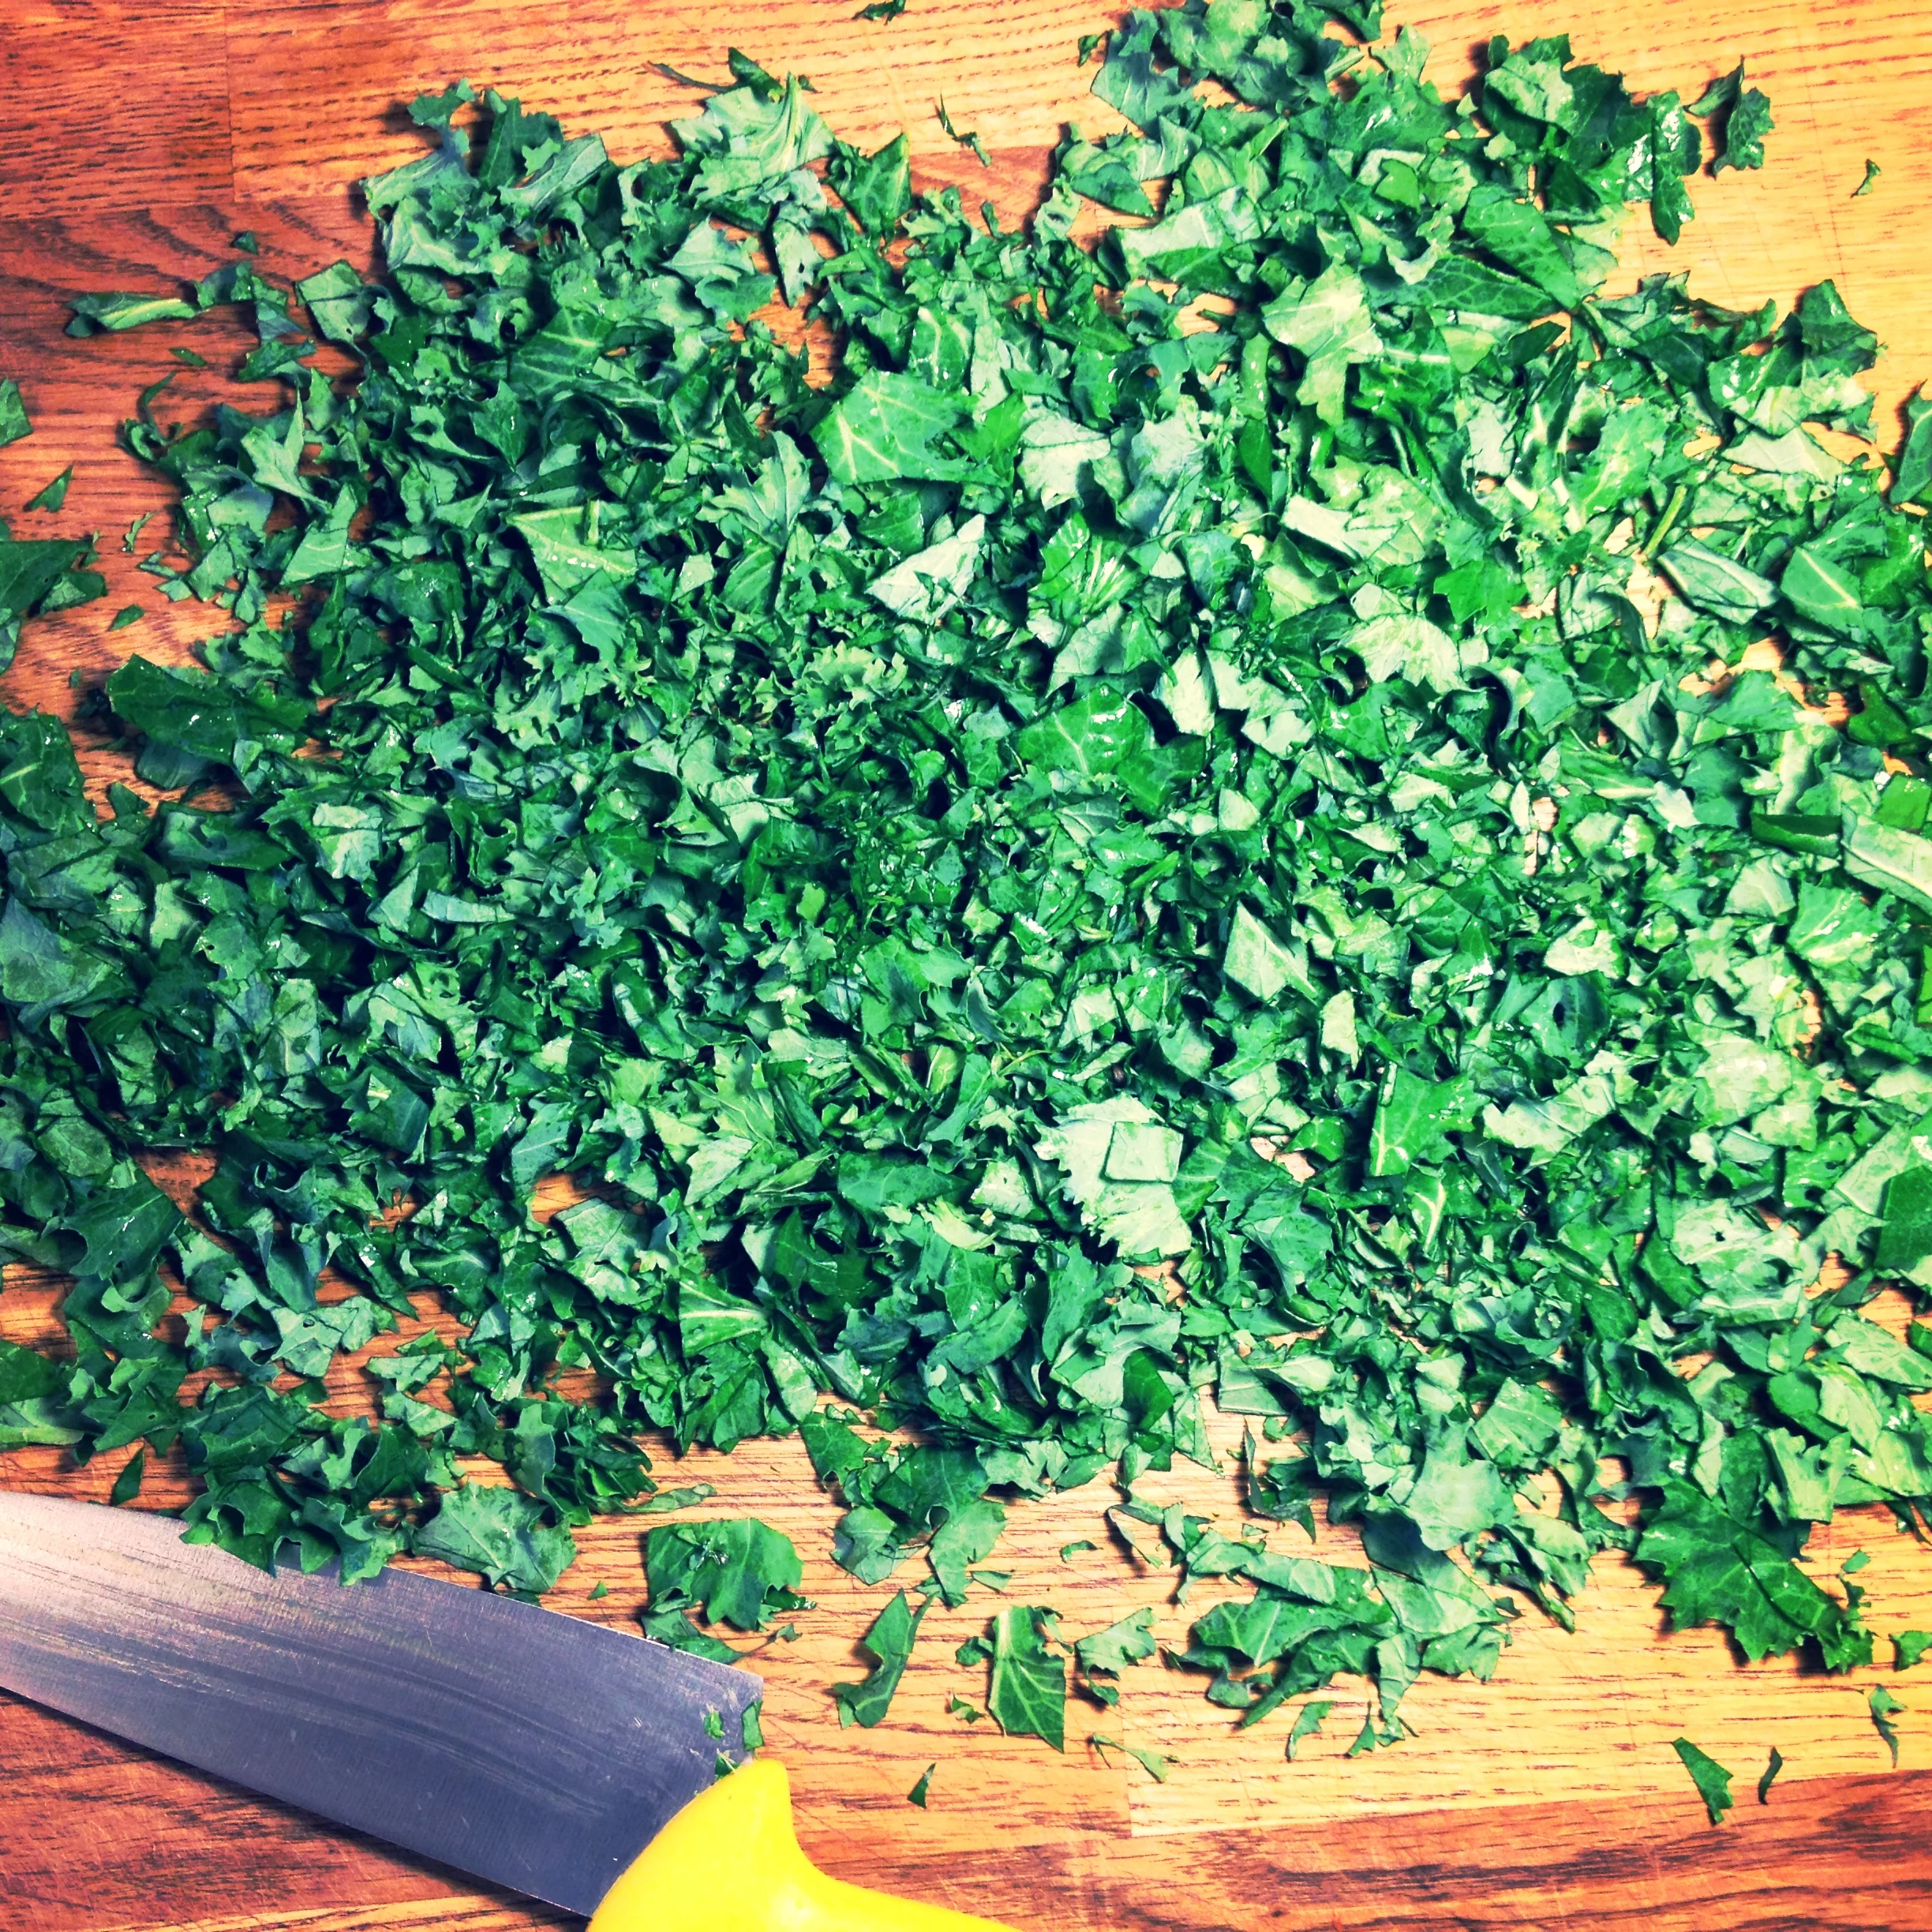
Greens, ready for the freezer. #harvest2015
It's that easy. This is the kind of stuff you can throw into soups and stews, sauces or eggs in the morning, or quiches or pastas or stir fries or or or… the list goes on. Go play with your food please.
Finely chopped kale and one measly little chard leaf, destined for the freezer. #harvest2015