
A MONTH OF PUTTING UP THE HARVEST - Day 15
Happy Friday! I trust this note finds you well in the throes of putting up the harvest for the summer. In our parts, it appears summer is almost ready to make a quick exit, but only for a brief time so if you haven't done so already and are able to and find yourself in southern Alberta, you may want to cover the crops tonight. They're calling for that dreaded F word...
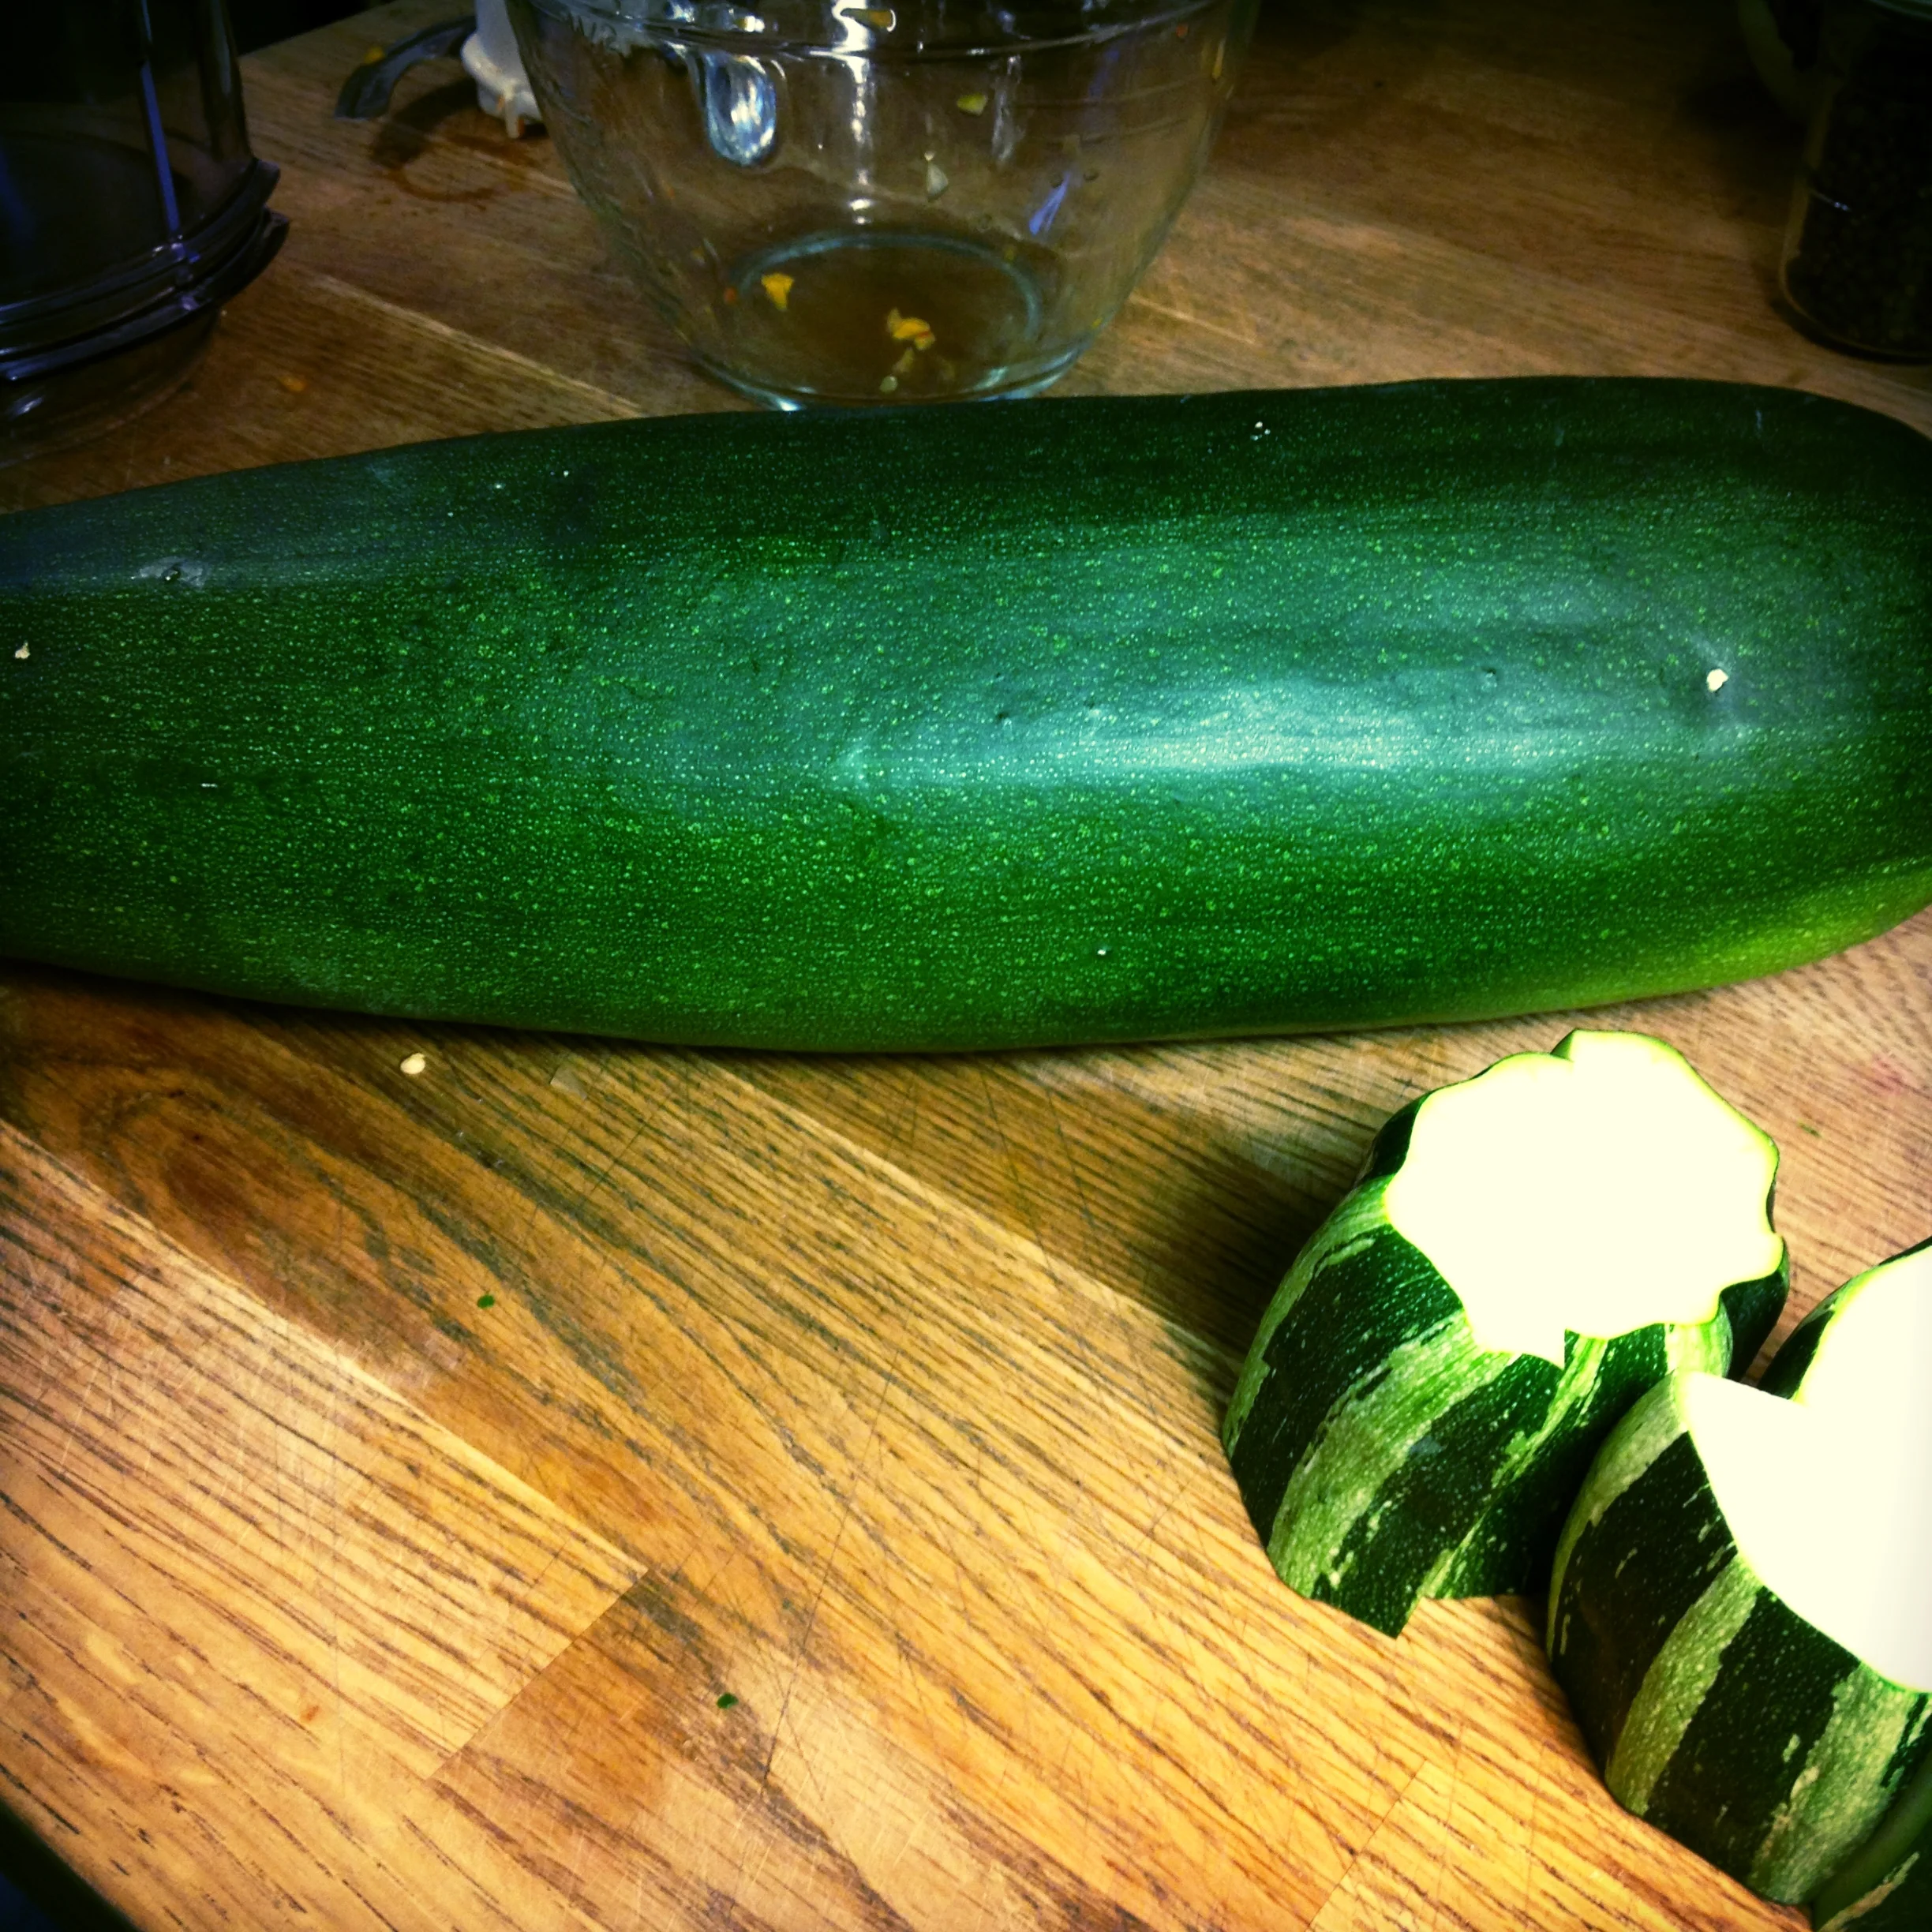
Zucchini giant circa 2015.
Happy Friday! I trust this note finds you well in the throes of putting up the harvest for the summer. In our parts, it appears summer is almost ready to make a quick exit, but only for a brief time so if you haven't done so already and are able to and find yourself in southern Alberta, you may want to cover the crops tonight. They're calling for that dreaded F word...
I'm going to pretend it's not happening and fully immerse myself in summer time things. It's how I roll. Deny, deny, deny. The vegetable du jour is the workhorse of many a suburban garden, the zucchini. Did you see that picture of the giant zucchini up on the interwebs the other day? So funny. And in some cases, so true… I have zucchini growing in my patch, but took in this baseball-bat sized rescue from a friend's garden. I knew right away my plans for this zucc -- make it into a relish. My mom has made this delicious zucchini relish for many years now, processing it in a hot water canning bath. I have used this recipe at canning classes I have led, and it is always a winner. But see, I'm getting lazy in my old age - I'd rather ferment all the things than can them. Canning is great but requires quite a bit of effort, and energy plus having to add that 10 extra minutes onto everything because of my elevation is a bit of a kick in the pants. So my canner stayed in the basement this time, and I pulled out my fermenting Fido jar for the task at hand.
My friend Liz came over to help, seeing as she donated the zucchini to the project. See how big it is, in the photo at the top of the post? I can't even get the whole thing in the picture...
We needed 10 cups shredded zucc for the relish, so Liz de-seeded and I blitzed through the grater on my food processor. (This is when I am eternally grateful for my trusty 20-year old food processor.) We set aside the 10 cups for the relish, and bagged the rest of the zucchini (plus a few from my own garden, to add to the stash). That bagged shredded stuff freezes well, and is a good addition to soups and stews come winter.
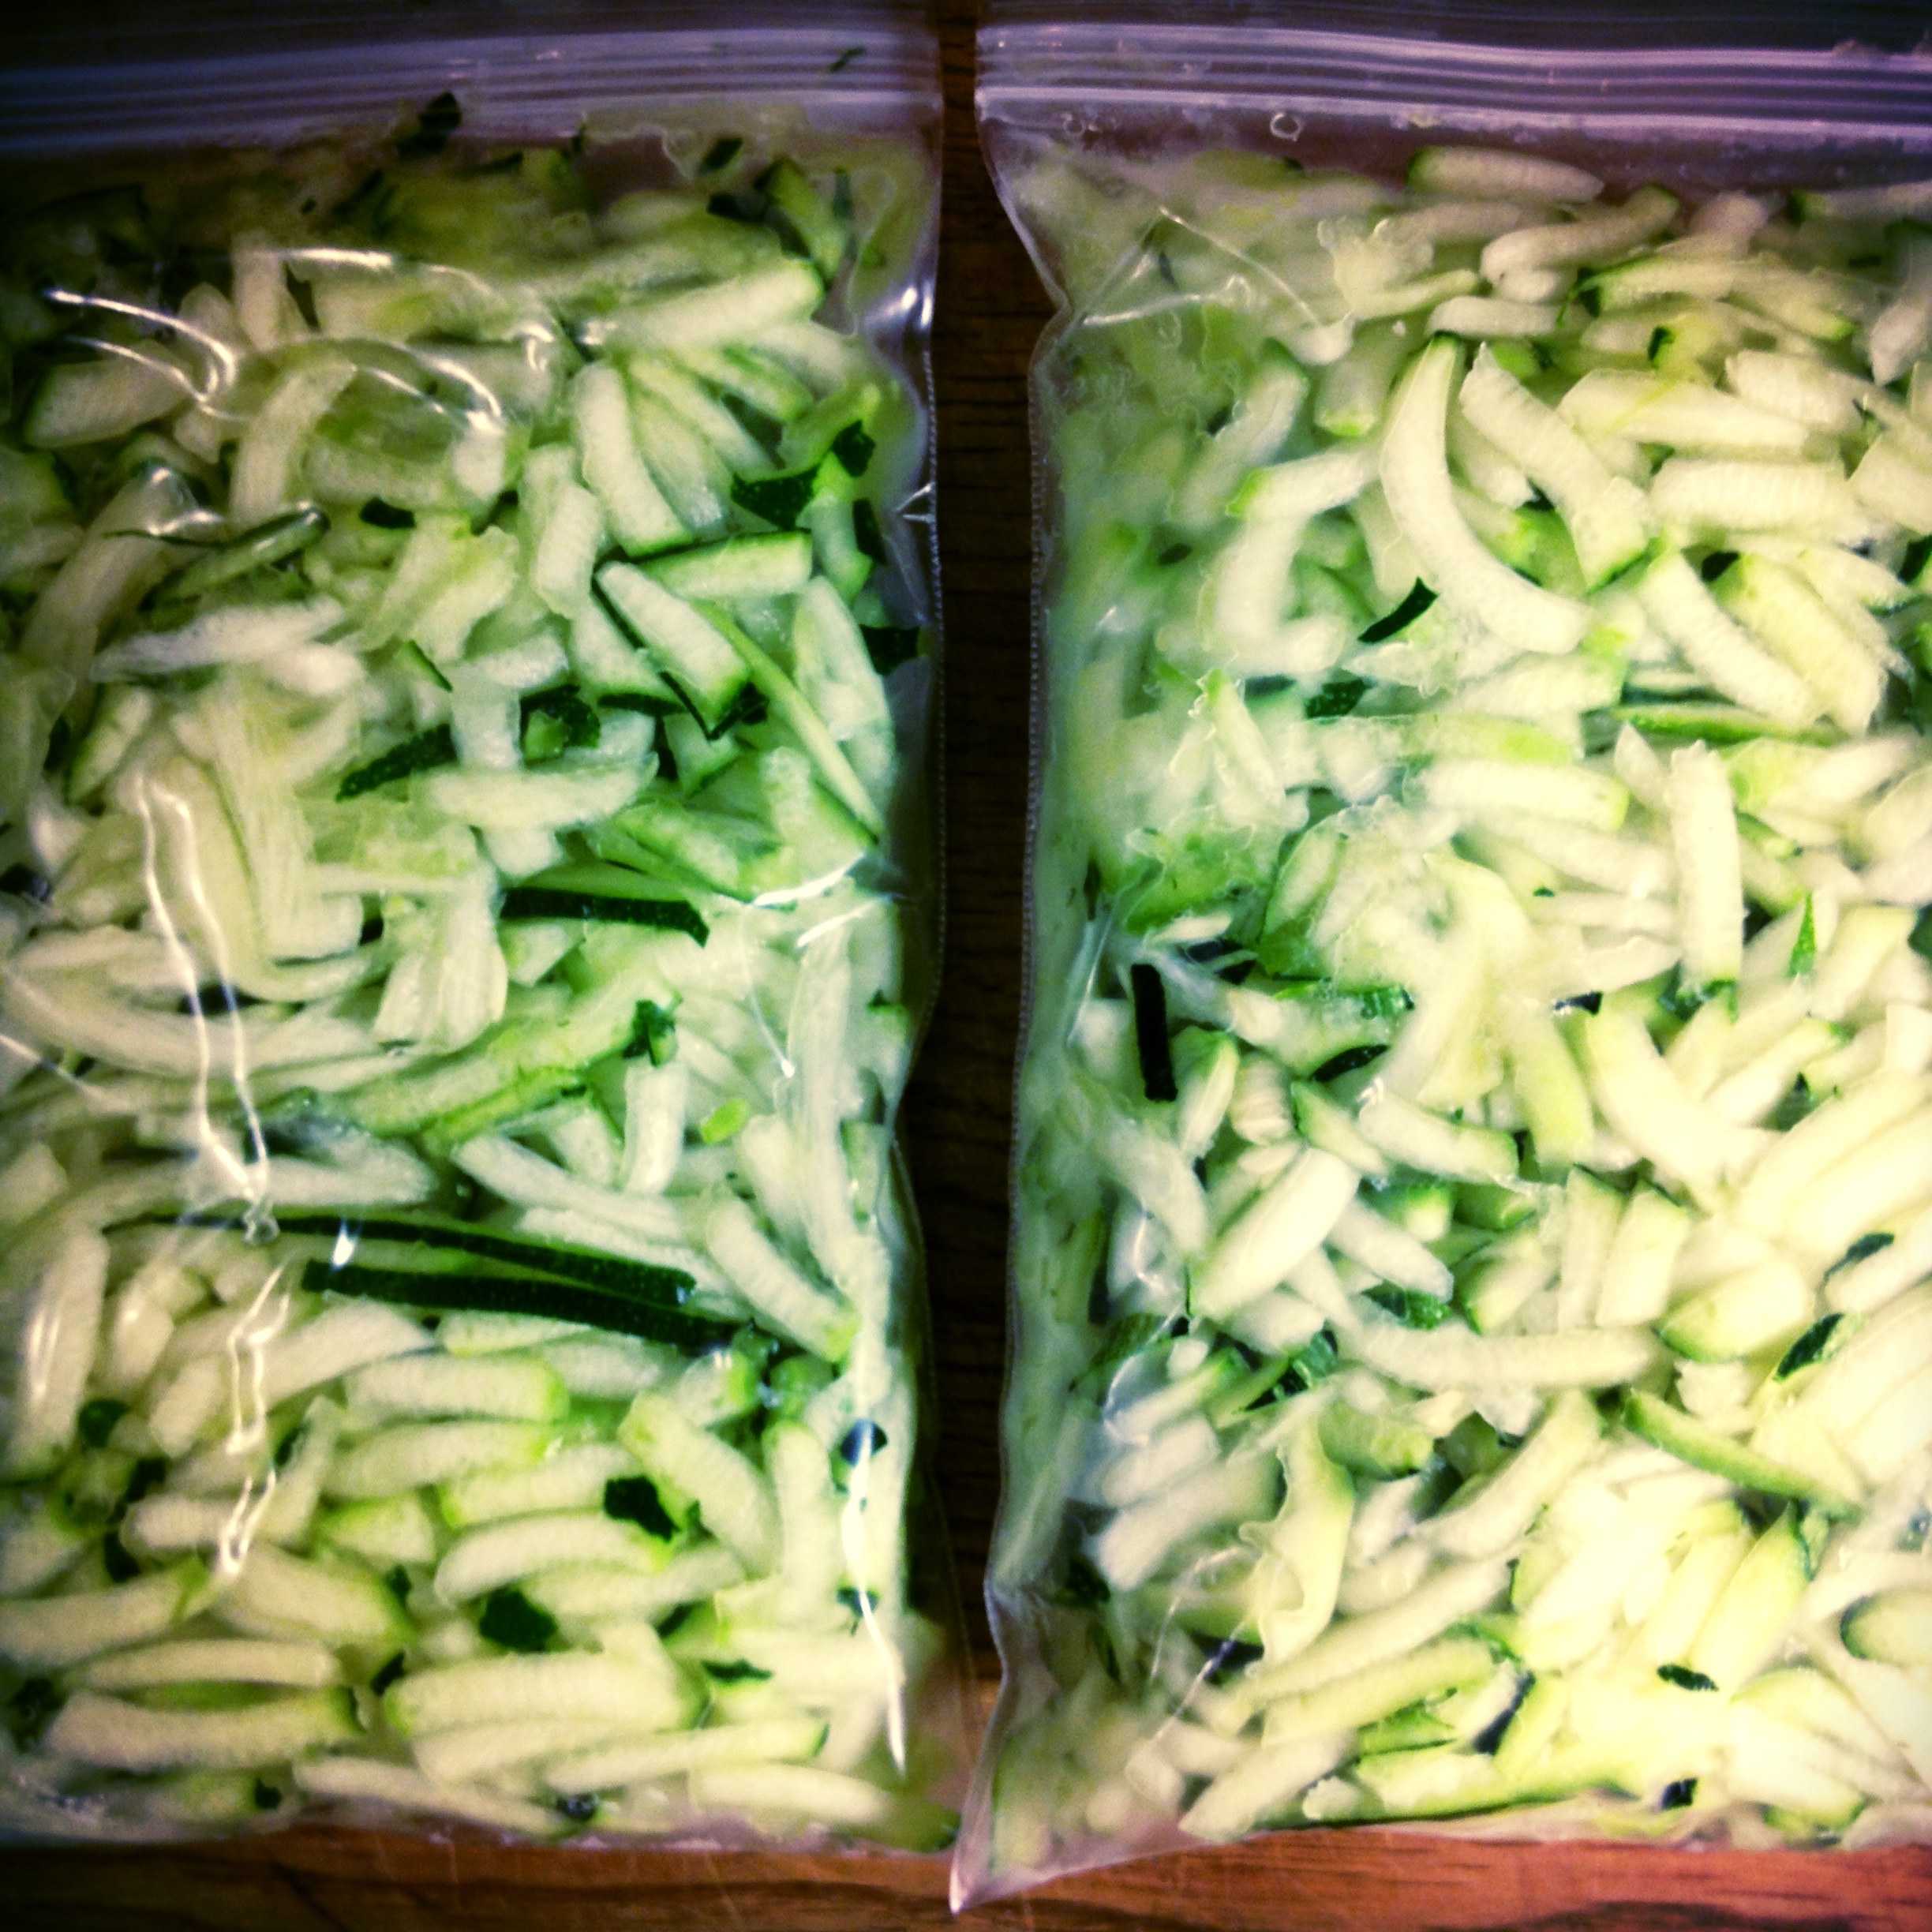
Shredded zucchini, dreaming of one day melding into a pot of soup, sauce or stew. #harvest2015
We went to task chopping 5 bell peppers, 6 small onions, a handful of celery stalks (about 1 cup), a small handful of lovage leaves (optional), a 2" piece of fresh turmeric root along with at least a cup of dried apples chopped into small pieces. You could also use a fresh apple chopped in to small pieces if you like; use what you have! We then weighed the lot in order to figure out what percentage of brine to make for the ferment. (Figuring out the salt amount in order to get the correct percentage of brine is the key component to a successful ferment.) With our 7 pounds of veggies, it looked like 4 tbsp of sea salt would be needed for a 2.2% salinity, so in it went with the veggies and the shredded zucchini. It did not take long to draw the liquid out of the vegetables, it was ready for the spices in no time.
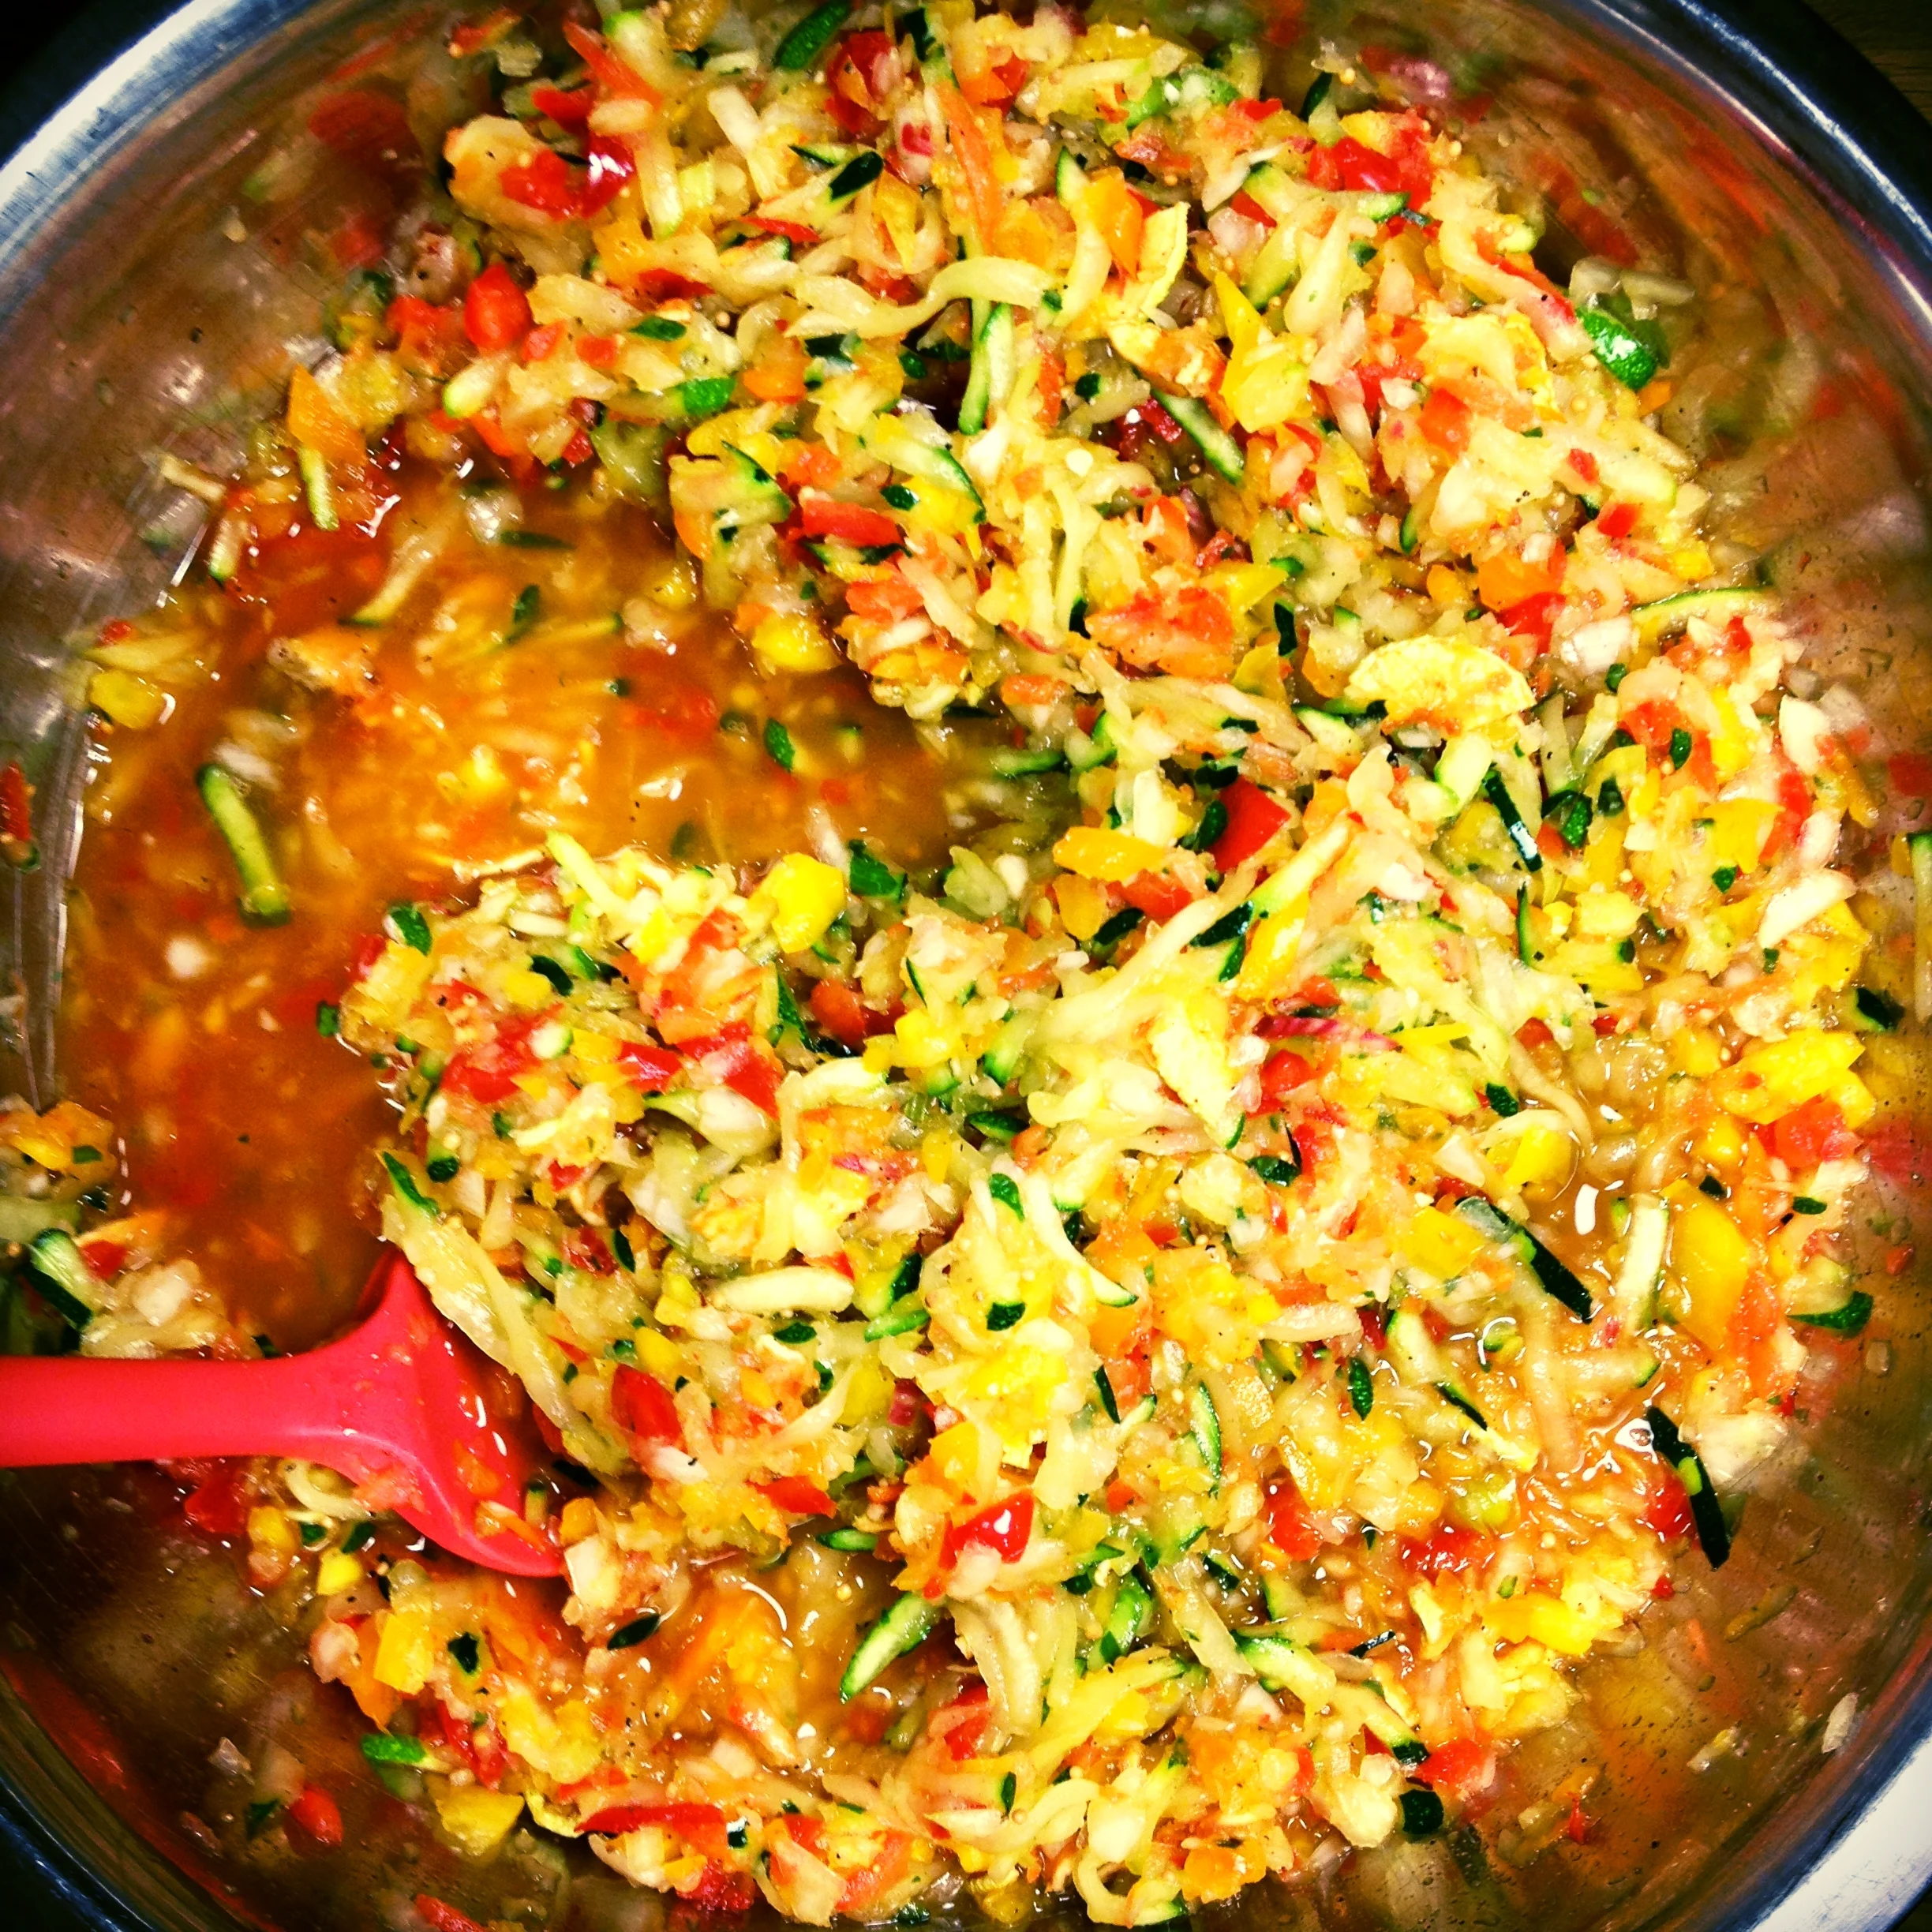
To this mess we added a tsp of nutmeg, tbsp of mustard seeds, and quite a few cranks of the pepper mill, and tucked it in one of my big Fido jars, the 5 litre one. It filled it just about to capacity with a bit of room to spare, so in order to keep the vegetables submerged in the brine, we fashioned some celery sticks on top as weights, wedged in to the top of the glass jar. The sticks are two layers thick, and they should ensure everything stays submerged for the 4-5 day fermentation time. (My secret ploy is to use those celery sticks as garnishes in my next round of Caesars. Thanks Susan for the inspiration!)
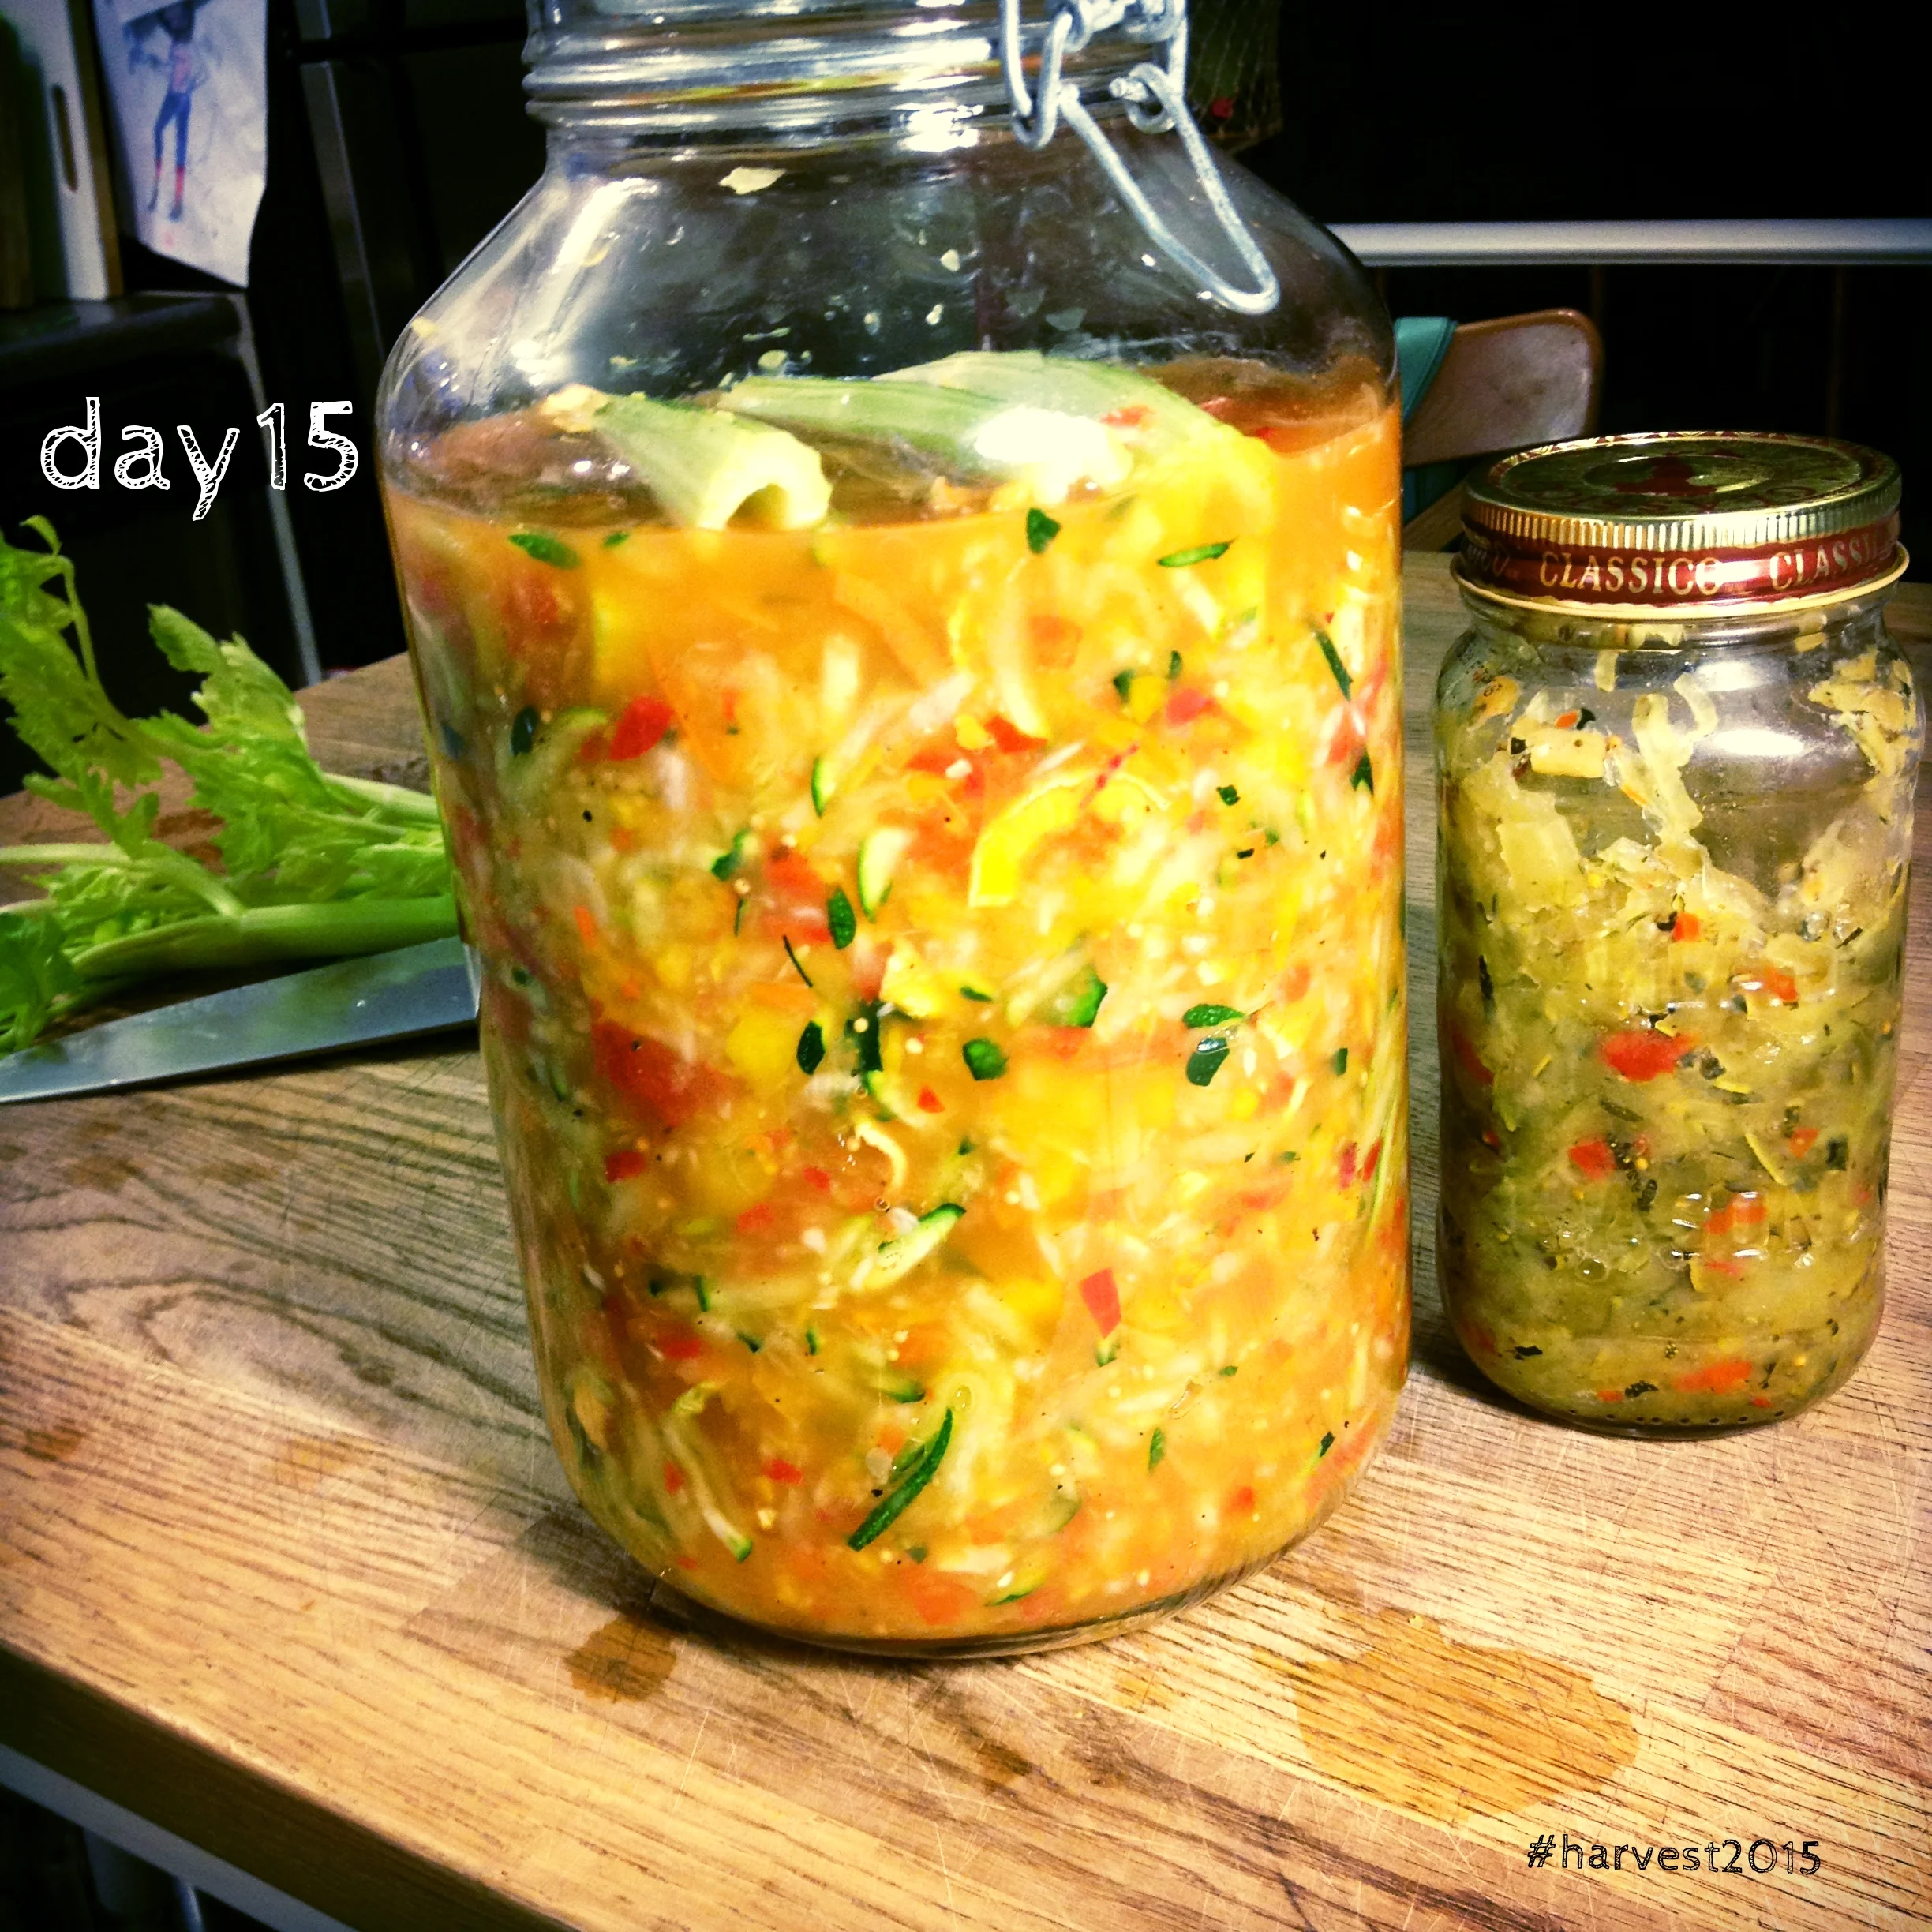
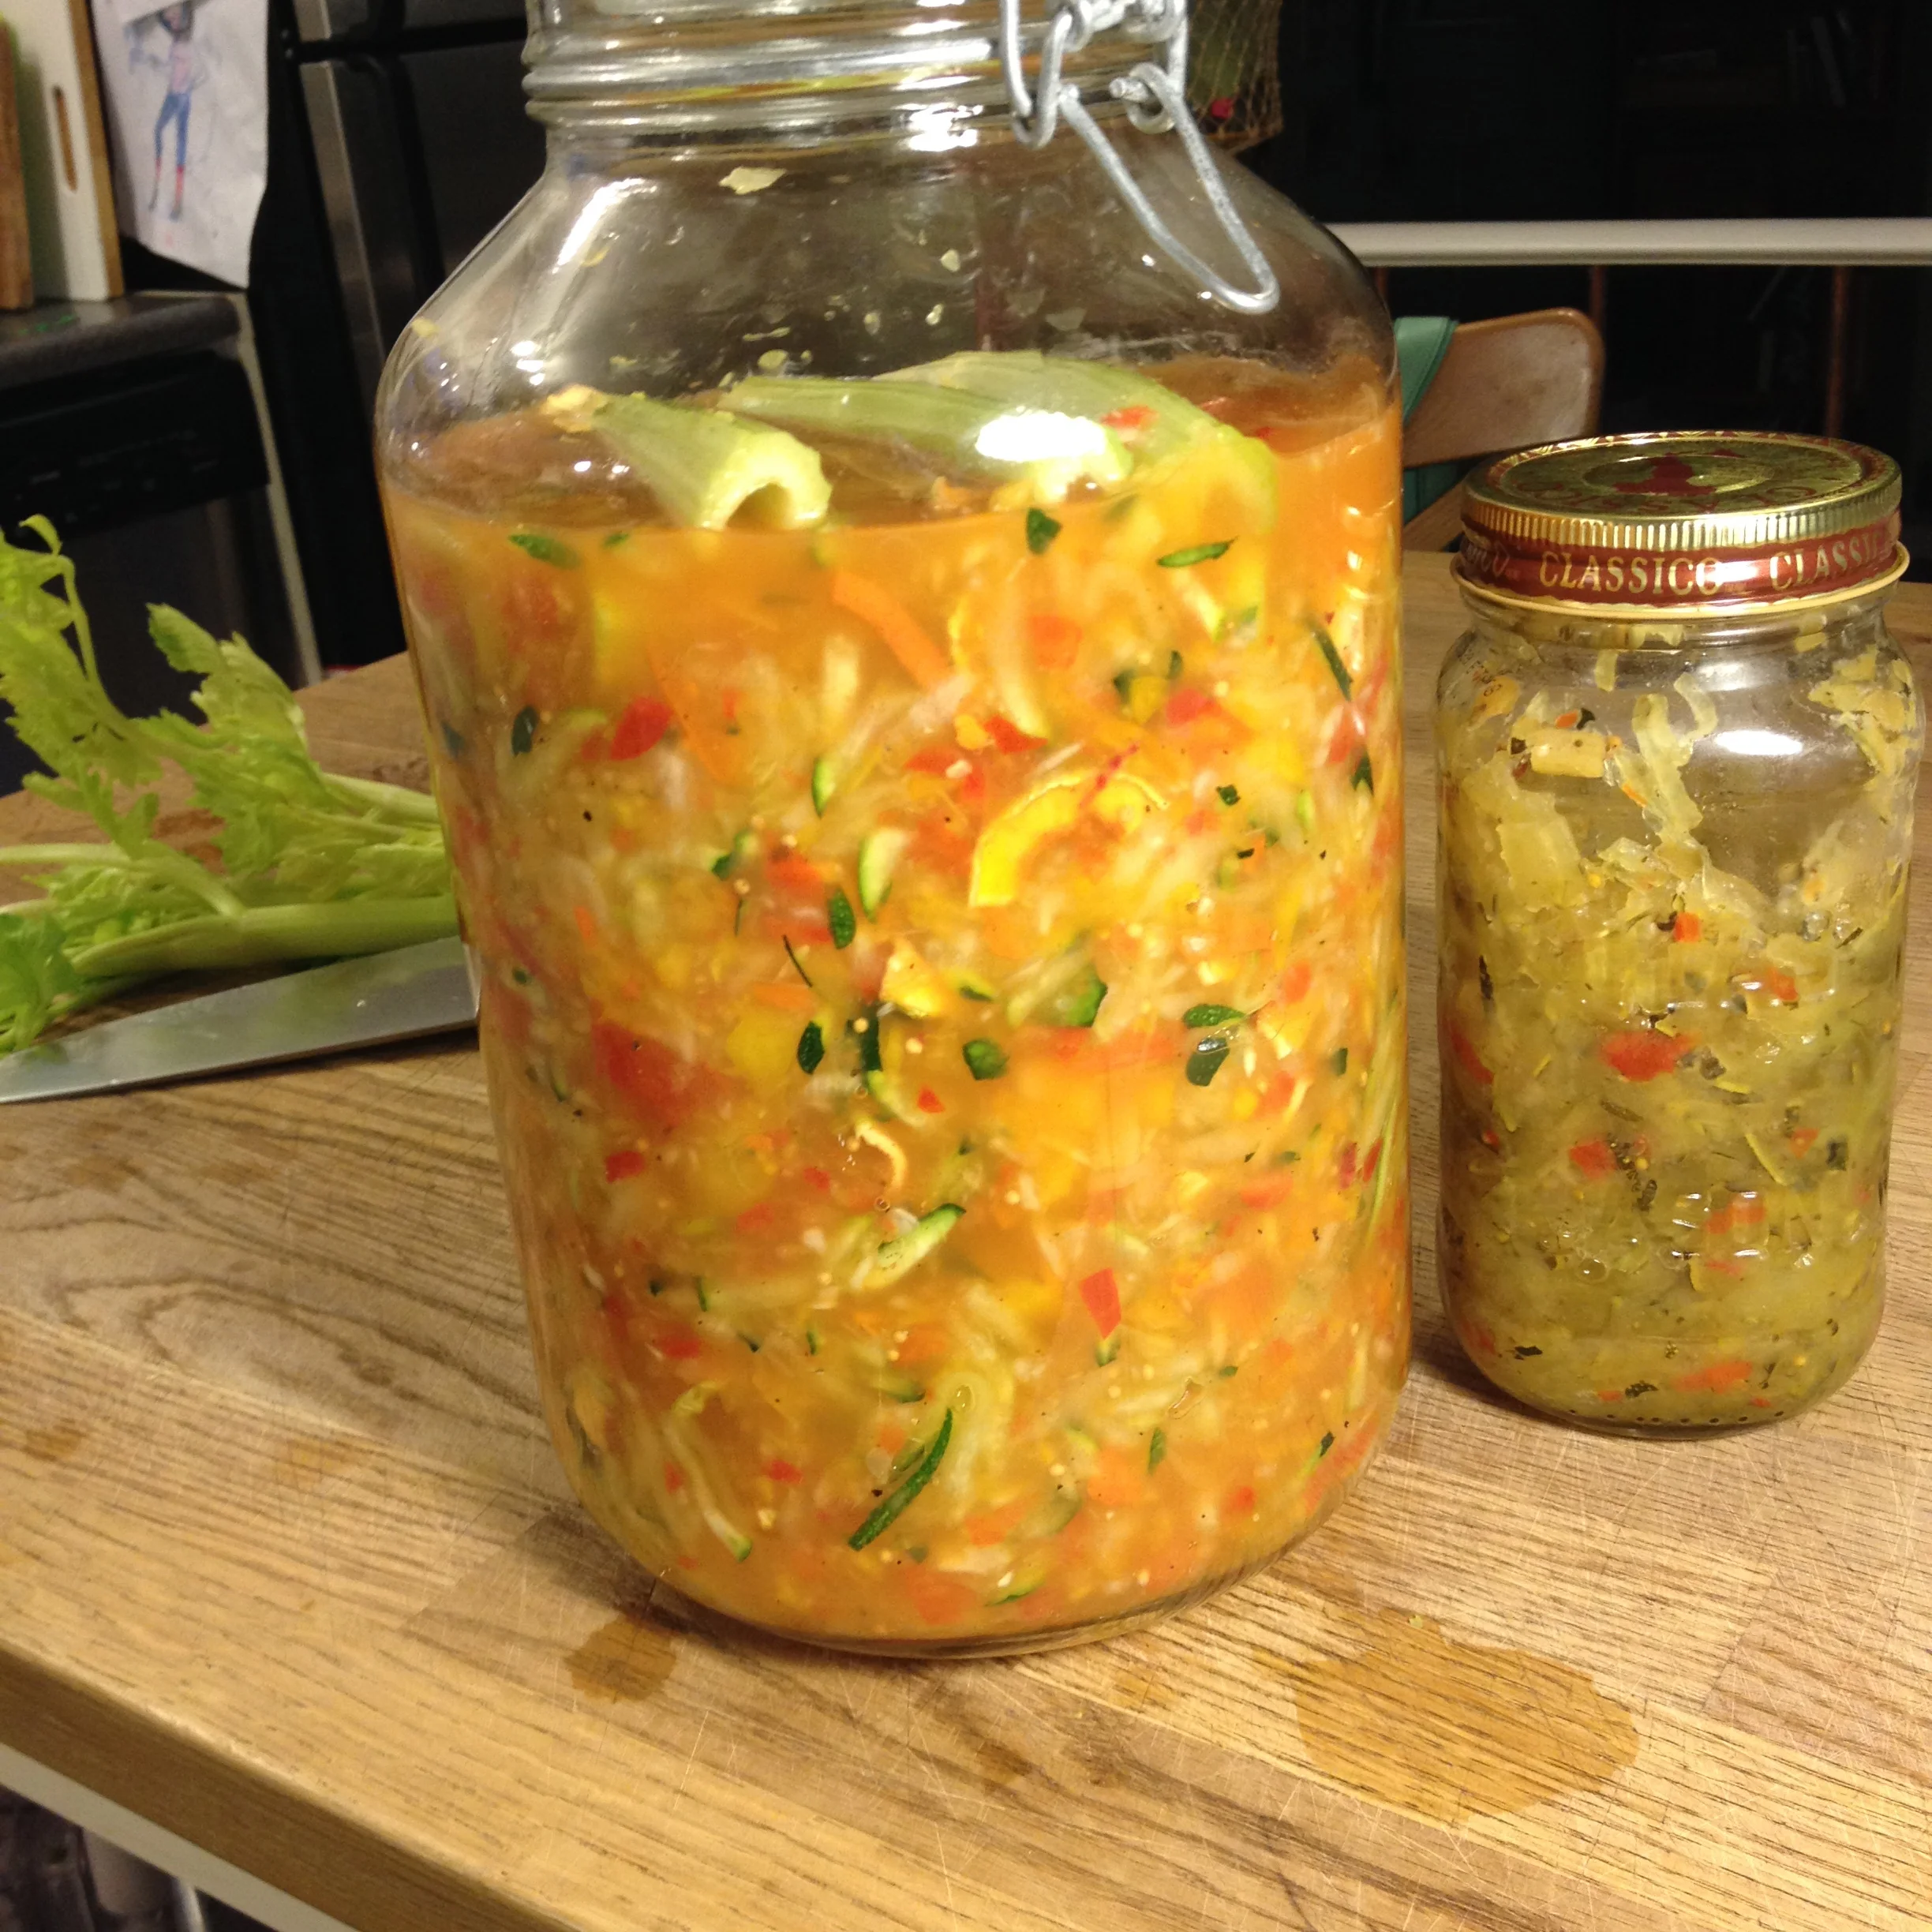
Lorraine's Zucchini Relish fermented, #harvest2015
So the big jar is the batch Liz and I made last night, the one on the right is a canned version my Mom made. I am so lucky, she brings a jar with her every time she comes west to visit. It's delicious stuff! So good with hot dogs, or on top of cream cheese on a cracker or bagel along with a soft yolk fried egg. Pretty dreamy in fact.
And now we wait. I will report back on flavour and texture, as the recipe did get amended from the original in order to make it a viable ferment. I suspect we will be missing the sugar content that went in the canned version, but hopefully that extra cup of dried apples will help provide a bit of natural sweetness to balance out those sharp fermenty flavours.
A MONTH OF PUTTING UP THE HARVEST - Day 14
Today is a good day for a harvest picking. It's also a good day for a BBQ. So let's harvest and make a BBQ sauce for said BBQ day, yes? But not just any kind of BBQ sauce, one using ingredients that are plentiful this time of year as a way to preserve that goodness. Enter, the humble rhubarb stalk and ye delicious tart apple from yonder tree.
Today is a good day for a harvest picking. It's also a good day for a BBQ. So let's harvest and make a BBQ sauce for said BBQ day, yes? But not just any kind of BBQ sauce, one using ingredients that are plentiful this time of year as a way to preserve that goodness. Enter, the humble rhubarb stalk and ye delicious tart apple from yonder tree.
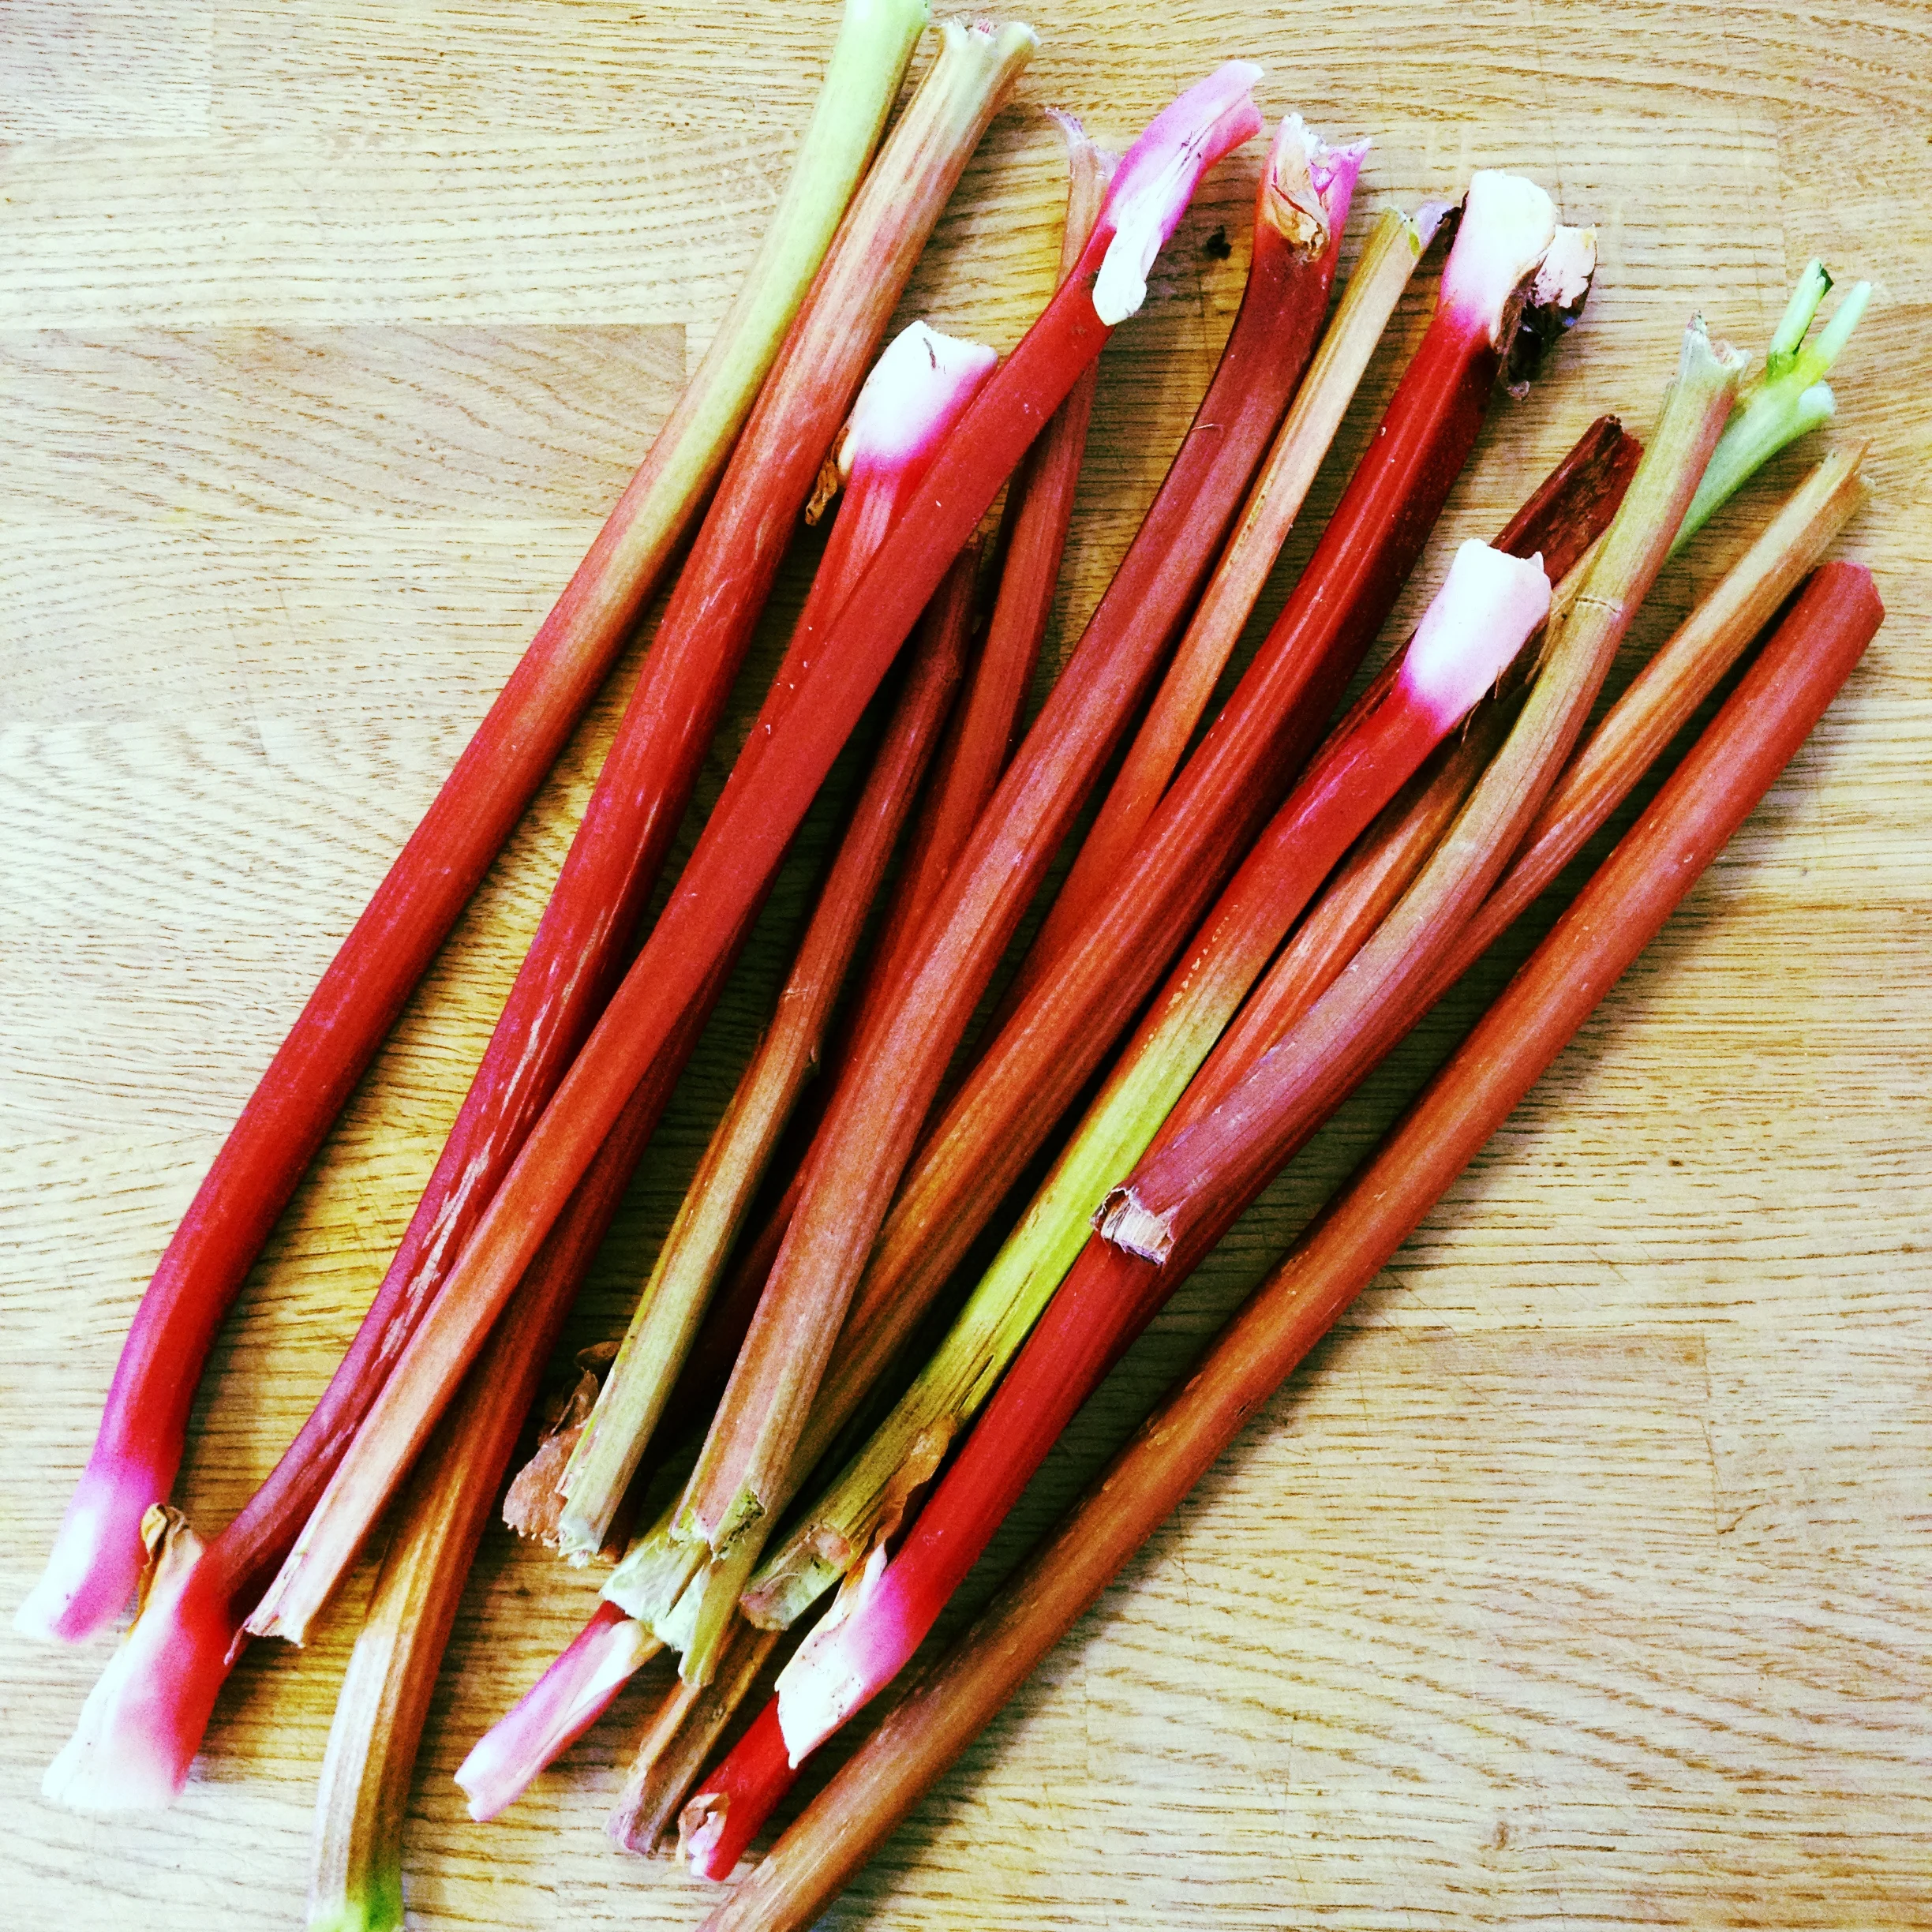
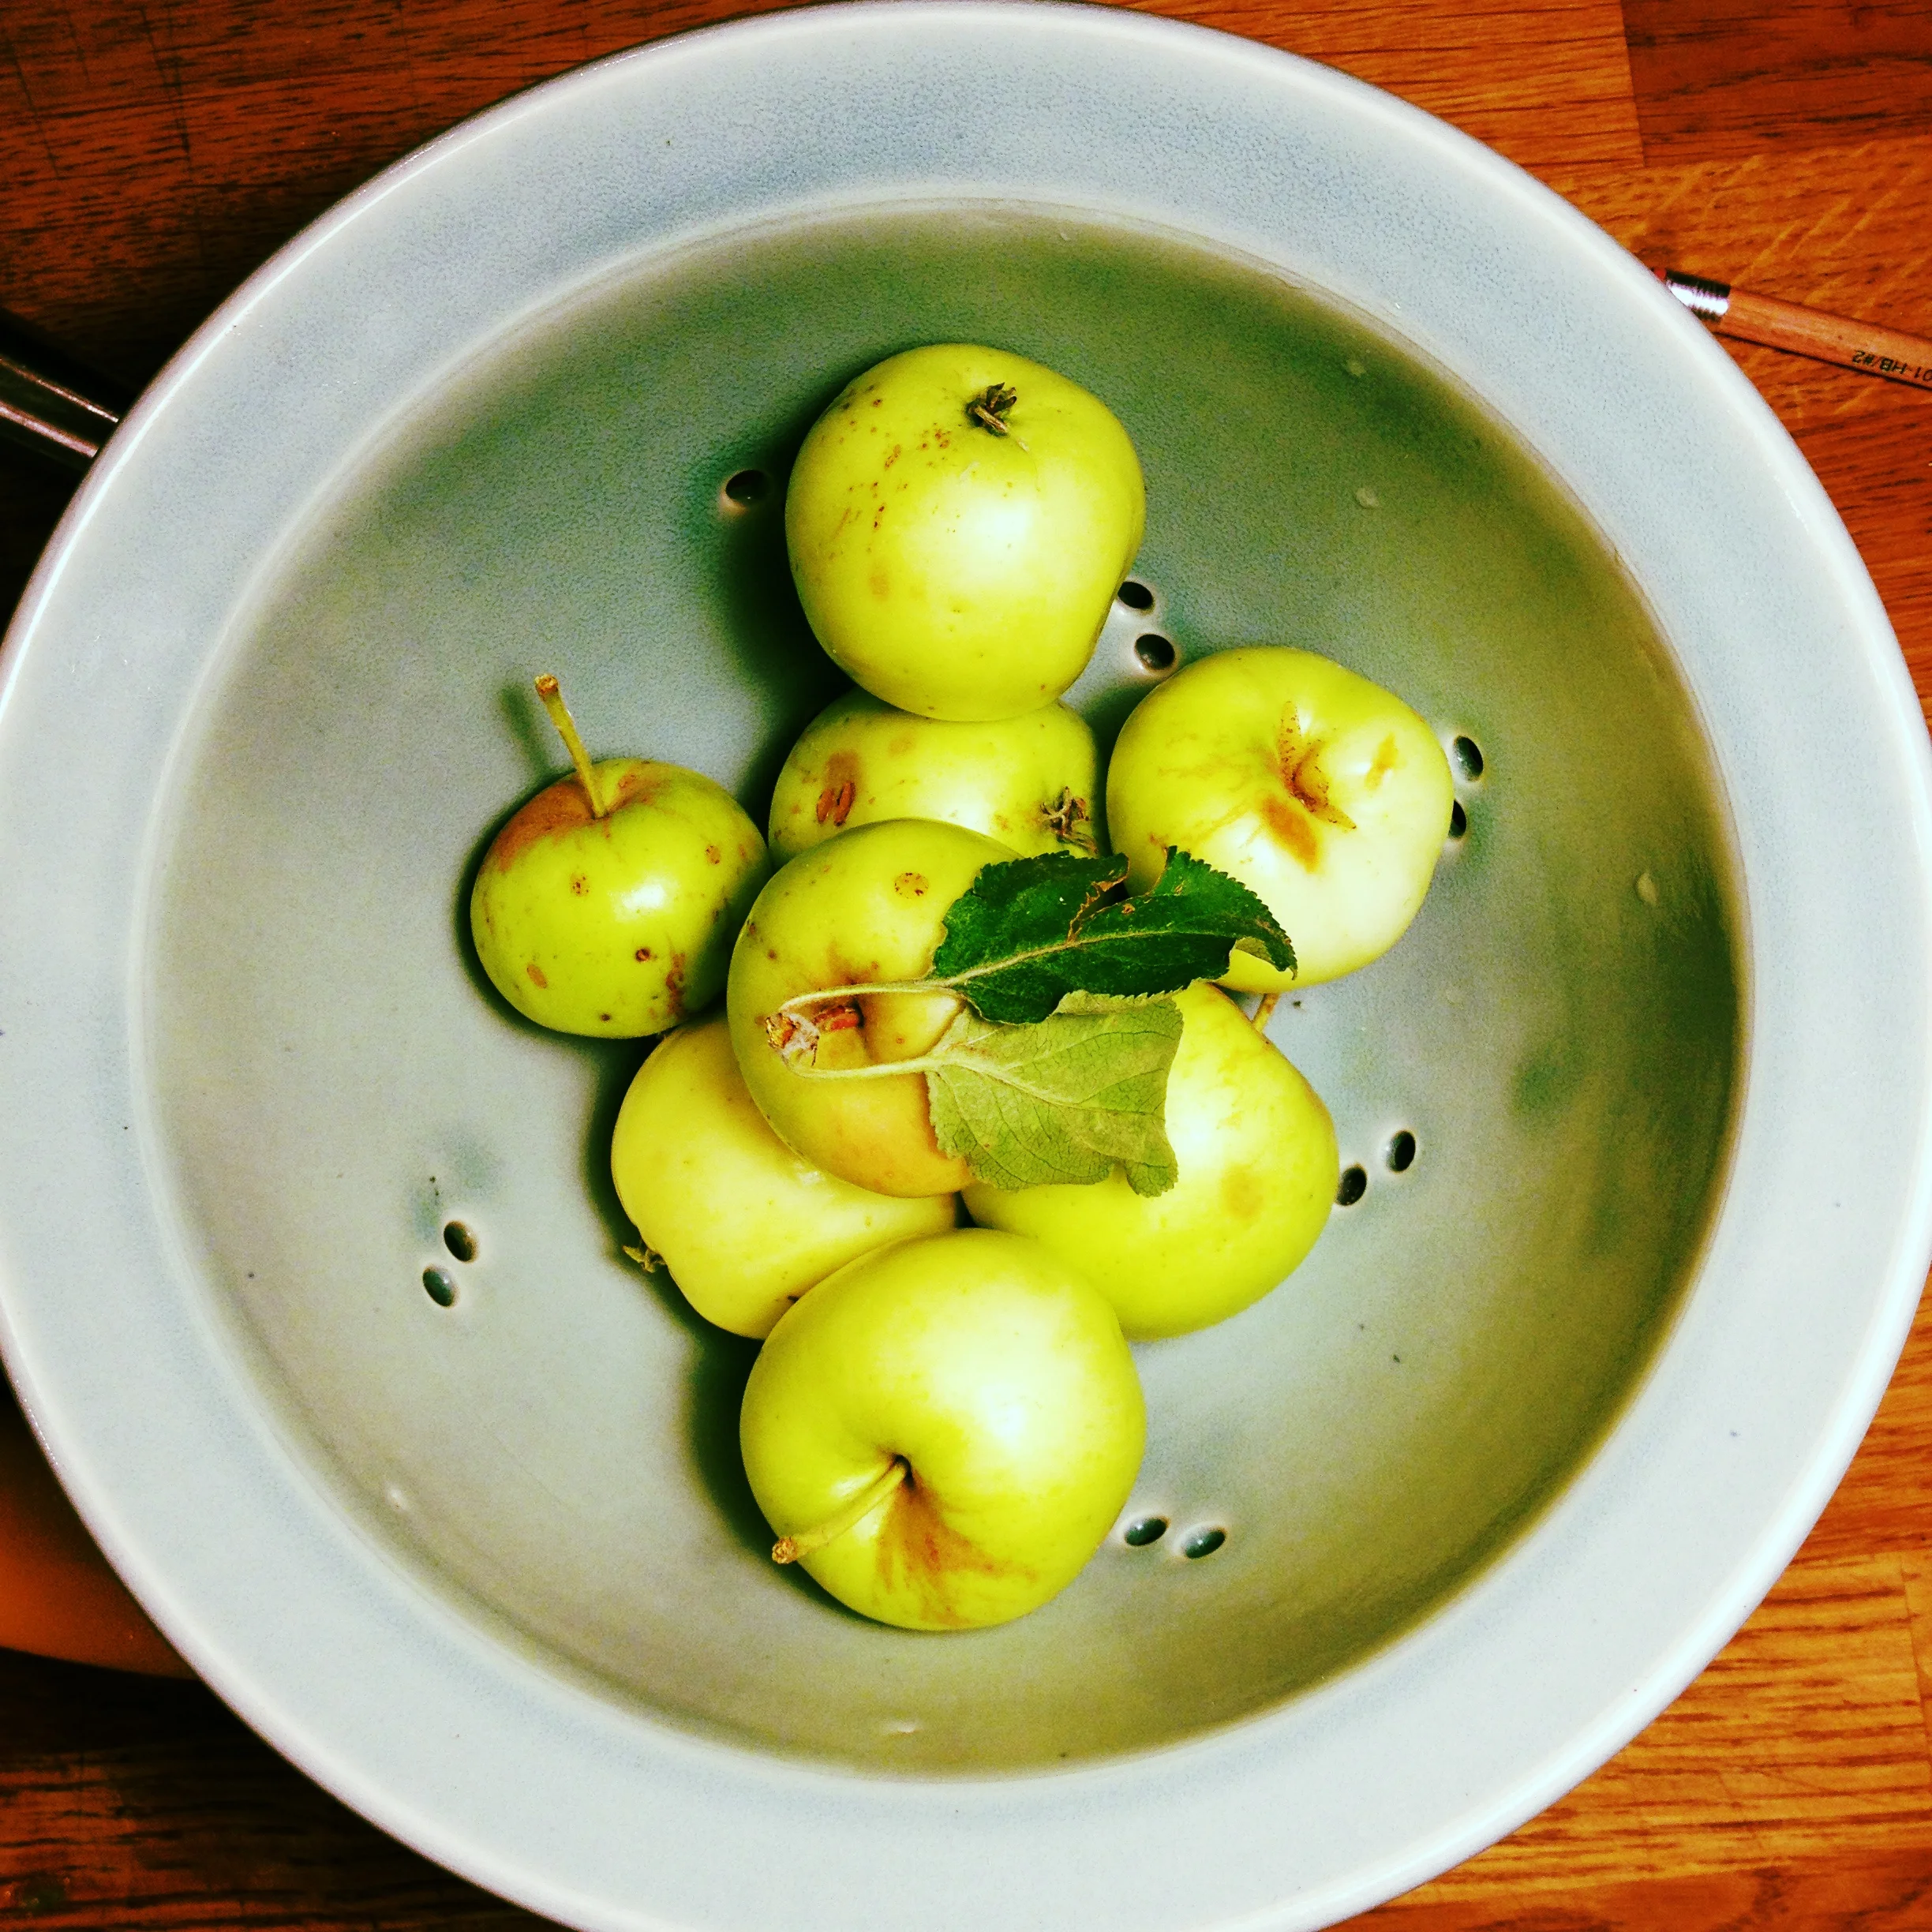
I went foraging in my friend Liz' garden again. I am that kind of friend, I come to your house talking about food and what I want to do and make, and then I go scrounging around your garden. Ok truth be told, I really only do this to my friend Liz. And I'm grateful she's game. In fact, I'm sharing the bounty again with her with this latest picking, as I do with anything I pull out of her garden. So yes, her apple tree is weighed down with apples, and the rhubarb plants have given a fresh flush of ruby rosy stalks, and so I obliged and took a grocery bag home full, along with some lemon balm I'm drying to make teas and herb salts later. As Liz is a fellow foodie, she shared with me a recipe from a recent cookbook find of hers from Sean Brock, a book called "Heritage". This recipe was for a rhubarb ketchup. That made me think of an old BBQ sauce recipe I would tweak and play with from a cookbook my sweetie and I received for our wedding, a book from the Dean & DeLuca shop in New York. I thought to mash the two recipes together and tweak to taste, in order to keep the summer goodness in the fridge for meals to come using that rhubarb and apple; see, they're tart to start with, so perfect ingredients for a BBQ sauce was my thought.
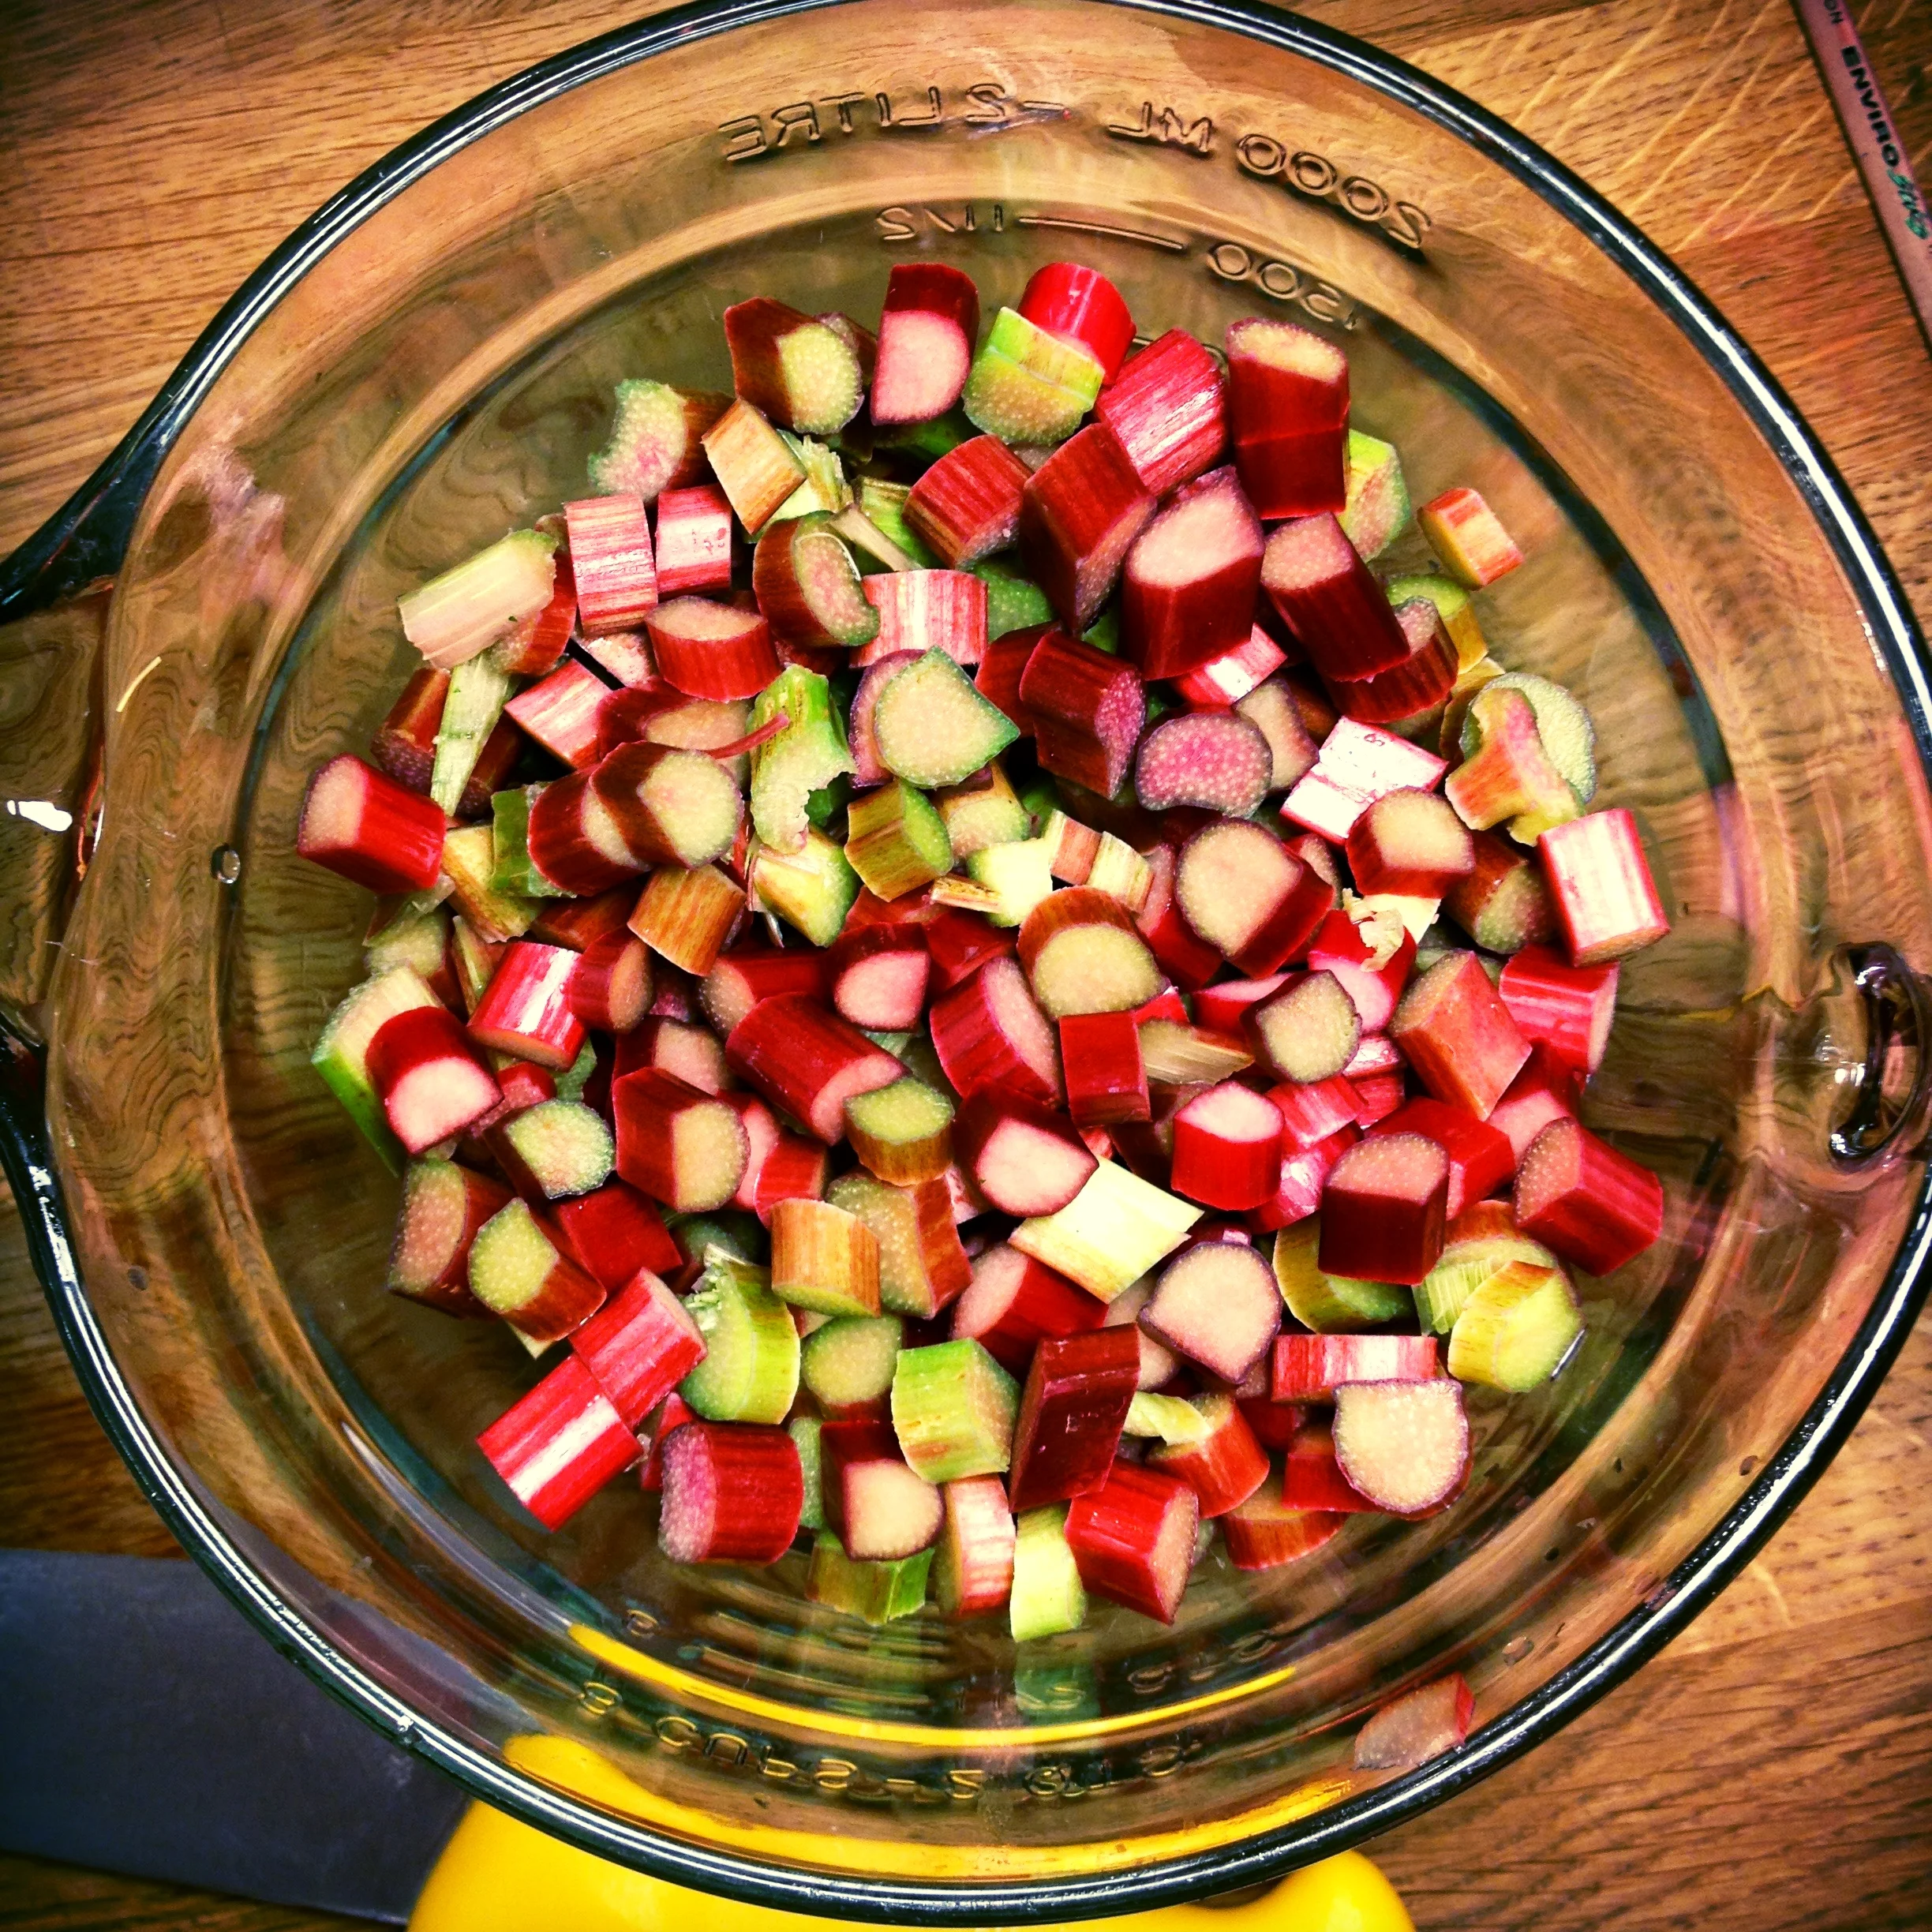
Rhubarb destined for BBQ sauce! #harvest2015
THE PLAYERS:
8 cups of chopped rhubarb stalks
4 cups of tart apples with peel on, chopped into bite sized pieces
1 cup water
2 tbsp good solid fat (butter, ghee, bacon fat, lard, tallow, duck fat)
1 onion, peeled and chopped
3 garlic cloves, minced
1 tbsp sea salt
1 tbsp fresh lovage (minced - optional)
3/4 cup apple cider vinegar
1 cup of honey or other sweetener
2 tbsp molasses
2 tbsp worcestershire sauce
2 tsp paprika (omit if you want this to be nightshade-free)
1 tsp ground peppercorns
1 tsp ground mustard powder
1/2 tsp cayenne or chili peppers (omit if you want this to be nightshade-free)
1 dried chipotle pepper (omit if you want this to be nightshade-free)
THE HOW-TO:
Add your rhubarb and apple along with the cup of water to a big pot. Bring it to boil in order to just break the fibres down and lower to medium high to cook down to a pulp fairly quickly, no more than 10 minutes. Set this aside to cool. Using your hand blender, blitz the whole lot into a paste.
Meanwhile, put your pot back on the stovetop on medium, and add your good fat to melt. Toss in your onion and saute until golden, about 10 minutes. Toss in the garlic, sea salt and optional lovage in the last few minutes to make it fragrant. To this mess, add the rest of your ingredients including your rhubarb/apple compote you just blitzed. Allow it to simmer for 30 minutes on medium low. Again, using your hand blender blitz the final product into a paste.
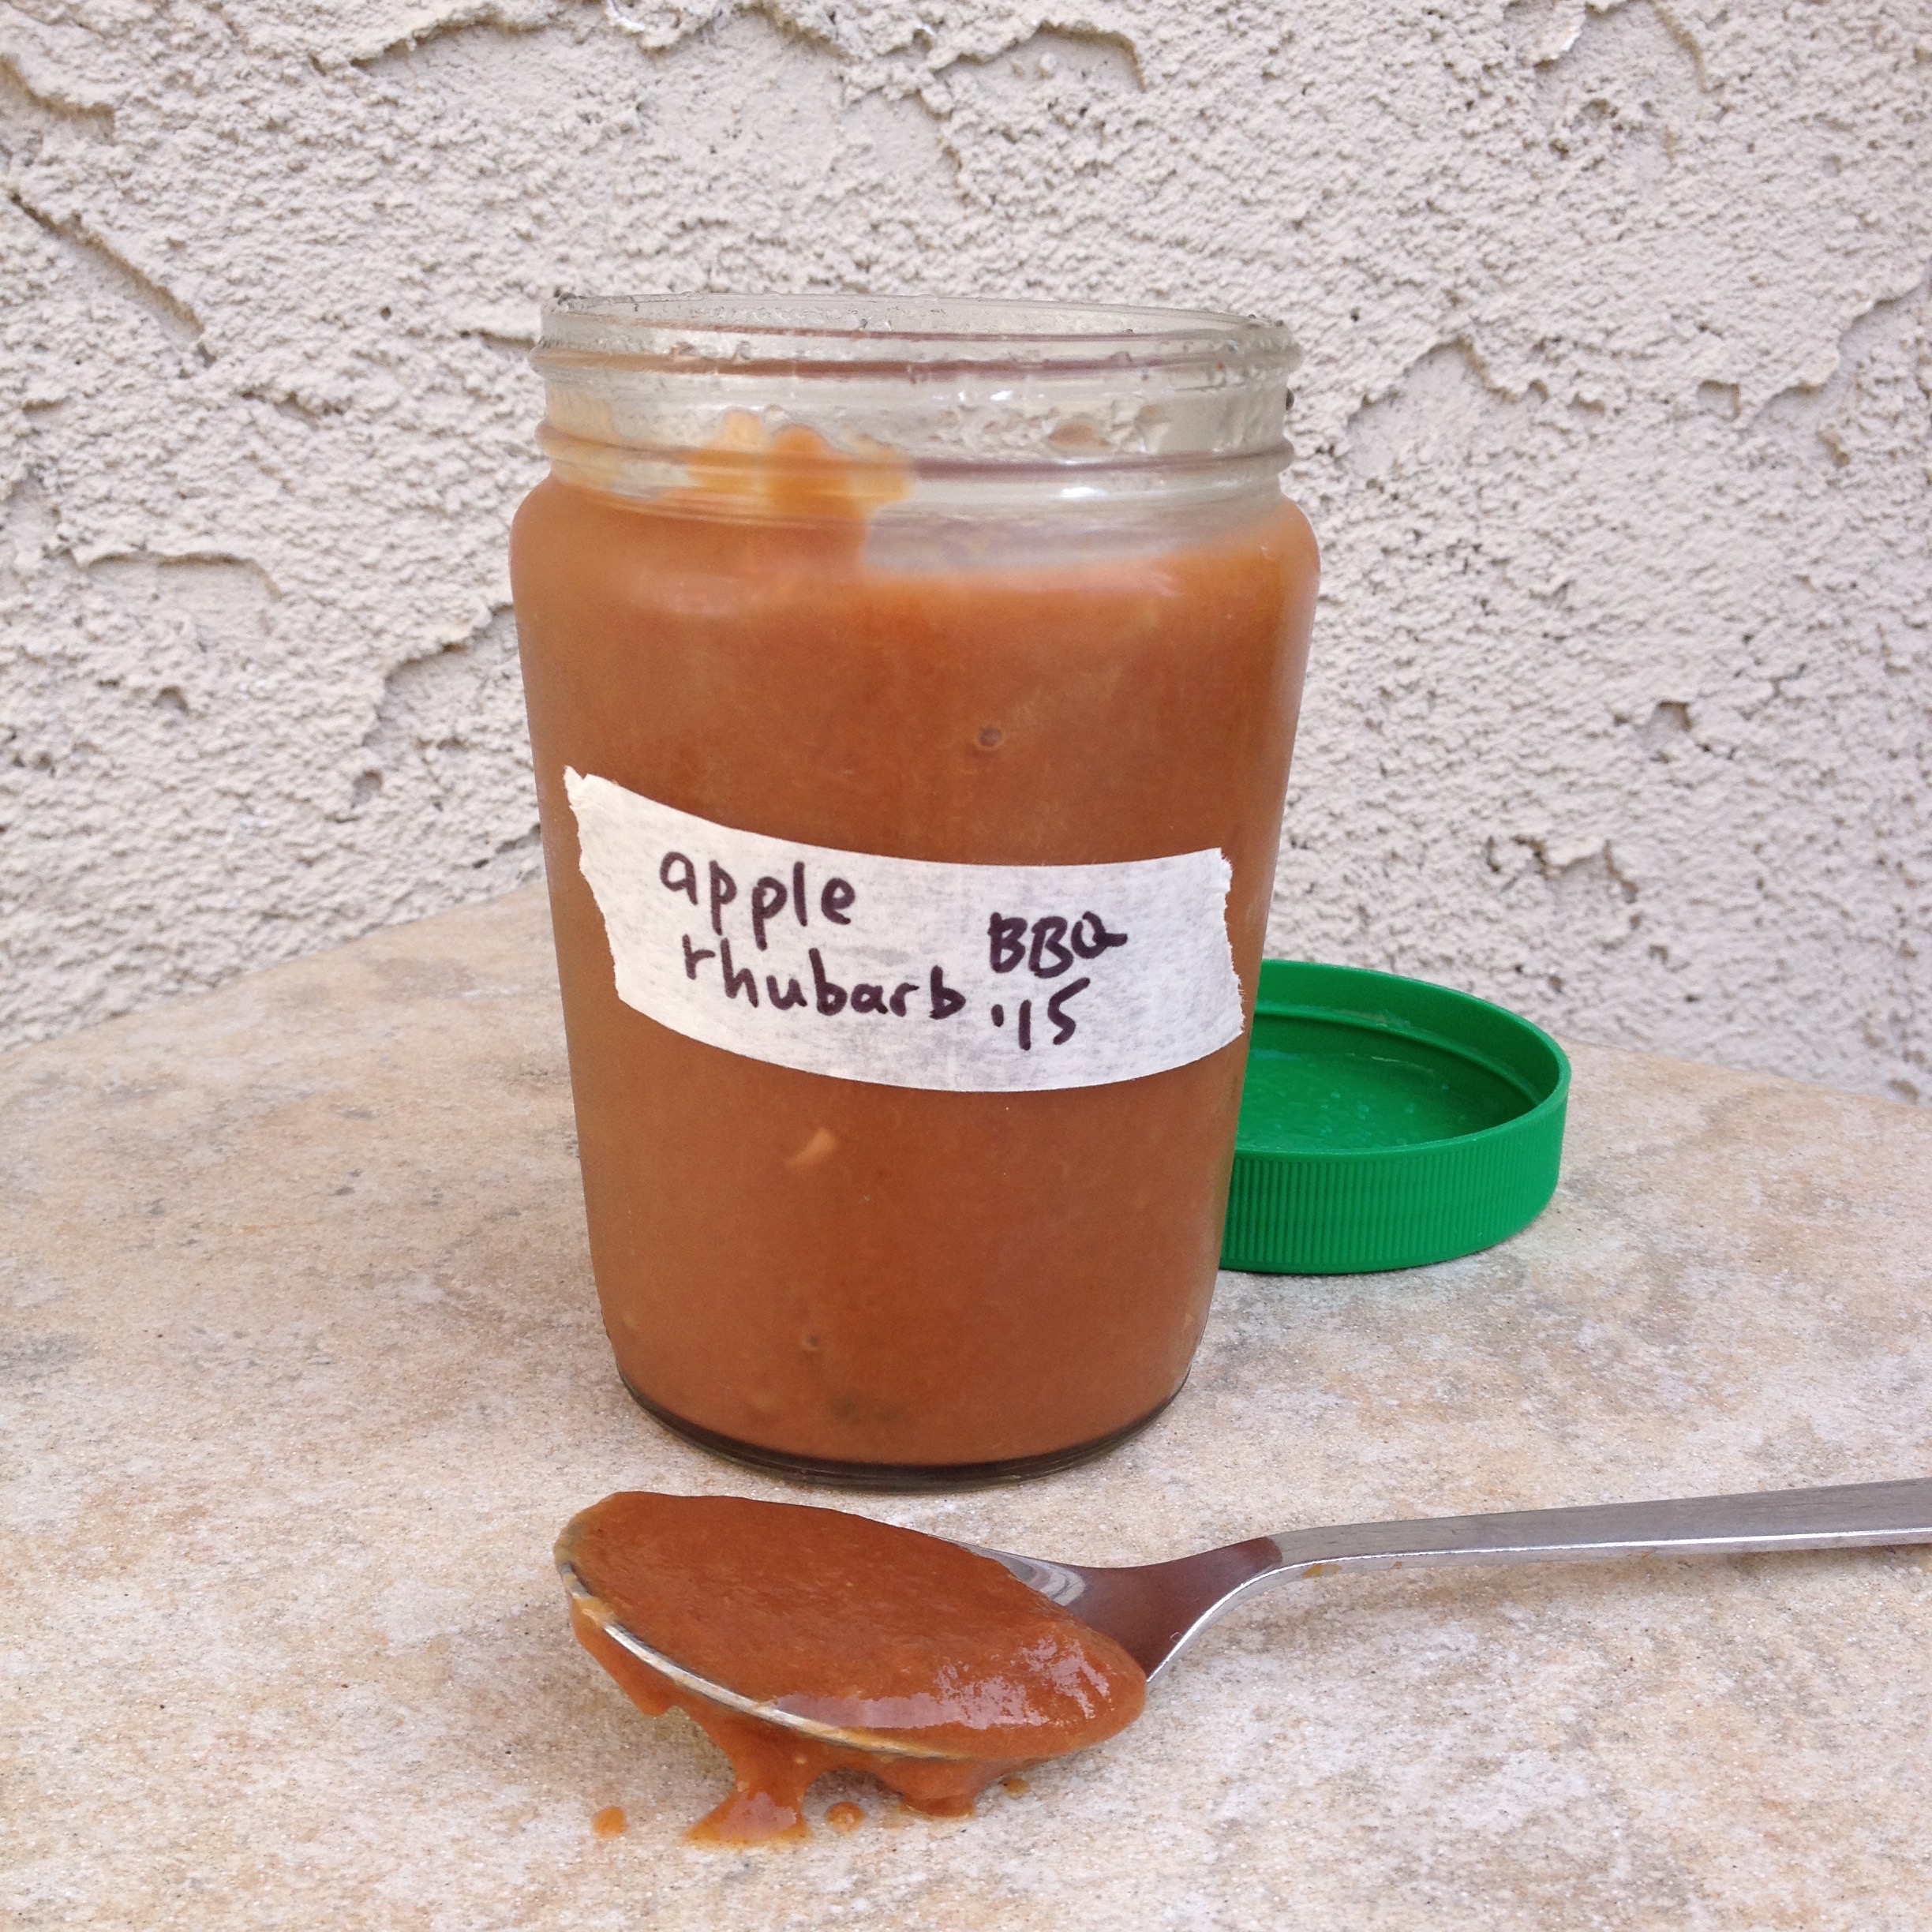
This makes 3x500mL jars, so one for you, one for a friend, and one for the freezer for down the road. This should last a few months in the fridge.
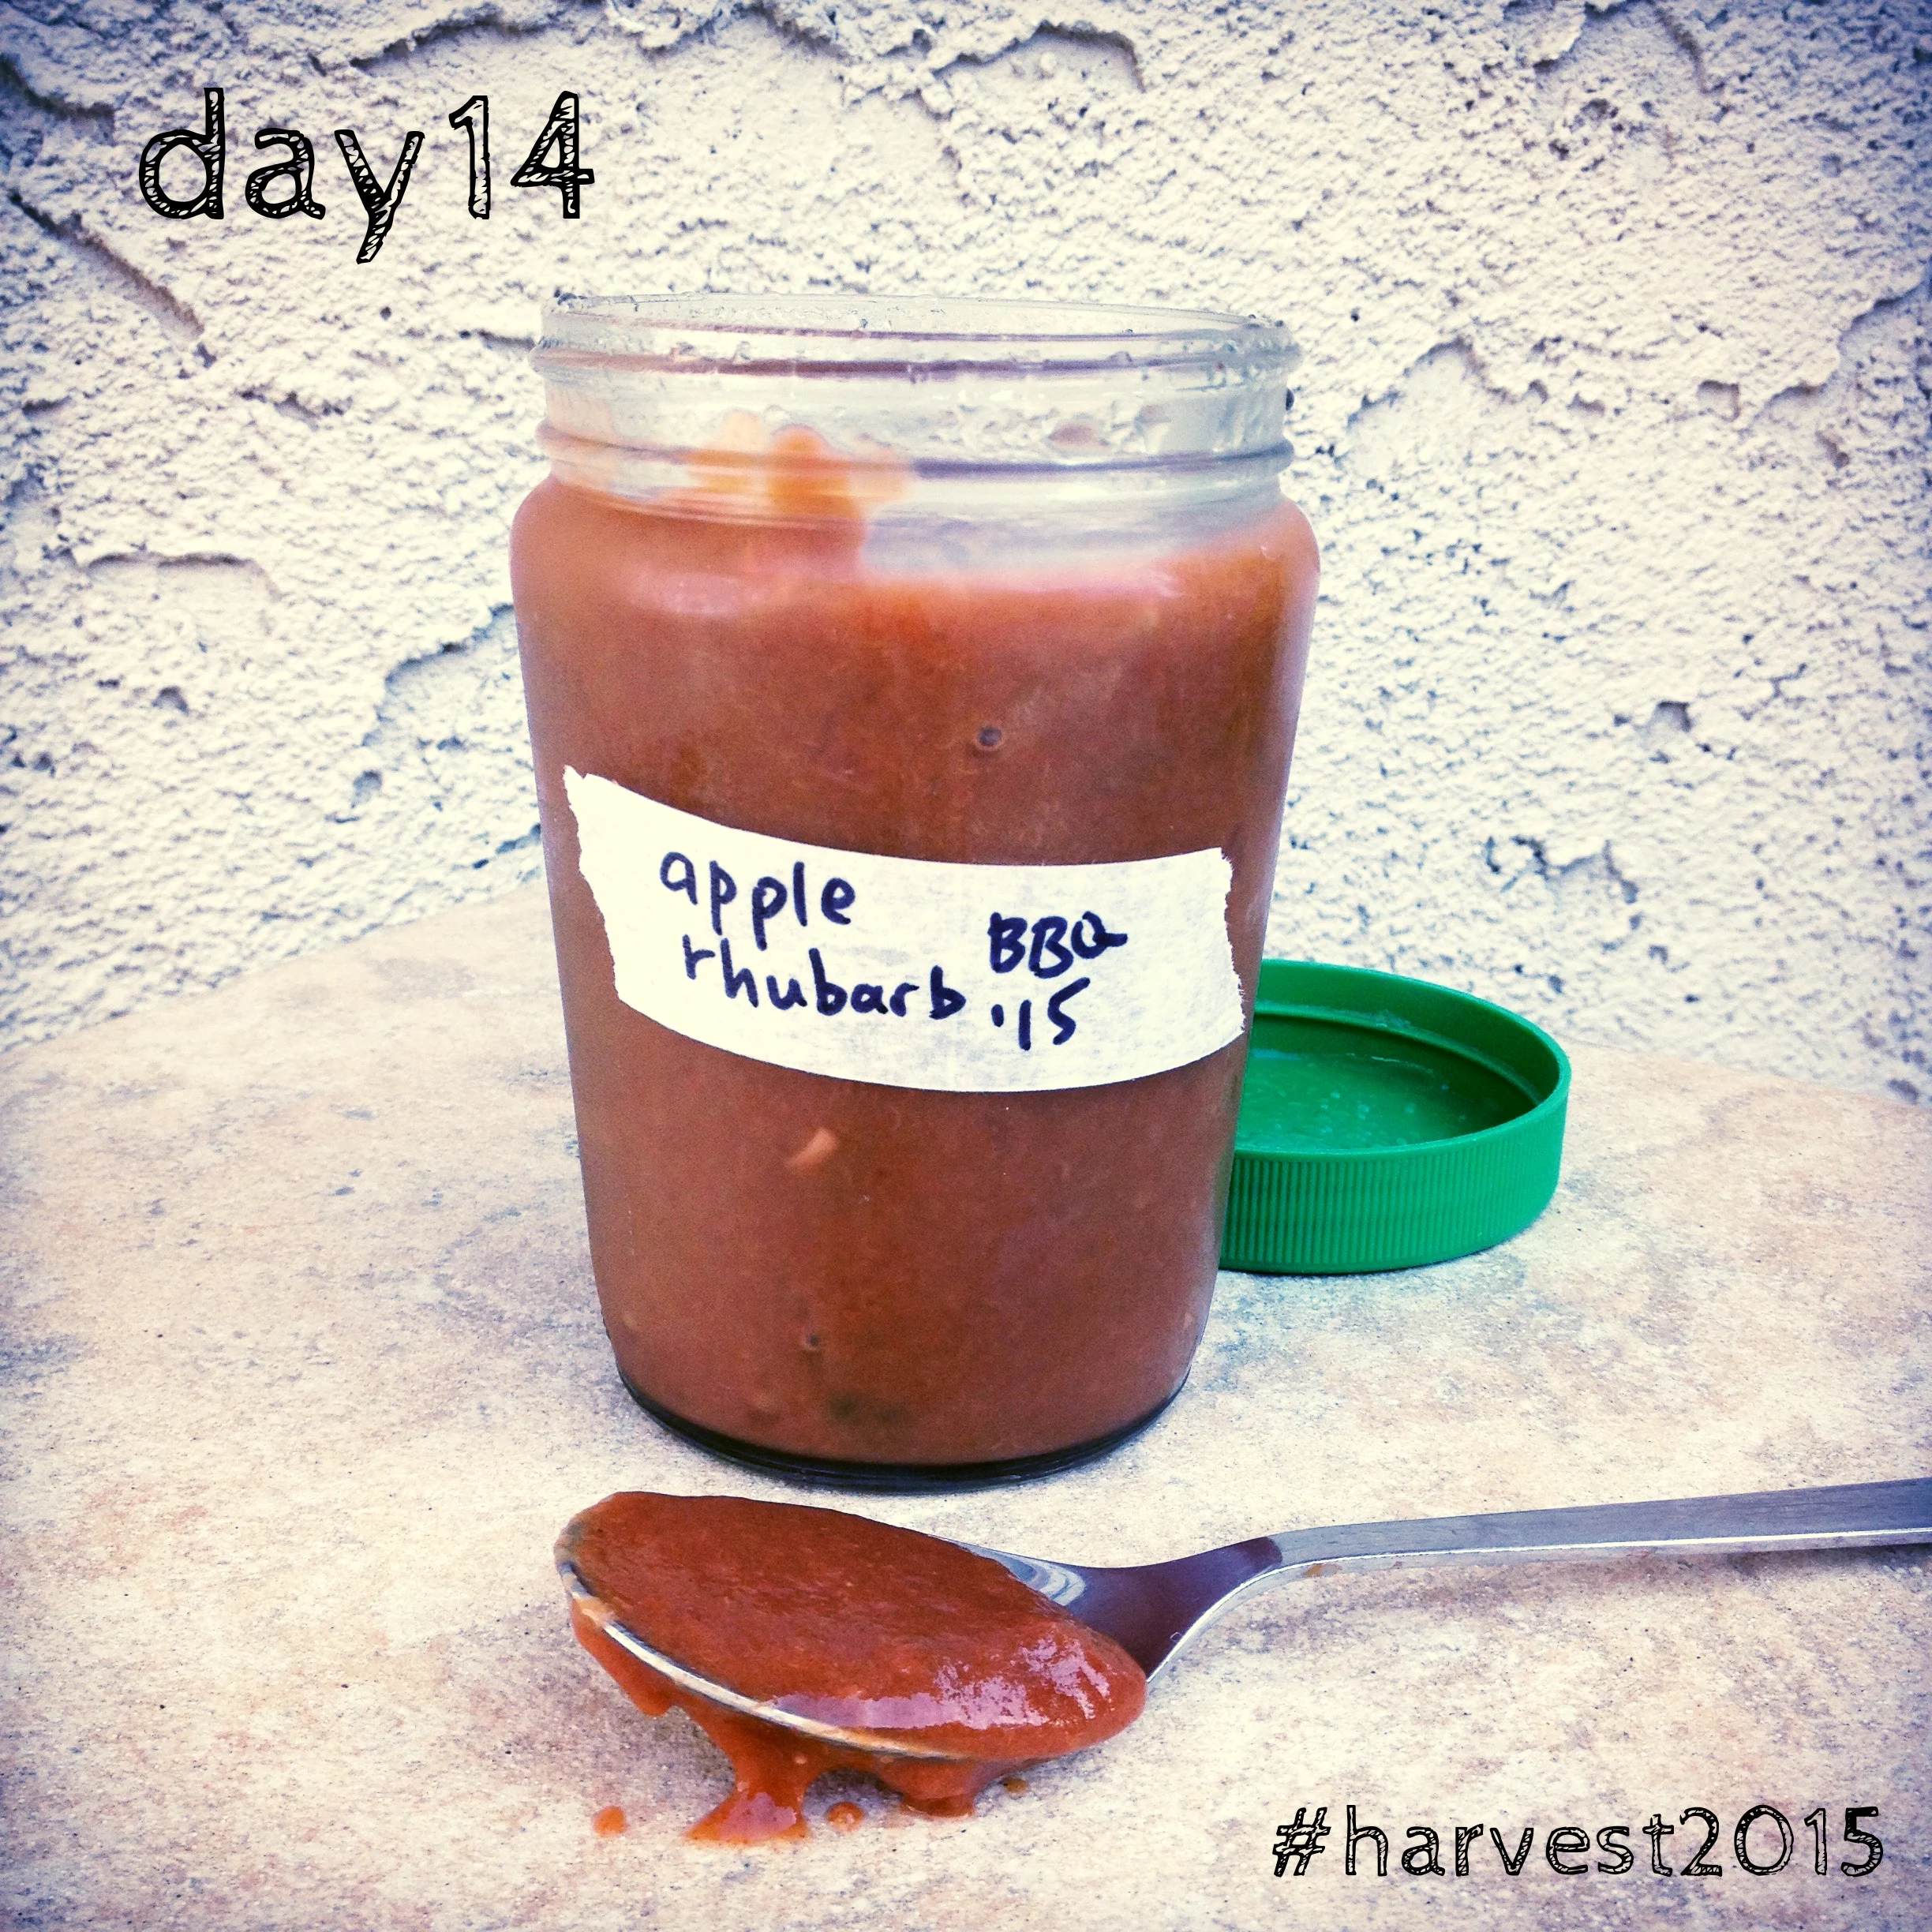
Apple Rhubarb BBQ Sauce. Easy to omit nightshades for AIP compliance. #harvest2015
For those avoiding nightshades, or those on the AIP protocol, this can easily be made nightshade-free! Simply omit the paprika and cayenne pepper, and you've hit a home run. Imagine this BBQ sauce mixed in with some mayo for sweet potato fries; or tucked in with some fermented baby corn and BBQd sausages. Or side by each with some pork chops and grilled onions and zucchini. Awwww yeaaaaaa.
A MONTH OF PUTTING UP THE HARVEST - Day 13
We are past the halfway mark of this month of putting up the harvest, and I am playing around with a few ideas for the coming days. But today's post is something I've done for a few years, and is one of those things that if you have the time and can make the effort in the fall, I guarantee you will be glad of the results. See, today we're talking about garlic. Yes, that stuff that wards off vampires. Yes, that glorious bulb of stink that has magical superpowers (antiviral, antibacterial, selenium-ful and I think makes you glow in the dark just about*). It is a super duper low maintenance plant that can look good in veggie patches as well as in flower beds out front. Plus, they deter pests like deer and rabbits and squirrels from invading your patch! It's also something that will keep long into the winter months when properly cured.
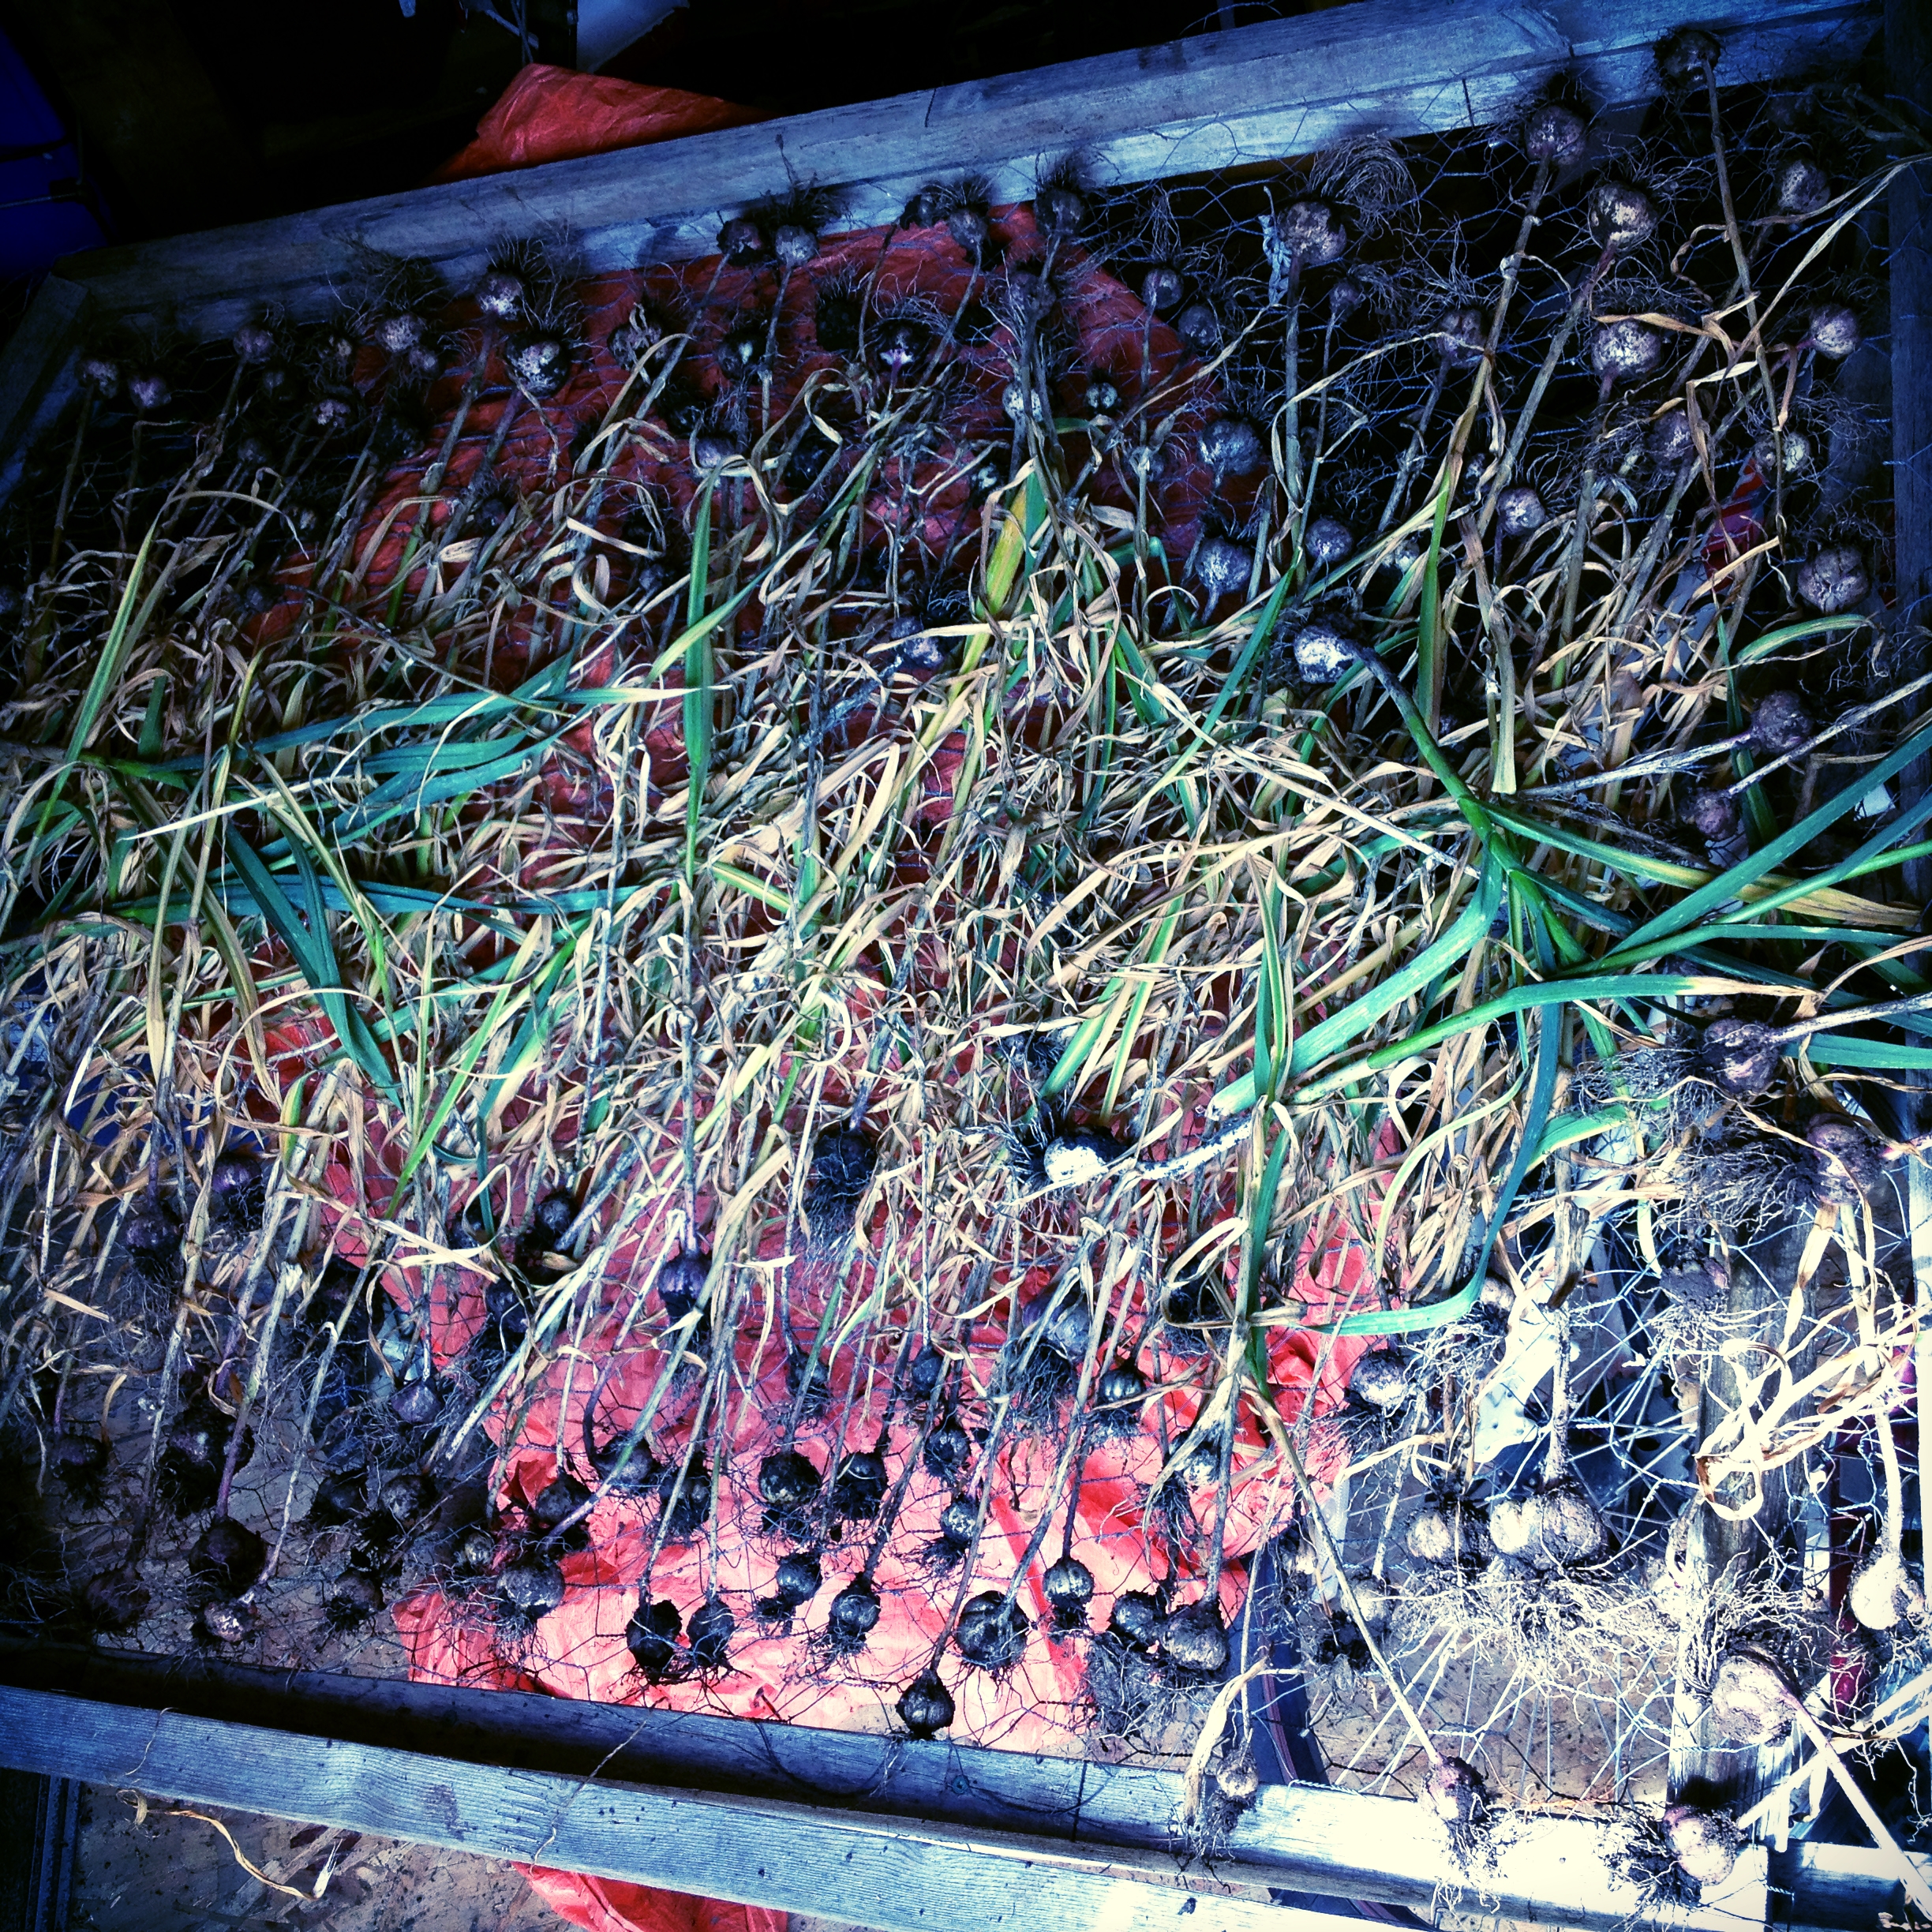
Muddy garlic laid out on screens for the 2-week curing period. #harvest2015
We are past the halfway mark of this month of putting up the harvest, and I am playing around with a few ideas for the coming days. But today's post is something I've done for a few years, and is one of those things that if you have the time and can make the effort in the fall, I guarantee you will be glad of the results. See, today we're talking about garlic. Yes, that stuff that wards off vampires. Yes, that glorious bulb of stink that has magical superpowers (antiviral, antibacterial, selenium-ful and I think makes you glow in the dark just about*). It is a super duper low maintenance plant that can look good in veggie patches as well as in flower beds out front. Plus, they deter pests like deer and rabbits and squirrels from invading your patch! It's also something that will keep long into the winter months when properly cured.
Now my bulbs here in the photo do not look pretty. But this blog isn't about being pretty and perfect, it's about being real. And about good food. I plunked these babies in the ground 2 years ago as bulbils instead of cloves, which I would recommend you plant cloves. See, I got in too late to the clove/bulb-purchasing party two falls ago and the place I order from (The Garlic Farm in Boundary, BC, highly recommend their site) had run out of bulbs/cloves to sell for planting, and so the lovely Sonia sent me bulbils to try out instead, at little to no charge if I remember correctly. So try I did, scattering them on my garden bed in the hopes they'd come up next spring. Oh they did indeed come up, but thin blades of what I thought was quack grass at first, and about 3 or 4 weeks in, promptly disappeared. I thought oh well, chalk it up to experience, and left everything in the soil and forgot about them.
Until this spring. Oh did they come back! The cloves had now had enough time to develop from those first bulbils, and were crowded in my bed but growing like MAD! I wish I had photos to show of how beautiful they grew, but I tend to live in the moment and often forget to photograph things. You'll just have to believe me that they looked glorious. I was excited about this year's harvest, almost 2 full years after having scattered those first bubils on the ground. (If you do as I say and not as I do, then you'll plant cloves and be able to harvest the next summer, not two summers later as I did…)
And harvest I did. Might I recommend you follow Sonia and Henry's advice, let the patch dry out for that last week before harvest when only 3 green leaves are left on the top growth, and harvest when things are dry. I did it in the middle of last week's deluge, but because I had to, I was afraid they were going to start rotting in the ground if I didn't get them out fast enough. That's why there is so much dirt on those heads of garlic on my homemade shoddy chicken-wire screens in that photo. Yours won't be like that, they'll be much more beautiful, with less dirt. Don't you fret.
Sonia and Henry's site gives you plenty of information on how to grow your own garlic, how to cure and store your garlic. I will refer you to their site to get the low-down on how to be a garlic superstar. And so in addition to that big 4'x8' screen littered with garlic set to cure for the next two weeks, I had some bulbs that came out that were scuffed, or that I dug in to and ripped the papers off accidentally whilst harvesting, and was worried they wouldn't cure properly and that I would lose the pungent cloves. And so I did what I had to do. I spent 2 hours peeling a big bowlful of teeny muddy bulbs and threw them in the blender, mashing it into a paste along with some good quality olive oil.
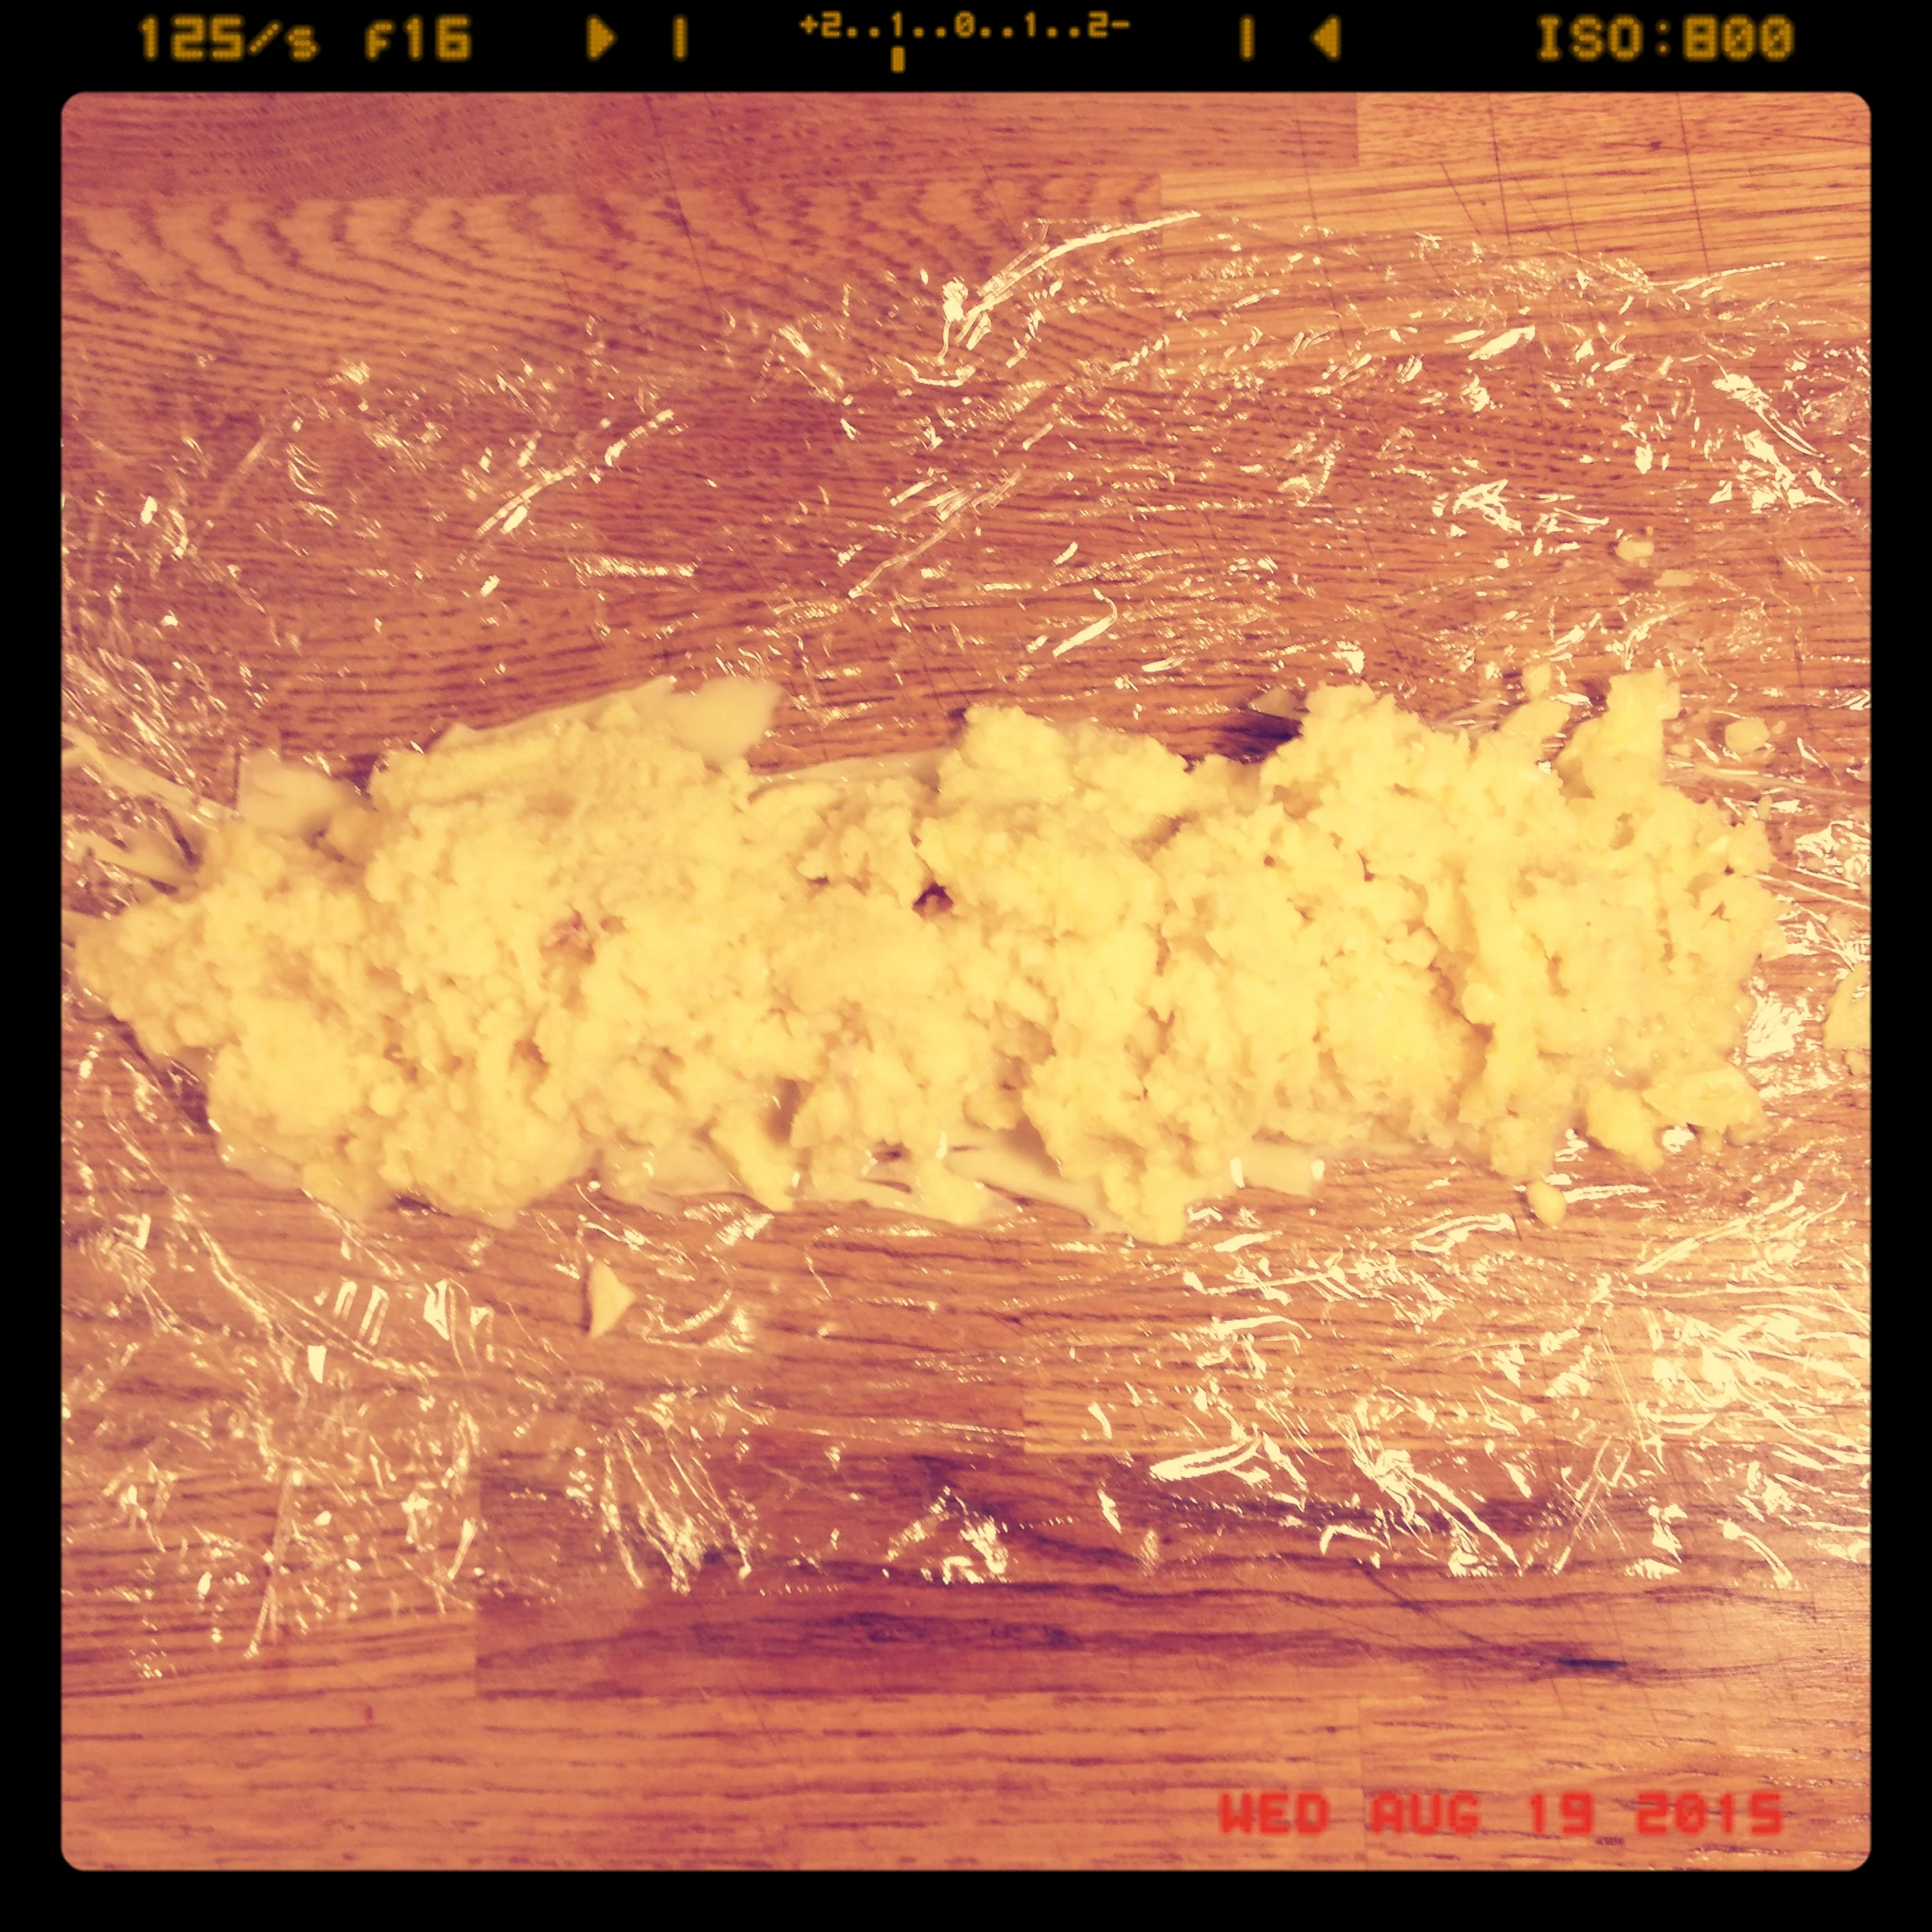
Freshly harvested garlic mashed into a pulp with olive oil. #harvest2015
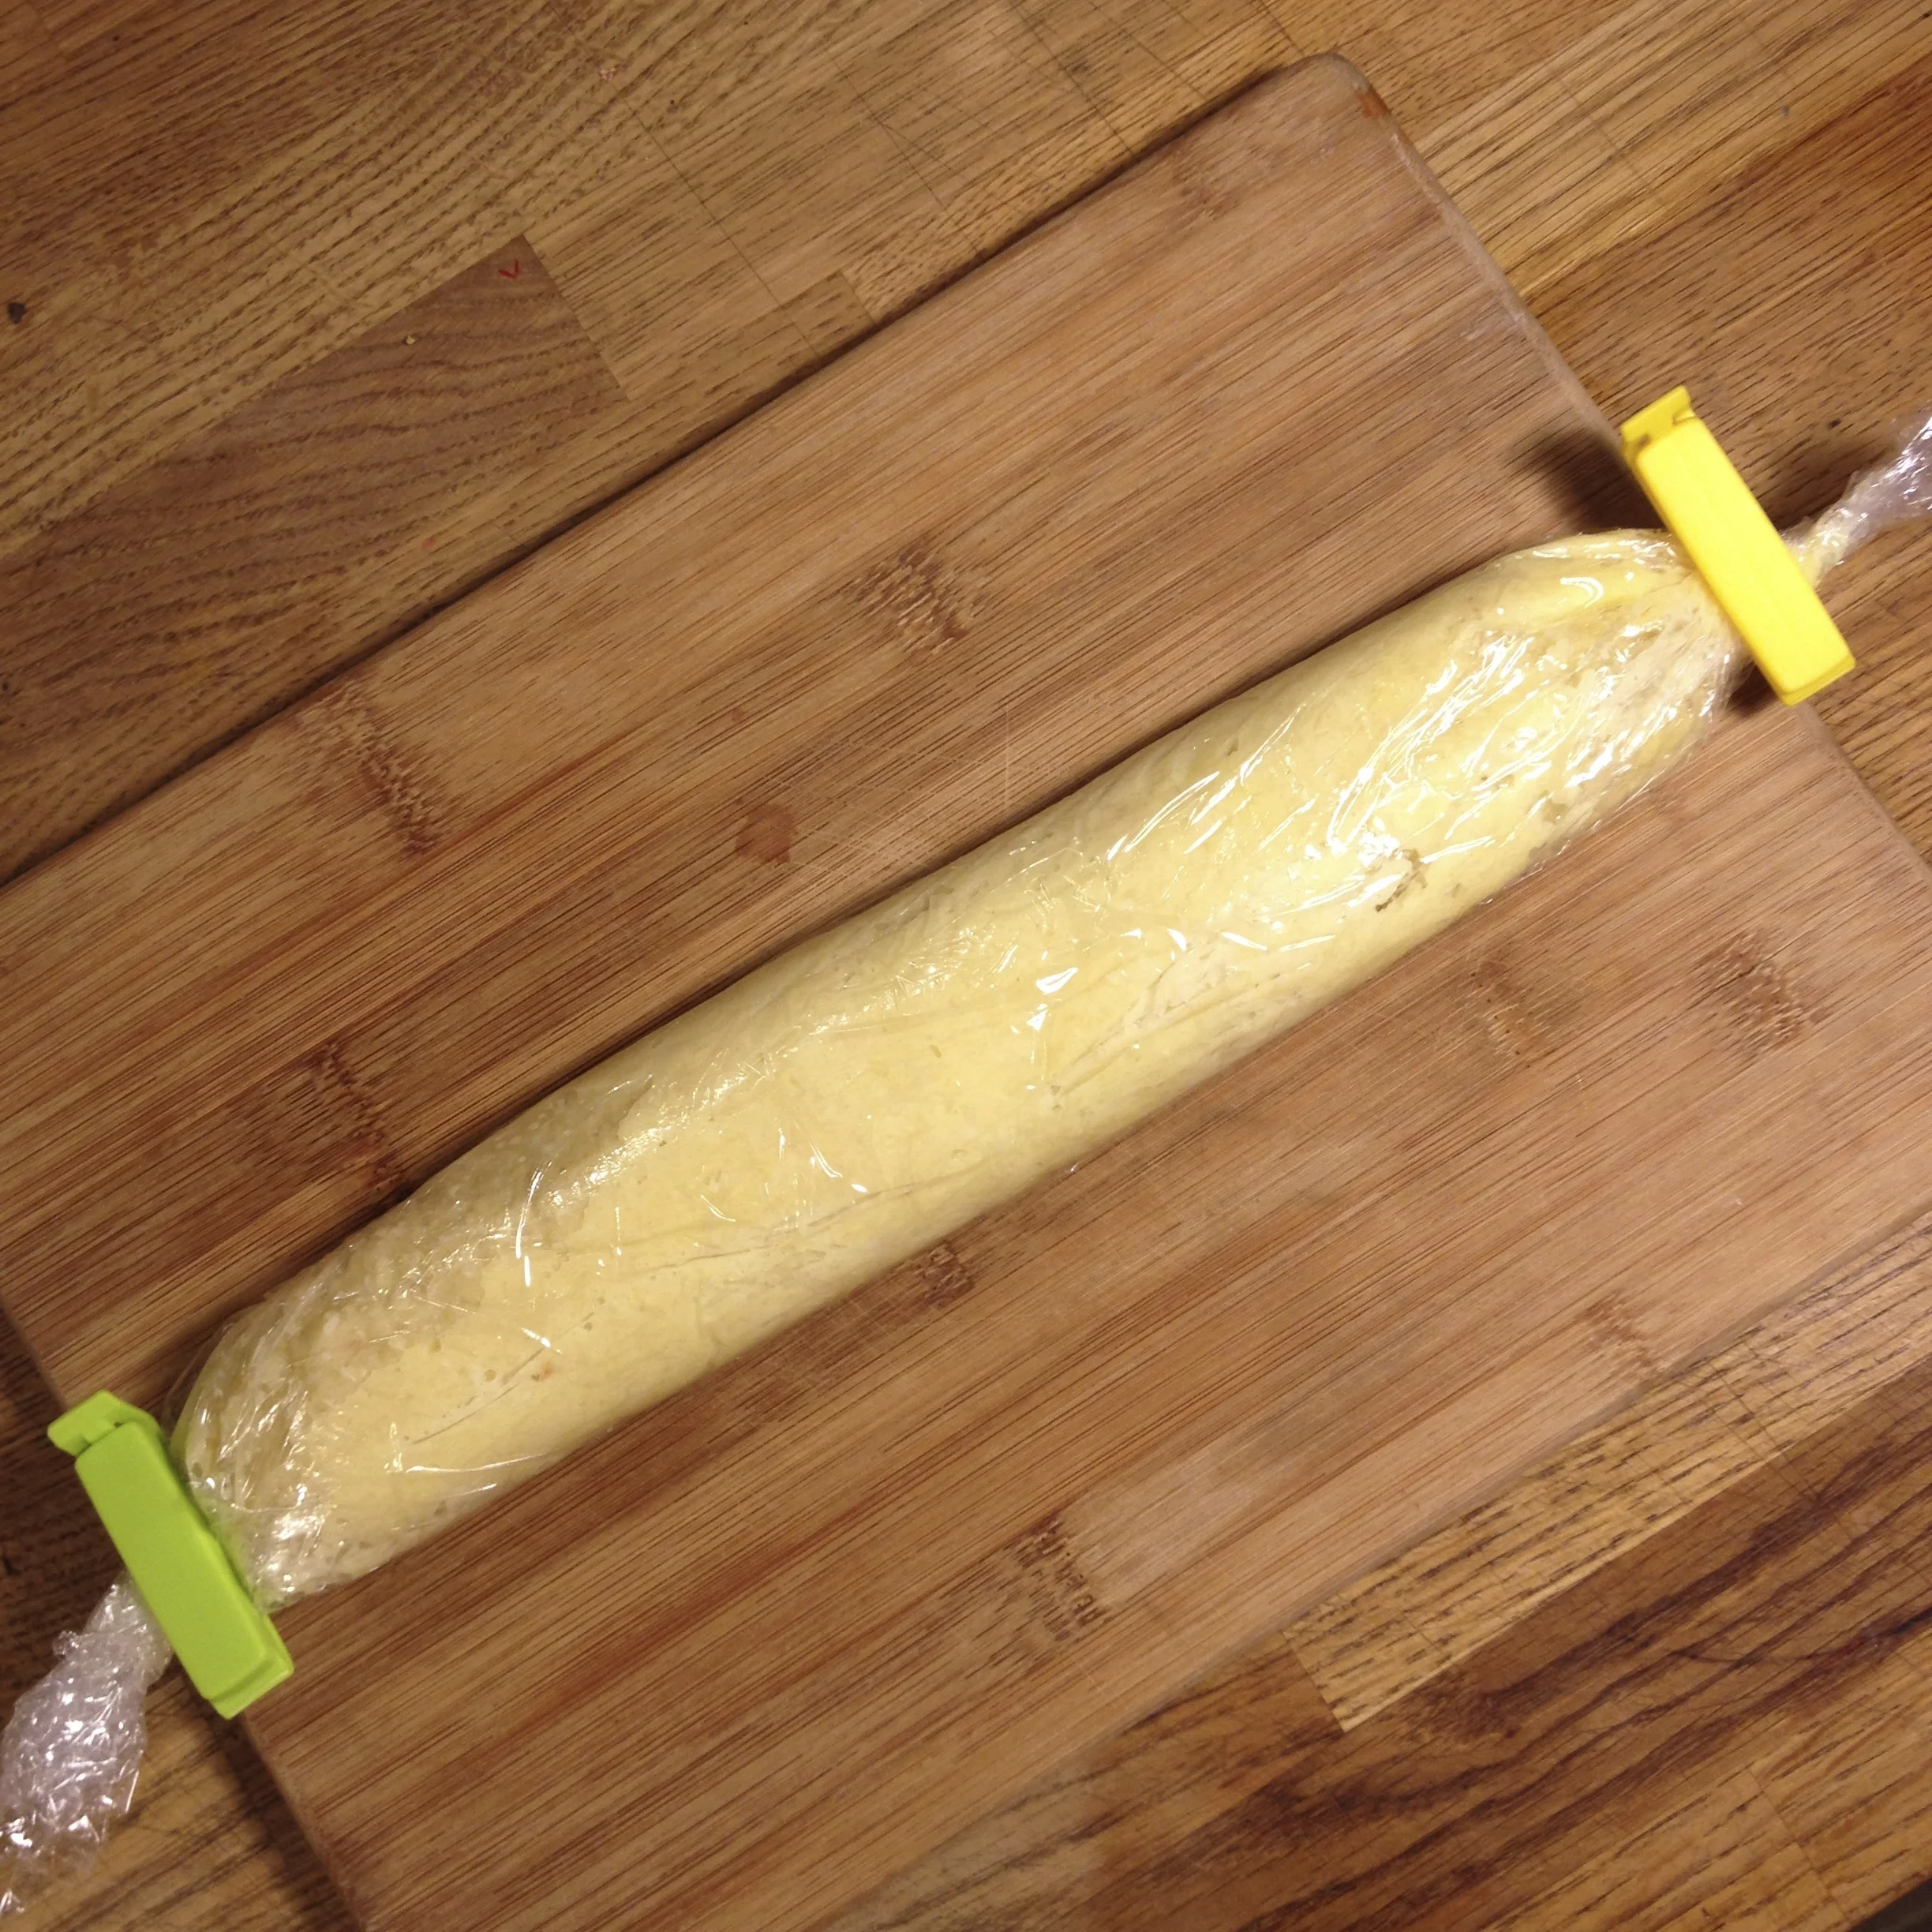
We used to do this in the kitchen where I used to work, a trick I learned from Chef Stephen. I dropped that garlic paste on to a sheet of plastic wrap, you could do it in parchment I suppose, and then rolled it into a log shape, pinching off the ends and tucked it on a tray in the freezer to freeze. Freezing the garlic/oil combo prevents botulism from settling in, and keeps your garlic super fresh. Now when I need garlic, I just have to take the log out of the freezer and shave off what is required in my recipe, and tuck the whole thing back in to the freezer. Voila!
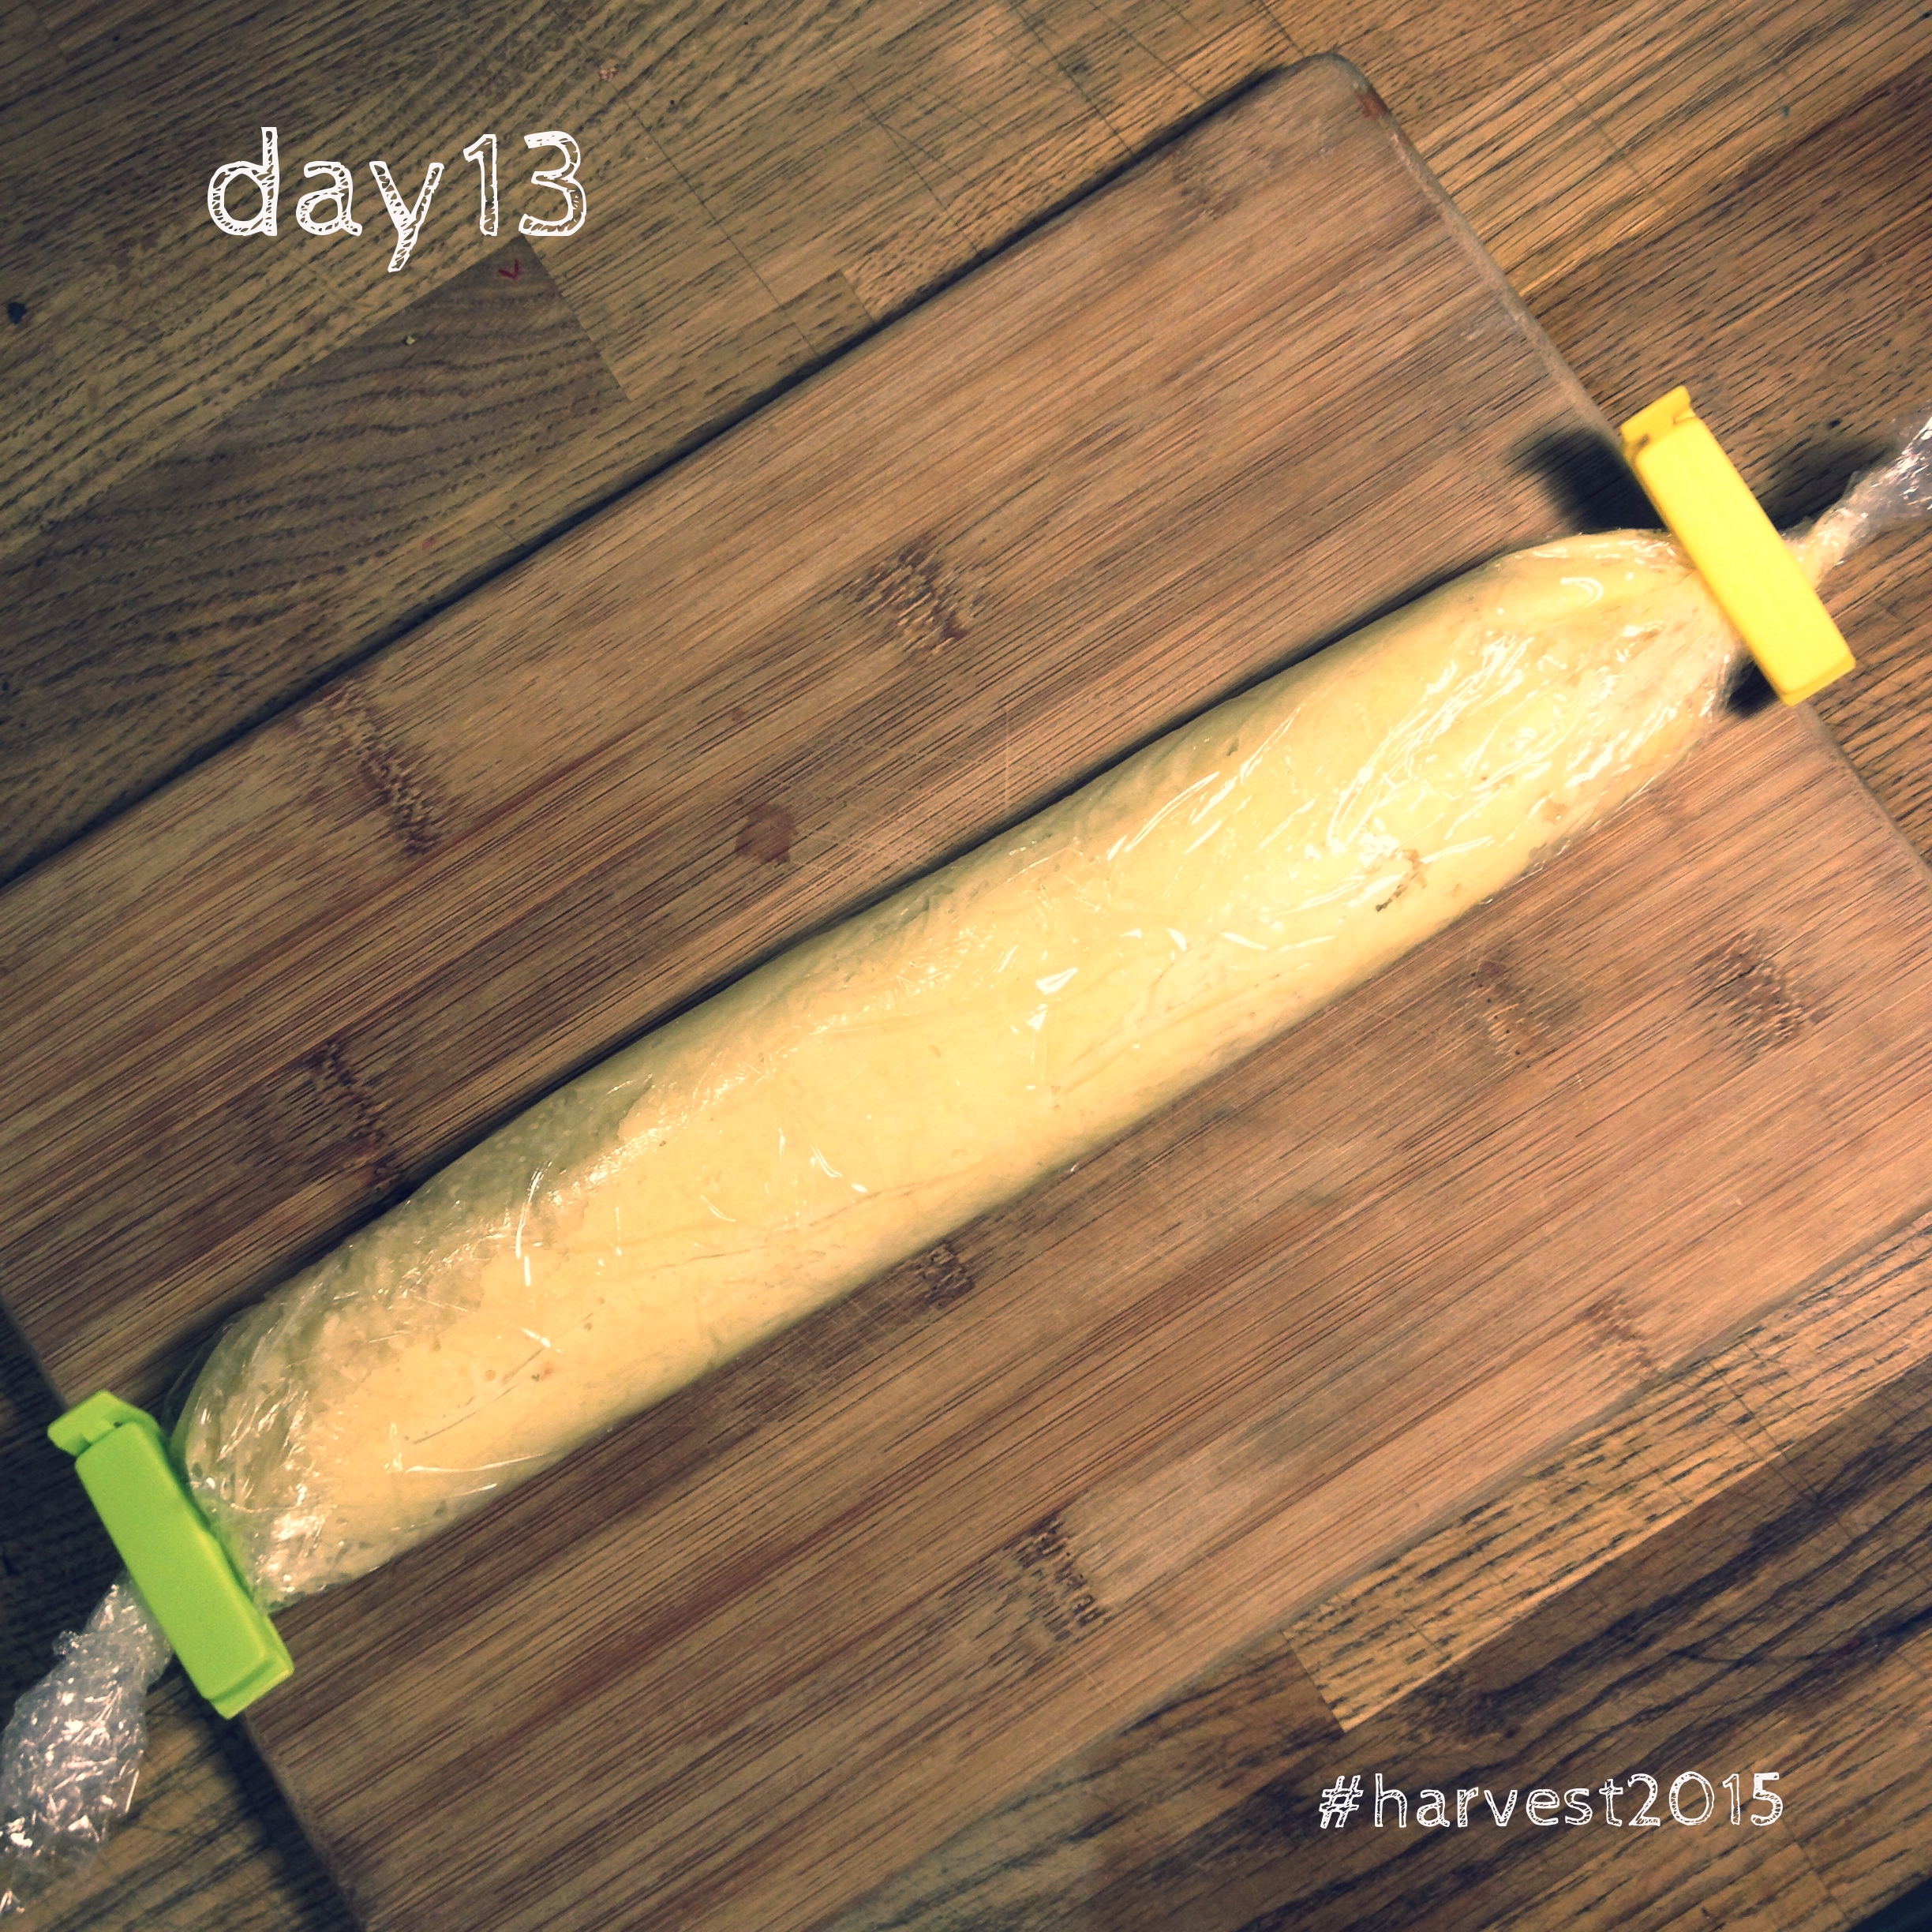
Garlic log. What every child wants for Christmas! #harvest2015
Now once those other bulbs have properly cured in a few weeks, I'll try my hand at braiding the stalks and hanging them in my basement for storage until I need some in the kitchen. I plan to also slow roast a bunch of bulbs together and then squeeze them out and blitz into a paste, freezing in a log again just like this fresh garlic. And I may also impart bulbs to friends as gifts. You know, to keep the vampires away. But I most certainly will be saving a fair number of those garlic heads to re-plant again this fall when the weather cools down again, because growing my own garlic is one of my most favourite crops in the garden. I swear, one clove from my garden patch is worth 3 or 4 from the grocery store!
*that last bit was a little bit of a white lie
A MONTH OF PUTTING UP THE HARVEST - Day 12
Today's post is for those who are growing green/yellow beans in their back yard, as well as for those who are getting in on the good local food deals and buying locally-grown green or yellow beans at their grocery store or farmer's market. As this month has been grooving along, I've been playing with some ideas and trying new things, but this one today, this is something our family used to do when I was growing up.
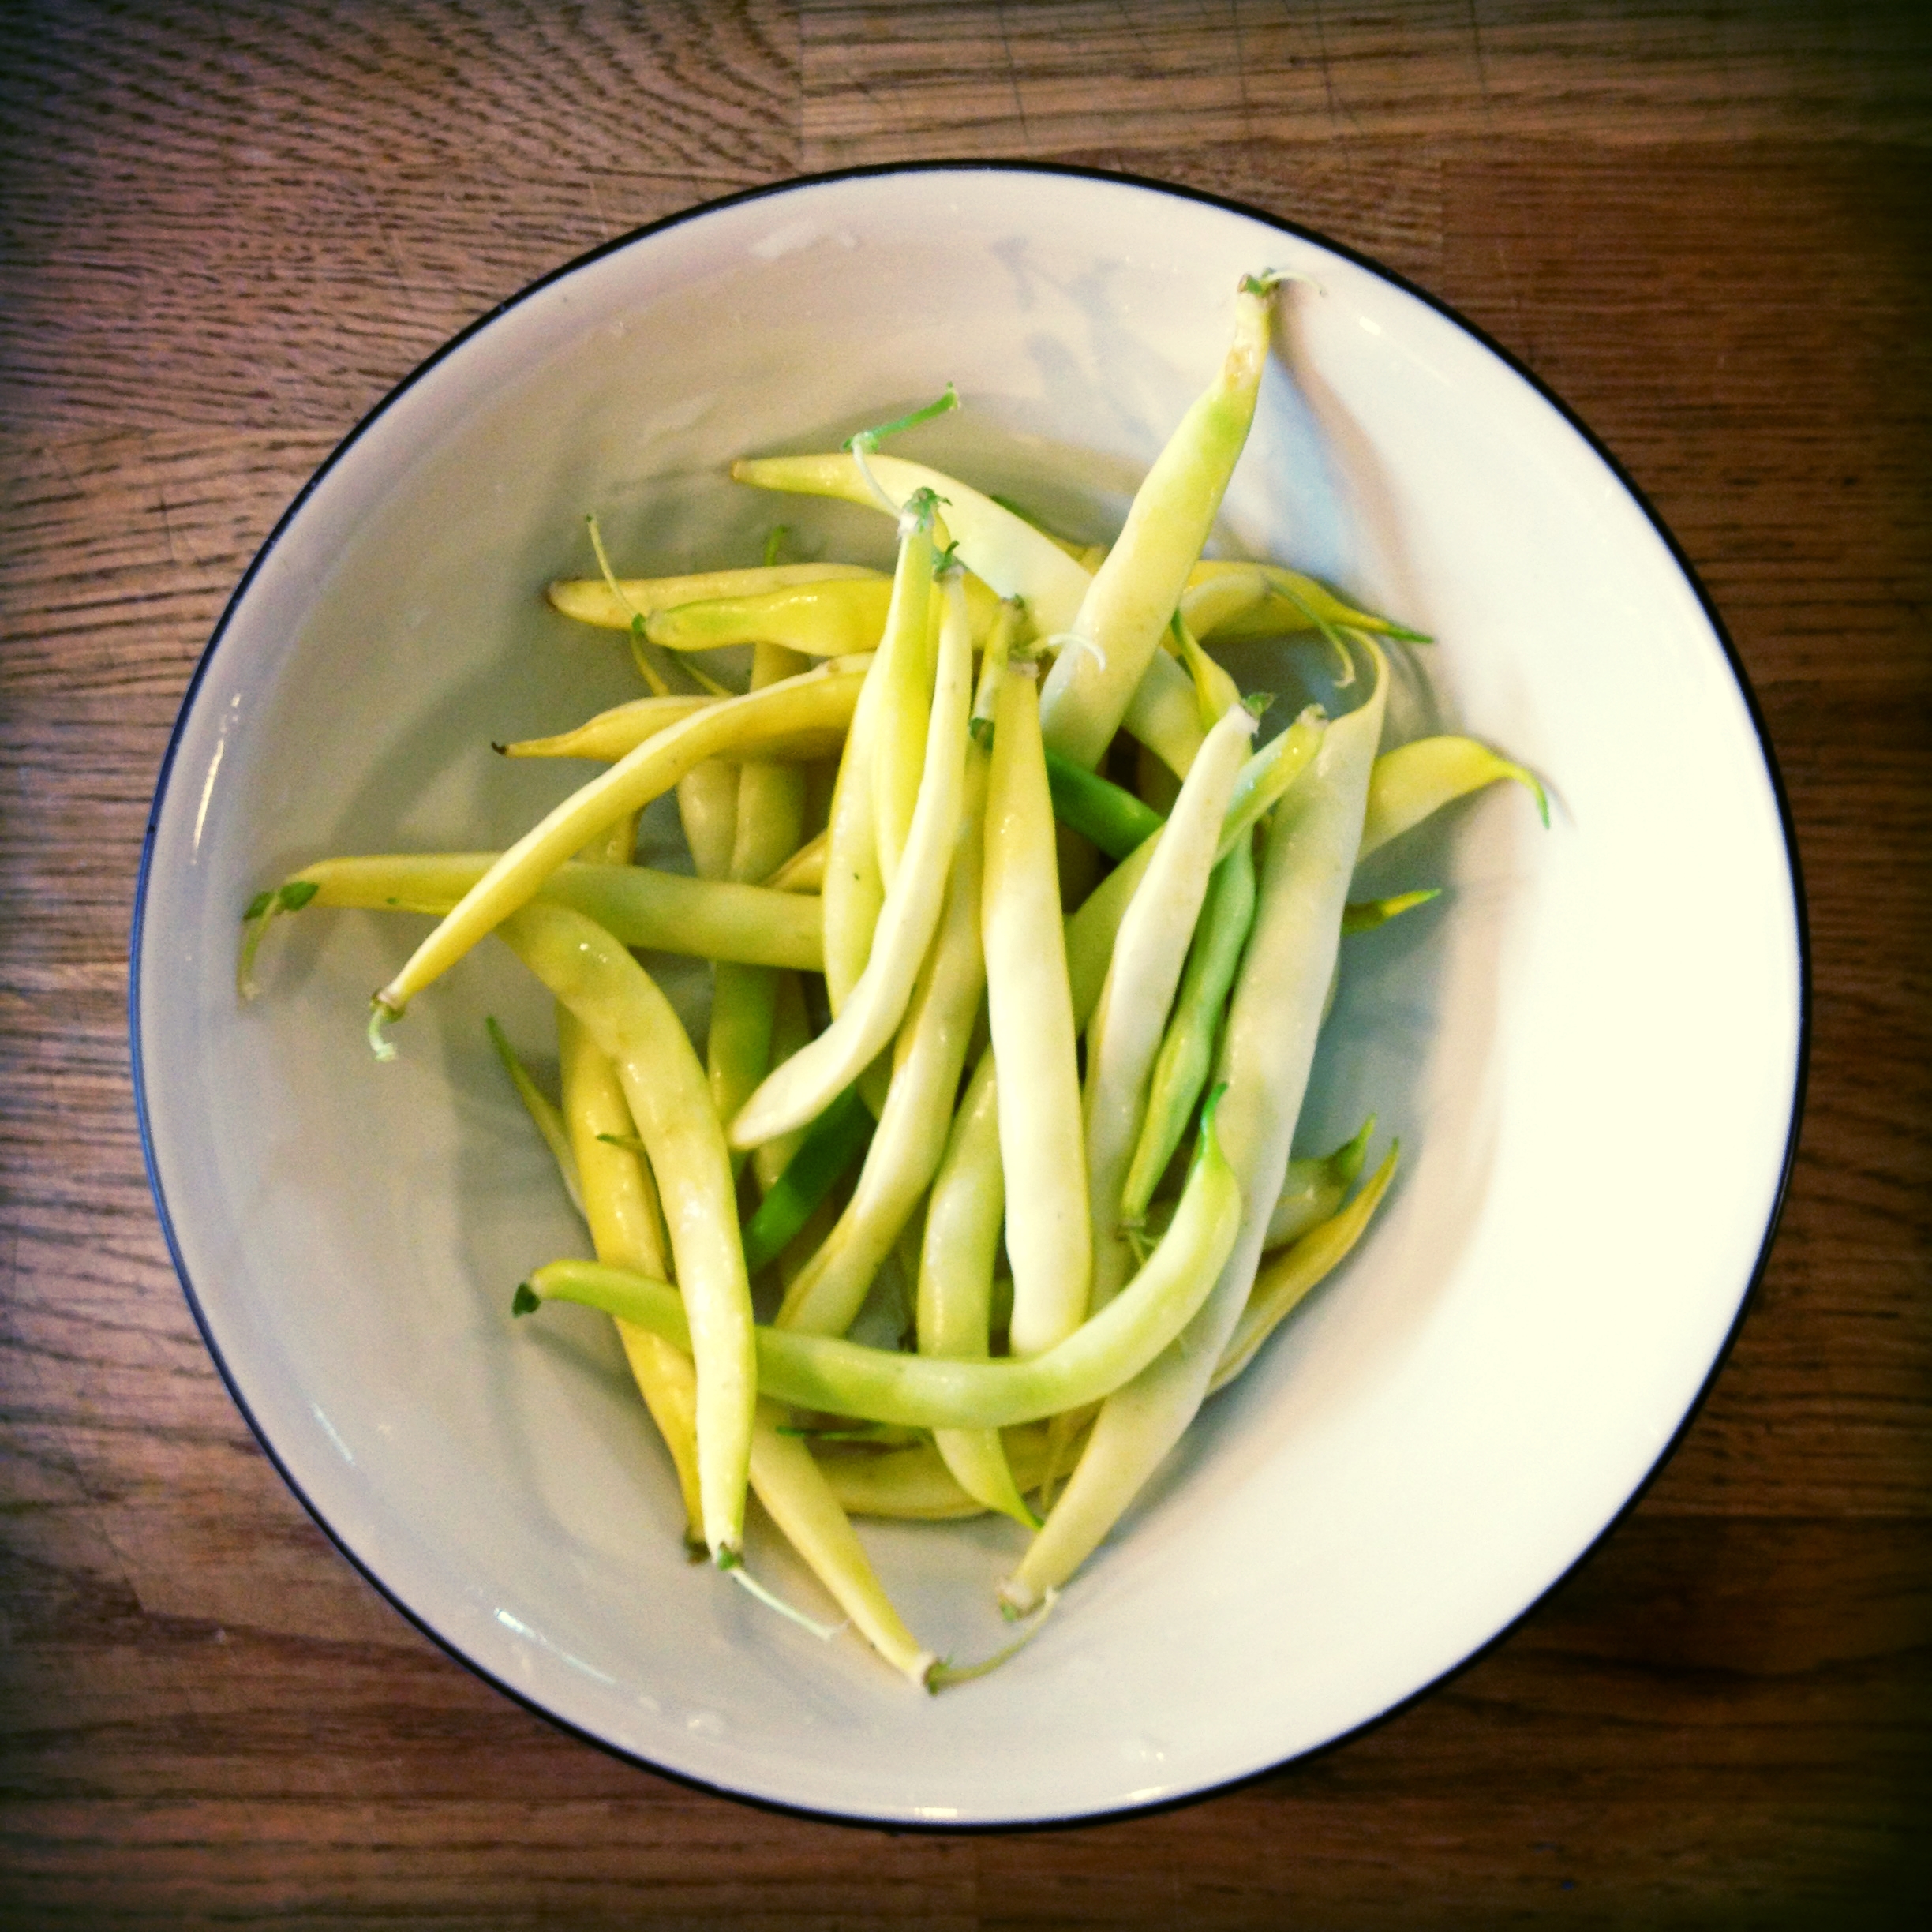
Small harvest of yellow bush beans, destined for the freezer. #harvest2015
Today's post is for those who are growing green/yellow beans in their back yard, as well as for those who are getting in on the good local food deals and buying locally-grown green or yellow beans at their grocery store or farmer's market. As this month has been grooving along, I've been playing with some ideas and trying new things, but this one today, this is something our family used to do when I was growing up.
I remember my mom and dad blanching the green beans before tucking them in the freezer (blanch for 1 minutes, plunge in ice water for a minute or two, bag it) but that's just an extra step that I'm going to skip this year, as I have seen reports that people are putting up their green beans sans that quick blanch. And I'm lazy. And truthfully, my garden patch isn't big and so I tend to have small handfuls of beans ready every other day, making it hard to have enough to warrant wanting to do a big ole blanch-and-shock treatment.
See, this blanching step was meant to stop an enzymatic reaction based on what is in and on that vegetable at harvest time that apparently degrades or turns the vegetable mushy when frozen for longer periods of time. Find a full write up on the process here, including the how-to of blanching if you're so inclined. Me, I'm throwing all caution to the wind. And really, I don't have that much to harvest so will probably whittle down my small stash in 2 months' time.
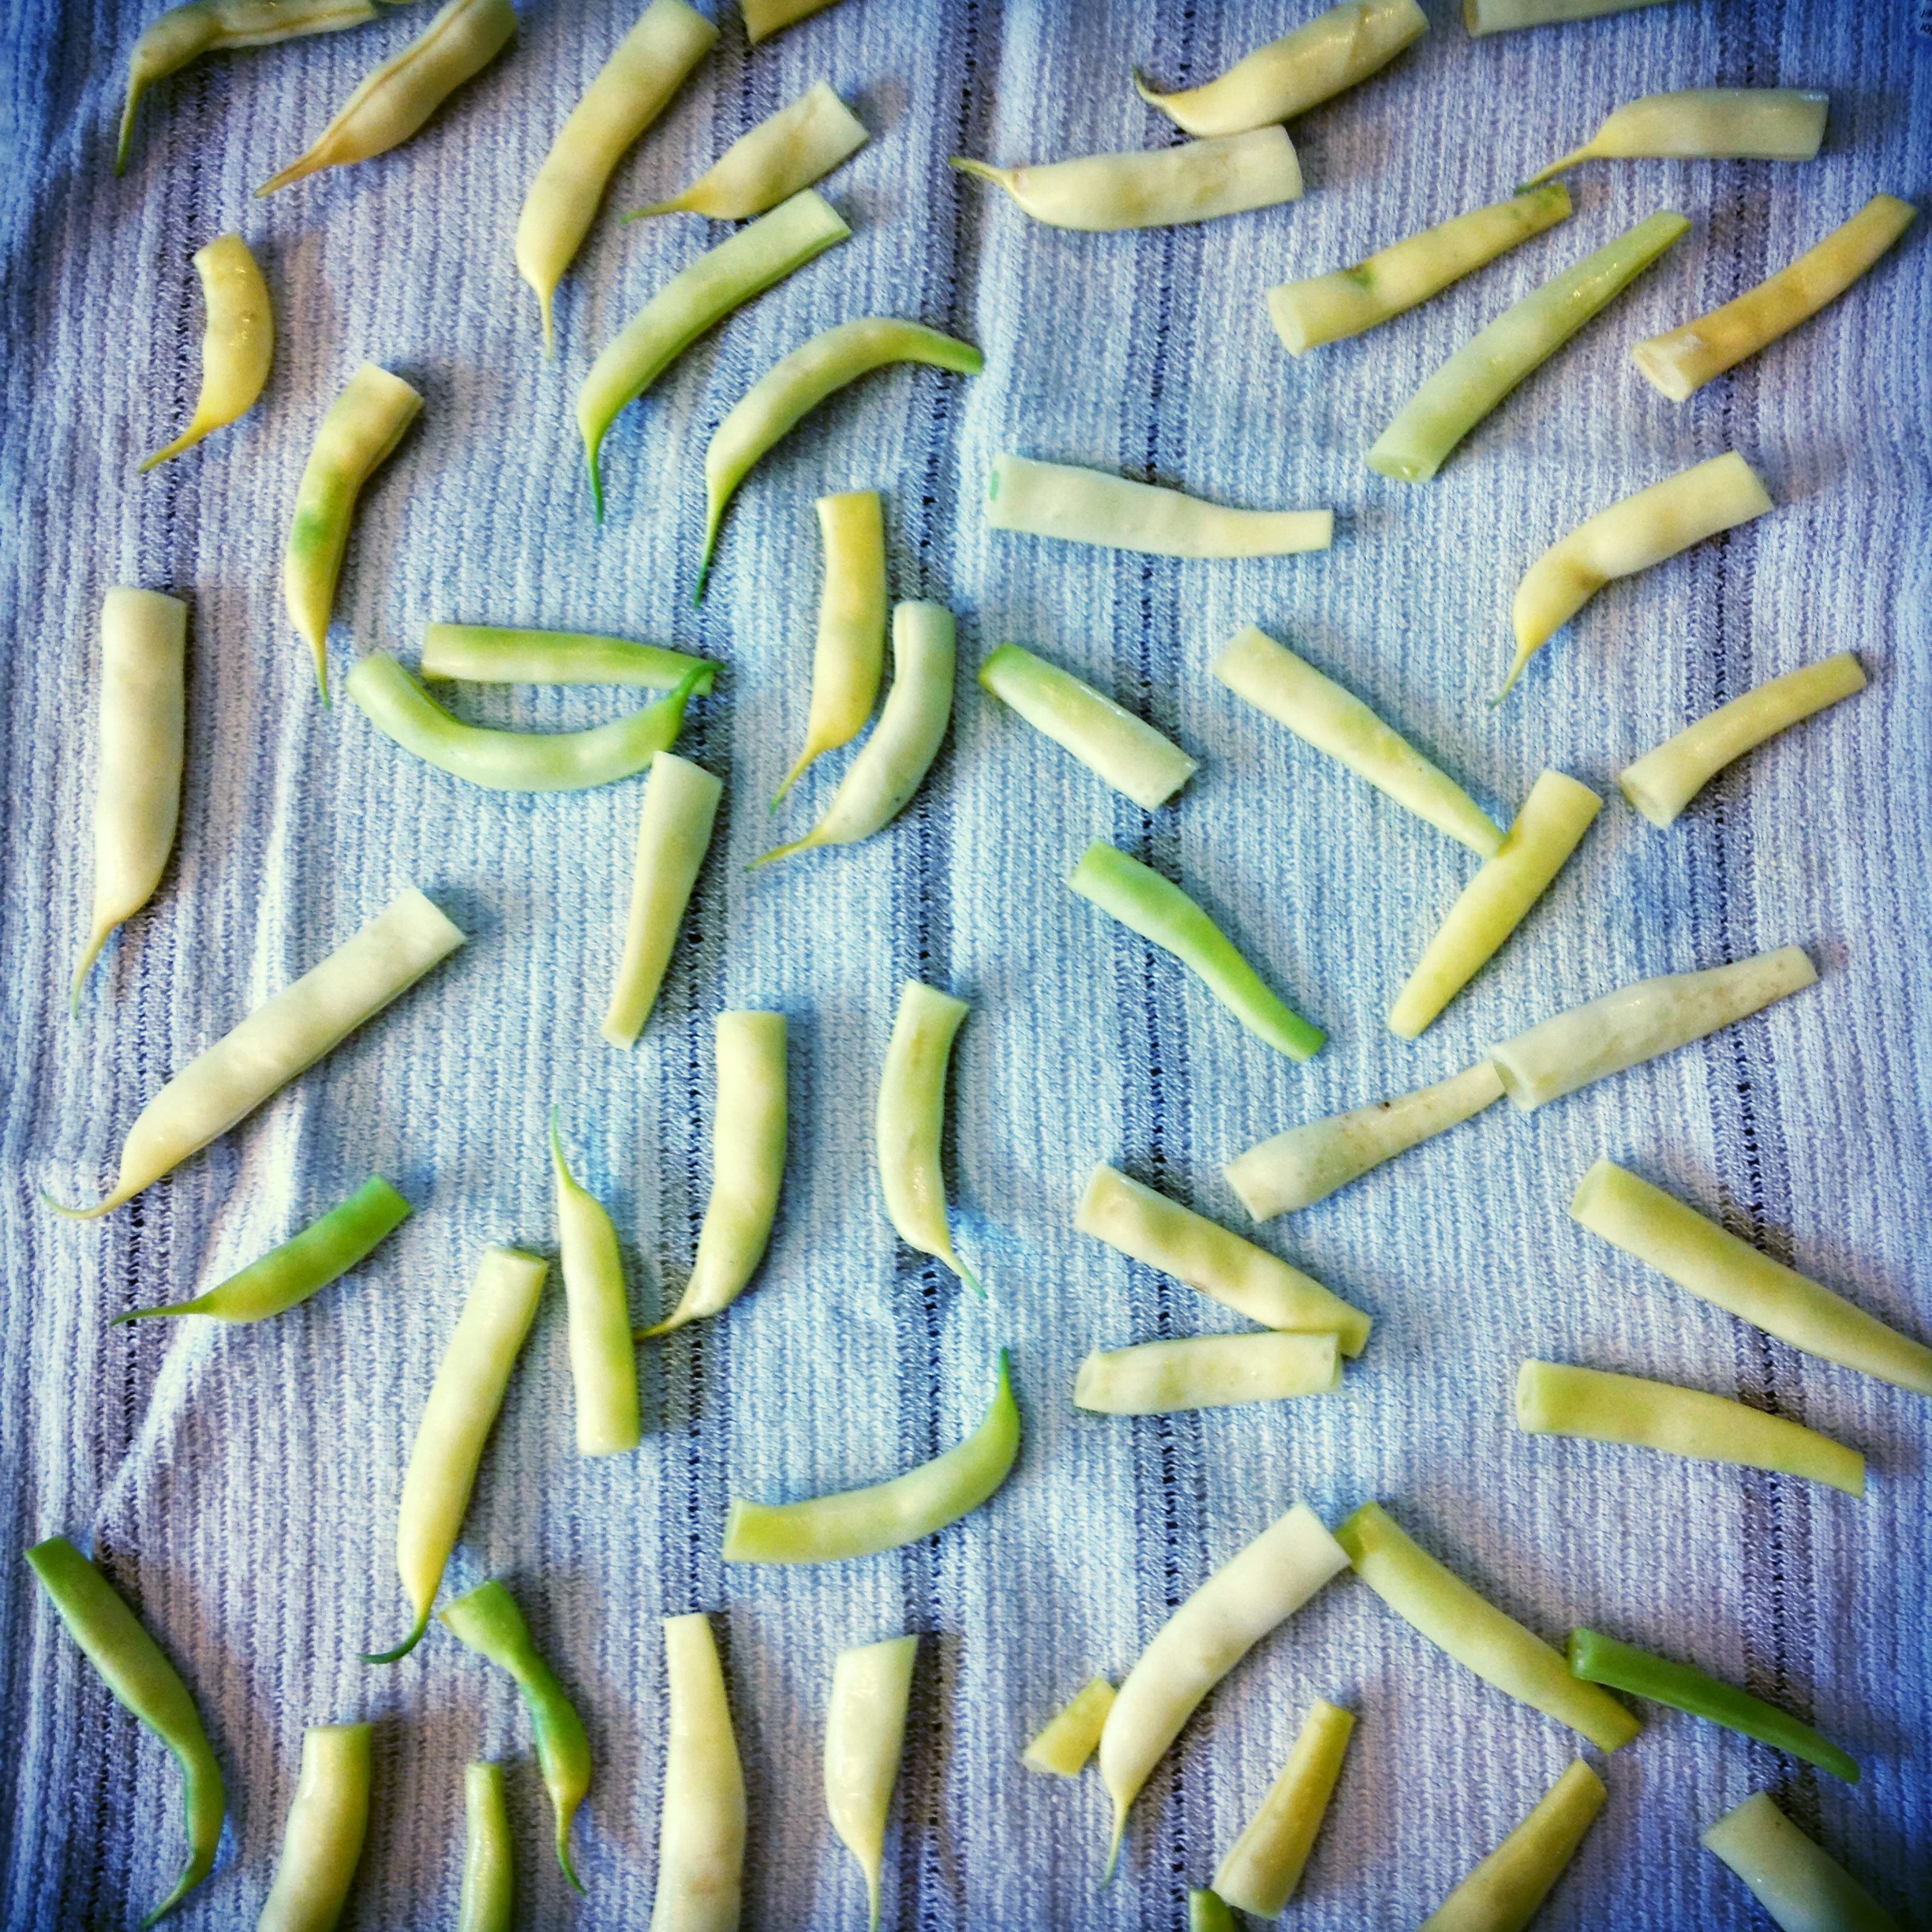
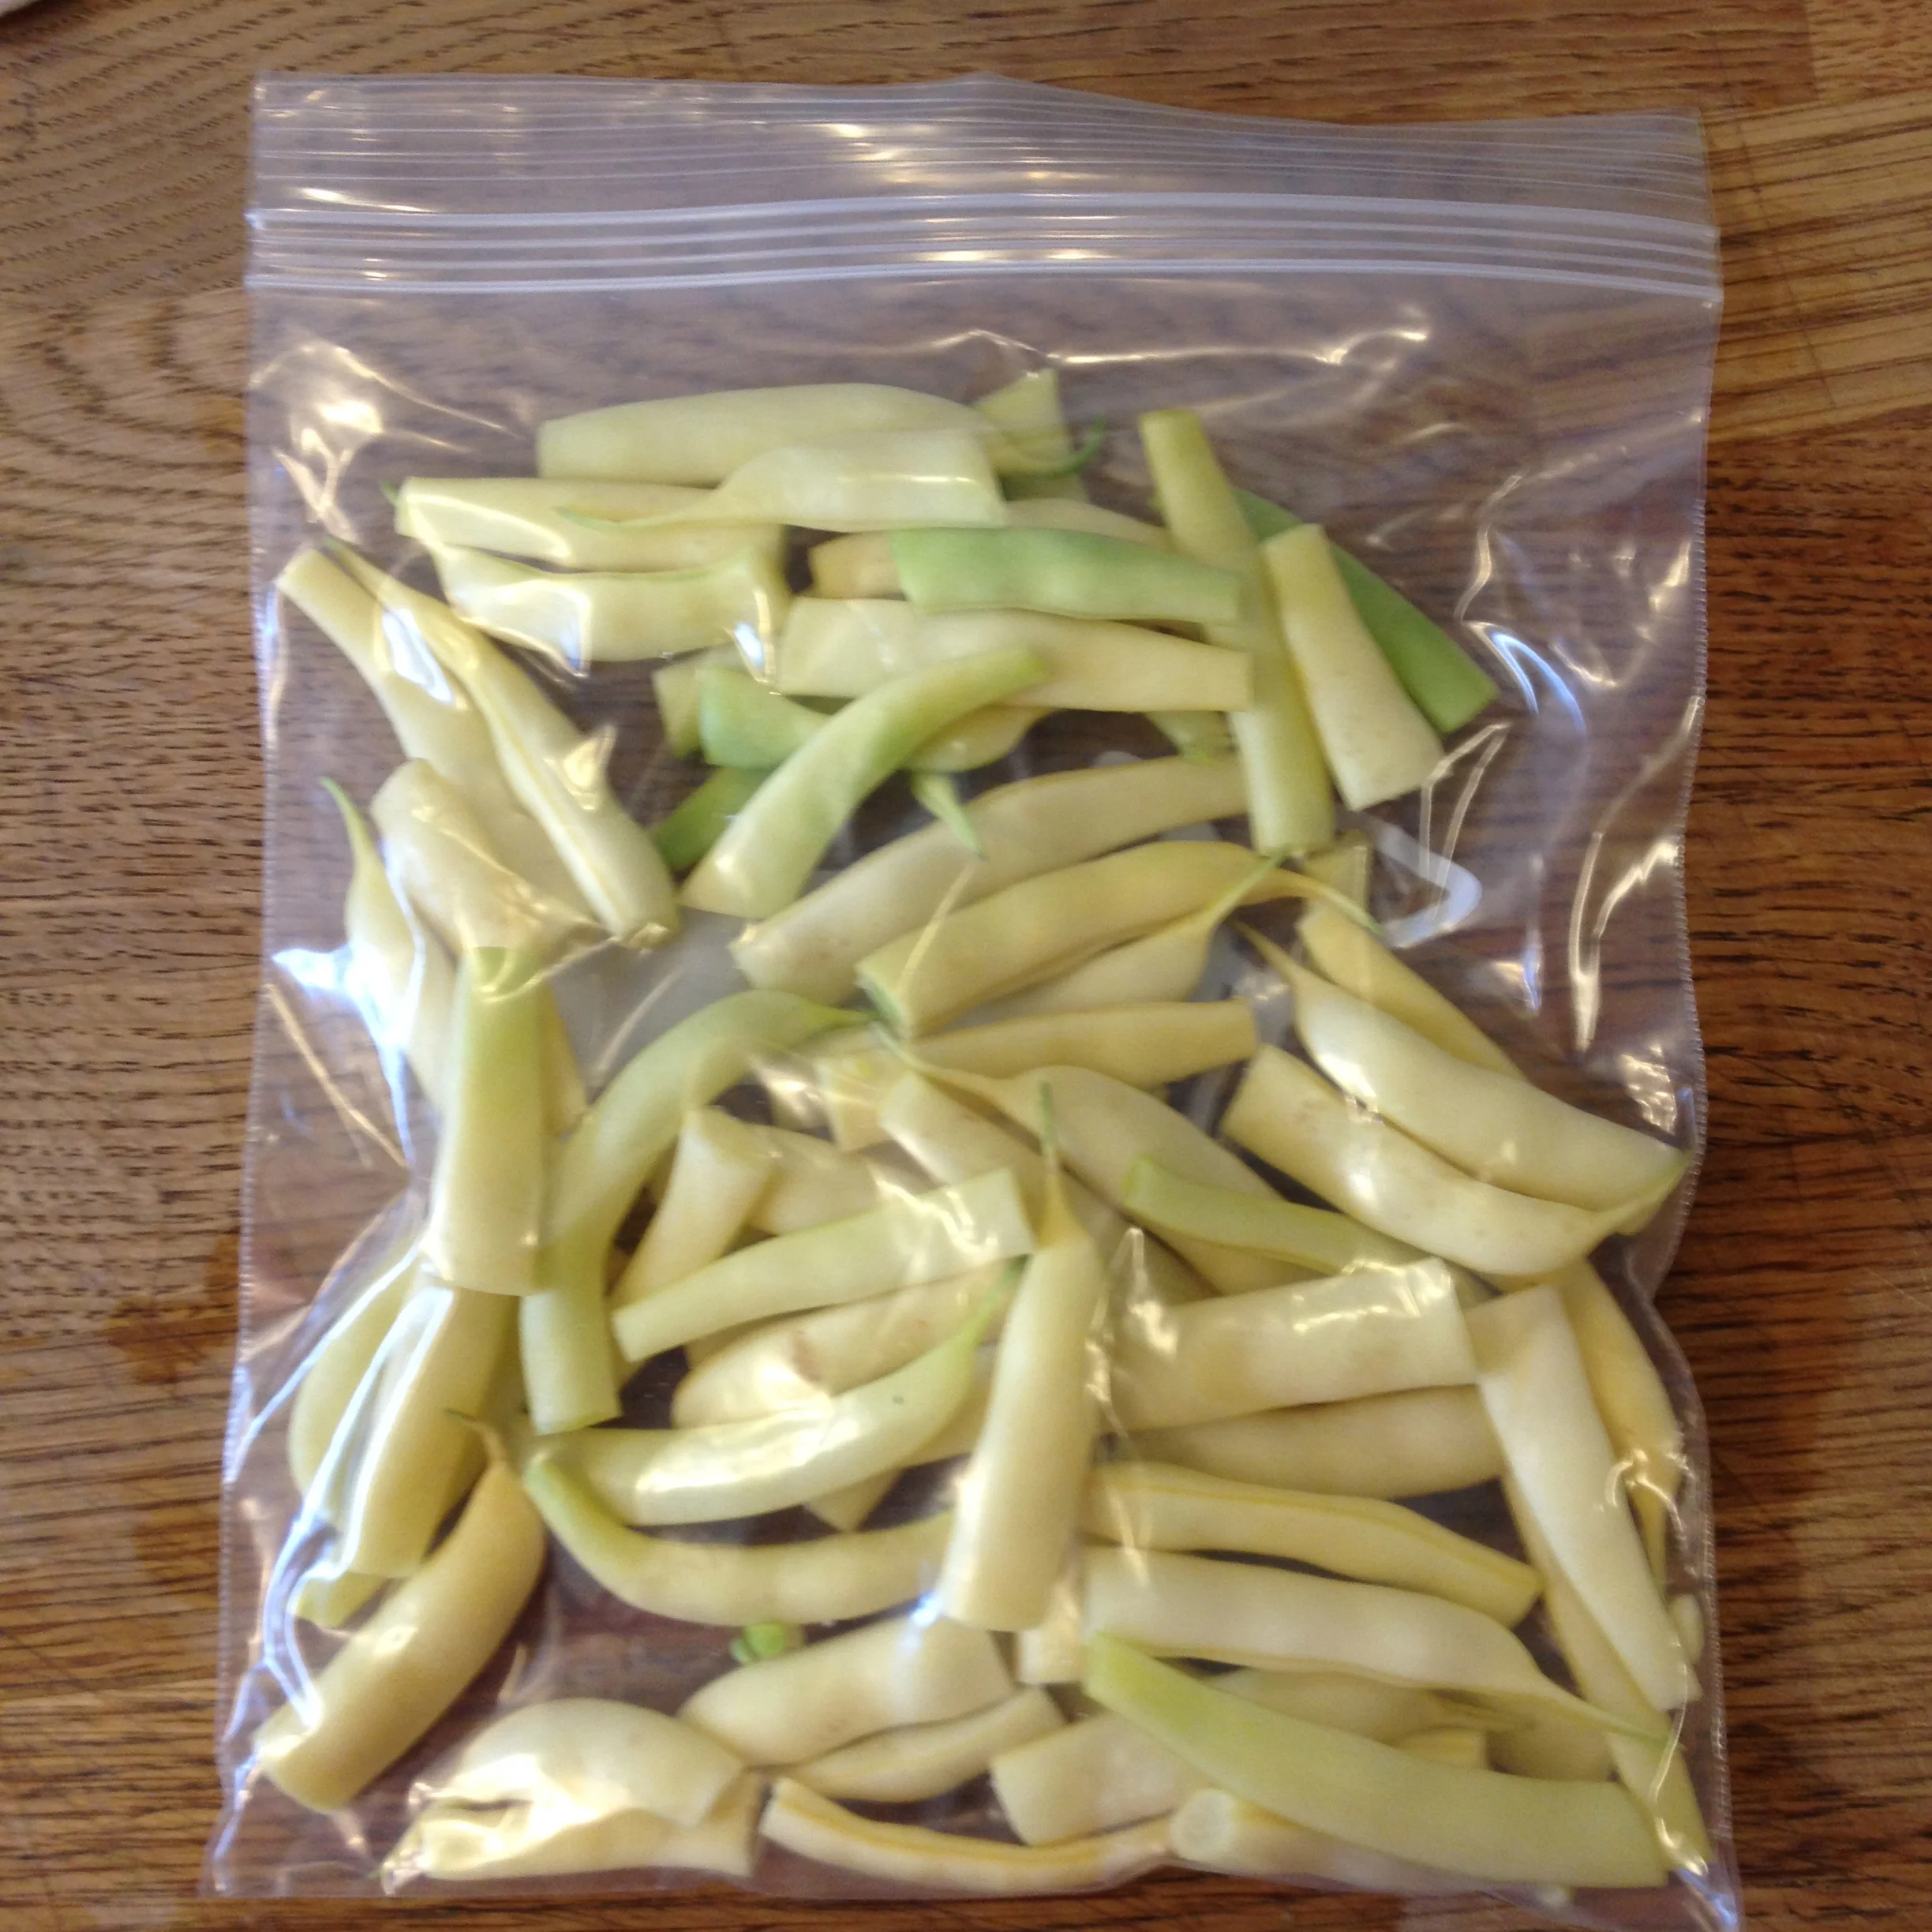
Washed and cut yellow beans ready for the freezer. #harvest2015
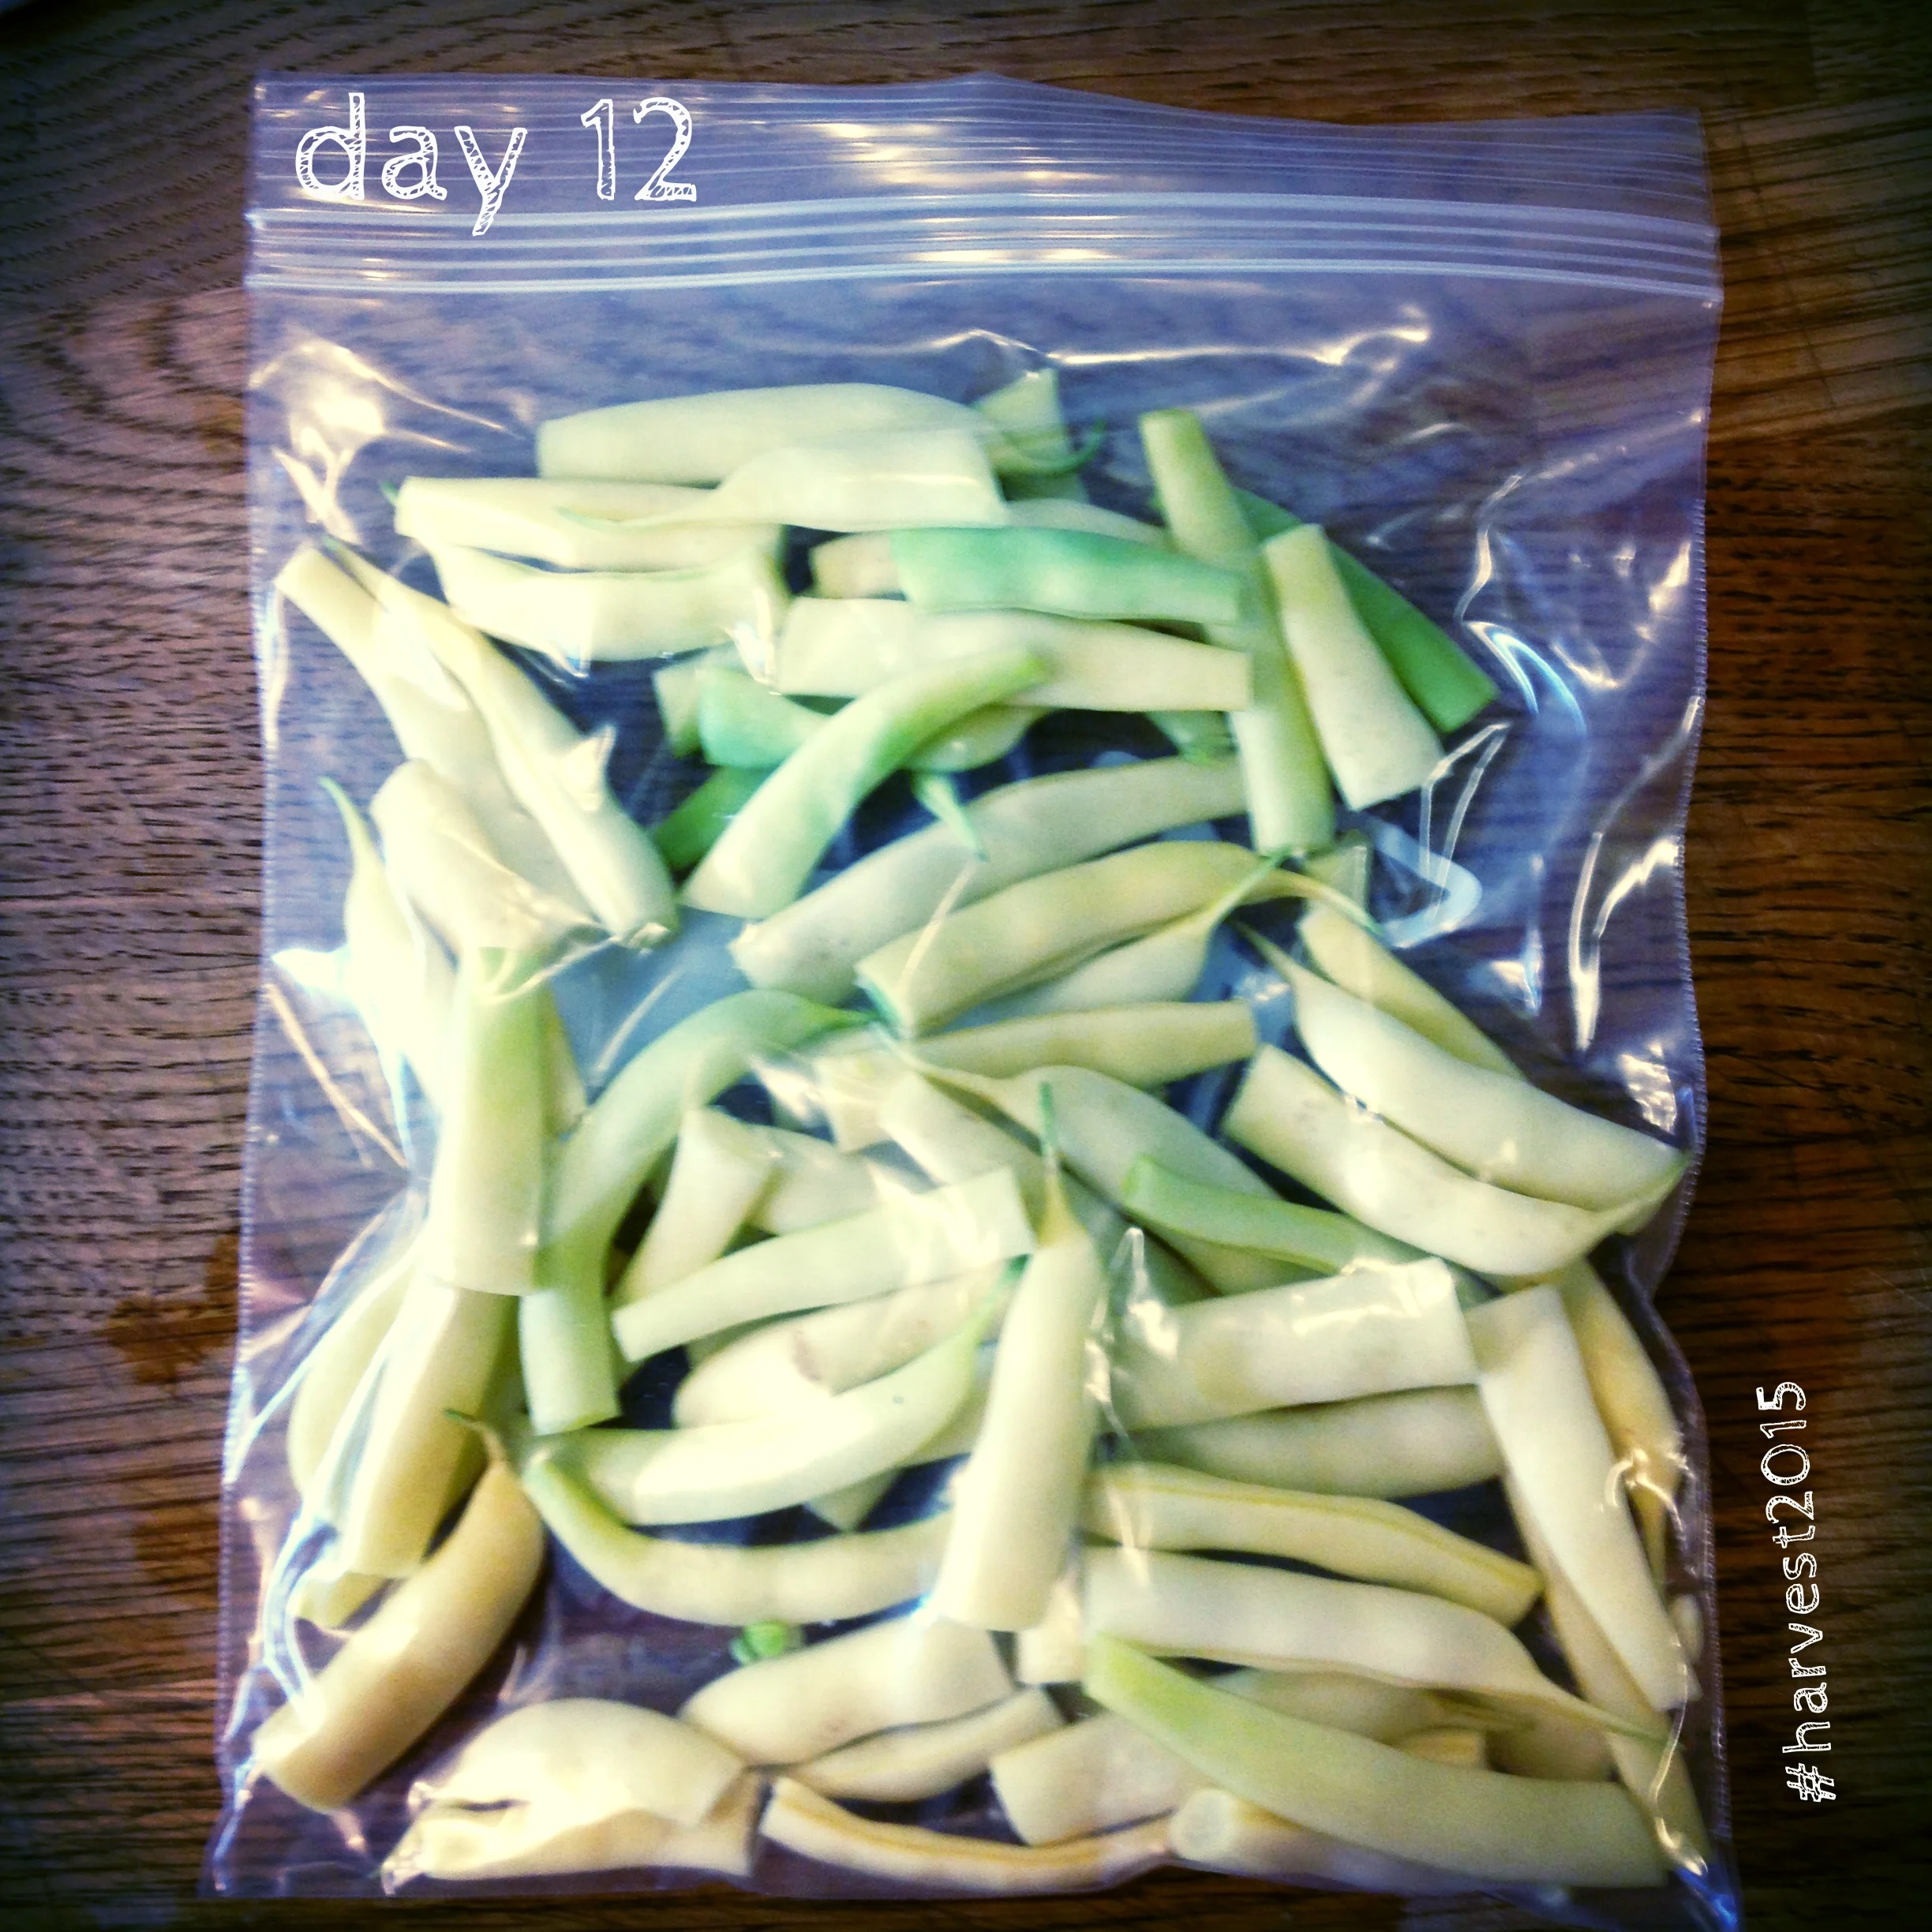
THE HOW-TO: I picked the beans from my garden. I washed them and cut them. And then put them on a clean tea towel to dry. Put them in a new freezer bag and squished all of the air out. I put them in the freezer. Job done. As I harvest more every few days, I'll be adding to this freezer stash in the same bag.
My caveat here would be to ensure you cook them when you take them out of the freezer. A quick 2 minutes in boiling water is a quick way to get them plate-ready. I will do that and then throw it in a glass dish with some butter, chopped shallots and cashews and will roast in the oven with whatever else is going in there. You could quick cook them and add them to some pre-soaked and cooked beans to make a mean bean salad (along with copious amounts of salty goat feta cheese). Whatever it is you end up making, do make sure to go PLAY WITH YOUR FOOD.
A MONTH OF PUTTING UP THE HARVEST - Day 11
Today's post is a relatively new addition to my roster of tasks when it comes to putting up my harvest every year. I dabble a bit more every year in the business of growing biodynamically in my yard, adding whatever I can to my toolkit as time and energy allows. I learned a few years ago of the magic of companion planting: see, I have been growing food crops in my little patches of back yard along the way since a basement apartment off St. Clair in Toronto some 14 years ago. Everyone else had a balcony but us, and so I rallied to dig up a patch of mint-bedraggled-grass in the courtyard to which our landlord at the time agreed. Before this, my first attempt as an independent grownup gardener, I helped tend our backyard plot and our 2 acres of rows at our farm in Fabre, Quebec (some people have cottages, we had a farm. How cool is that. Never appreciated it enough back then. Sorry Maman et Papa. Making up for lost time!) and learned from my parents the ins and outs of growing our own food organically before it was such a term, and how to put up the harvest for winter times. Companion planting came about as I was interested in growing without the use of 'plant food' and low-grade pesticides for home use. Never did use pesticides, but I had one year of particularly bad bugs at a house we rented in Edmonton. It was time to hone up on alternative ways to grow my own vegetables.
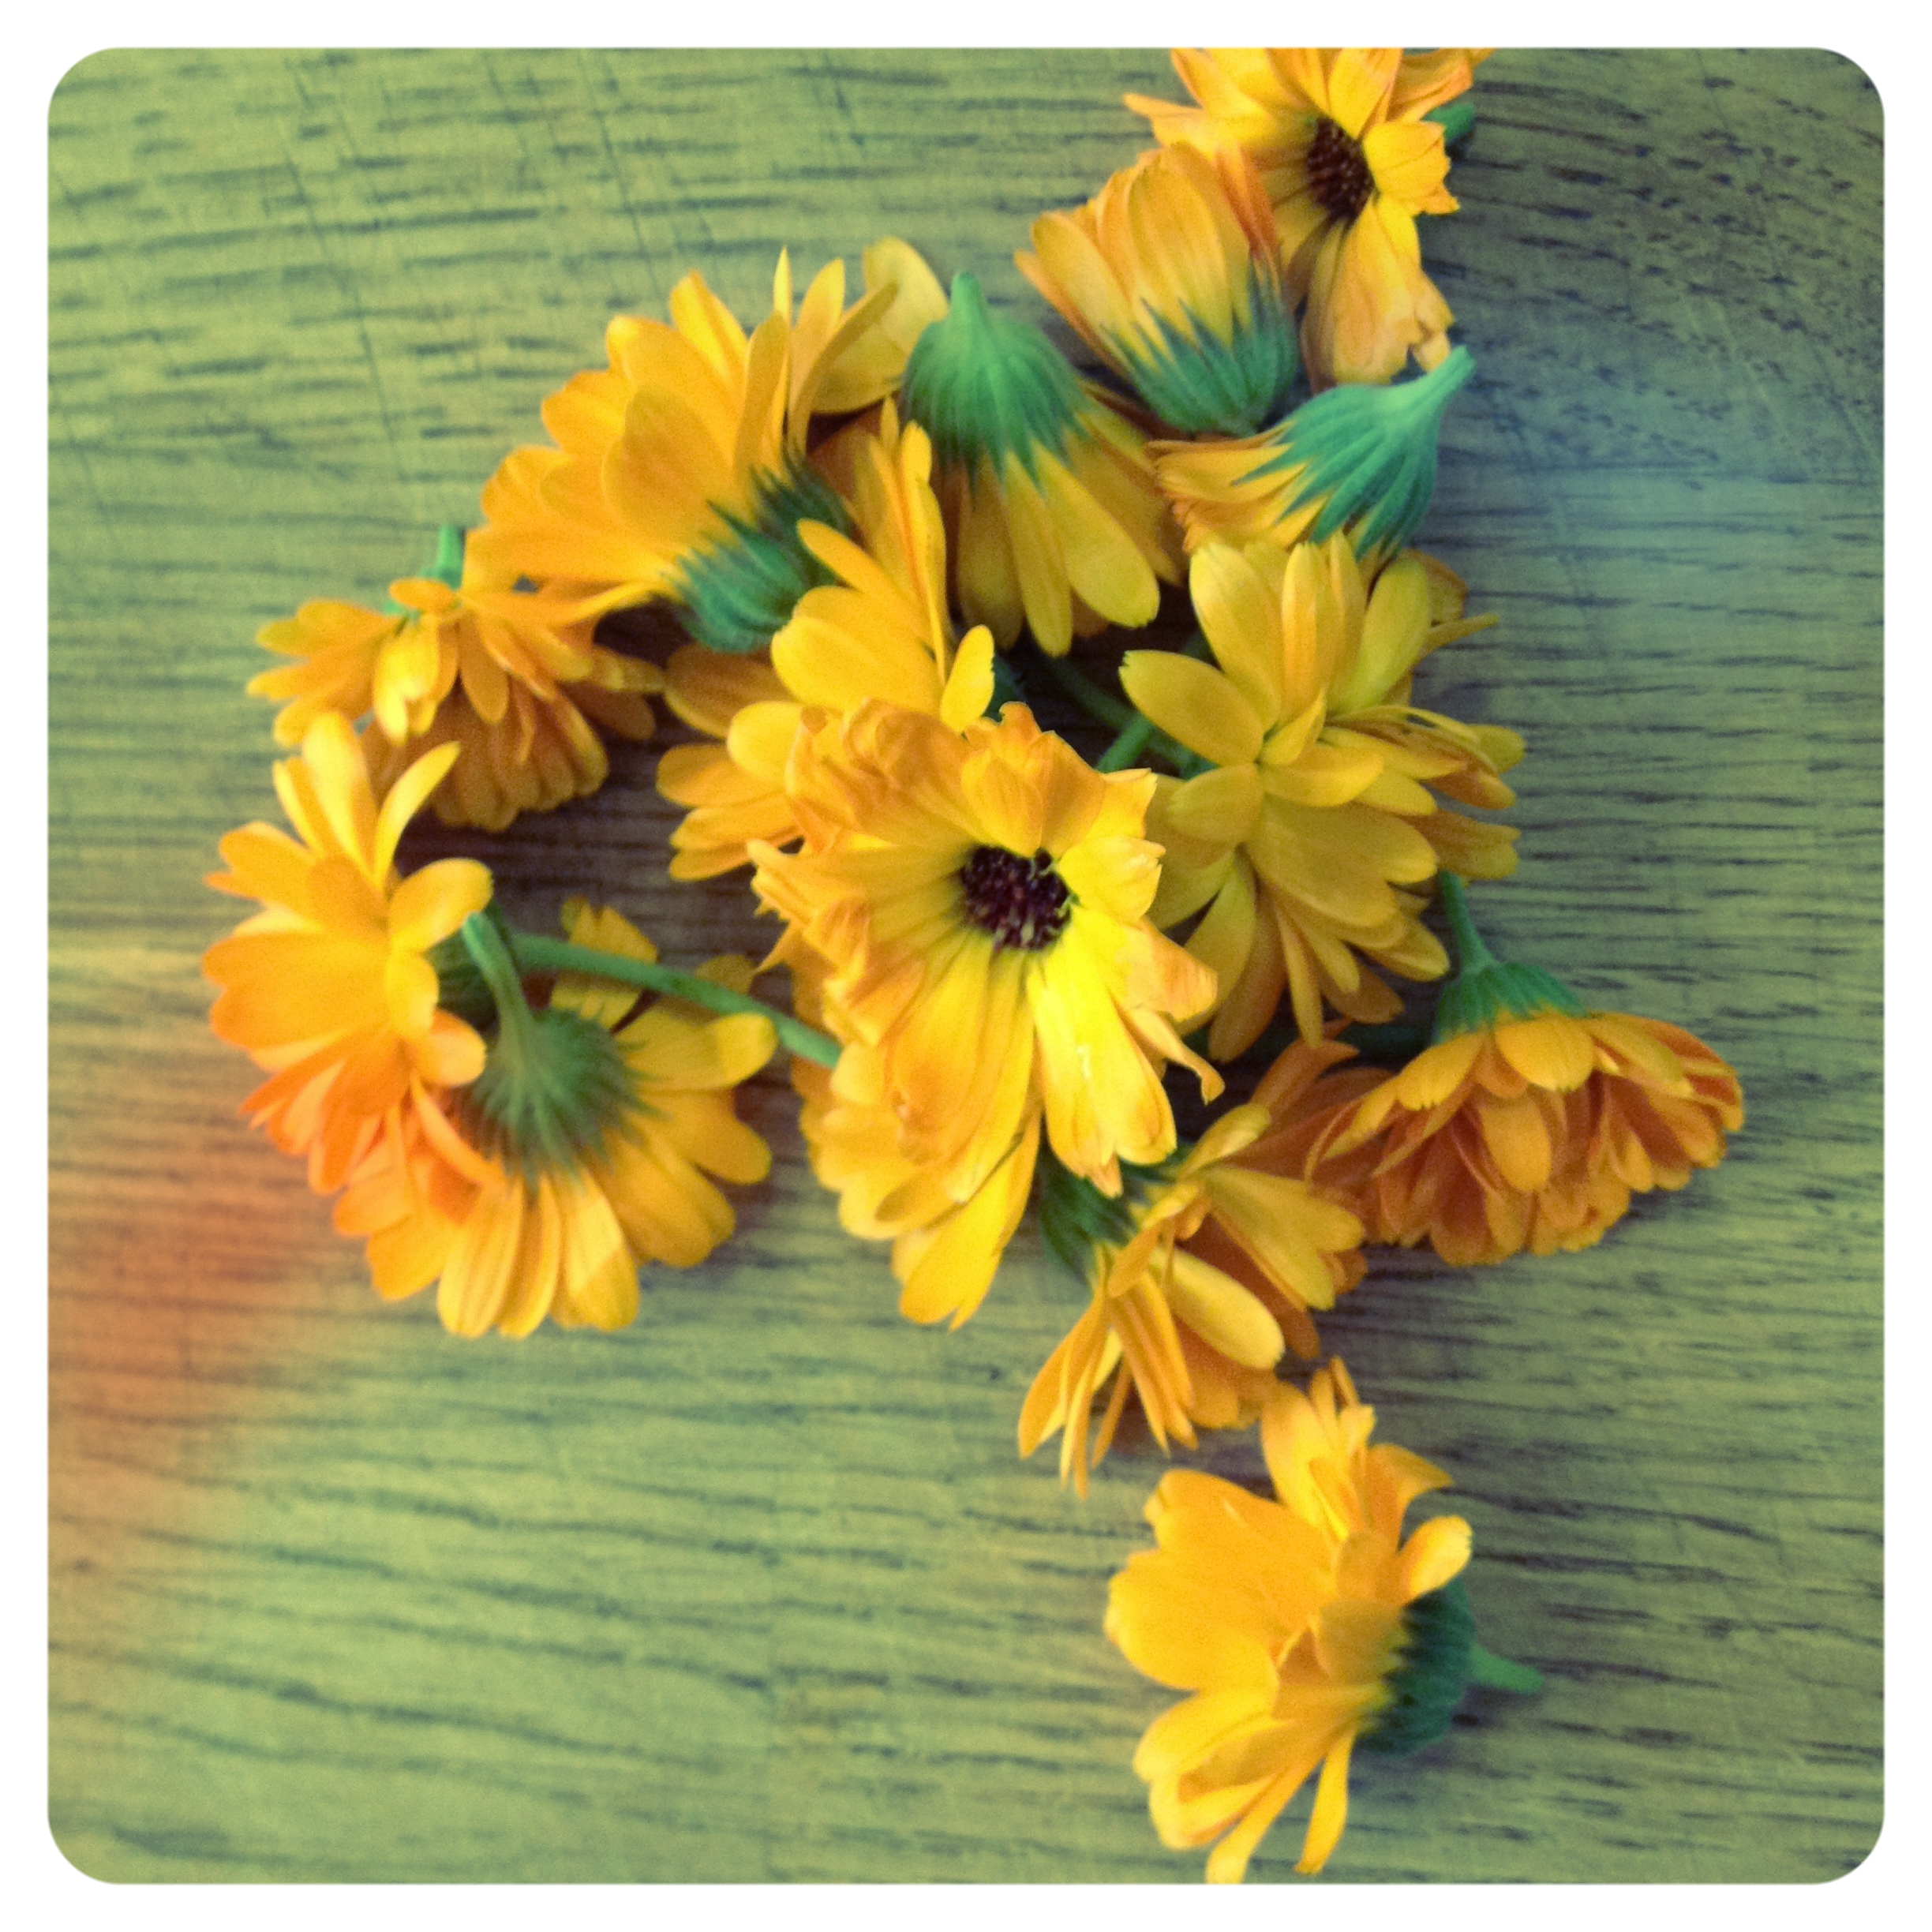
Calendula officinalis. One of my all time favourite flowers. #harvest2015
Today's post is a relatively new addition to my roster of tasks when it comes to putting up my harvest every year. I dabble a bit more every year in the business of growing biodynamically in my yard, adding whatever I can to my toolkit as time and energy allows. I learned a few years ago of the magic of companion planting: see, I have been growing food crops in my little patches of back yard along the way since a basement apartment off St. Clair in Toronto some 14 years ago. Everyone else had a balcony but us, and so I rallied to dig up a patch of mint-bedraggled-grass in the courtyard to which our landlord at the time agreed. Before this, my first attempt as an independent grownup gardener, I helped tend our backyard plot and our 2 acres of rows at our farm in Fabre, Quebec (some people have cottages, we had a farm. How cool is that. Never appreciated it enough back then. Sorry Maman et Papa. Making up for lost time!) and learned from my parents the ins and outs of growing our own food organically before it was such a term, and how to put up the harvest for winter times. Companion planting came about as I was interested in growing without the use of 'plant food' and low-grade pesticides for home use. Never did use pesticides, but I had one year of particularly bad bugs at a house we rented in Edmonton. It was time to hone up on alternative ways to grow my own vegetables.
I discovered the beauty of companion planting and adding flowers to the vegetable patch as a means to help control the bug infestations, and it encouraged me to grow beyond the traditional notion of rows. It was here that I fell in love with marigolds, violets, nasturtiums and the bold and beautiful Calendula flower. These flowers help trap bugs that can wreak havoc, they can also attract beneficial insects that will feast on those critters that can induce heartbreak on some of your favourite crops with their destructive ways. Imagine my delight when, two years ago, I discovered you can actually eat calendula flowers!
I throw these babies in many different things from mixing it in with cream cheese and chives for a yummy spread or dip for vegetables; I have added petals to pestos and scattered them on top of salads. You can also make teas with it, mix it with lavender and epsom salts to make a soothing and calming bath soak, and is a good ingredient to make a skin-saving and inflammation-curbing skin salve. When next I make a batch of sauerkraut, I'll be adding some petals to it in order to impart further anti-inflammatory properties.
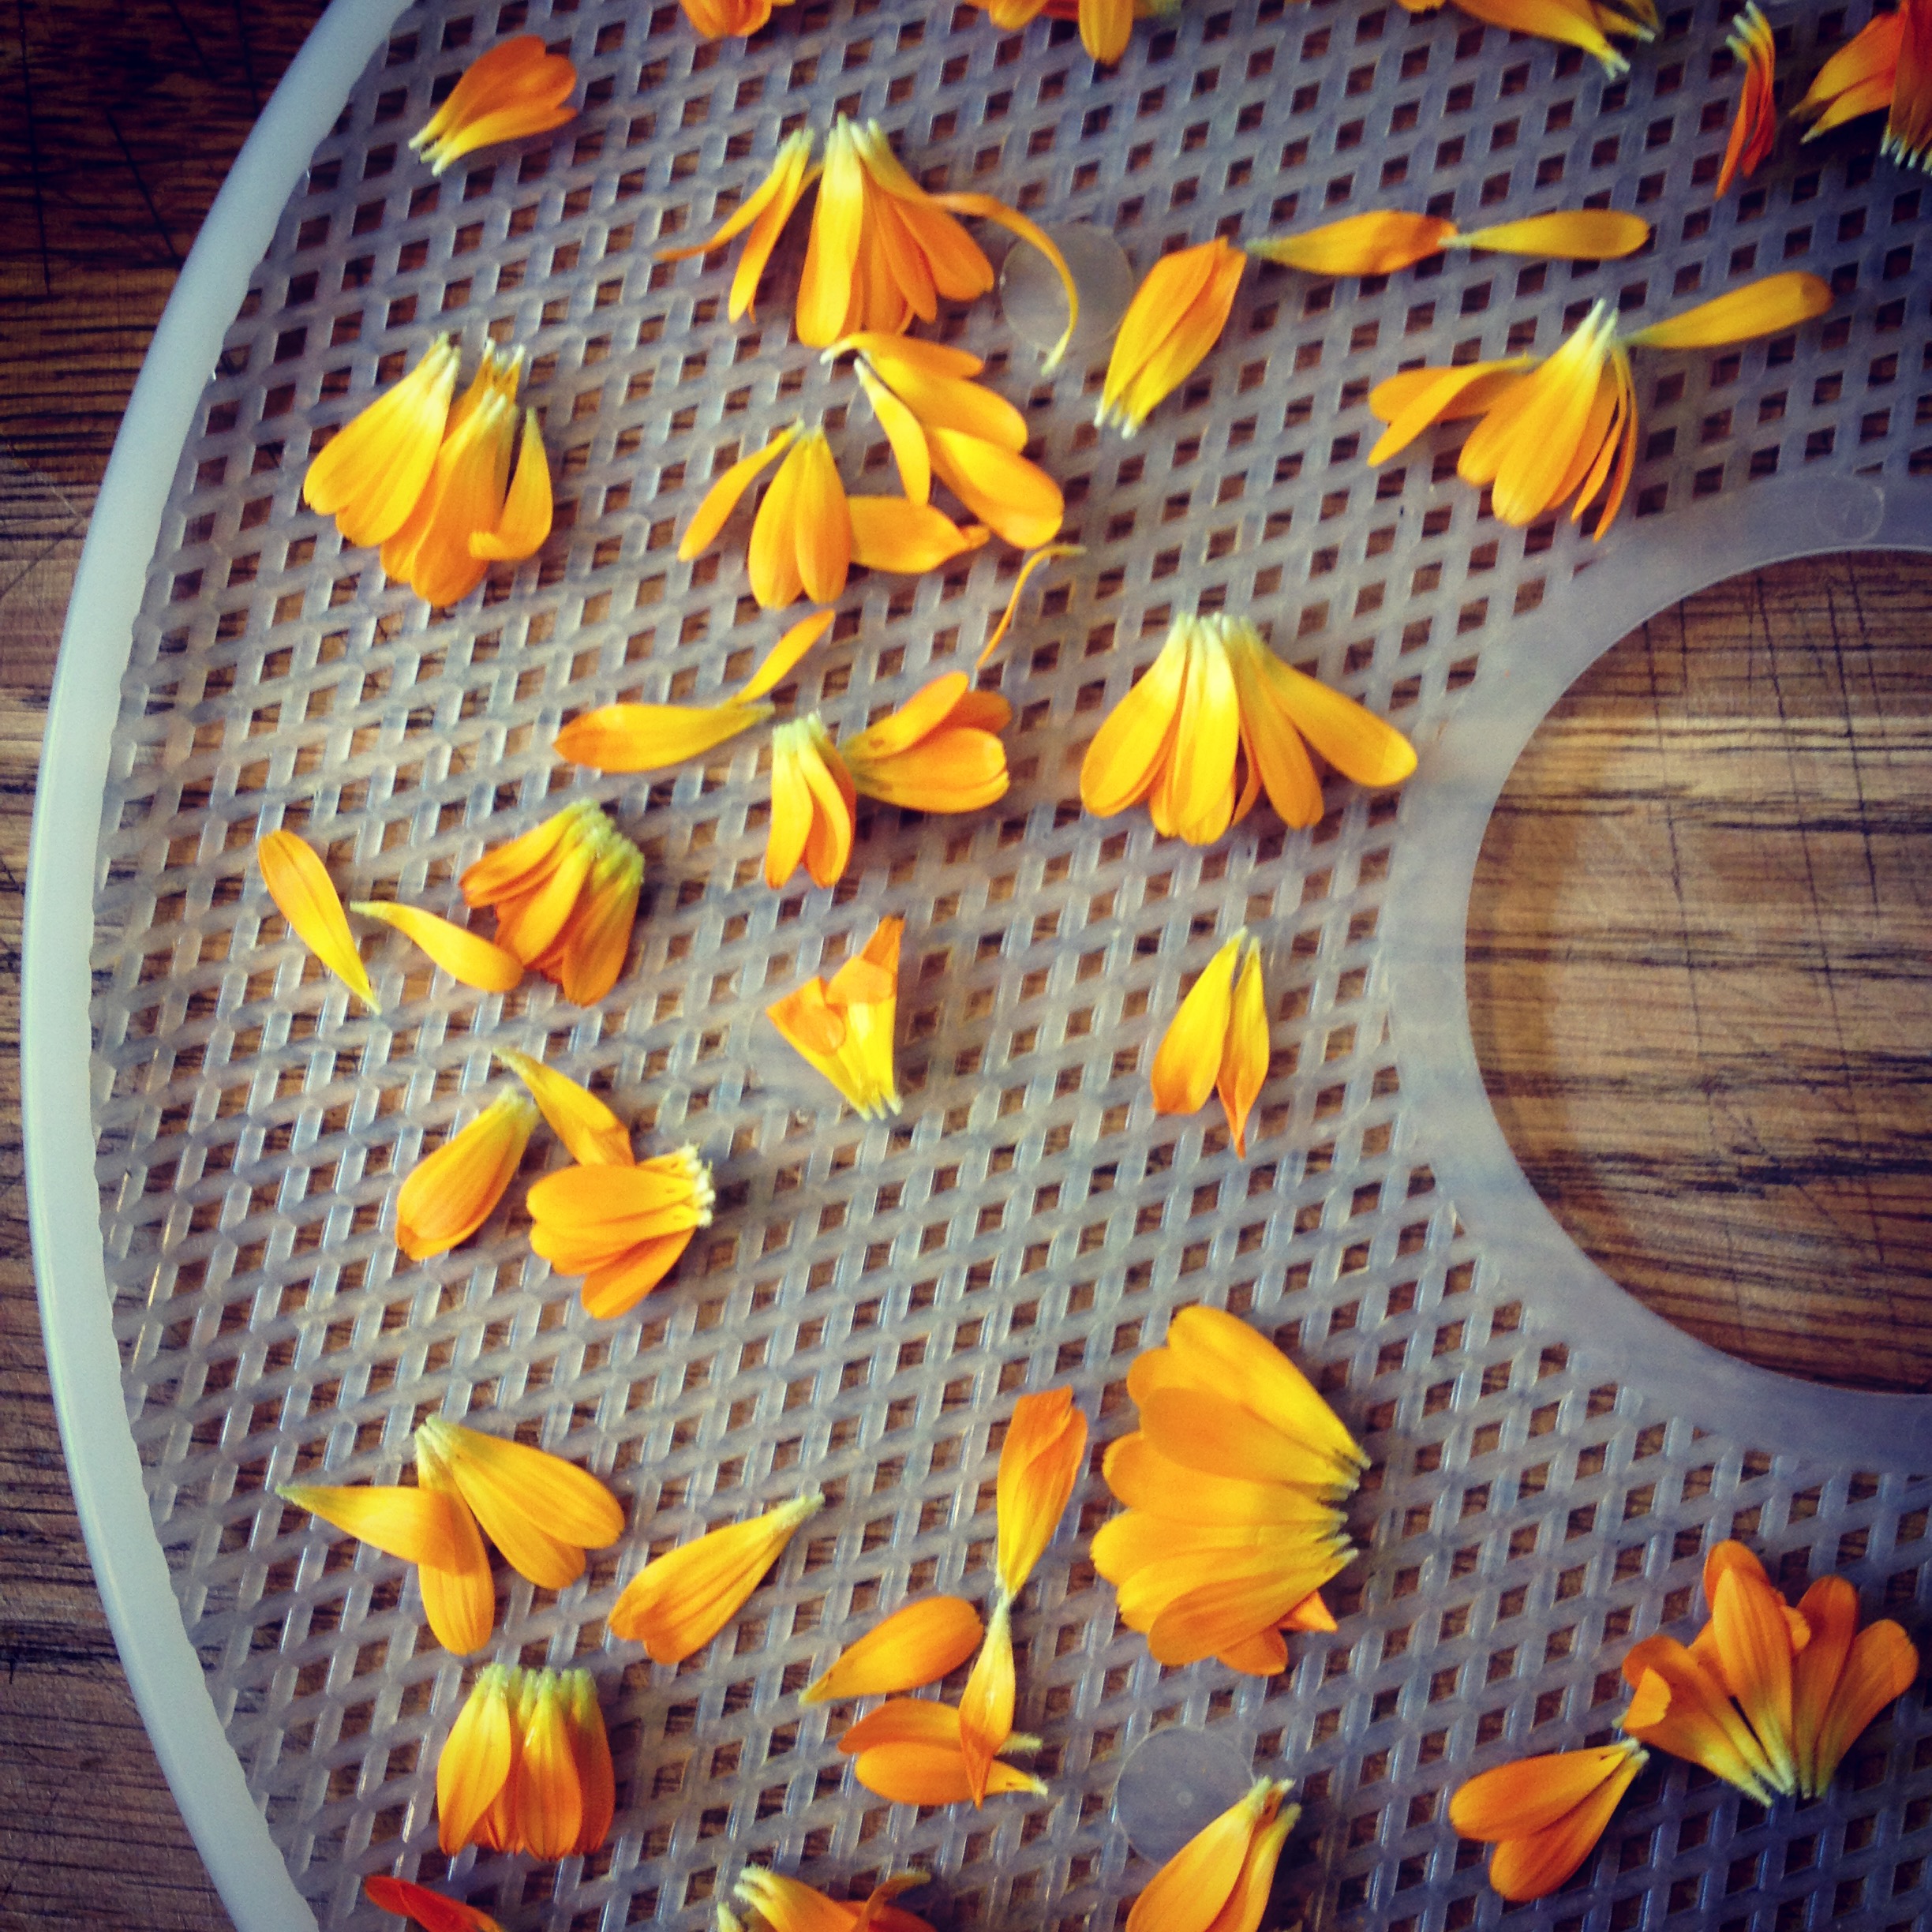
Calendula petals destined for the dehydrator. #harvest2015
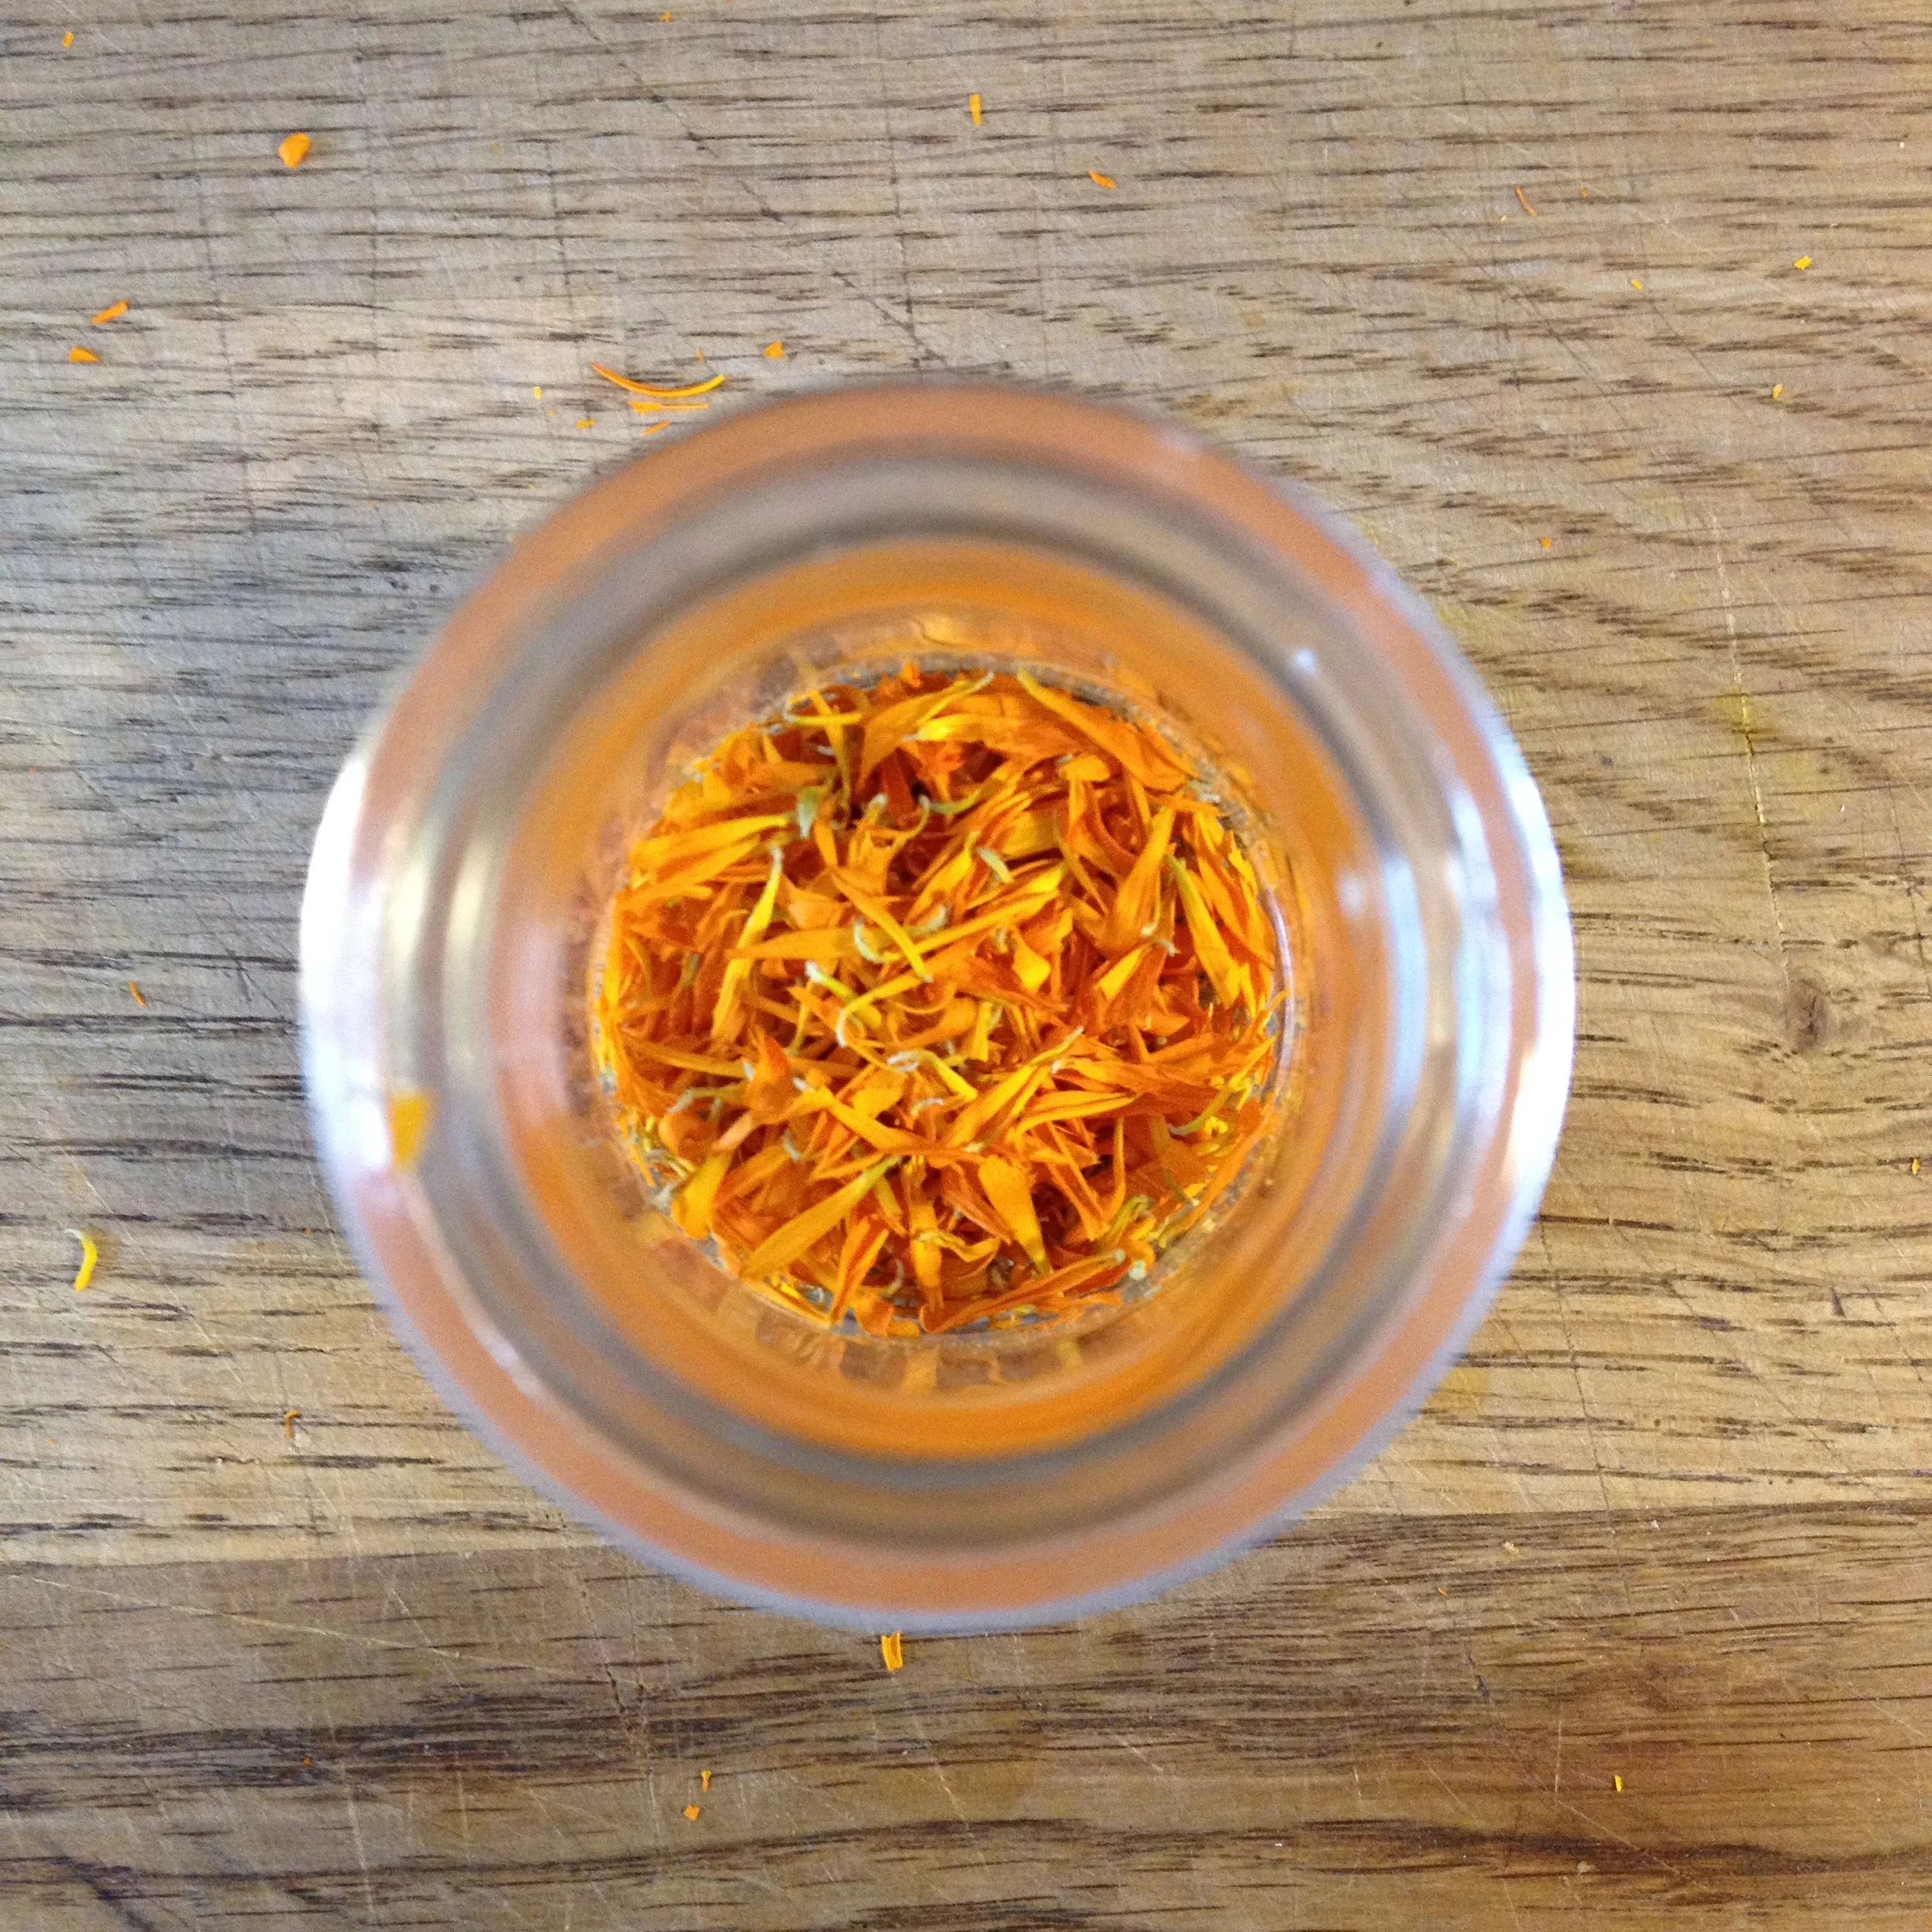
As my dehydrator is seemingly turned 'on' for the majority of the time these days, I thought to throw in an extra layer of these petals in order to tuck them in the pantry for whatever use strikes my fancy over the coming winter. I plucked the flower heads from the stems (which, bonus, encourages the plant to flower some more!) and washed them to get rid of the little bugs mingled in, and pulled the petals off of the heads, scattering them on my dehydrator screen. It took a few hours at the lowest temperature to get them all shrivelled and ready for their glass jar. There's something so satisfying about seeing all these little glass jars lining up on my shelf with my dehydrated bounty, inspiring winter projects with my little lady when the time comes.
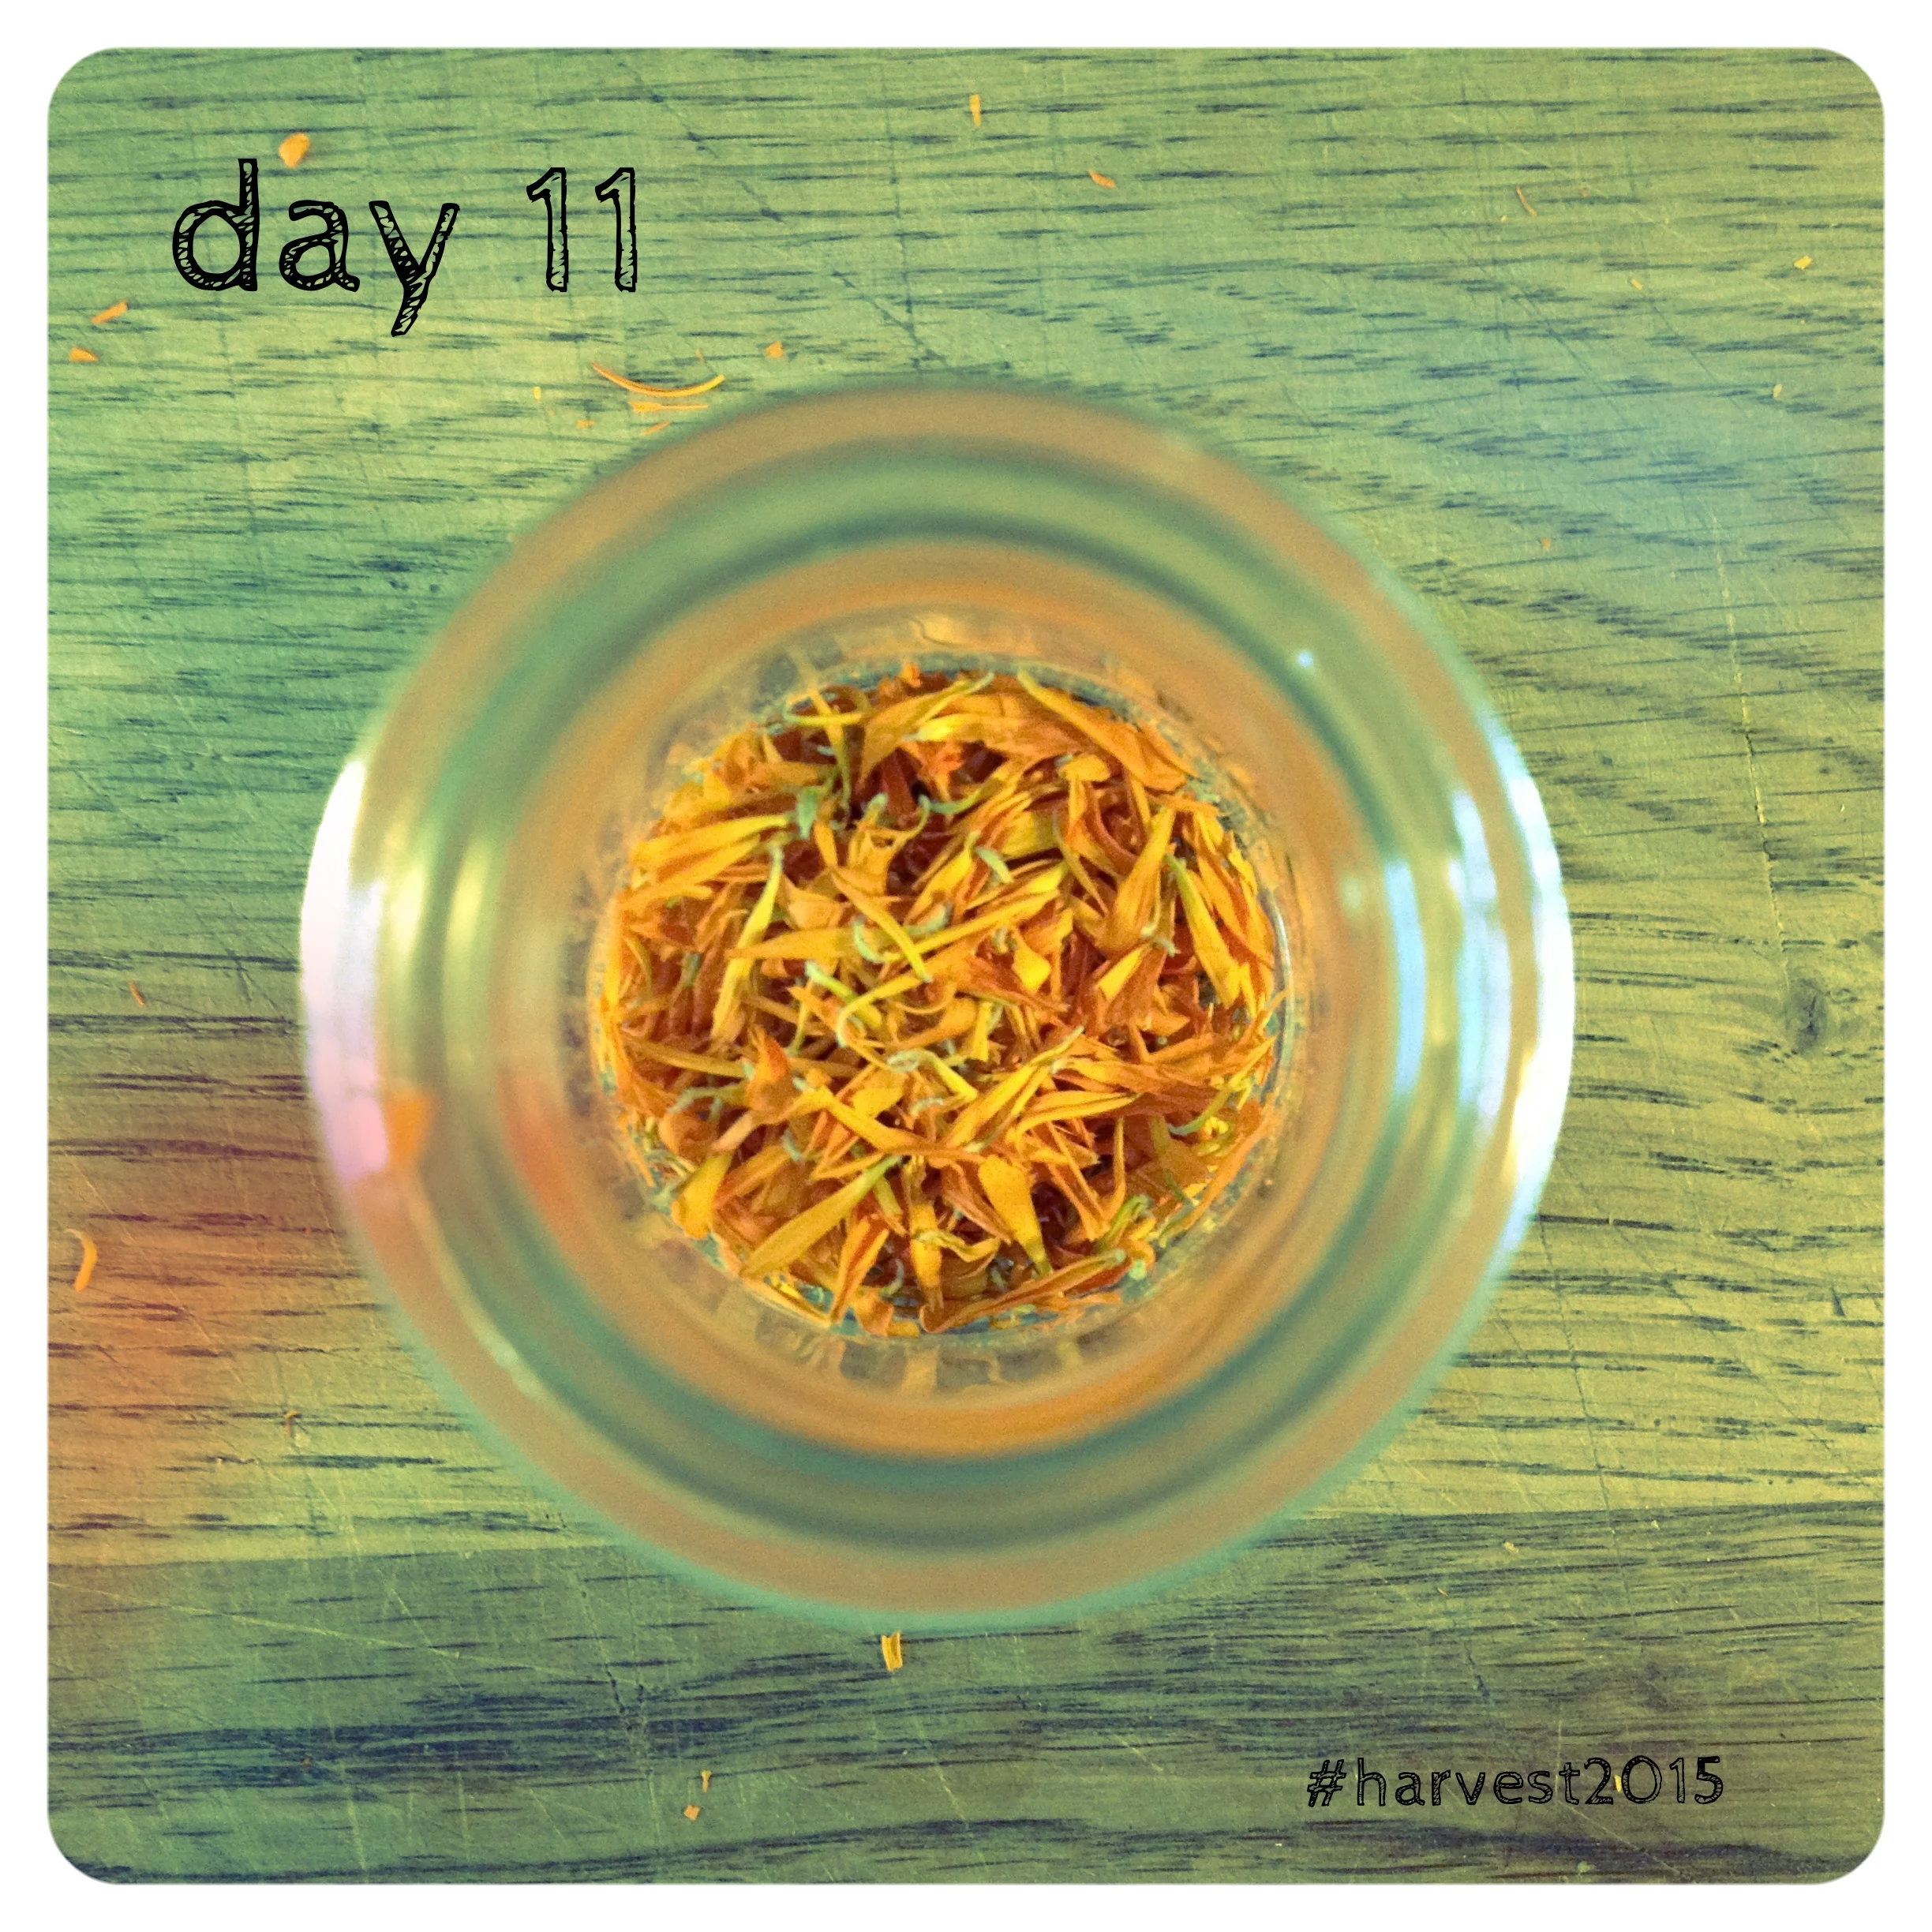
Calendula officinalis, dried for future use. #harvest2015
You can harvest all kinds of flowers from your garden, so when you're planning your seed buying for the year ahead, I encourage you to think of throwing in some edible flowers in the mix. I do a yearly purchase from these fine folks out on the west coast every year. If you're curious to read a more complete version of a botanical write-up on this mighty flower, make your way to Plants for a Future. And one more place, if you're looking for more ideas on what to do with your calendula petals is the gal at Joybilee Farm.