
A MONTH OF PUTTING UP THE HARVEST - Day 10
Welcome to Friday, my pretties. It's the end of the week, a hot week at that, so for today's instalment of Luka's Daily Posts of How She Is Keeping Summer Going For Colder Times, I wanted to do something delicious, SO STINKIN EASY and very quick. And very rewarding. Shall we get on with it?
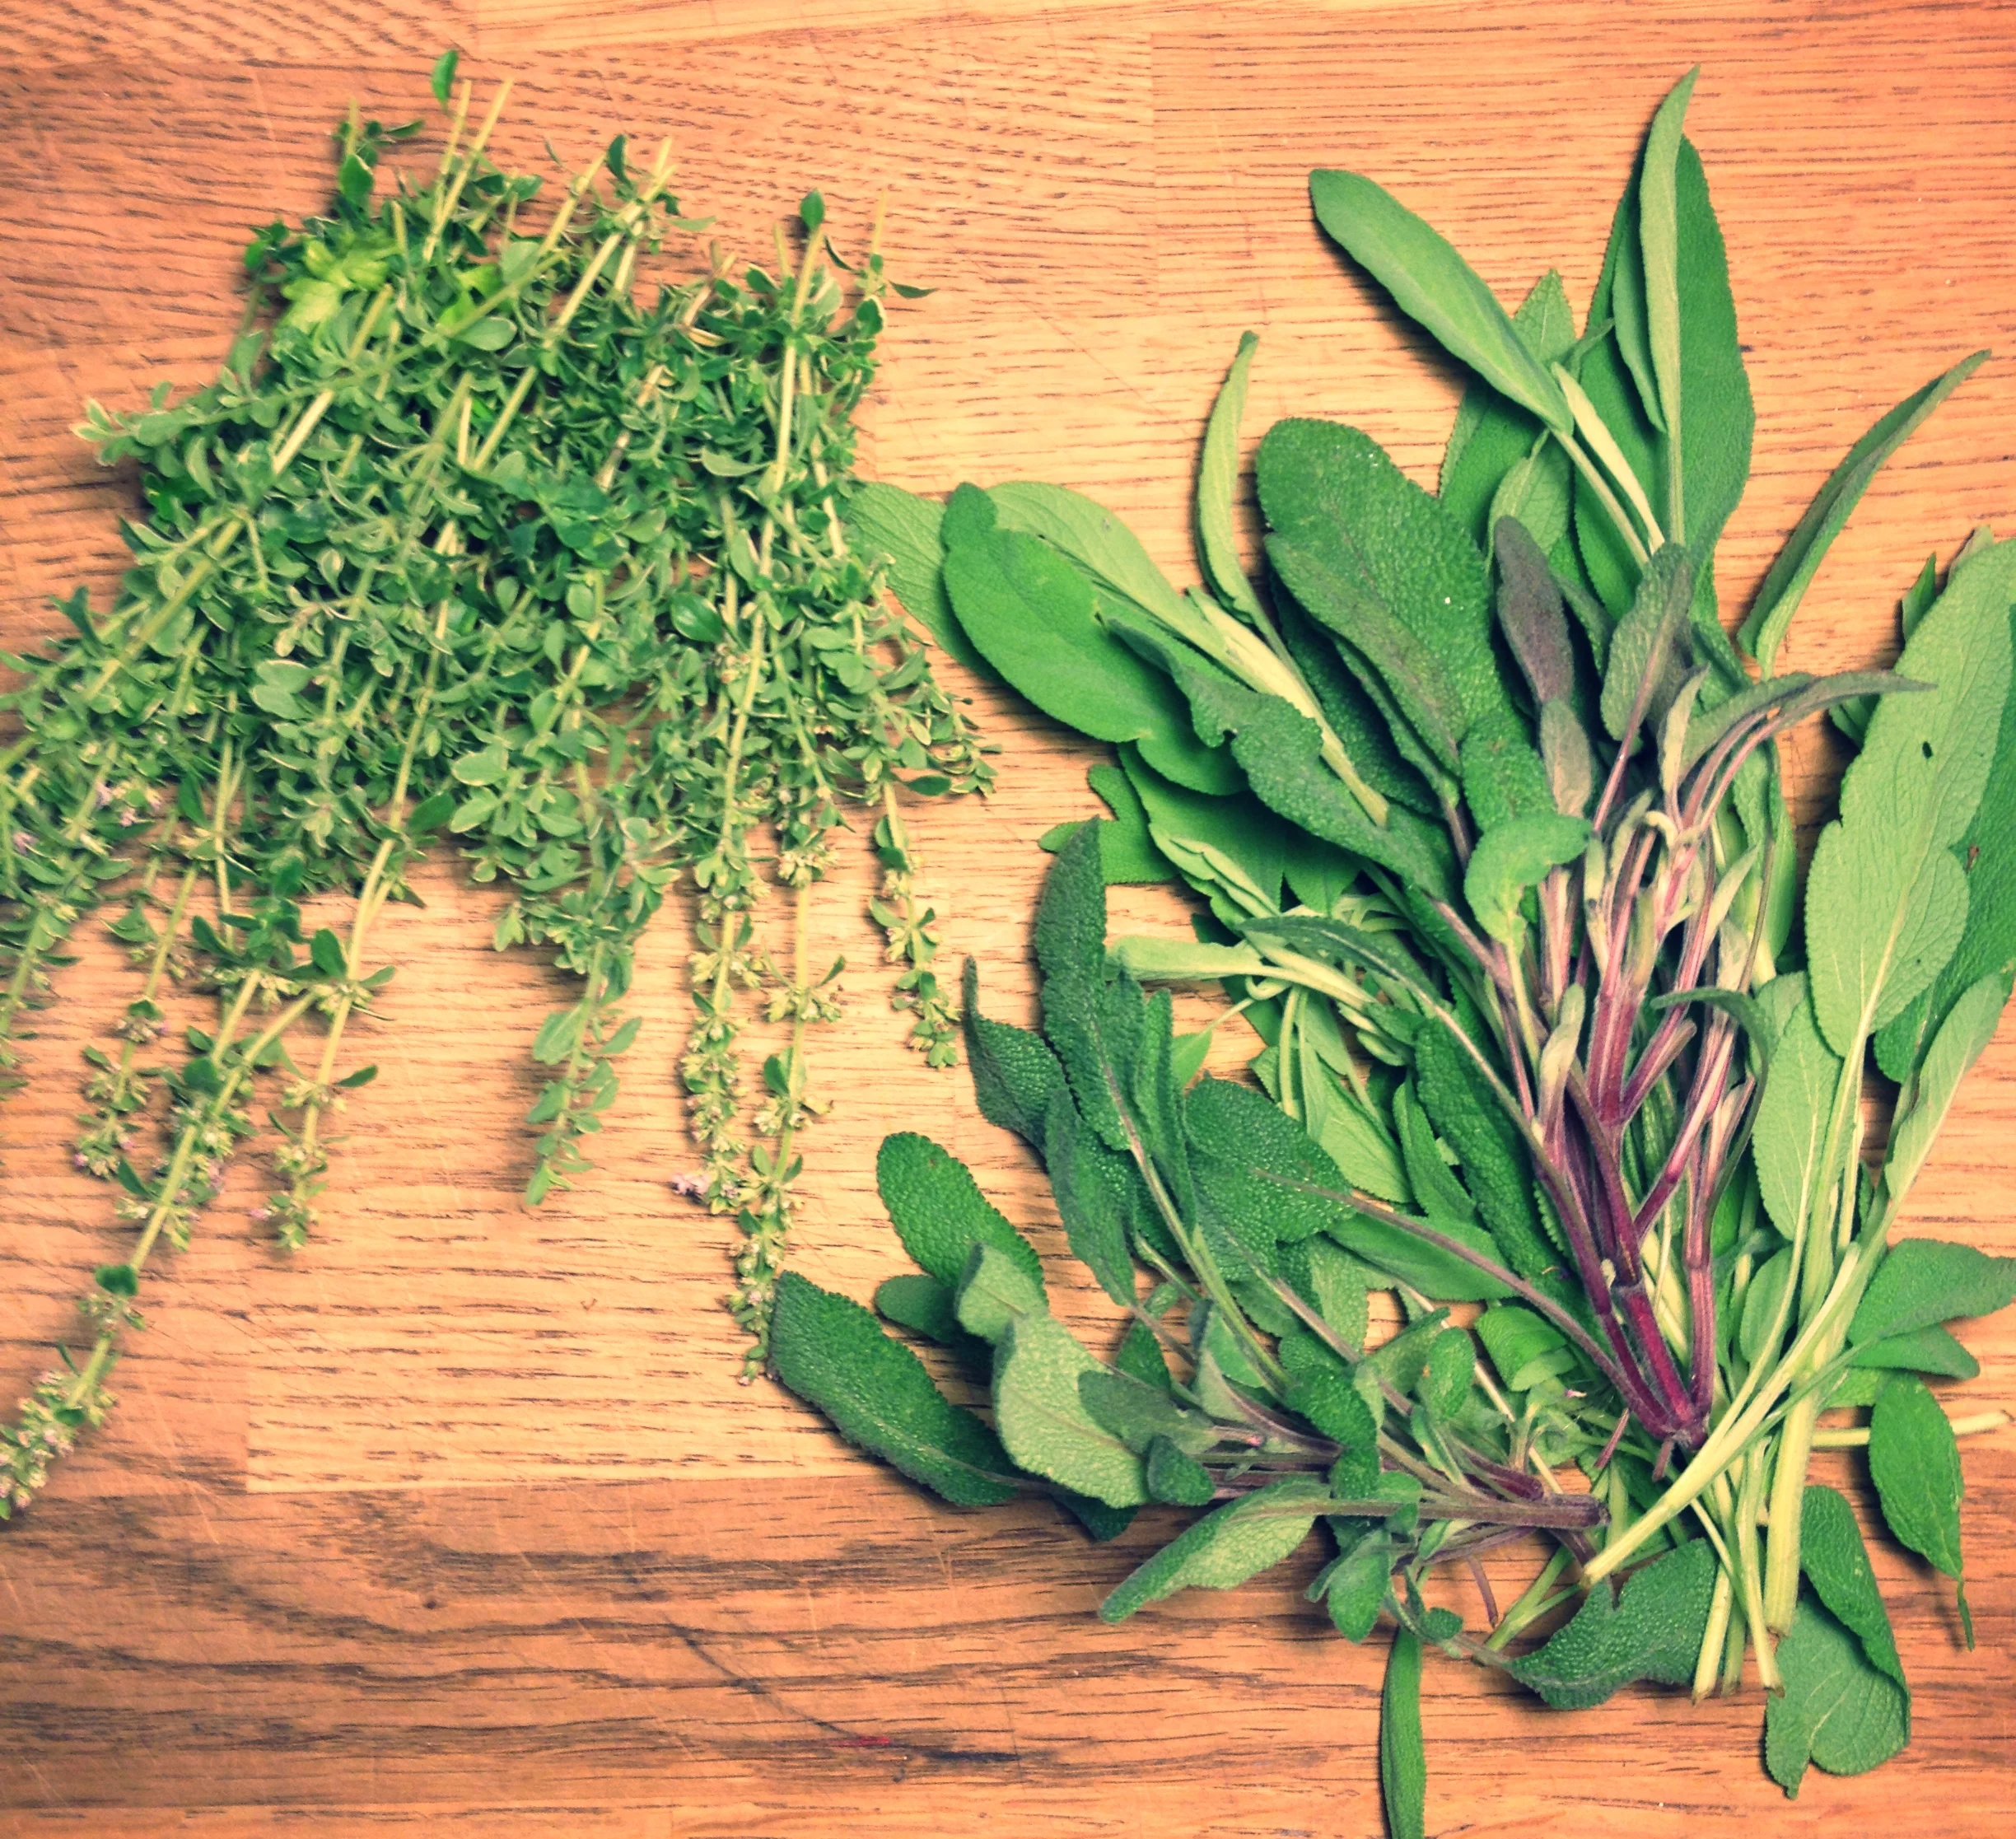
Lemon thyme and sage. Garden companions destined for tasty salads.
Welcome to Friday, my pretties. It's the end of the week, a hot week at that, so for today's instalment of Luka's Daily Posts of How She Is Keeping Summer Going For Colder Times, I wanted to do something delicious, SO STINKIN EASY and very quick. And very rewarding. Shall we get on with it?
Herb infused vinegars. Why? I mean I hung some herbs to dry already, and I plan to make a sort of bouillon at some point, and have dehydrated some lovage. I have also tucked some things fresh in little freezer bags and made a mean pesto (and still have plans to make two more: one based on sorrel and another a kind of za'atar mix of oregano/thyme/sesameseeds (thanks to inspiration from Euphoria's Beirut Toast)). Isn't that enough preservation? My aim this year is to really beef up my preservation skills, and utilize more of what is coming out of my garden. Make it work for me. And while I'm sure the fall/winter/spring salads at our house could make do with the four kinds of vinegar I currently have (ok more like 8), adding a unique and personally-flavoured vinegar to my acidic arsenal HAS TO HAPPEN IF I HAVE THE GOODS. And all of 10 minutes to assemble. Which I did. I didn't go out to buy anything special, my aim was to use what I had. So I did. And it's also what my grandmother would have done. So doubly so.
I started this actually back in June, when I planted these herbs for sure, but also when I pulled out the chive blossoms that were proliferating at the time. I just plunked them in a jar and covered them with plain white vinegar, and let it sit in my pantry until today. I'd shake it up every now and then, and may I report the end result is INCREDIBLE. This quick vinegar infusion thing is my new favourite easy thing to pack in flavour and summer good times, not to mention the best way to preserve those minerals and nutrients found in the herbs used.
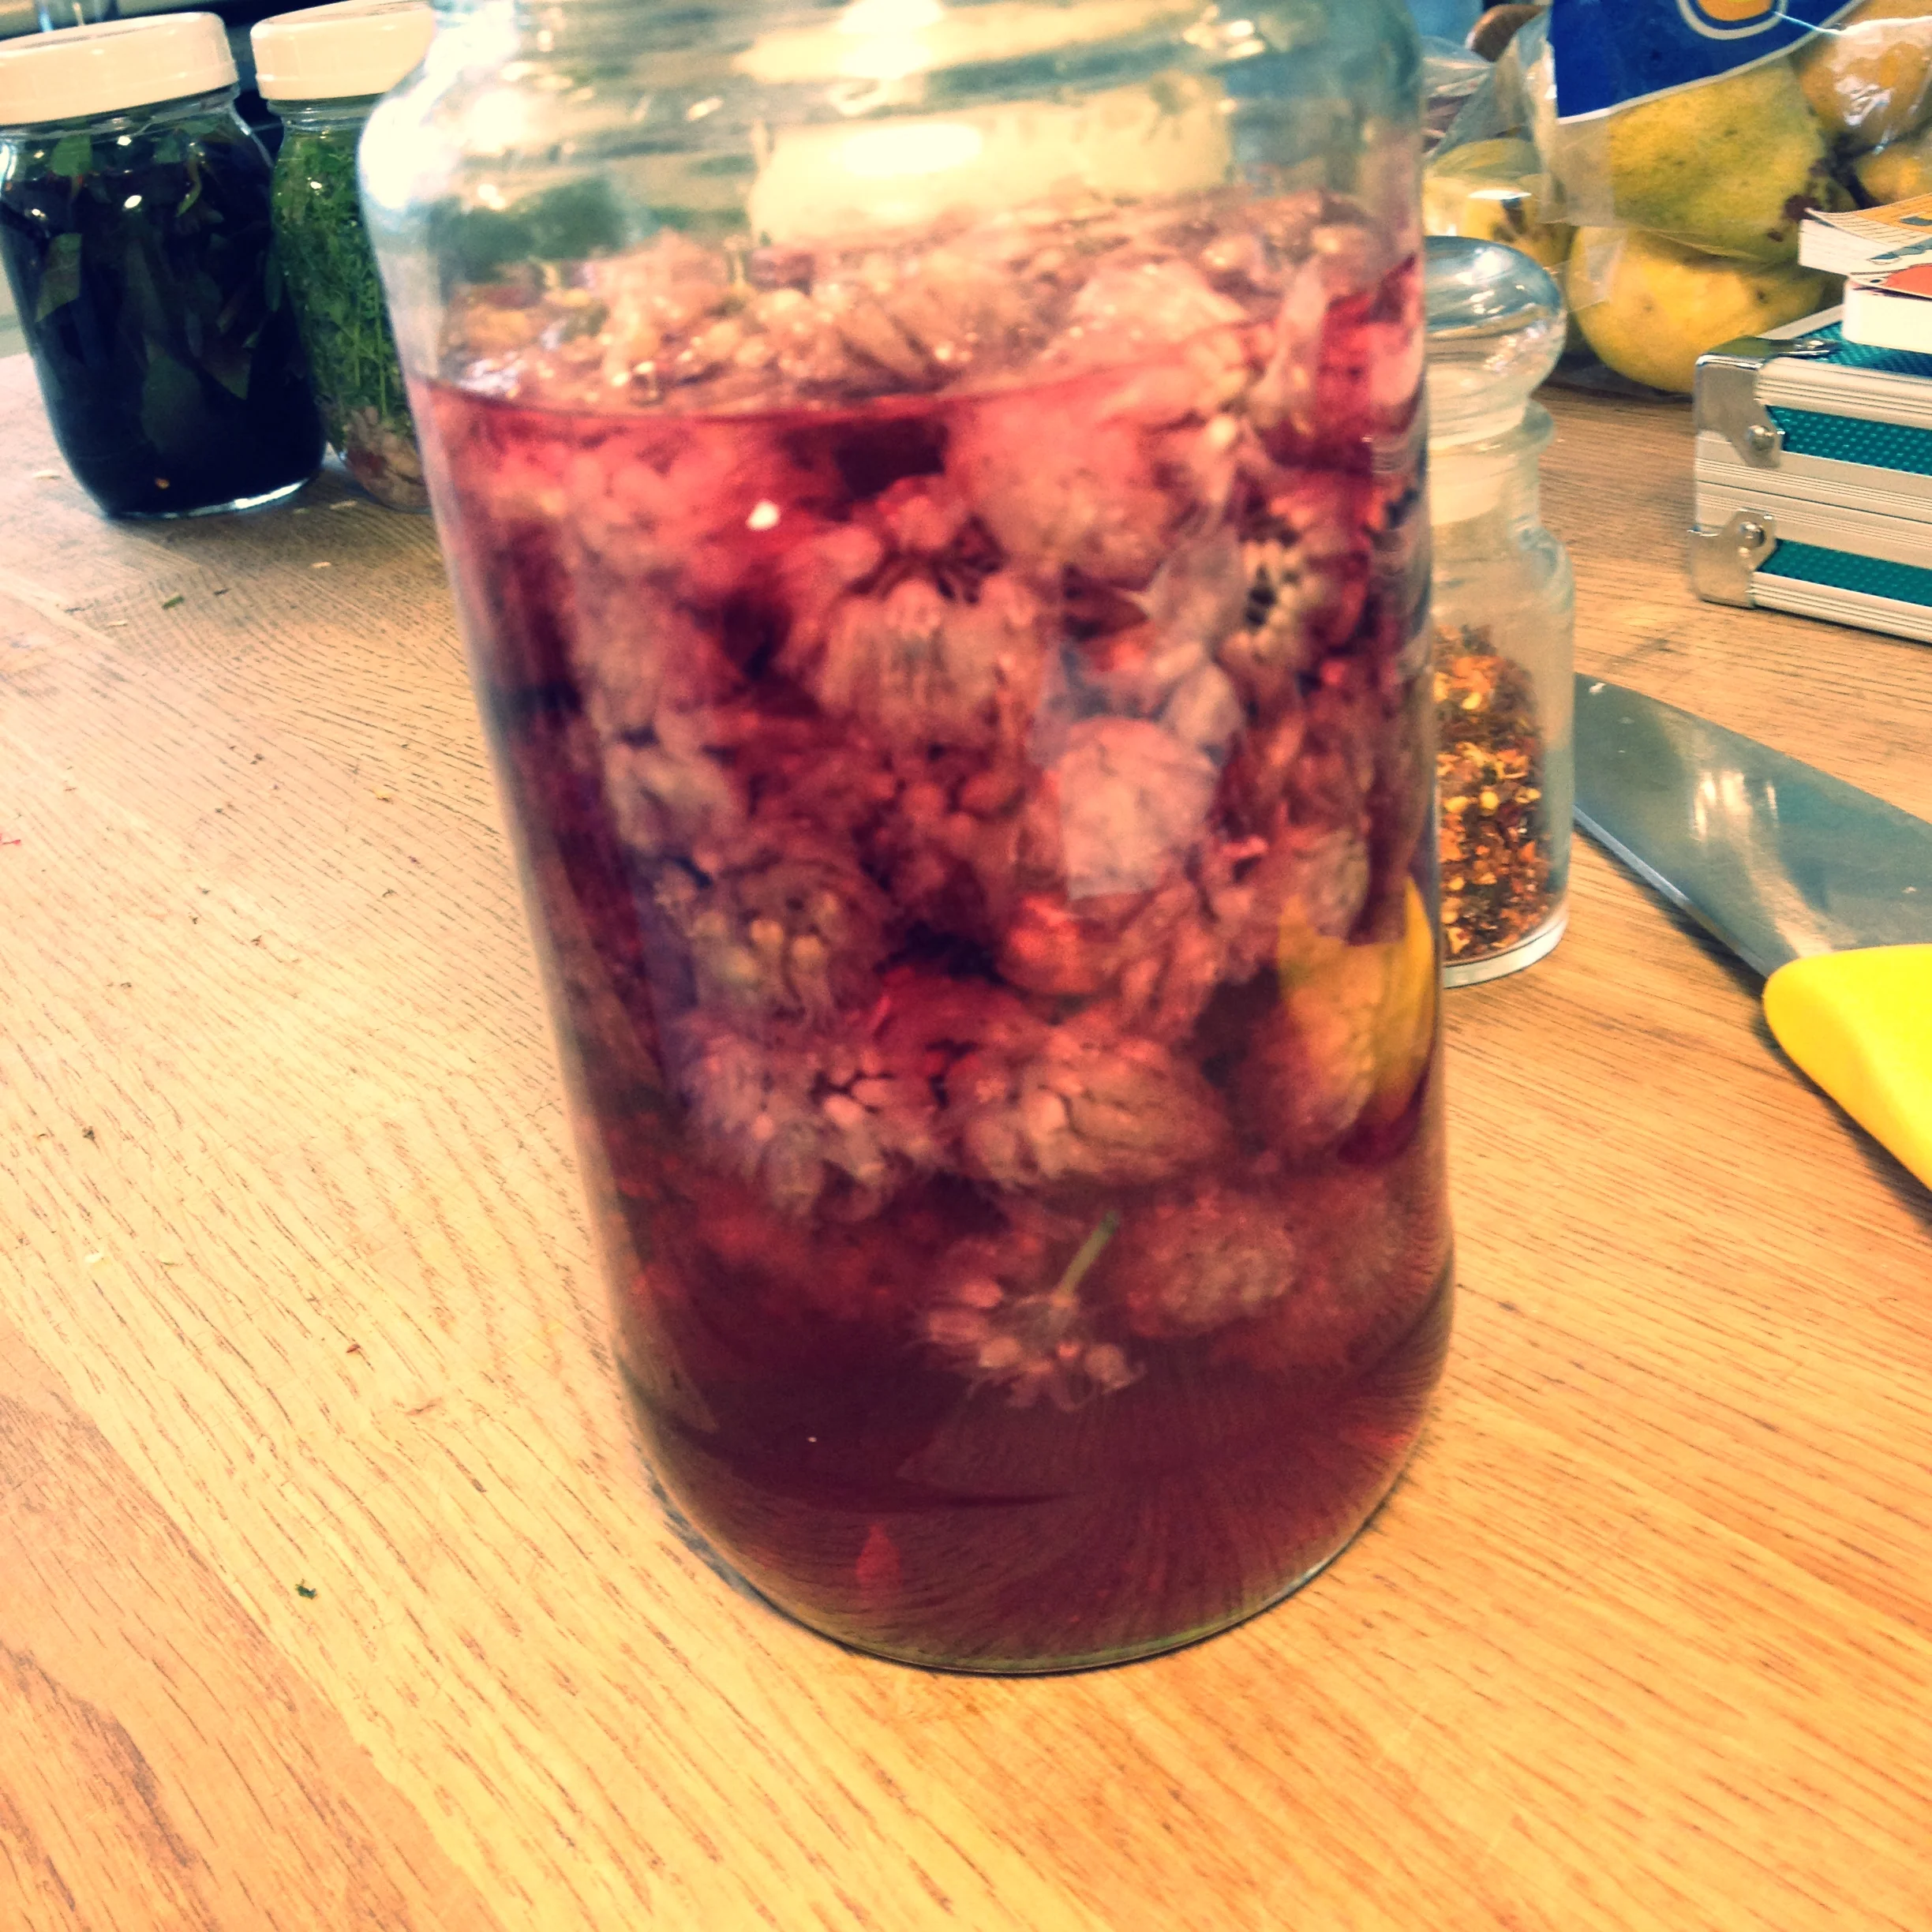
Chive-infused white vinegar, perfect for salads or adding a fragrant acidic final note to dishes. #harvest2015
I pulled the lemon thyme and sage out of the garden, making sure they were clean. In one 2-cup jar, I chopped a peeled shallot, and shoved the lemon thyme (about 1 cup), and tossed in enough white wine vinegar to completely submerge the herbs. I put a plastic lid on the jars as the acidity from the vinegar will corrode any metal lid; if you don't have plastic lids, you can put parchment paper or use some sort of paper to keep it from coming into contact with metal.
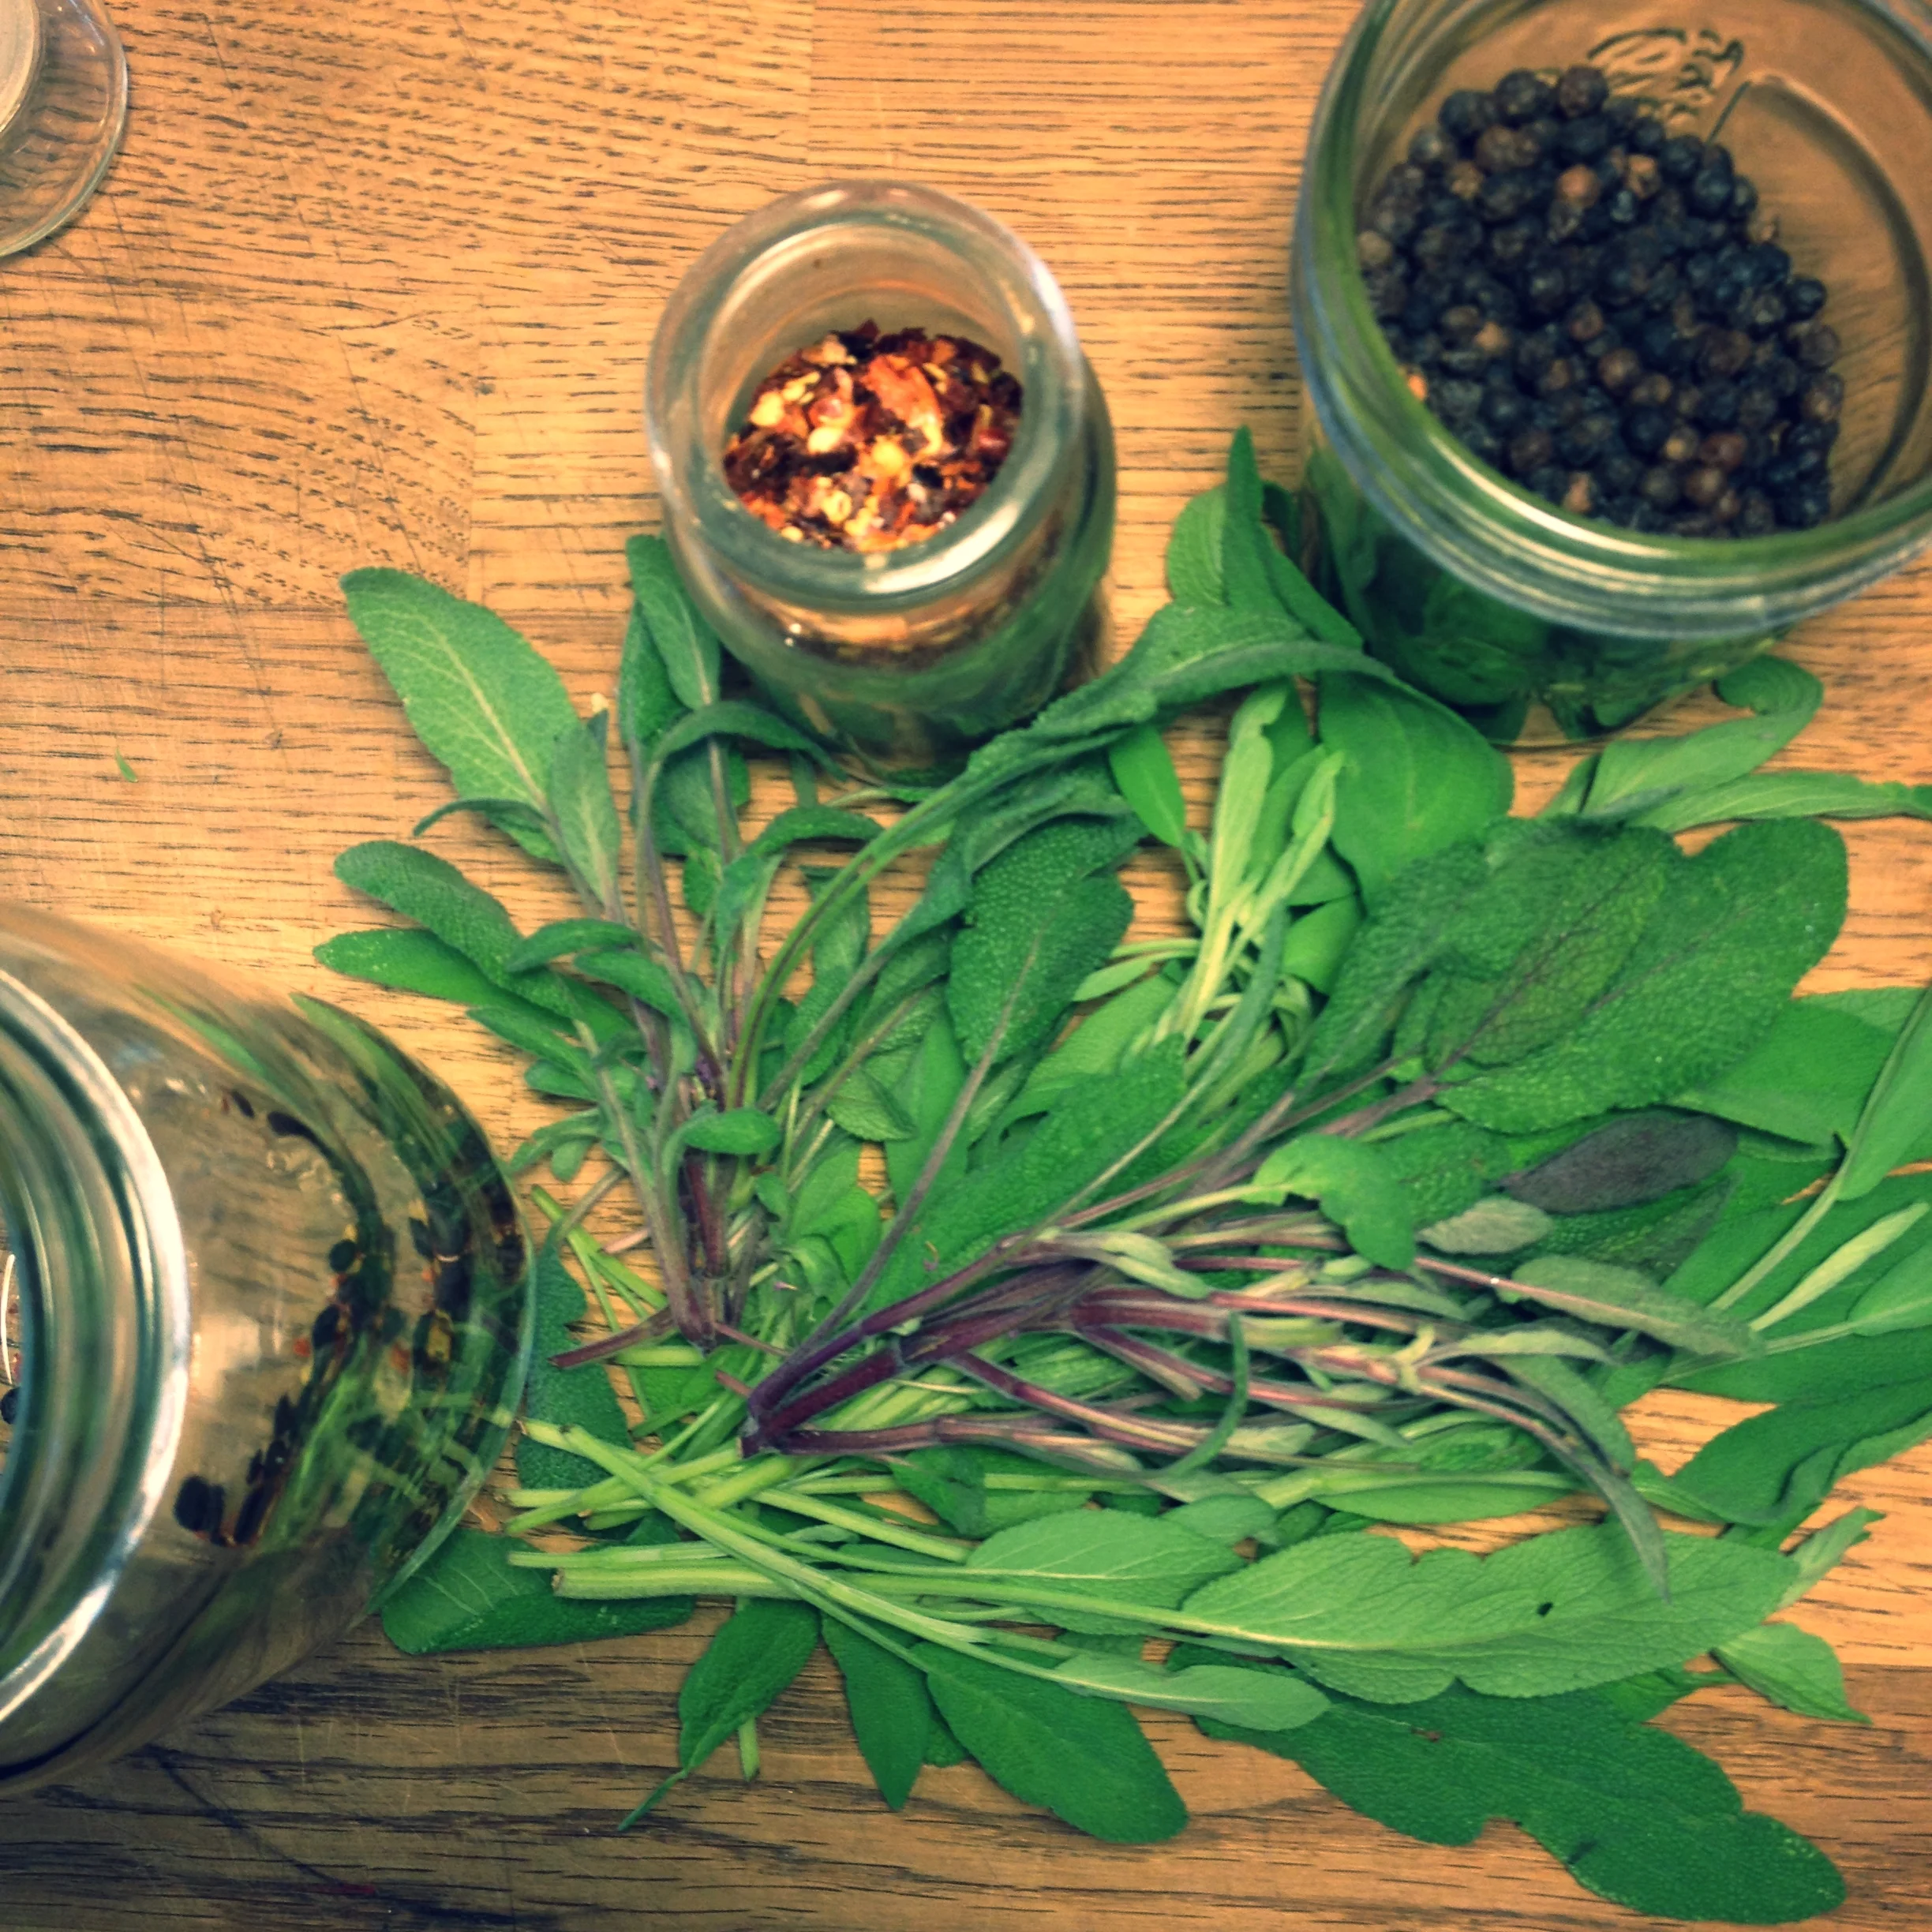
Sage, peppercorns, chili pepper, destined to infuse some red wine vinegar. #harvest2015
In my second jar, I added a teaspoon of peppercorns and a teaspoon of crushed chilis, topped them with about a cup of sage from the garden, and covered the herbs with enough red wine vinegar so they were submerged. Again, plastic lid, out on the deck to get a good photo in the last sunlight before the storm, and tucked into the pantry. IT'S THAT EASY.
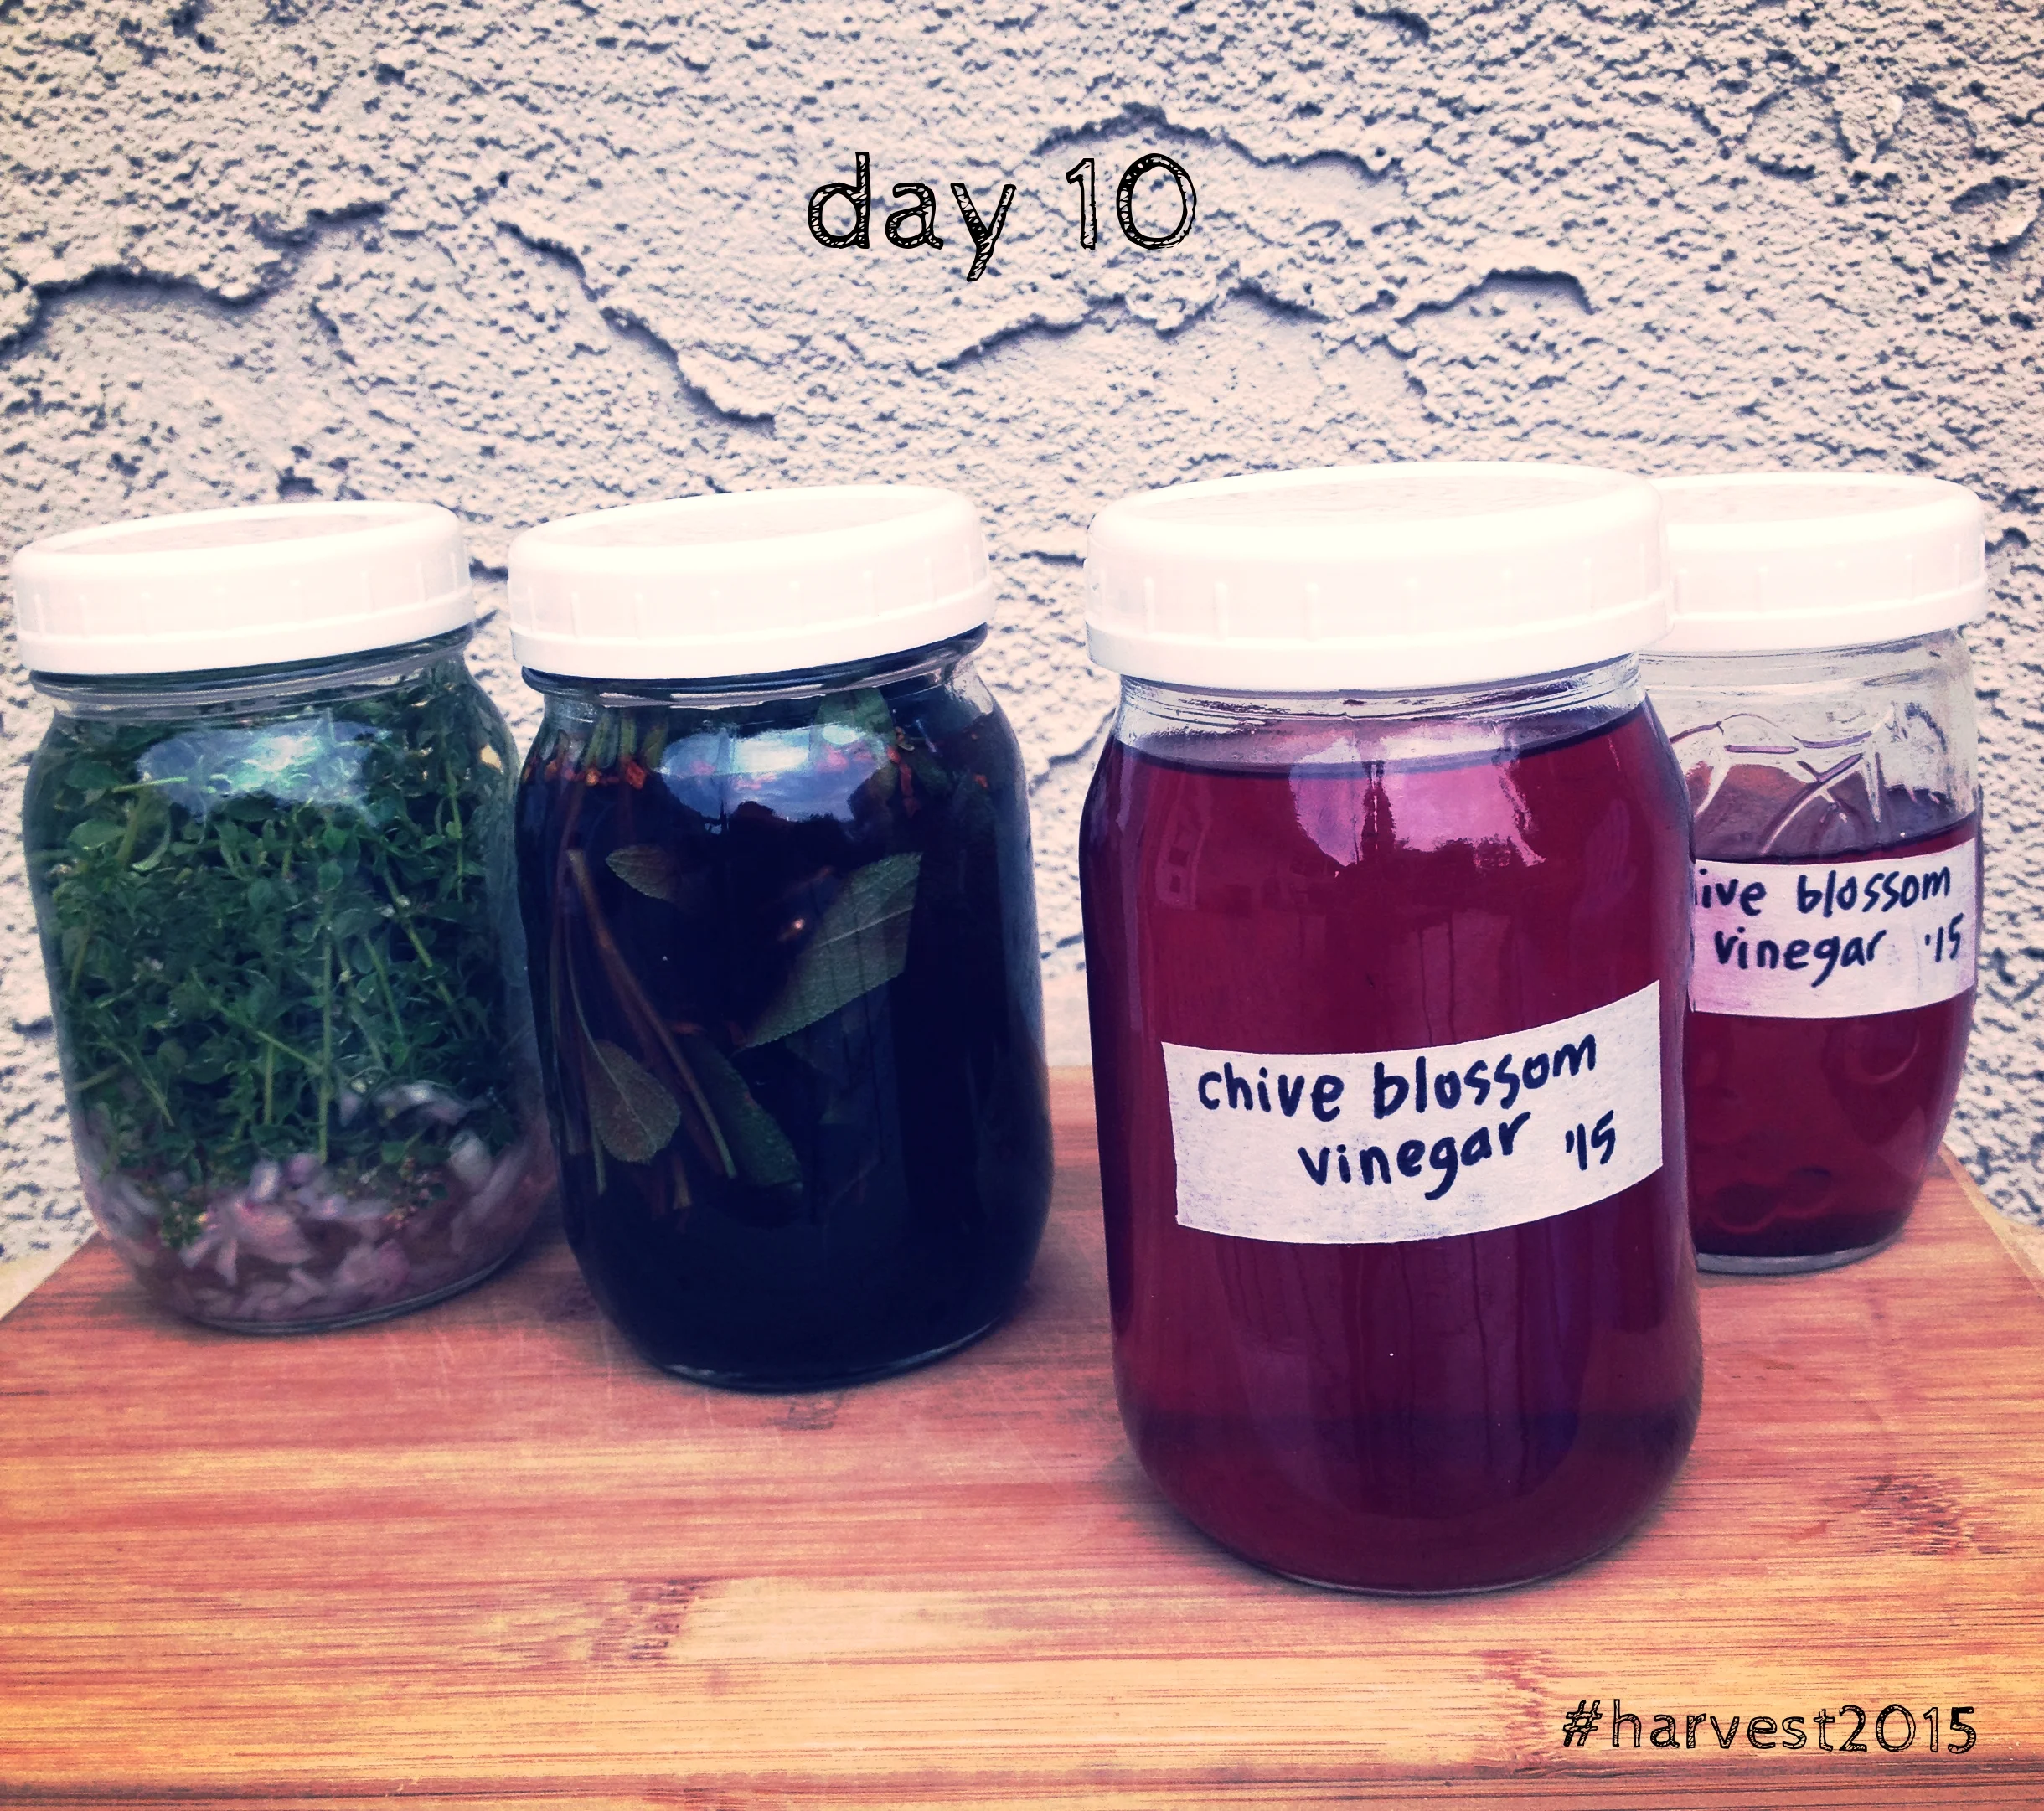
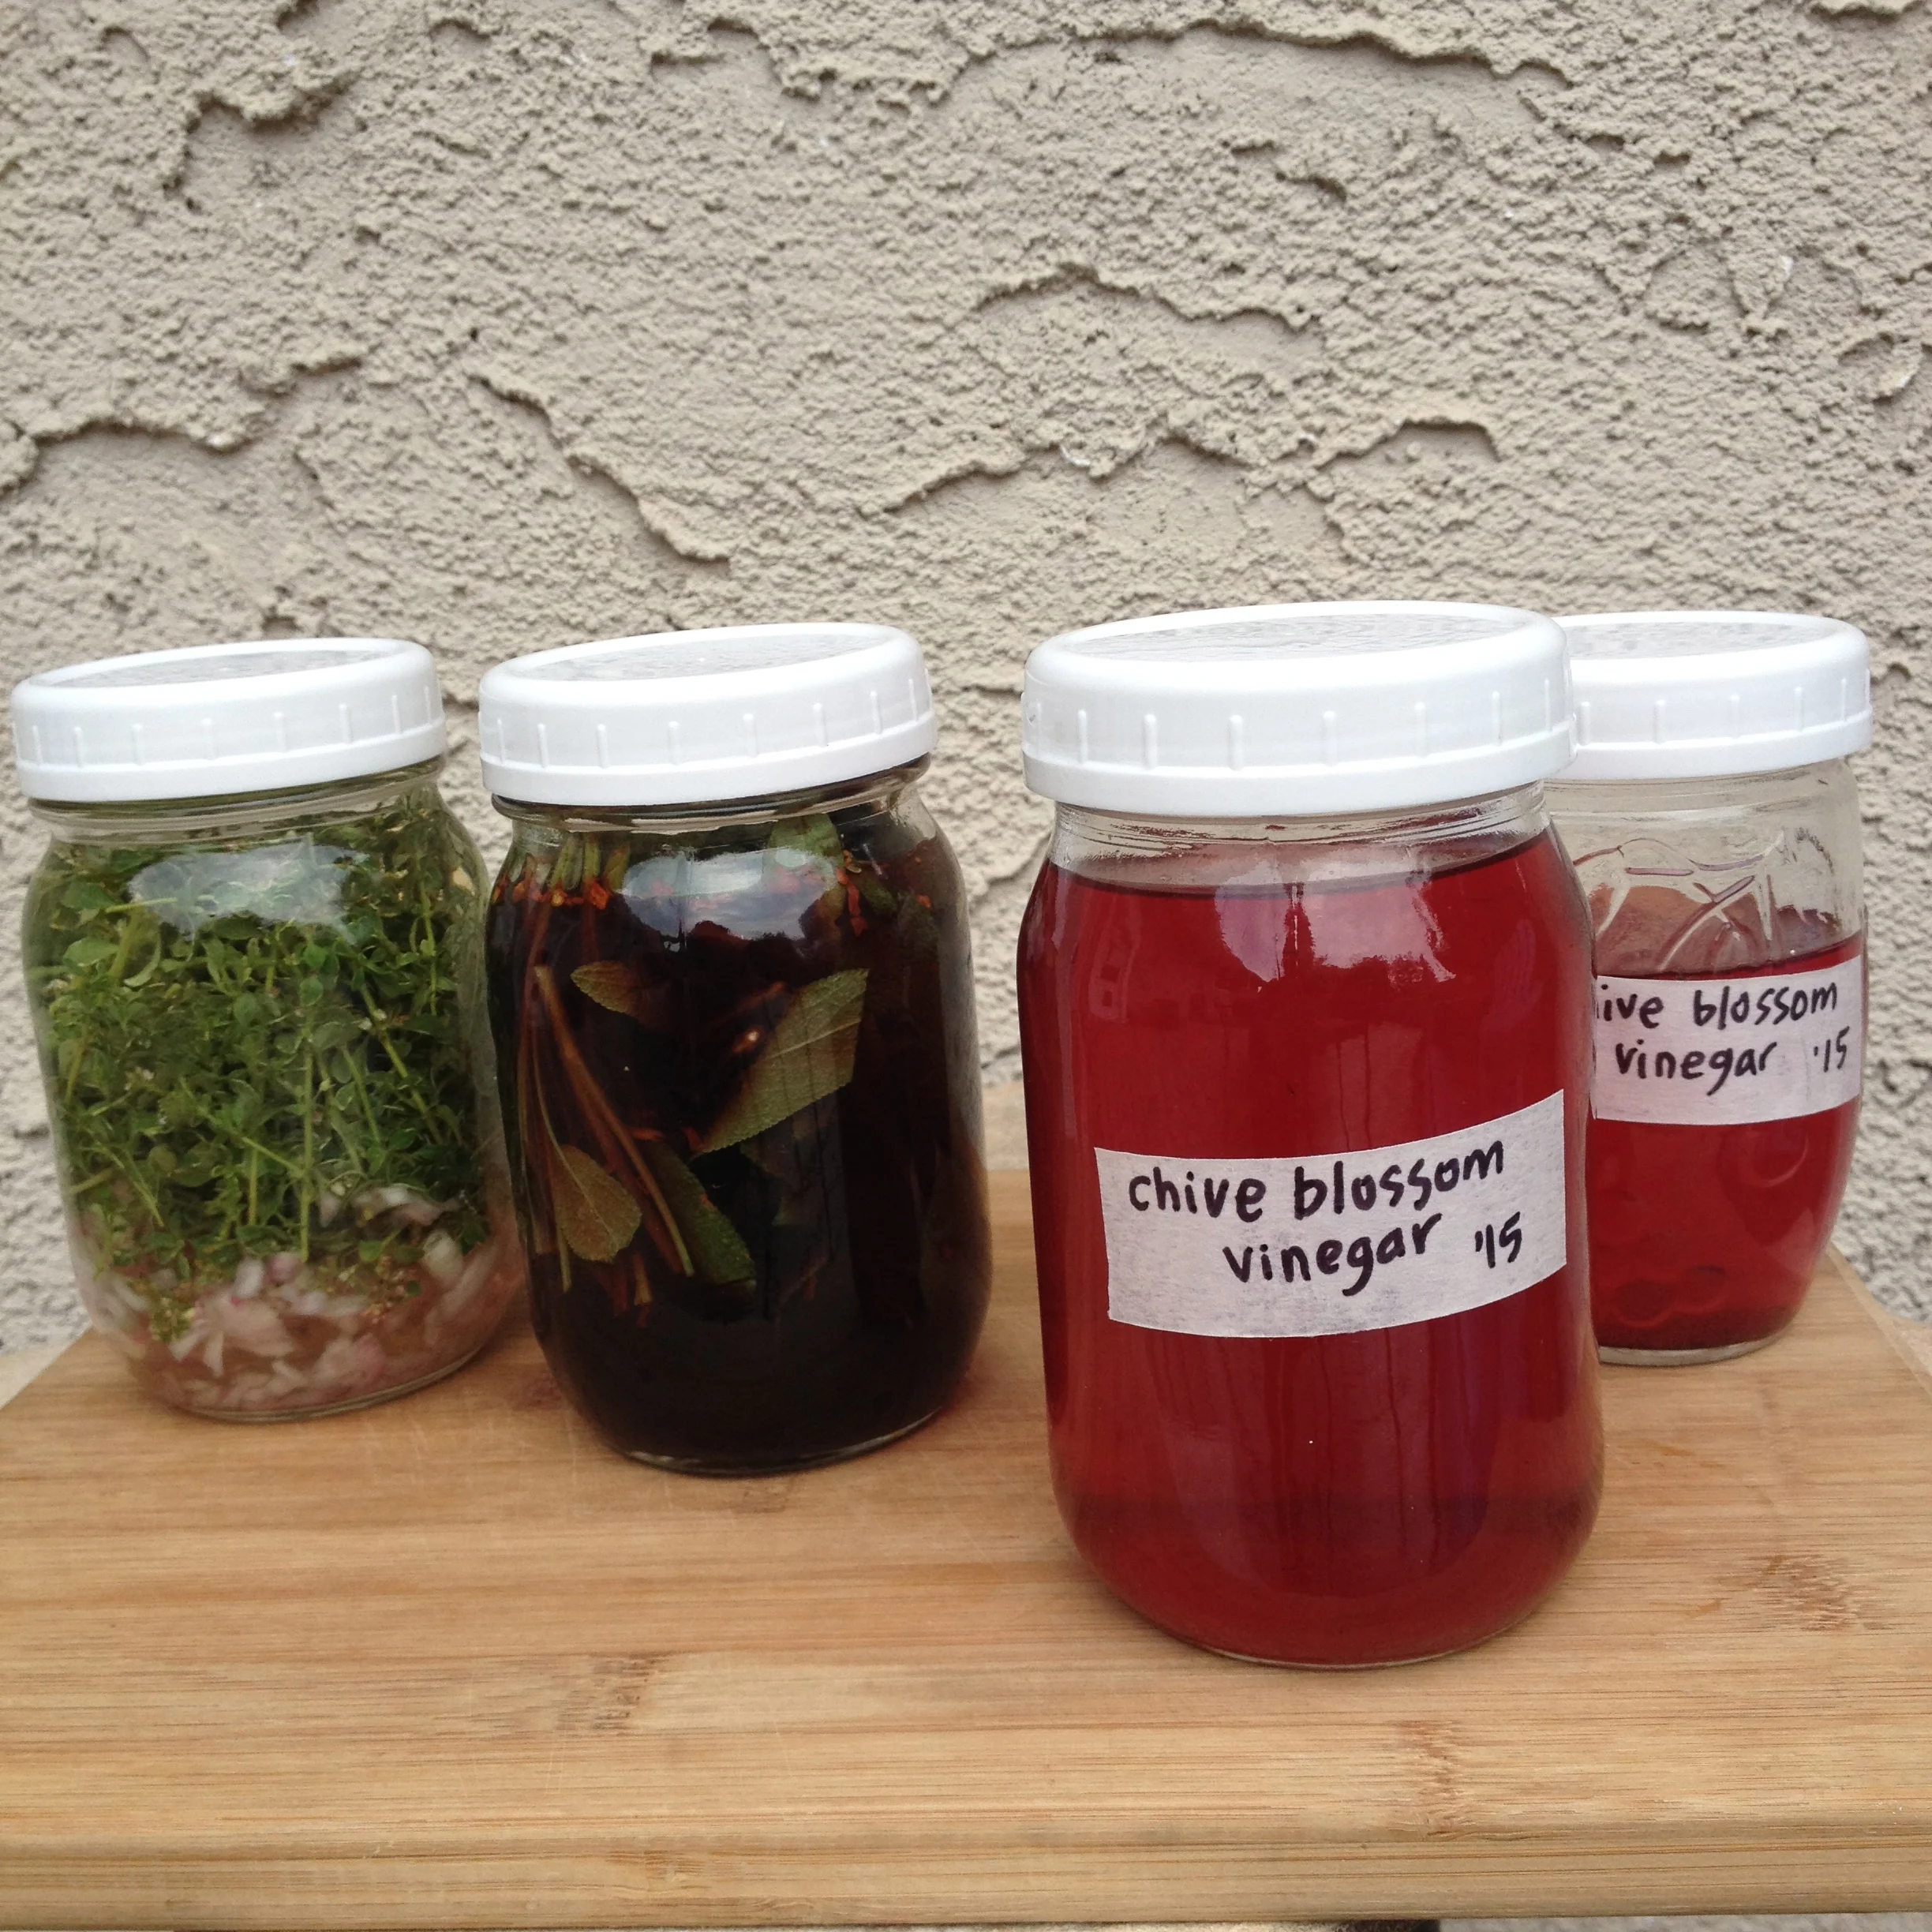
Lemon thyme & shallot white wine vinegar, Sage & peppercorn & chili red wine vinegar, chive blossom vinegar. Herb-infused vinegars, #harvest2015.
My chive blossom vinegar infused for seven weeks, and my other two will infuse for at least 4 weeks if not more, until the taste is delicious. When they're infused to my liking, I plan to do what I did to the chive blossom vinegar, I will strain out the herby bits and tuck the vinegar (labelled, of course) in my pantry for flavour enhancers later on down the road.
Ok, now your turn. What kind of vinegar are you planning to make? Good inspirations can be found here. Here's another one: DANDELION VINEGAR! Now we're talking! That is how you up the nutritional ante today, my friends. Go make some vinegar.
A MONTH OF PUTTING UP THE HARVEST - Day 9
Today is a great day to ferment. If you don't know already, I'm a fermenty kind of gal: I'll ferment everything, from spices and herbs to beverages to fruit to all vegetables grown under the sun. I'm a little bit like these two. So when a friend of mine recently asked if I'd like to partake in the harvest of small baby cold corn from Kohut Farms just north of the city, I said well now of COURSE I will!
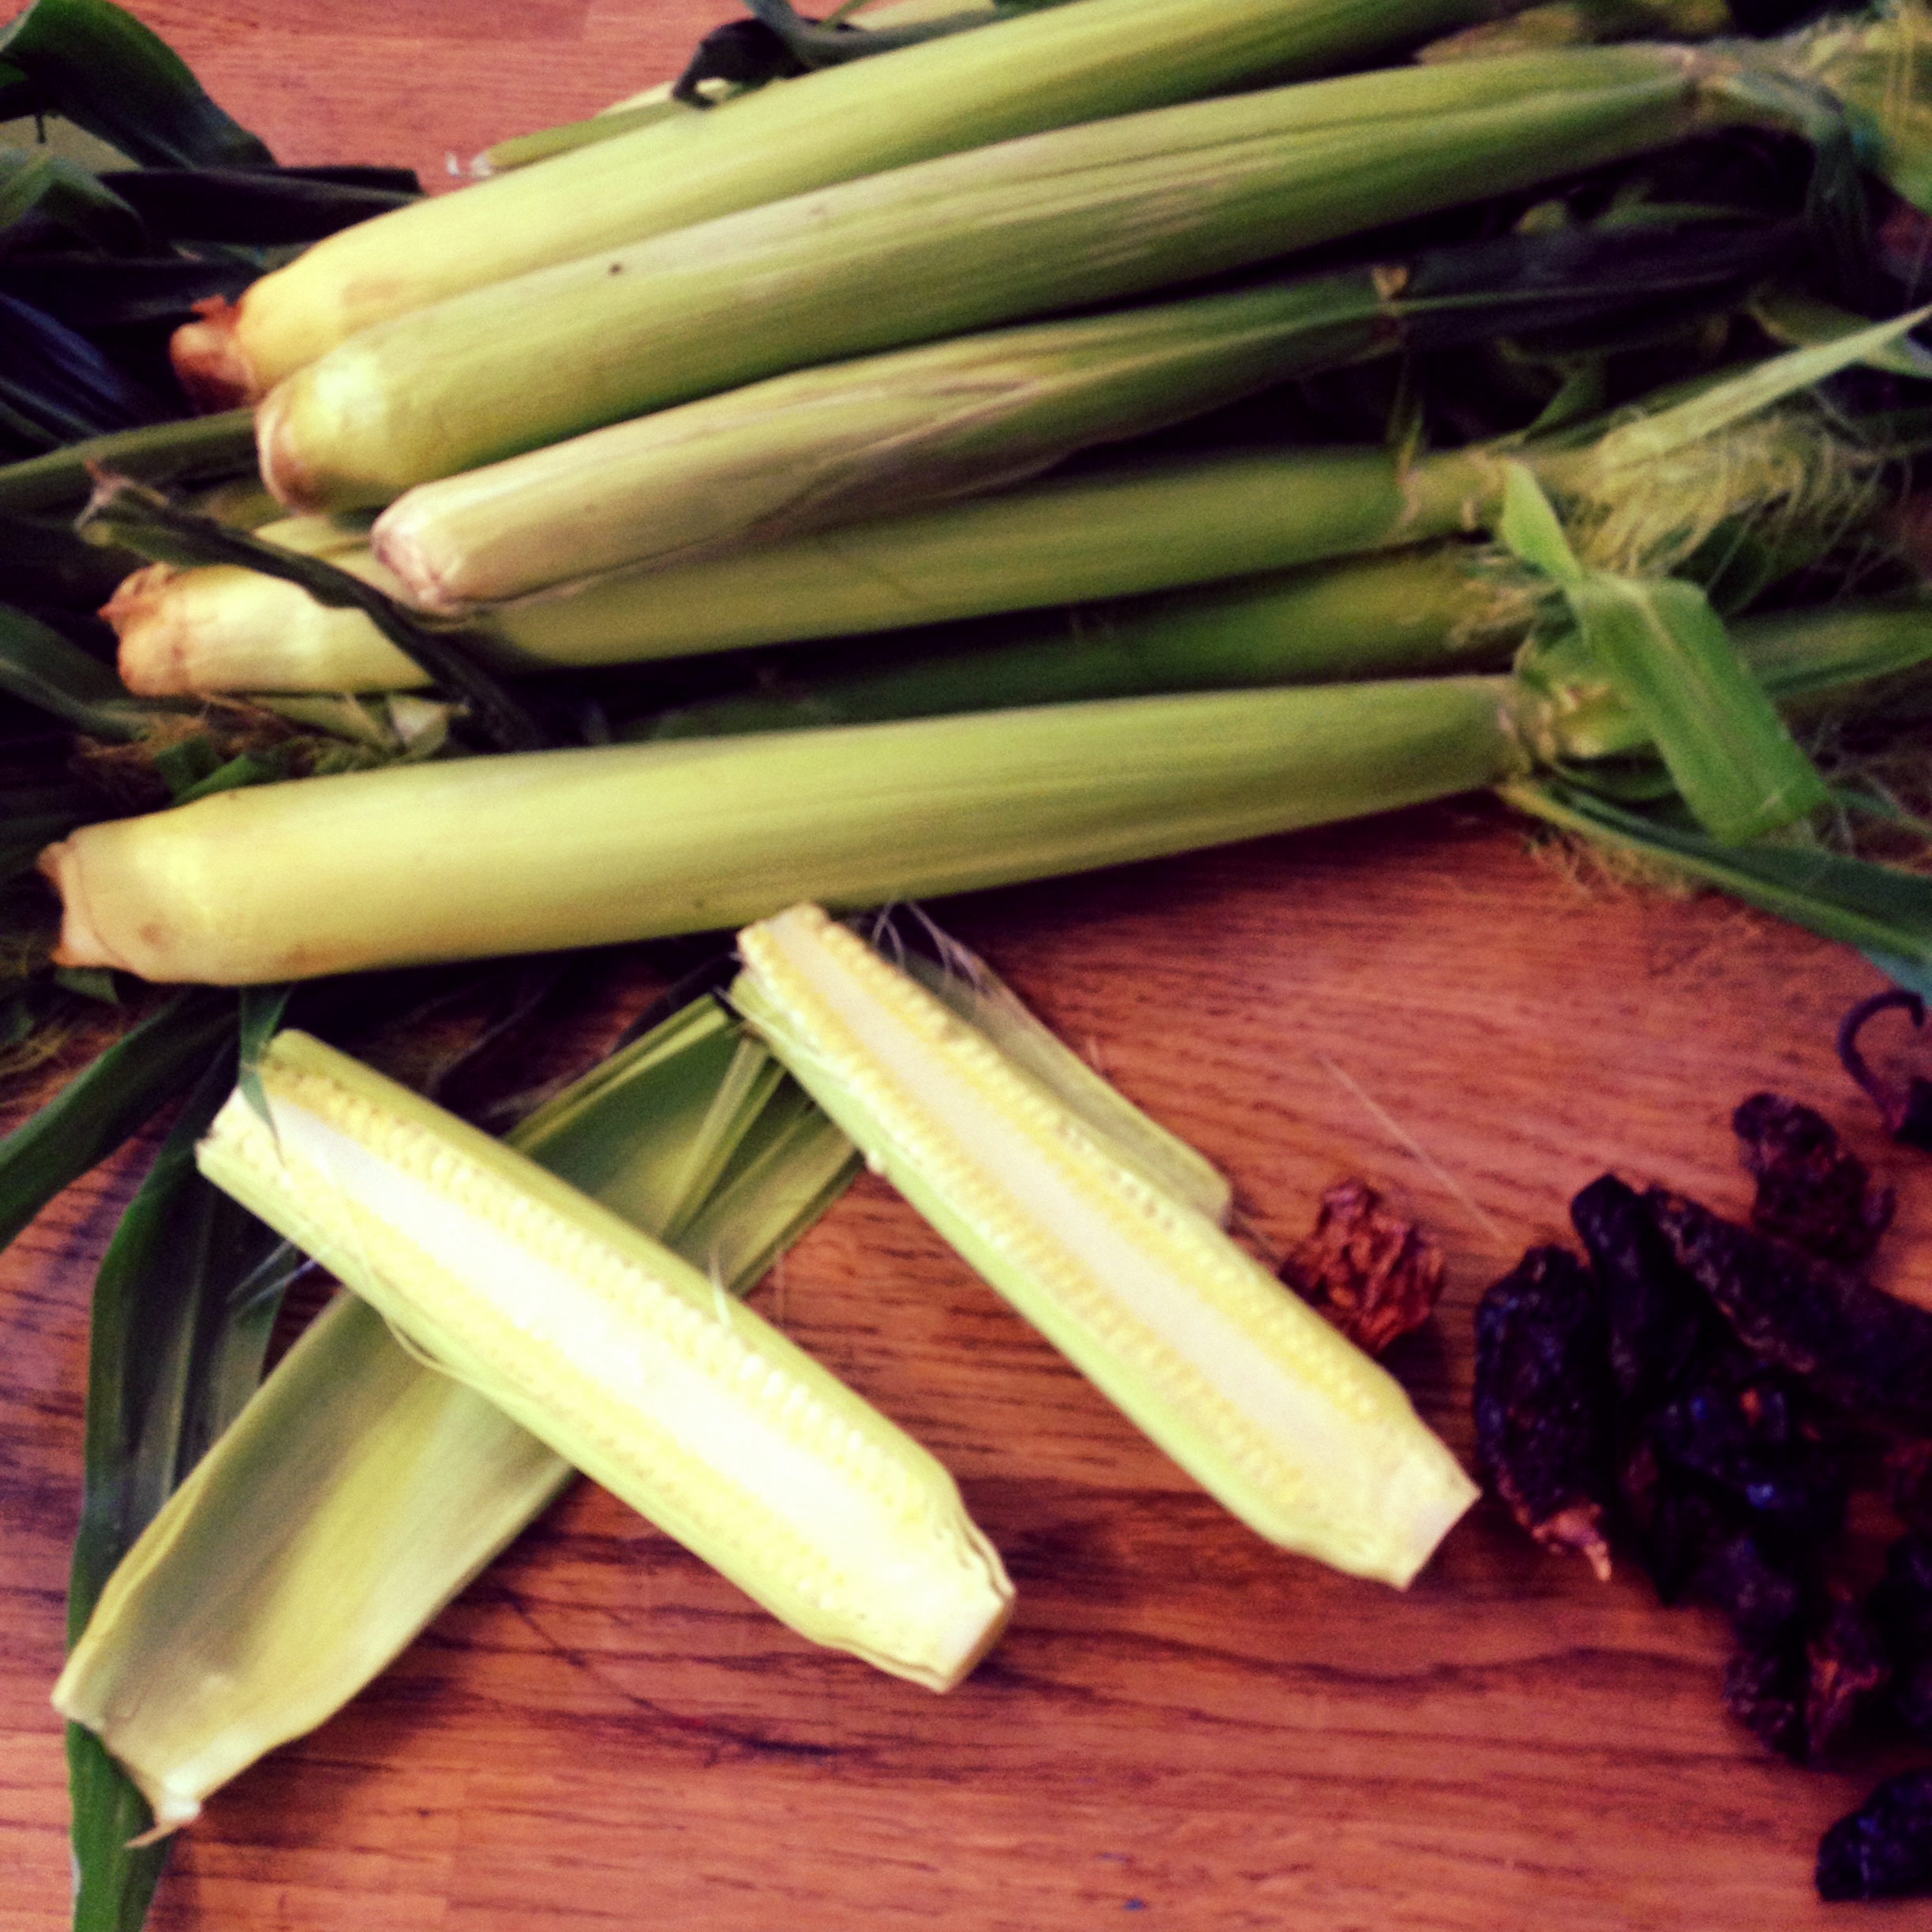
Baby cold corn from Kohut Farms. Nothing like this, my friends. #harvest2015
Today is a great day to ferment. If you don't know already, I'm a fermenty kind of gal: I'll ferment everything, from spices and herbs to beverages to fruit to all vegetables grown under the sun. I'm a little bit like these two. So when a friend of mine recently asked if I'd like to partake in the harvest of small baby cold corn from Kohut Farms just north of the city, I said well now of COURSE I will!
These baby corn cobs are incredible. They're really sweet, you can eat the whole thing including the cob when they're this little; you can even eat the tender greens surrounding the cob at this early stage of the game. I swear to you, tasting the greens and cobs and corn like this is a sensory explosion, taking me right back to the smell and taste of the air in that field, and the heat of the sun on my neck, all in one bite. Now to be sure, it will be a different story in a week or two when Kohut's Cold Corn will be fully grown and ready to go out to the shops (I hear Coop will be carrying them), but I bet you could do this recipe with it at that point in time, or with any corn for that matter. This cold corn is something that has been lovingly grown by Rick Kohut and his family near Didsbury for a few years now, and as I understand it, it's a specialty strain of corn that can grow in colder climates like that of our nights here in the prairies and is known for its high natural sugar content. It also has a thin endosperm, meaning the skin on the kernel is thin and so it is inherently easier to digest than most corn, you can eat this corn raw even when it's full grown. It's THAT good. Rick and his family grow this corn without the use of pesticides, it is non-GMO and when comes harvest time, it is hand picked. This is primo corn, my friends.
I ordered a few dozen from this special one-off a friend of mine was harvesting, with the intention of playing around. I grilled some to add to salads and noodle bowls, I quickly blanched and had as super fresh sides to dinners, and added some with shredded zucchini to a fritter recipe for breakfasts for a few days. But I couldn't get through it all fast enough, and so I knew that I'd be looking for a way to preserve the sweet bounty. Fermenting it is.
Fermenting is a quick and easy way to keep things nutrient dense and available for consumption into the winter months; it requires minimal output of energy at the beginning, the investment in a few good glass jars, and a little bit of faith. And a whole lot of play. There are so many documented health benefits to fermenting, something I talk about quite often (and will continue to). Today's post is not about WHY fermenting is so good for you, it's HOW EASY IT IS TO FERMENT. So if you are new to fermenting, this is a recipe you could try at home. If you'd like to learn more about fermenting, get in touch as I lead fermenting workshops on a regular basis and would love to host a class in your kitchen.
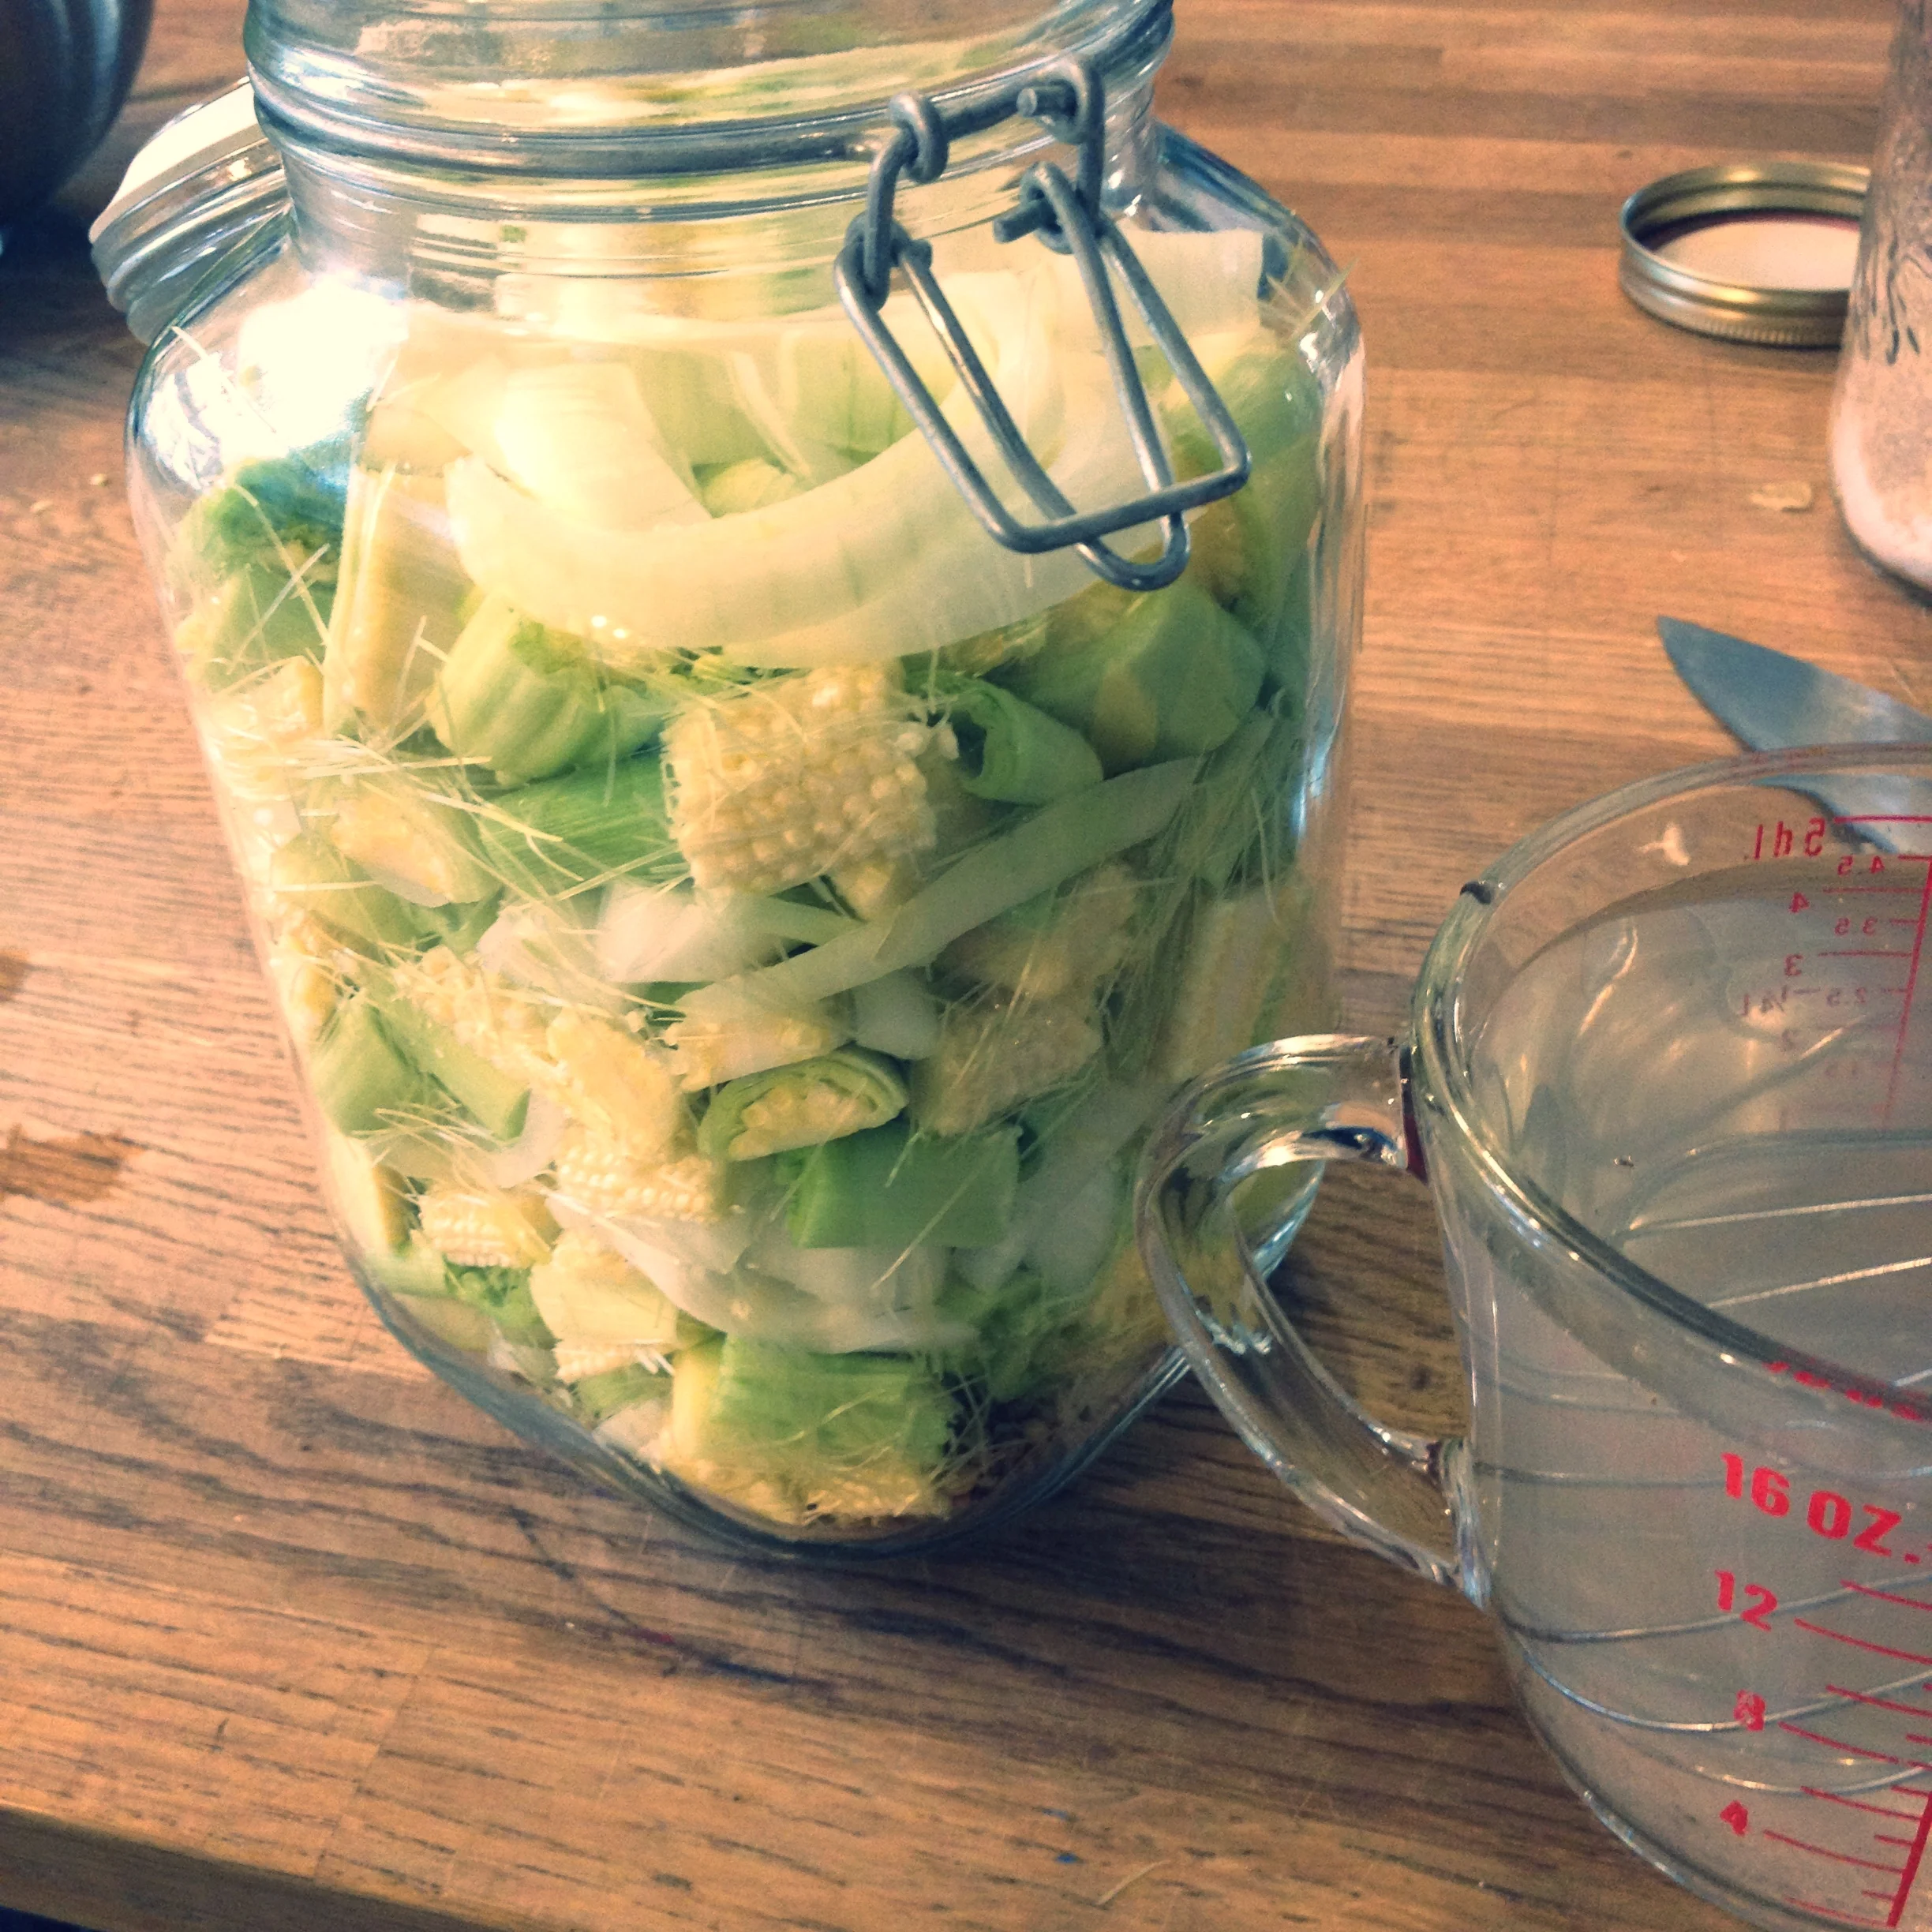
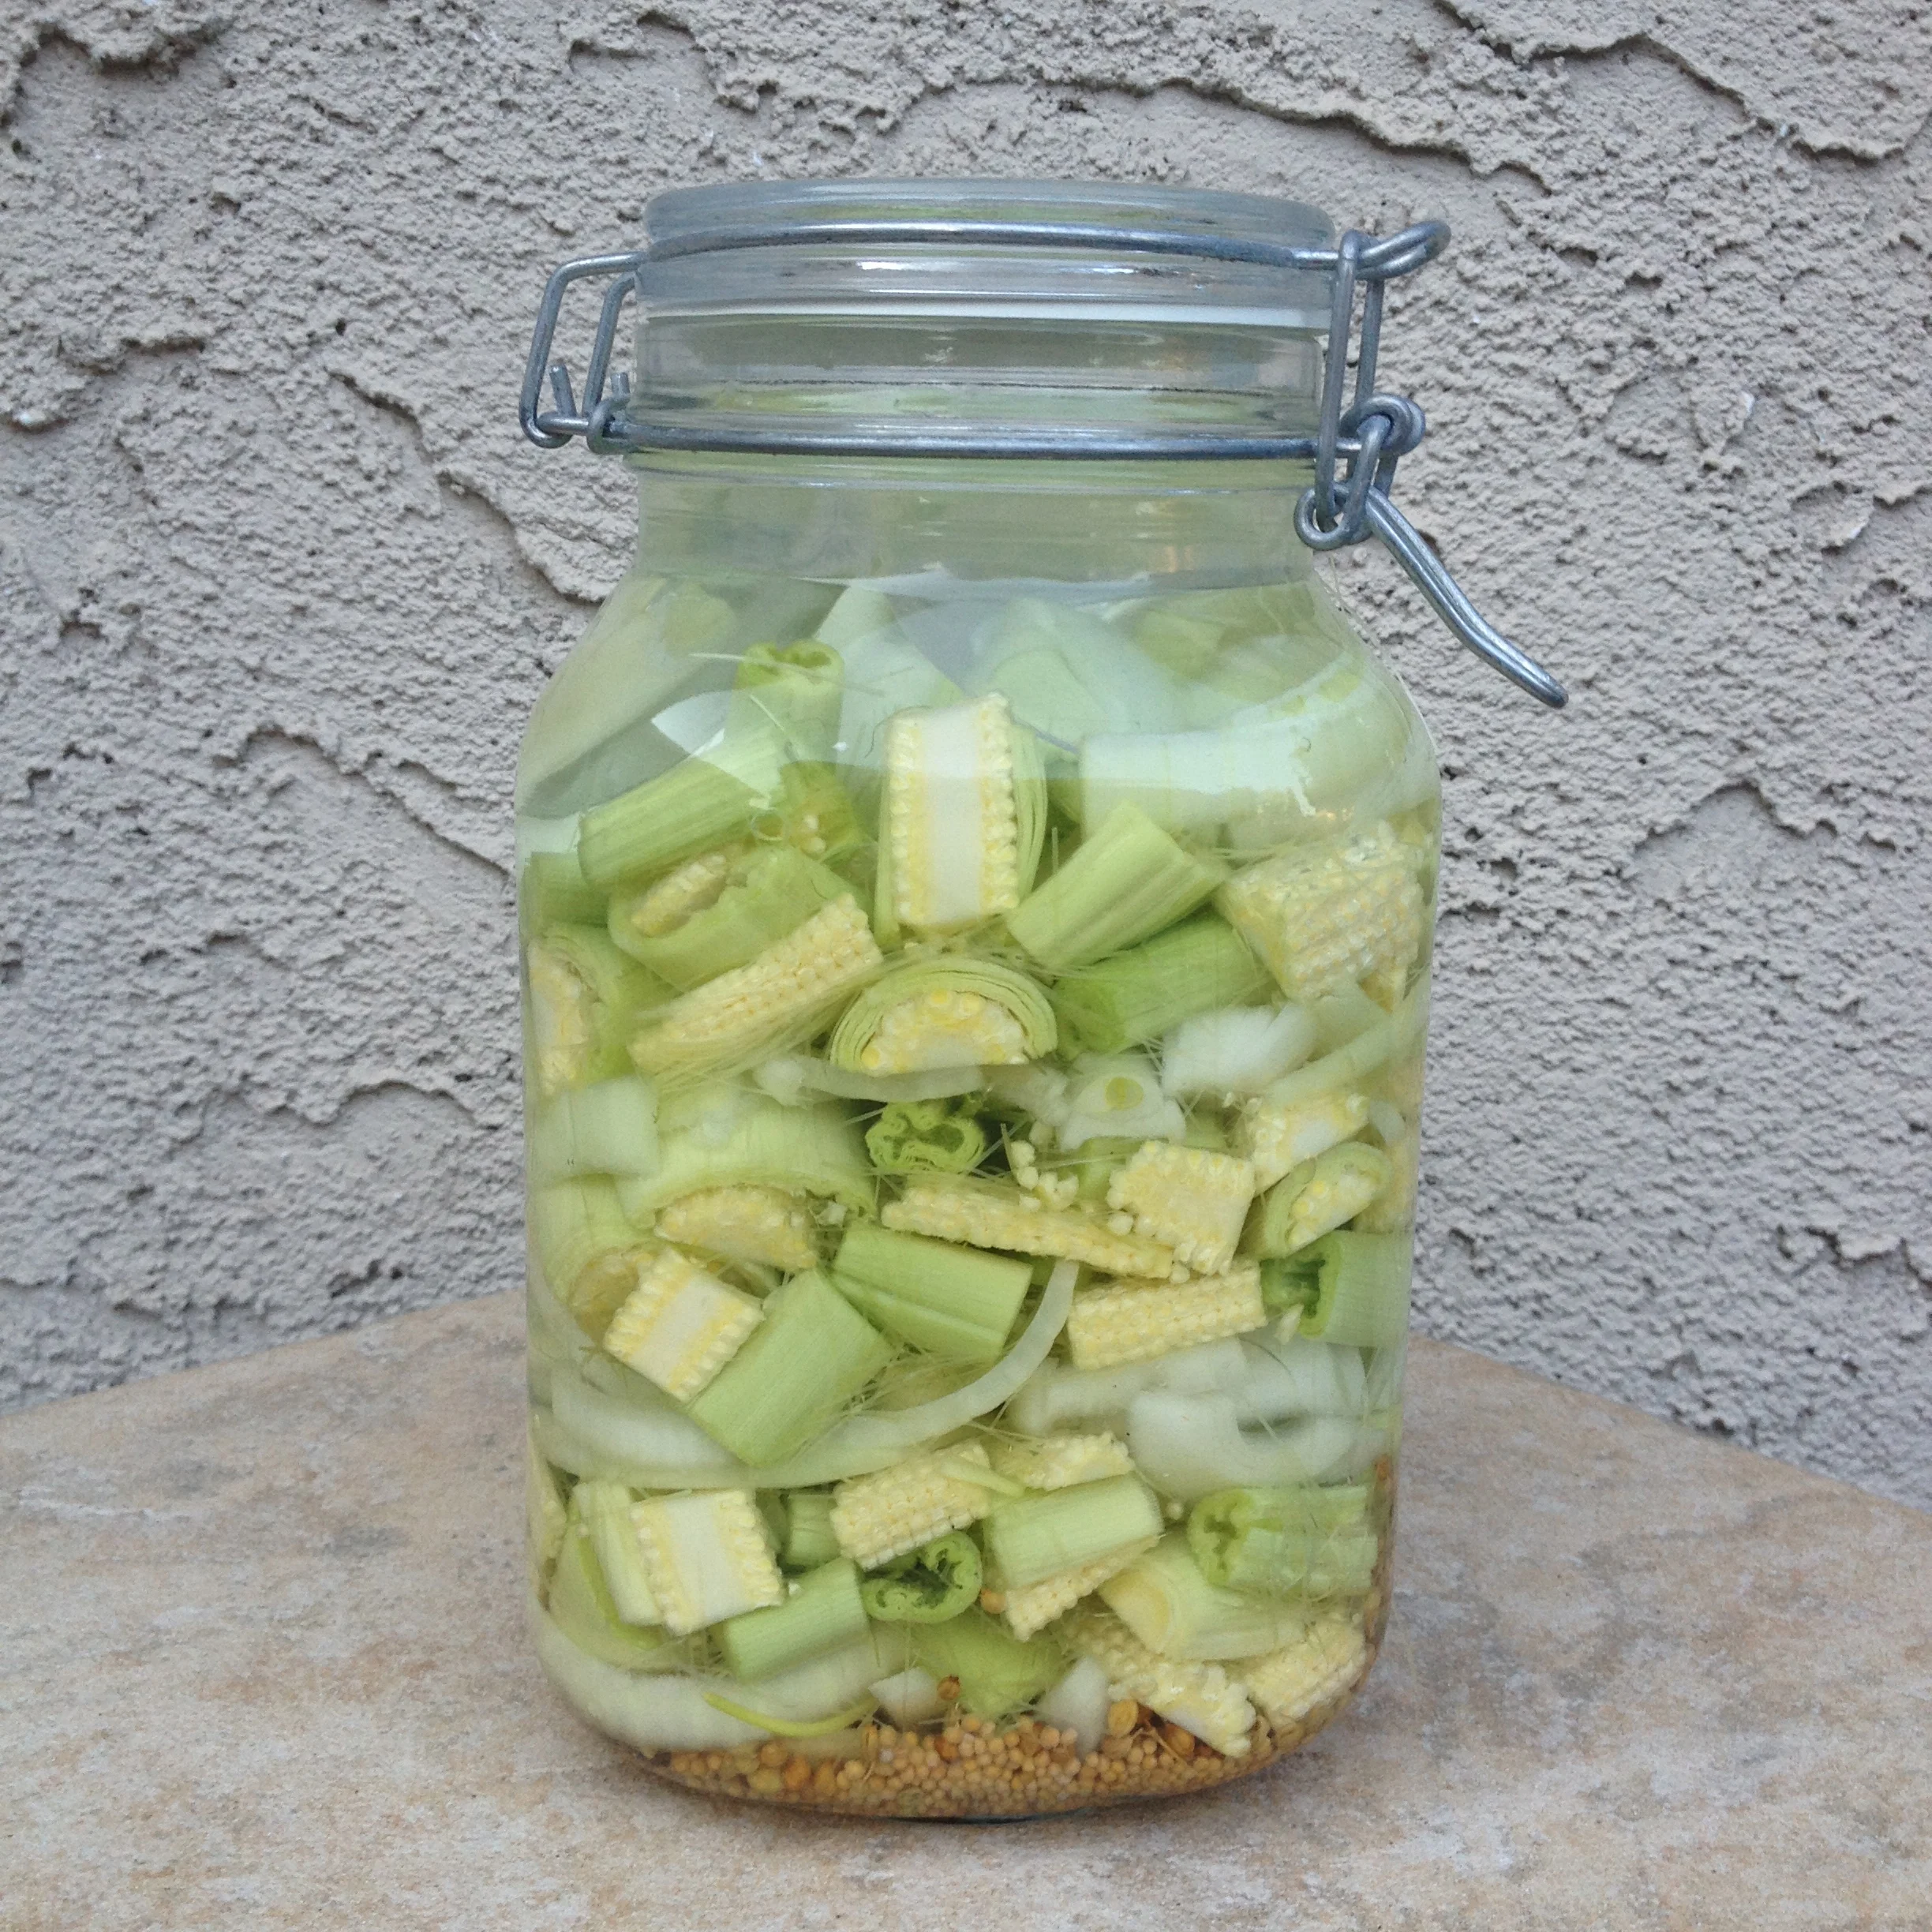
Smoky corn pickle, ready to mellow and ferment. #harvest2015
The recipe comes from Sarah Miller, a fermenting guru who heads the blog Attack of the Killer Pickles. Her motto: I Like to Play With My Food. (That's my kind of gal.) I tweaked the amount of 2 cobs of corn to be a dozen and a half of baby corn cobs, and it came out to be about the same volume in the end. As this recipe is not my own, and I really didn't tweak it except to use baby corn instead of full grown corn, I am going to point you to her blog in order to get the full recipe and low-down on how to make such a delectable treat. I layered the spices in the bottom, including the smoked chipotle pepper (you can buy dried packages of jalapeños and other peppers in select grocery stores these days; keep your eyes peeled. They keep well in the pantry or heck, cold smoke some jalapeños of your own and dehydrate them! And call me if you're doing that, because I'll join you.) and then did layers of onions and baby corn, ending with a last layer of onion on top. I made sure to keep everything submerged, and intend on flipping the jar every day to ensure that everything keeps below the brine as the month of fermenting goes along. The hardest part right now is to wait. 4 weeks? Don't know how I'll hold off. But I sure do look forward to tasting these morsels of goodness once they're probiotic-rich and flavour infused to perfection.
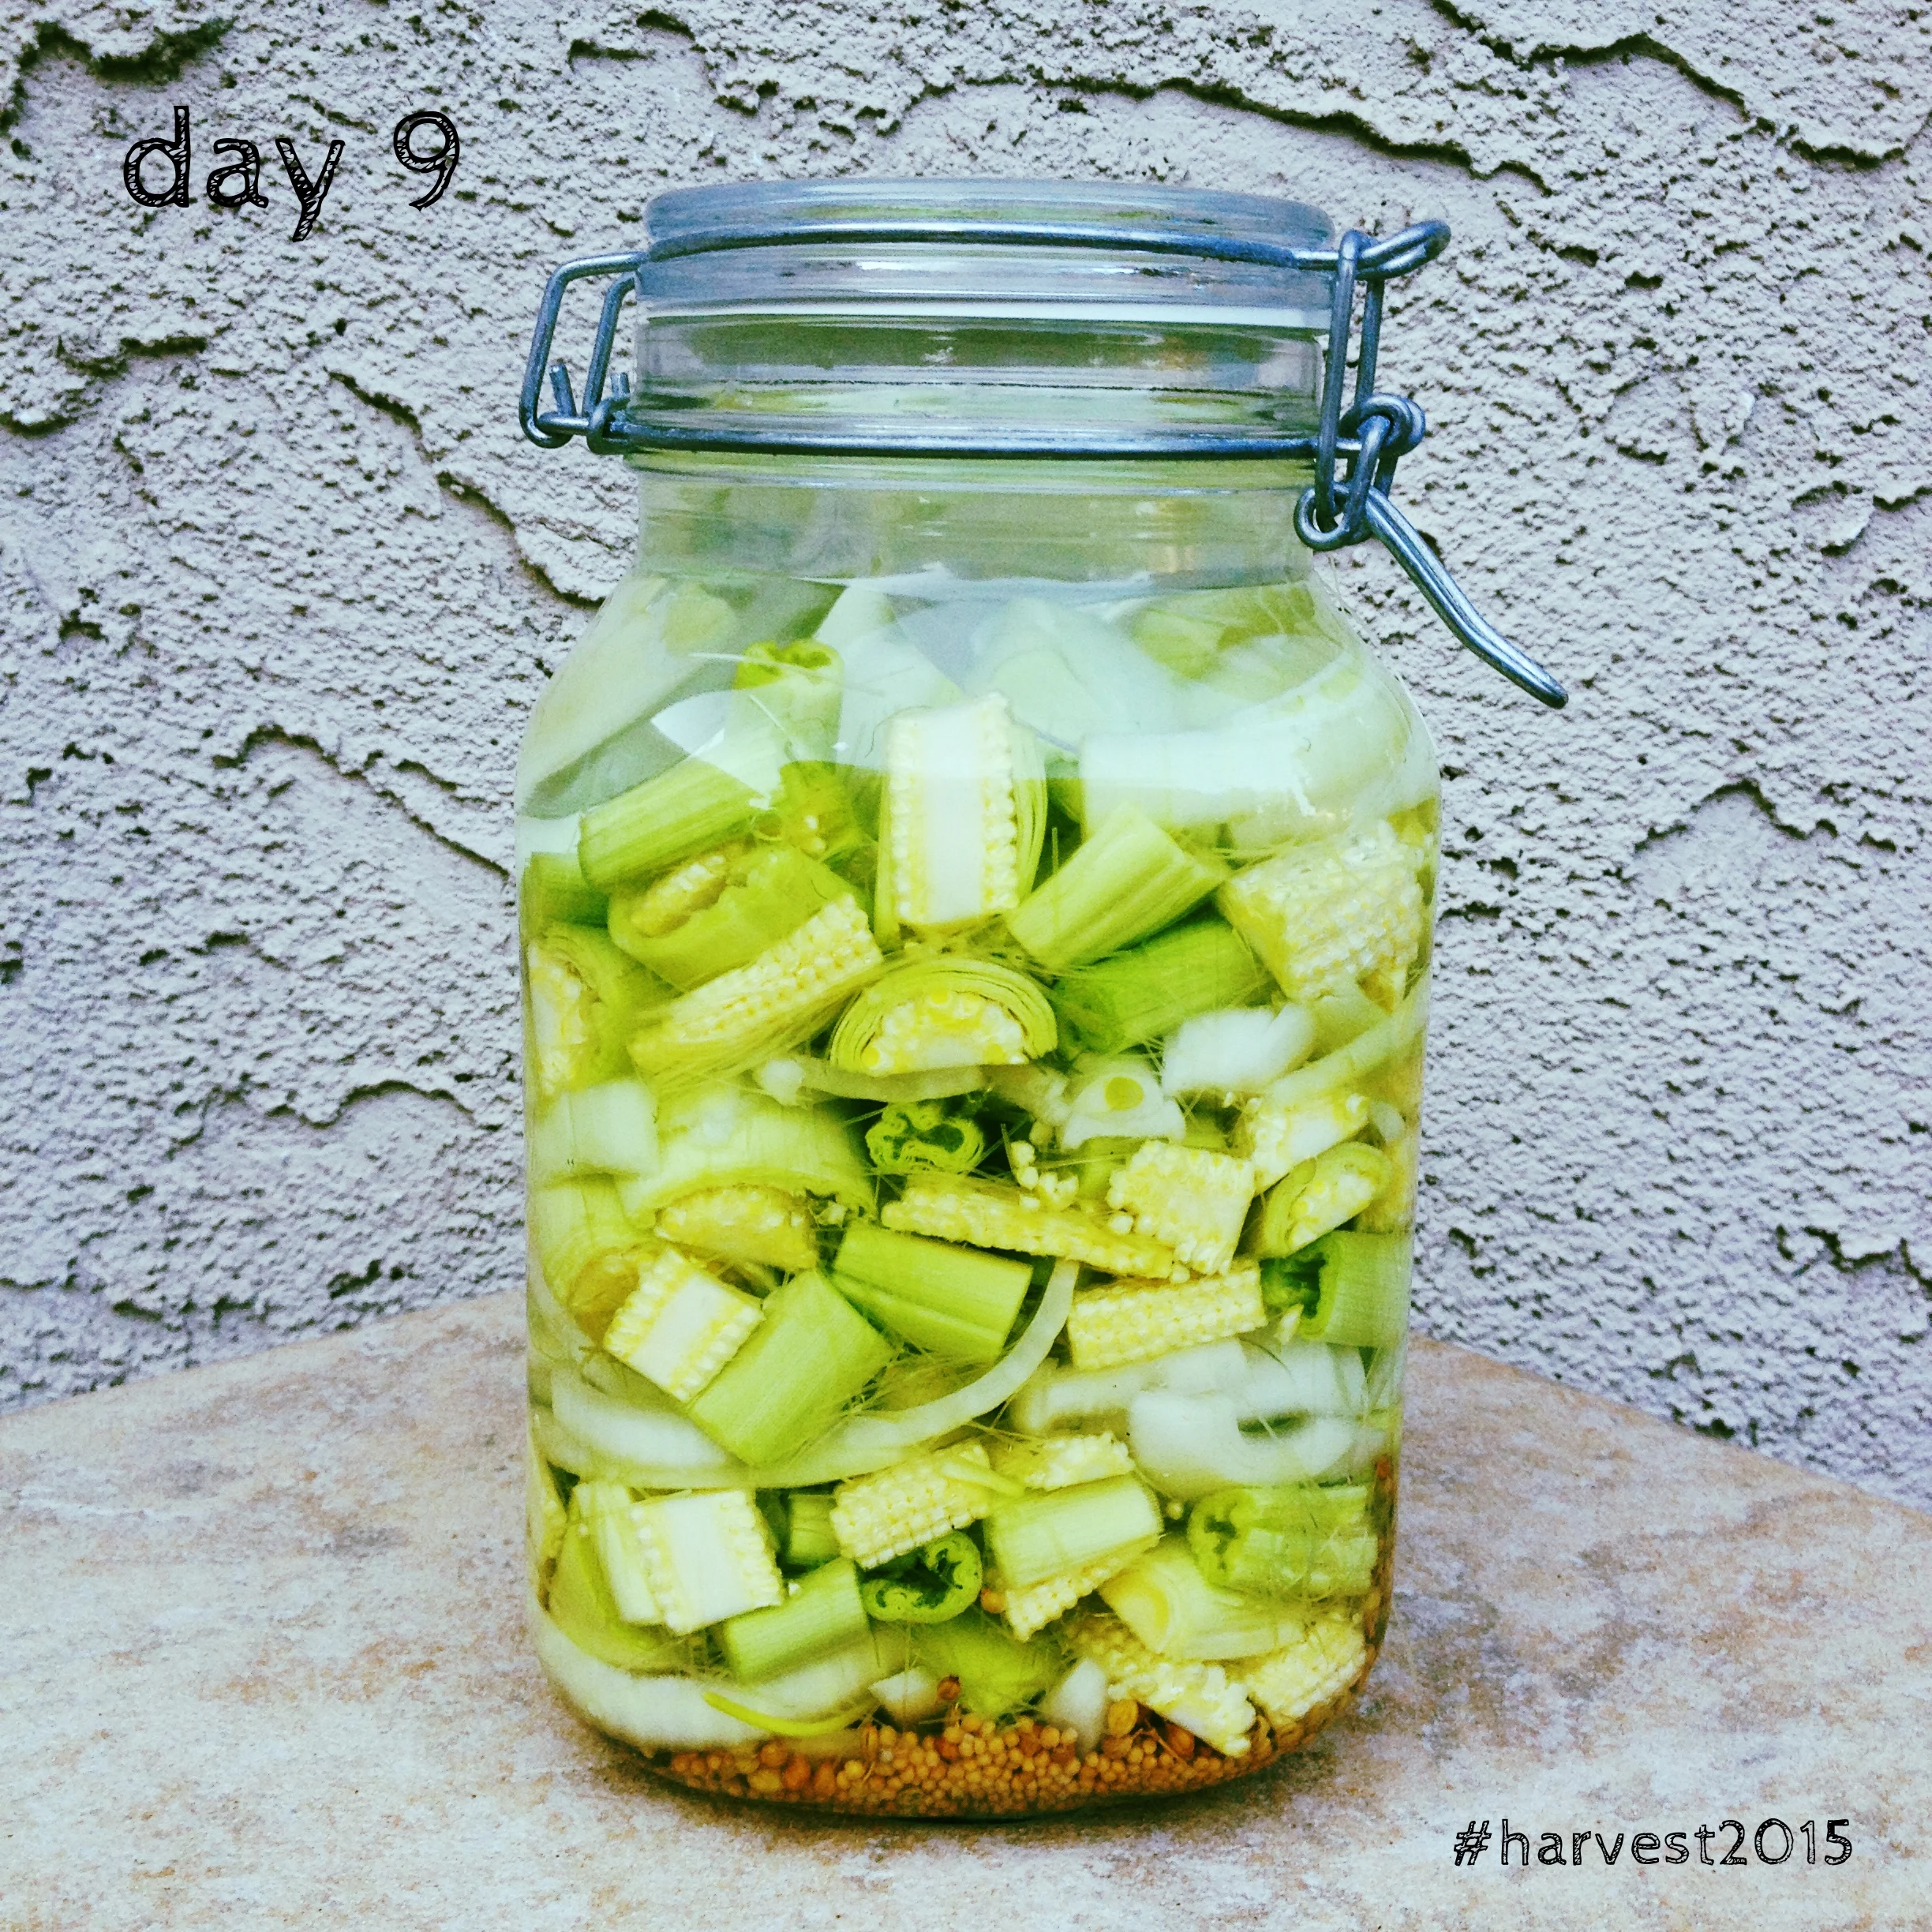
Smoky corn pickle ferment with baby cold corn hailing from Kohut Farms. #harvest2015
You don't need any kind of special equipment to ferment something like this. You can use glass Mason jars or similar jars with lids, you can also use a crock if you have one; I did mine in Fido jars. Their glass is rated to be able to take the pressure more than cheaper versions of these flip-top jars you can find in discount kitchen stores. I found mine in two spots in Calgary, at the Italian Store in the NE and at Crown Food Equipment, a restaurant supply store open to the public down in the SW of the city. Any which way you look at it, fermenting is so easy and a really reliable way to put up the harvest, all while upping the nutritional ante of those foods you're storing for later.
Incidentally, let me plug the upcoming Friendly Ferments Festival local lovelies The Light Cellar are putting on. It's mid-October, and tickets are now on sale. I'll be participating in the weekend, and will be a part of the follow-up fermenting classes that will continue on into November. Keep your eyes peeled for that, and get your tickets now before they sell out! It's going to be a fabulous weekend of knowledge, sharing, tasting and culturing.
Now go get cultured and play with your food, willya?
A MONTH OF PUTTING UP THE HARVEST - Day 8
Today's post is an experiment for me this year. I have grown garlic for the last few years, and it is one of my favourite things to grow: when it comes from your own back yard and it is as fresh as it gets, one clove equals two or three in a recipe. Garlic is really one of those super foods that is a natural anti-bacterial, anti-fungal, a fabulous anti-inflammatory power house, it's reportedly beneficial to heart health, lends a hand in the uptake of certain minerals, is a boon to your liver's detox work in helping keep cancer at bay, I mean the list goes on and on. Oh yes, it's high in Selenium (brilliant for your liver and your thyroid), Manganese (for blood sugar support, good for collagen/skin building, detoxification), vitamin C (immune, natural anti-histamine, skin support, liver detox) and vitamin B6 (metabolism, digestion, numerous enzyme processes in the body especially brain and nervous health, and liver detox too). So all of your organs just called me, and said thanks for the garlic love. NOW GET TO IT.
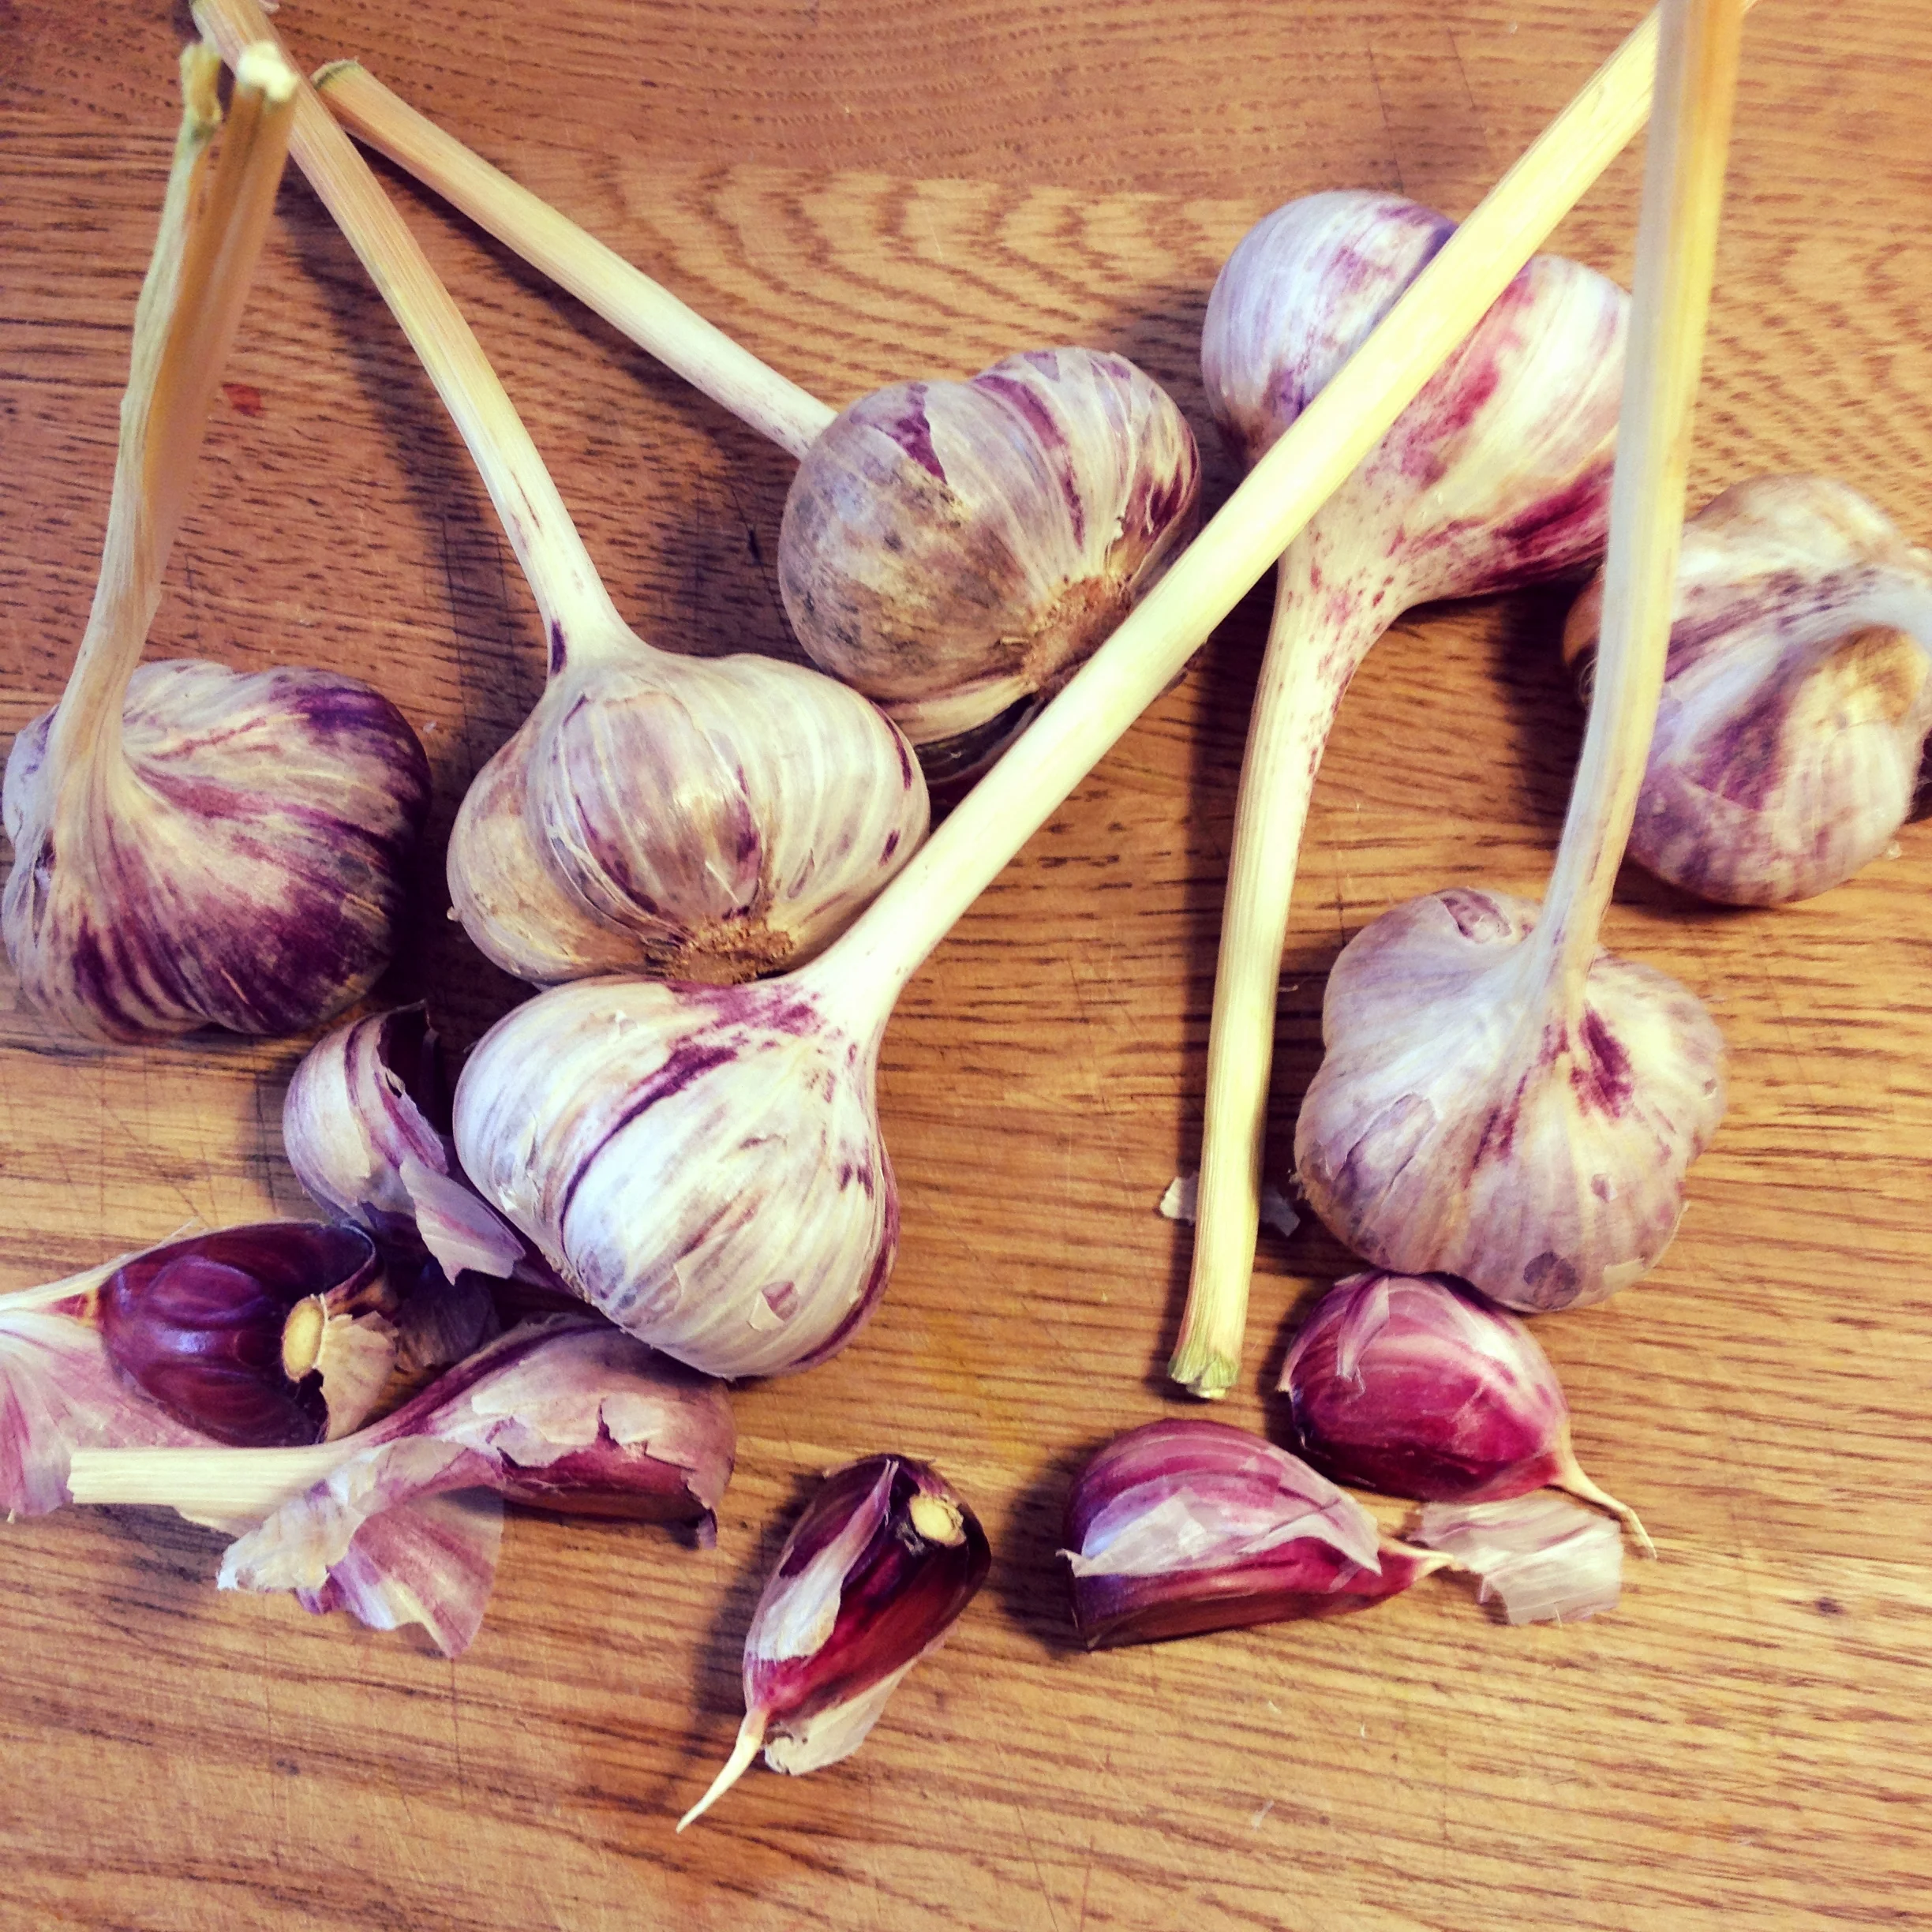
Garlic love. No vampires here. #harvest2015
Today's post is an experiment for me this year. I have grown garlic for the last few years, and it is one of my favourite things to grow: when it comes from your own back yard and it is as fresh as it gets, one clove equals two or three in a recipe. Garlic is really one of those super foods that is a natural anti-bacterial, anti-fungal, a fabulous anti-inflammatory power house, it's reportedly beneficial to heart health, lends a hand in the uptake of certain minerals, is a boon to your liver's detox work in helping keep cancer at bay, I mean the list goes on and on. Oh yes, it's high in Selenium (brilliant for your liver and your thyroid), Manganese (for blood sugar support, good for collagen/skin building, detoxification), vitamin C (immune, natural anti-histamine, skin support, liver detox) and vitamin B6 (metabolism, digestion, numerous enzyme processes in the body especially brain and nervous health, and liver detox too). So all of your organs just called me, and said thanks for the garlic love. NOW GET TO IT.
I have a few ways of keeping the garlic going strong through the winter months, and may touch on those in the coming days as I am just about to harvest my own patch this week. It first needs to dry though, and I'm itching to try something new this year so when I stopped by the Italian Store yesterday by Deerfoot and McKnight Blvd NE and saw they had fresh locally harvested hard-neck garlic for a good price available, I scooped up 10 heads of the stuff. It cost me all of $8.16. While I was there waiting for the fresh arugula to be brought in from the warehouse for my intended pesto, I came across some fantastic Fido-brand glass jars, little swing-top jars made in Italy, with the glass rated to withstand the pressure build-up (to a certain extent; one still needs to be careful) of a ferment so I picked a few new jars to add to my collection. (If you plan to do something like this honeyed garlic, I strongly urge you to consider doing it in a rated jar that can withstand the pressure build up. Those cheap glass jars at your discount kitchen store ain't going to cut it.) The Italian Store, should you want to visit in yyc, can be found here.
I have been wanting to try this honeyed garlic "ferment" ever since my sister gave it a whirl a few months ago and raved about it. As far as I can tell, it's not really a ferment but really rather just a sweet way to preserve the garlic. There's a great online post at one of my favourite fermenting blogs about it, up at Killer Pickles. There she explains the nitty gritty details and background on preparing this concoction, I highly recommend you do a little light reading before you launch into this. Especially if you are fearing botulism; she addresses that elephant in the room.
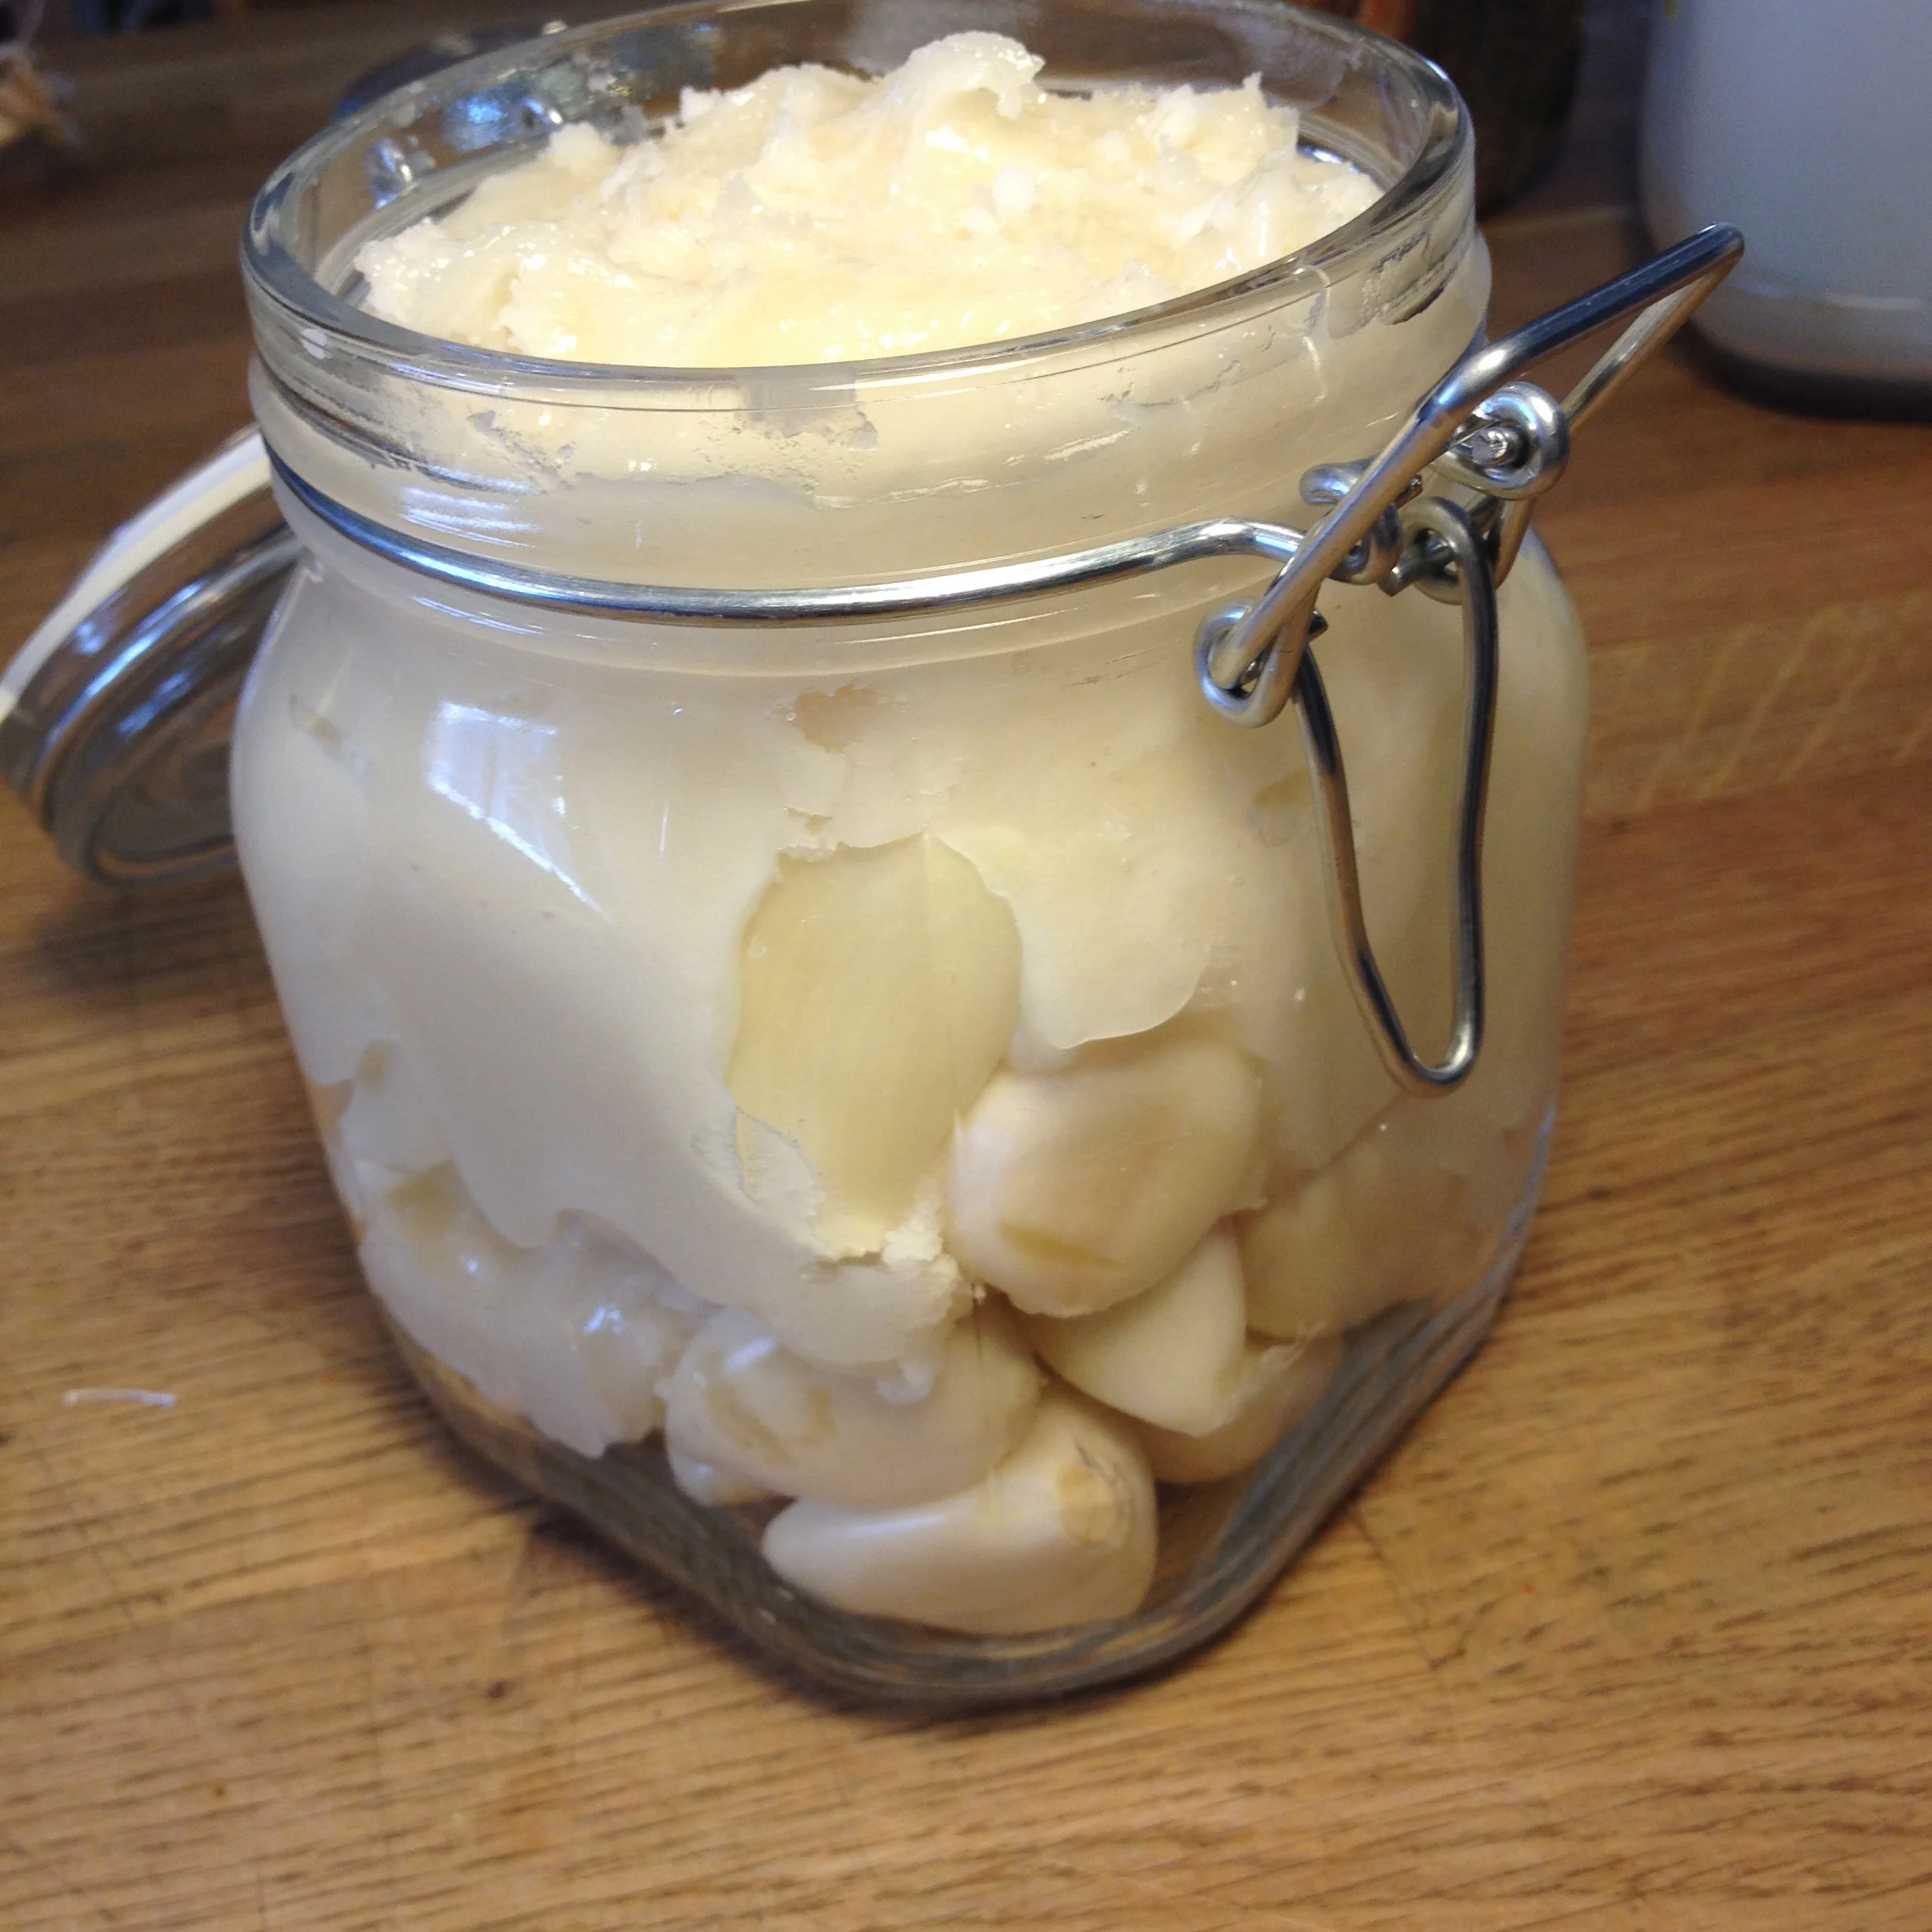
THE HOW-TO: It's so stinking easy. I bought fresh garlic, (if you plan to make this, ensure it's fresh and not sprouting yet (here I'd urge you to go organic or better yet, local)), I peeled it and layered it in a Fido jar with some good quality raw local honey in layers, I made sure that the garlic cloves were fully smothered on top. If you don't have a Fido jar, a Mason jar or Golden Harvest jar will do just fine. The honey has to be raw (aka unpasteurized; it will tell you on the label or you will know because you asked the gal or guy who made it) because of the naturally occurring yeasts that will be doing the work of alchemy here. I made sure to leave a few inches of clearance at the top, as this baby should start bubbling soon, I'd hate to lose any of the honey. I tucked the jar in my pantry, and I'll be making sure to flip it once or twice a day to re-coat the cloves as they will float to the top. It should be ready within a month, but this is the kind of thing you can let mellow even longer to see how the flavours alter with time. Tuck it in the fridge, and dip in when the flu comes to town! Or you need to make a salad dressing! Or roast a bird!
CAVEAT: this is not a food to feed to small children under the age of 2, nor is it something you'd want to offer to someone whose immune system is compromised. I always lean towards caution, so use your noggin here my friends if/when you make this.
Can't wait until mid-September to try these jewels in recipes! Oh yes, I used creamed honey as it's what I had on hand, but I had also done research to find out if that had been done before and I was assured this would work fine. When in contact with the garlic after a few days, this creamed honey should turn more liquid. Indeed, one day in already and the honey appears to have partially 'melted'. Also, start with a layer of honey in the bottom of the jar: I wished I had done this. But so far, the honey has already melted to the bottom of the jar and appears to be covering the garlic. CAN'T. WAIT.
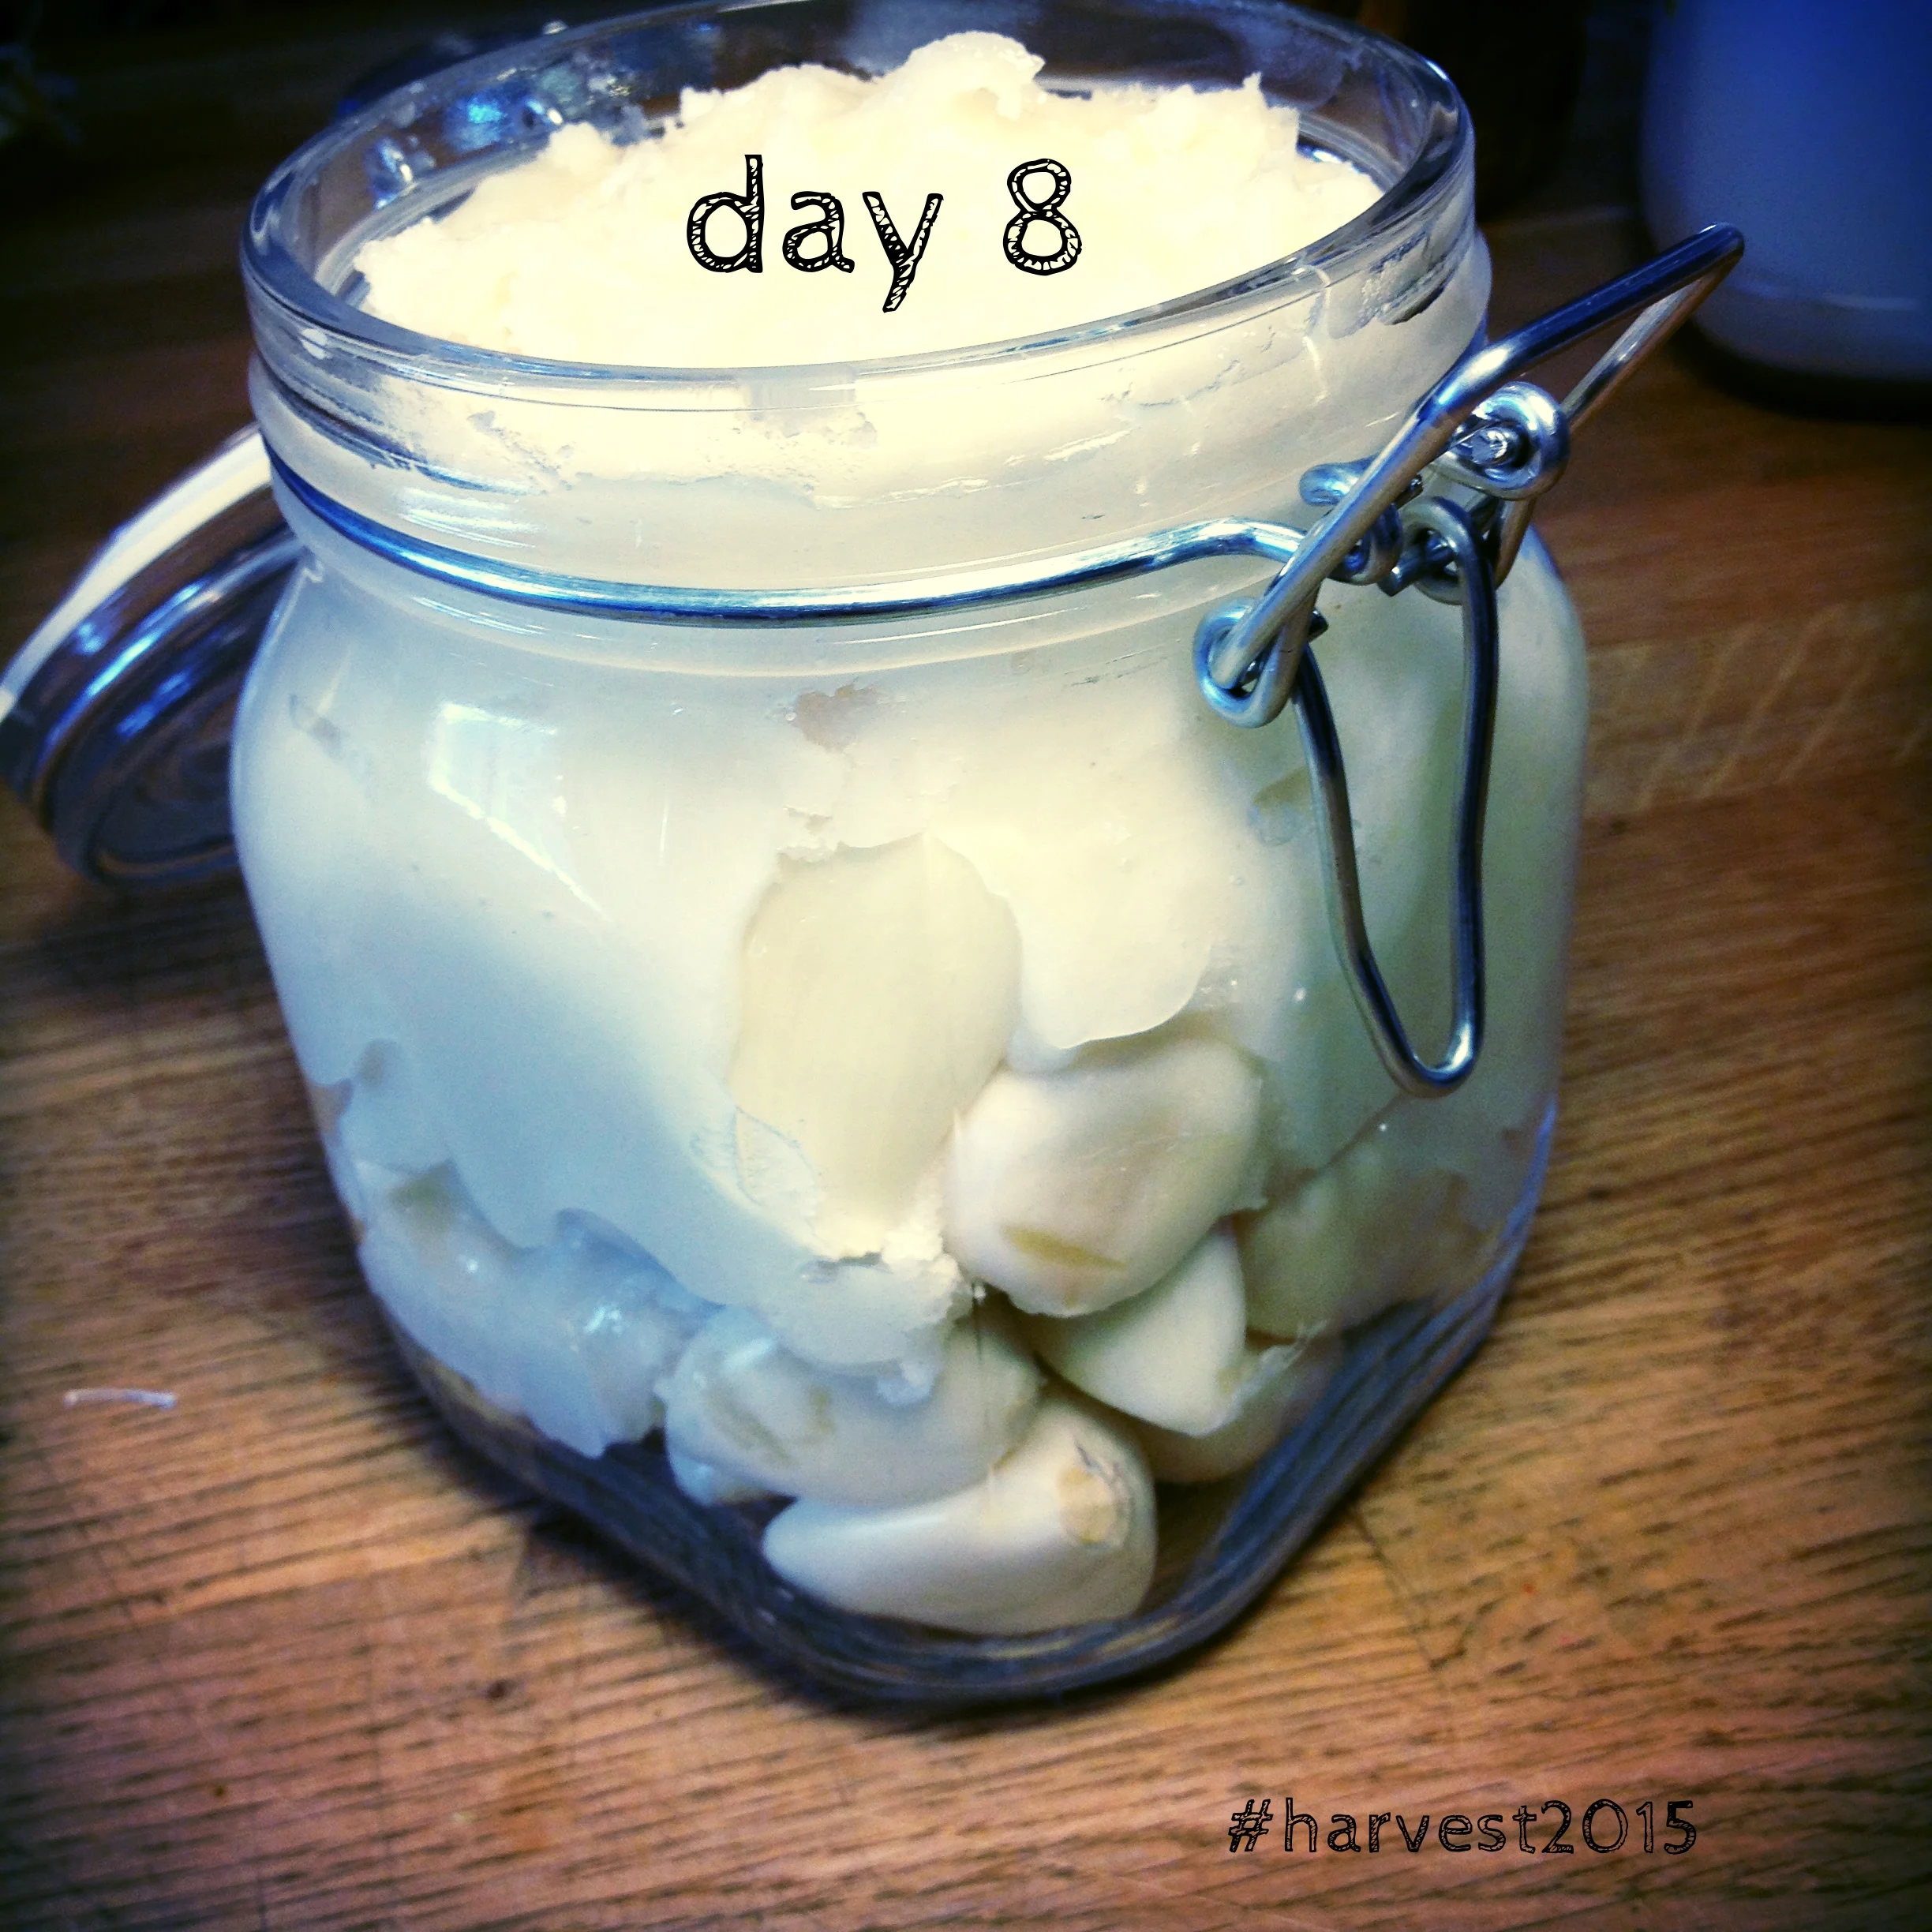
Honeyed Garlic "ferment". Delicious alchemy. #harvest2015
How do you preserve garlic? I'd love to know! I hope to have an over-abundance of the fresh guys in about a week's time. Hit me with your favourite ways to put them up! And if you're thinking you'd like to plant some garlic for next year's harvest, know that it needs to go in the ground in the fall, sometime mid-September to mid-October. You don't need anything fancy, you can plunk it right in with your flower beds. They're great at keeping rabbits and rodents out of your garden, plus you get to eat the bulbs. Right now is the best time to order it so that you can get it in before the snow flies. I get mine from a little outfit in Boundary, BC called The Garlic Farm. Check them out, and order soon! And let me know if I can add to your order, I may not be able to save any cloves from this year's harvest because I'll be eating them ALL.
A MONTH OF PUTTING UP THE HARVEST - Day 7
Yesterday, it was quick-and-easy-dried-herbs. Today, another clever (and most delicious!) way to conserve that summer herby bounty: may I introduce you to MAKE YOUR OWN PESTO. WITH WHAT YA GOT ON HAND. See, I was up in the NE part of the city this morning and I stopped, as I always do when I'm there, in my favourite foodie haunts. One of these is the Italian Store, a side business to Scarpone's next door. They carry lots of fun things that may be hard to find in your regular grocery store, and one of my favourites: copious amounts of arugula and basil. They also tend to, from time to time, have some local produce and so I thought I'd stop by there this morning to see if inspiration would hit. AND AYE CHEE POW it did.
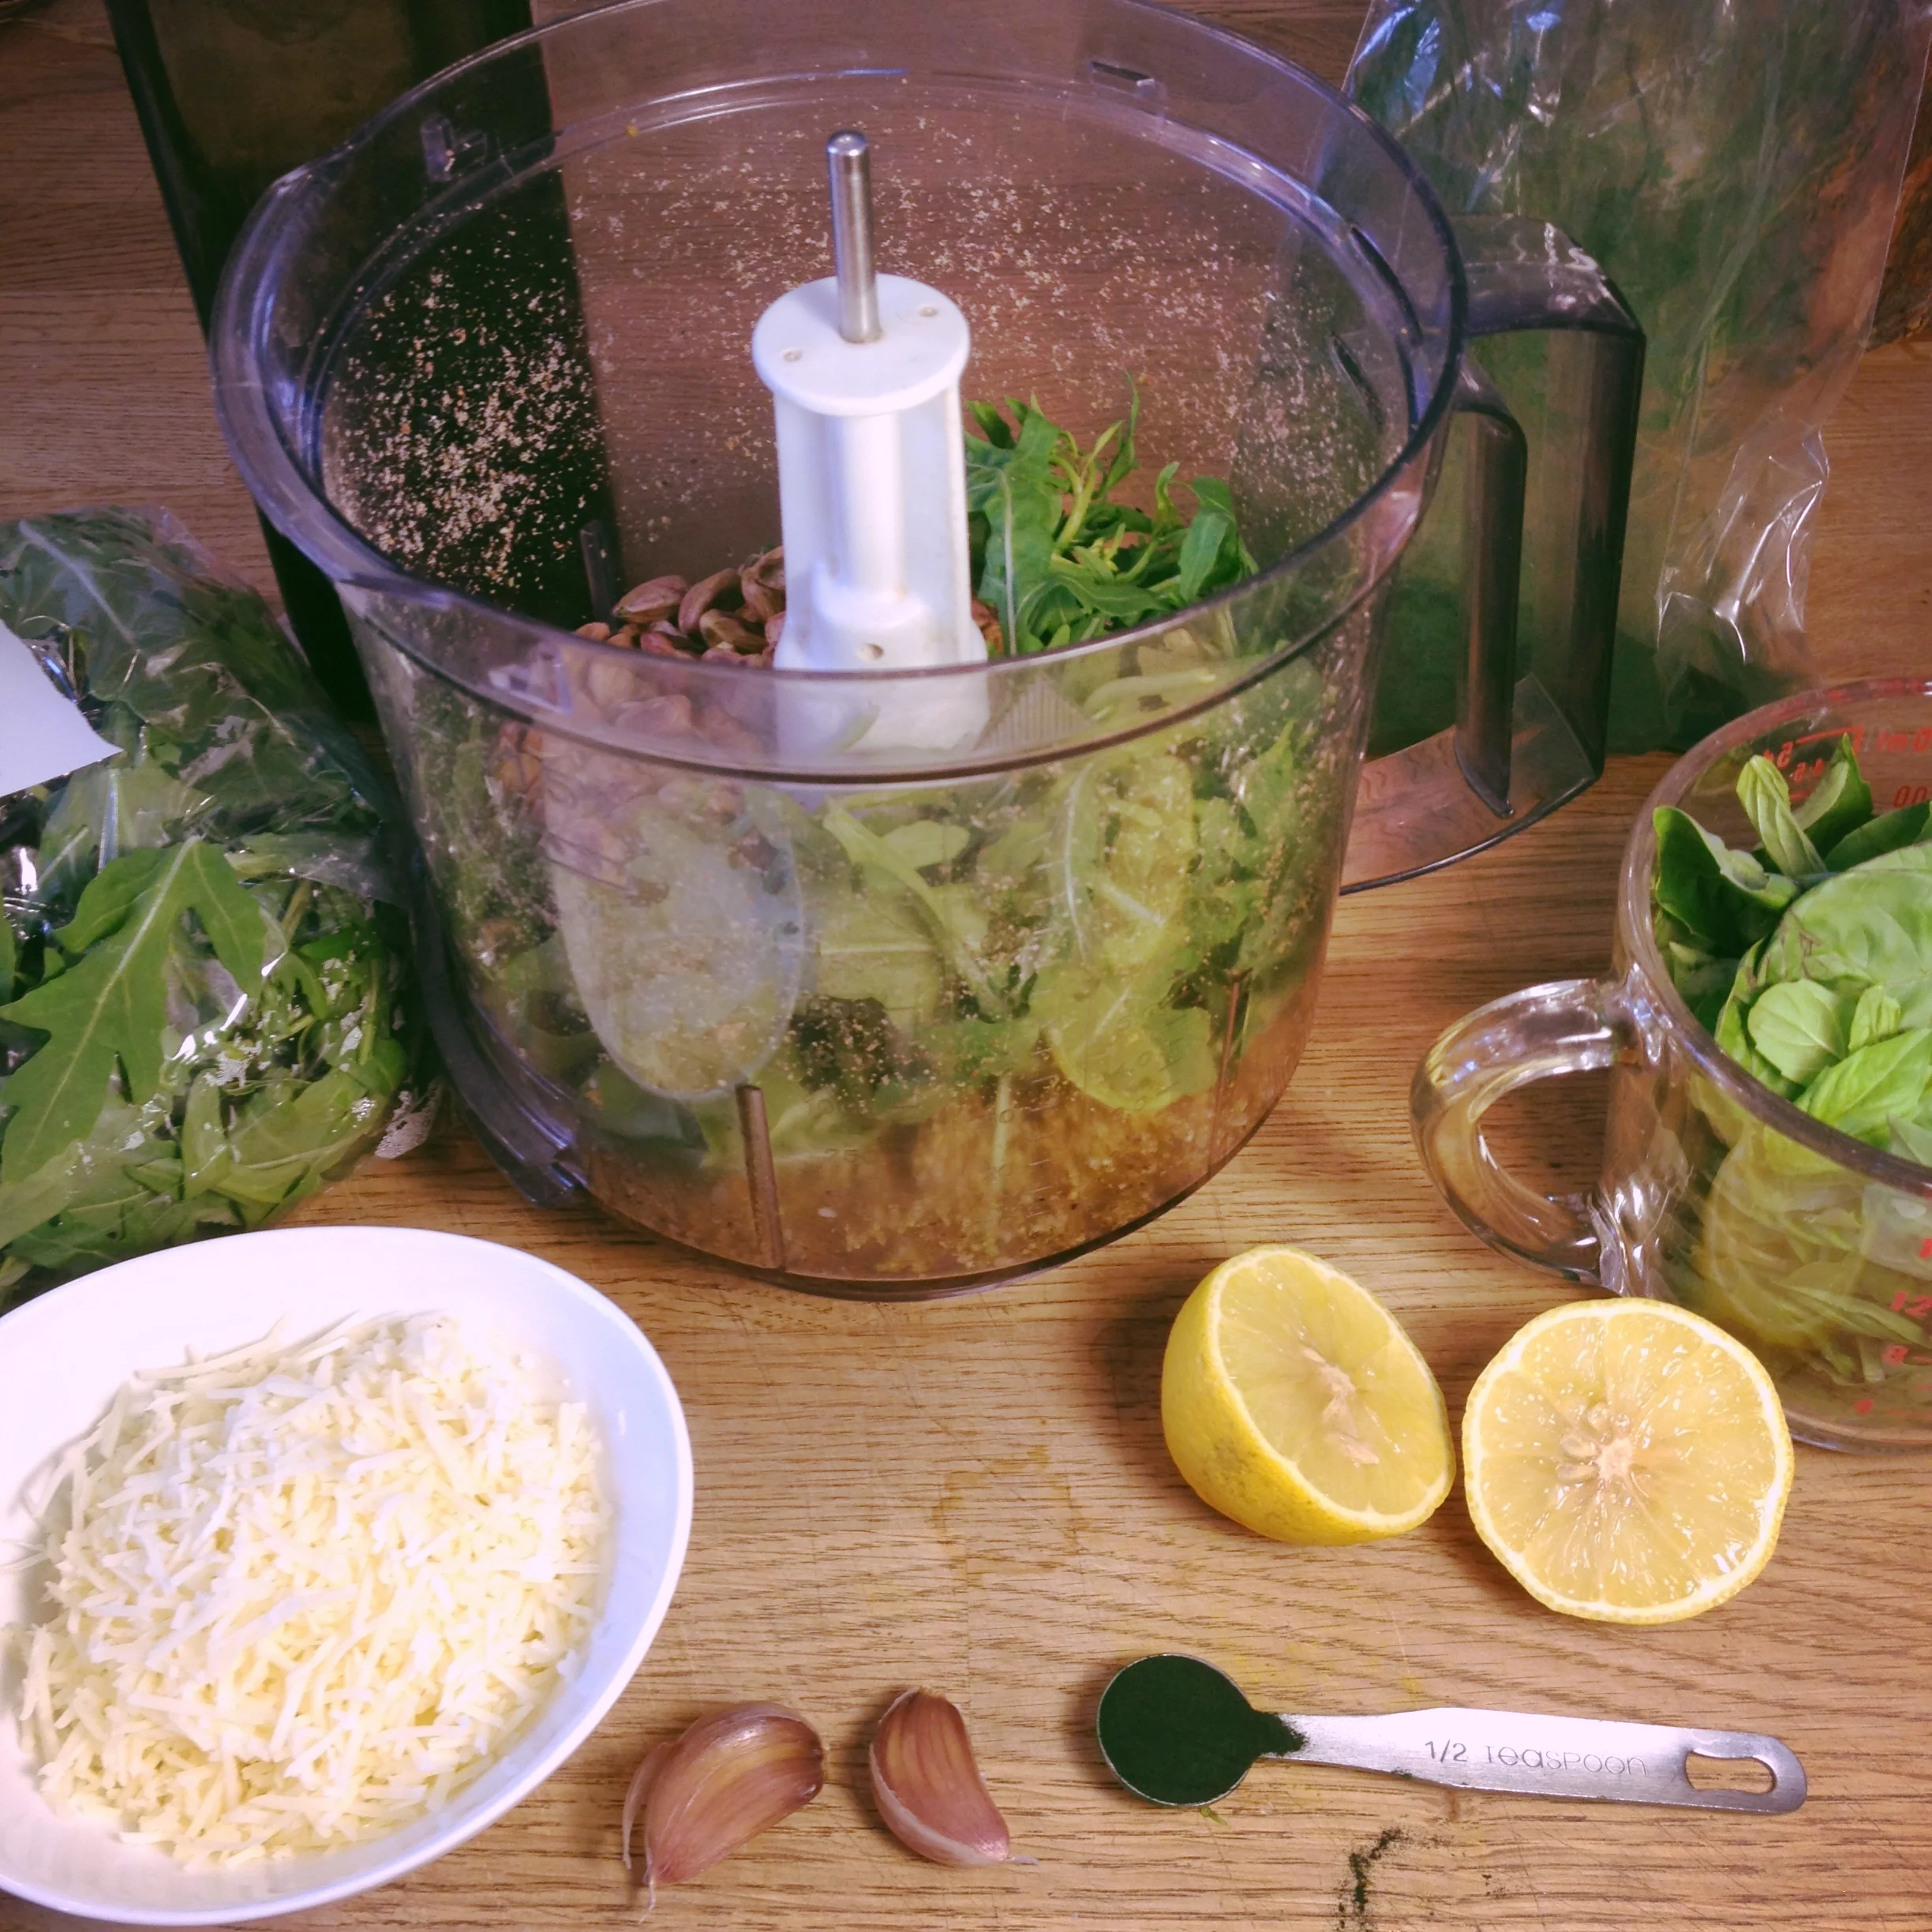
Making fresh pesto and freezing it in cubes is a brilliant way to preserve the season's bounty. #harvest2015
Yesterday, it was quick-and-easy-dried-herbs. Today, another clever (and most delicious!) way to conserve that summer herby bounty: may I introduce you to MAKE YOUR OWN PESTO. WITH WHAT YA GOT ON HAND. See, I was up in the NE part of the city this morning and I stopped, as I always do when I'm there, in my favourite foodie haunts. One of these is the Italian Store, a side business to Scarpone's next door. They carry lots of fun things that may be hard to find in your regular grocery store, and one of my favourites: copious amounts of arugula and basil. They also tend to, from time to time, have some local produce and so I thought I'd stop by there this morning to see if inspiration would hit. AND AYE CHEE POW it did.
I picked up a bag of arugula (I smothered half of my volunteer plants that come back year after year by building up the garden beds this year, so my usual arugula supply is too meagre for my liking) and a few bags of basil leaves and some asiago cheese. I knew I'd have nuts or seeds at home, and everything else you need for a good pesto so I just thought to do one quick stroll through the kitchen gadget section for fun, which ends up in their small fresh produce section. Lo and behold, there stood a big box of local extra-fresh hard-neck garlic. Oh was I overjoyed. I picked about 10 heads of garlic ($8.16) and promptly made my way home, along with a beautiful tray of fresh figs, after paying of course. I have yet to figure out what I will make with that load of figs.
I will talk more about that garlic tomorrow, but suffice it to say that I used a few cloves in today's instalment of Putting Up the Harvest. Recipe to follow, but this is my smattering of things on the table as I was thinking what could go in it.
I need to get professional on this here website and figure out a way to do an easy recipe block that you can easily print, but for the time being, I'm going to just ramble a recipe together, kind of like this afternoon's harvesting project went. Making a pesto incidentally is a brilliant way to preserve the copious amounts of herbs that are at their peak and best price right now. I love frozen cubes of pesto so much that I did a double batch of this one, and plan to do more in the coming days.
I'll start with a good basic recipe, and will add my embellishments afterwards. These are absolutely not essential, but may be a reason to go play with your food. Just saying. Allow me to do a single batch for you:
I took out my food processor and blitzed 1/2 cup of pistachios with 2 cloves of that fresh garlic. When it was crumbly, I added in 2 cups of arugula and 2 cups of basil leaves picked off the stems. I also threw in 1/2 tsp of sea salt, the juice of 1/2 lemon, 1/2 tbsp of honey and whizzed that whole thing in to a paste. When it was all combined and crumbly even more, I kept the motor running whilst adding a whole 3/4 cups of good quality olive oil. If you're feeling adventurous, you could up the nutritional ante and superfood-it-up: I added 1/2 tsp of spirulina (super immune supportive, and liver loving, you can find this at your favourite local health food store), 1/2 to 3/4 tsp of seaweed flakes (rich in minerals, and iodine which will give your thyroid a wee high five), I also added 1 tsp of chipotle in adobo sauce because that hint of kick and smokiness just rounds out the sweetness from the honey and elevates this pesto to give that taste of je ne sais quoi. Blitz the whole thing together again, until it looks like a pesto. Scoop it out into a bowl, and mix in by hand 1/2 cup of your cheese of choice, be it parmesan or asiago or whatever you have on hand. I did asiago.
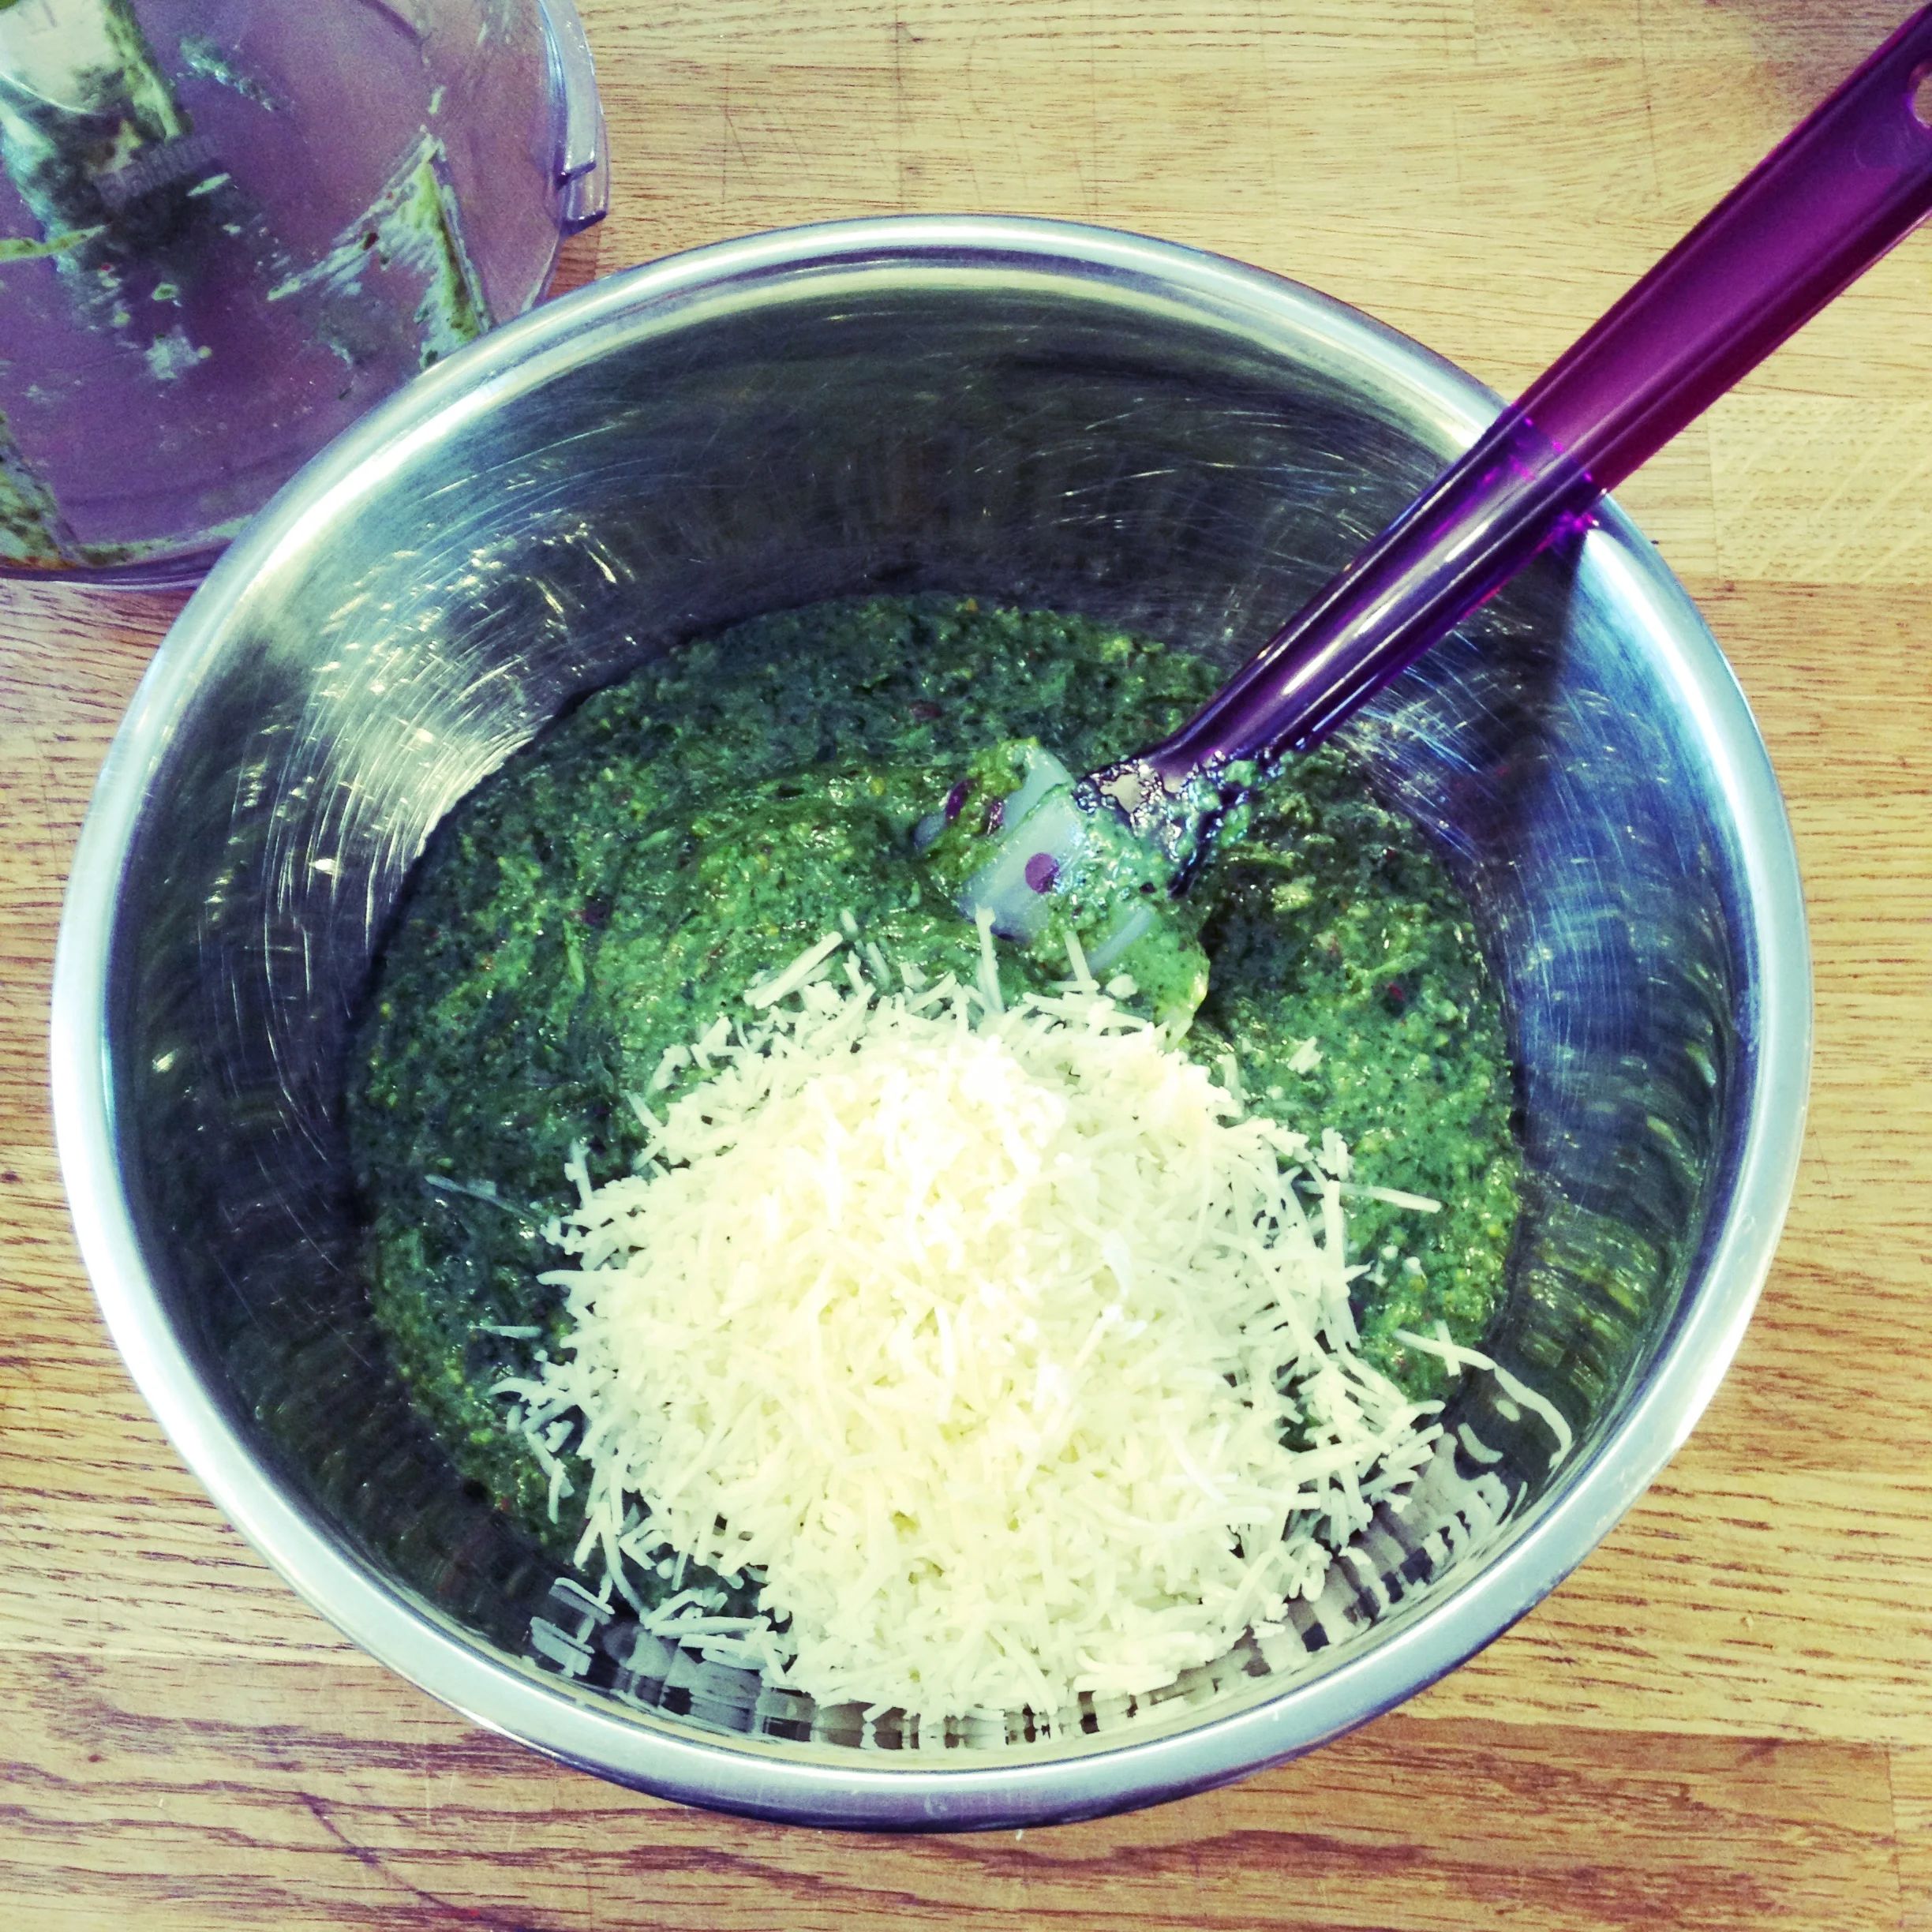
Hand-mixing in the cheese makes more sense than blitzing it in the processor with the rest of the ingredients. Just because. Stop asking questions. #harvest2015
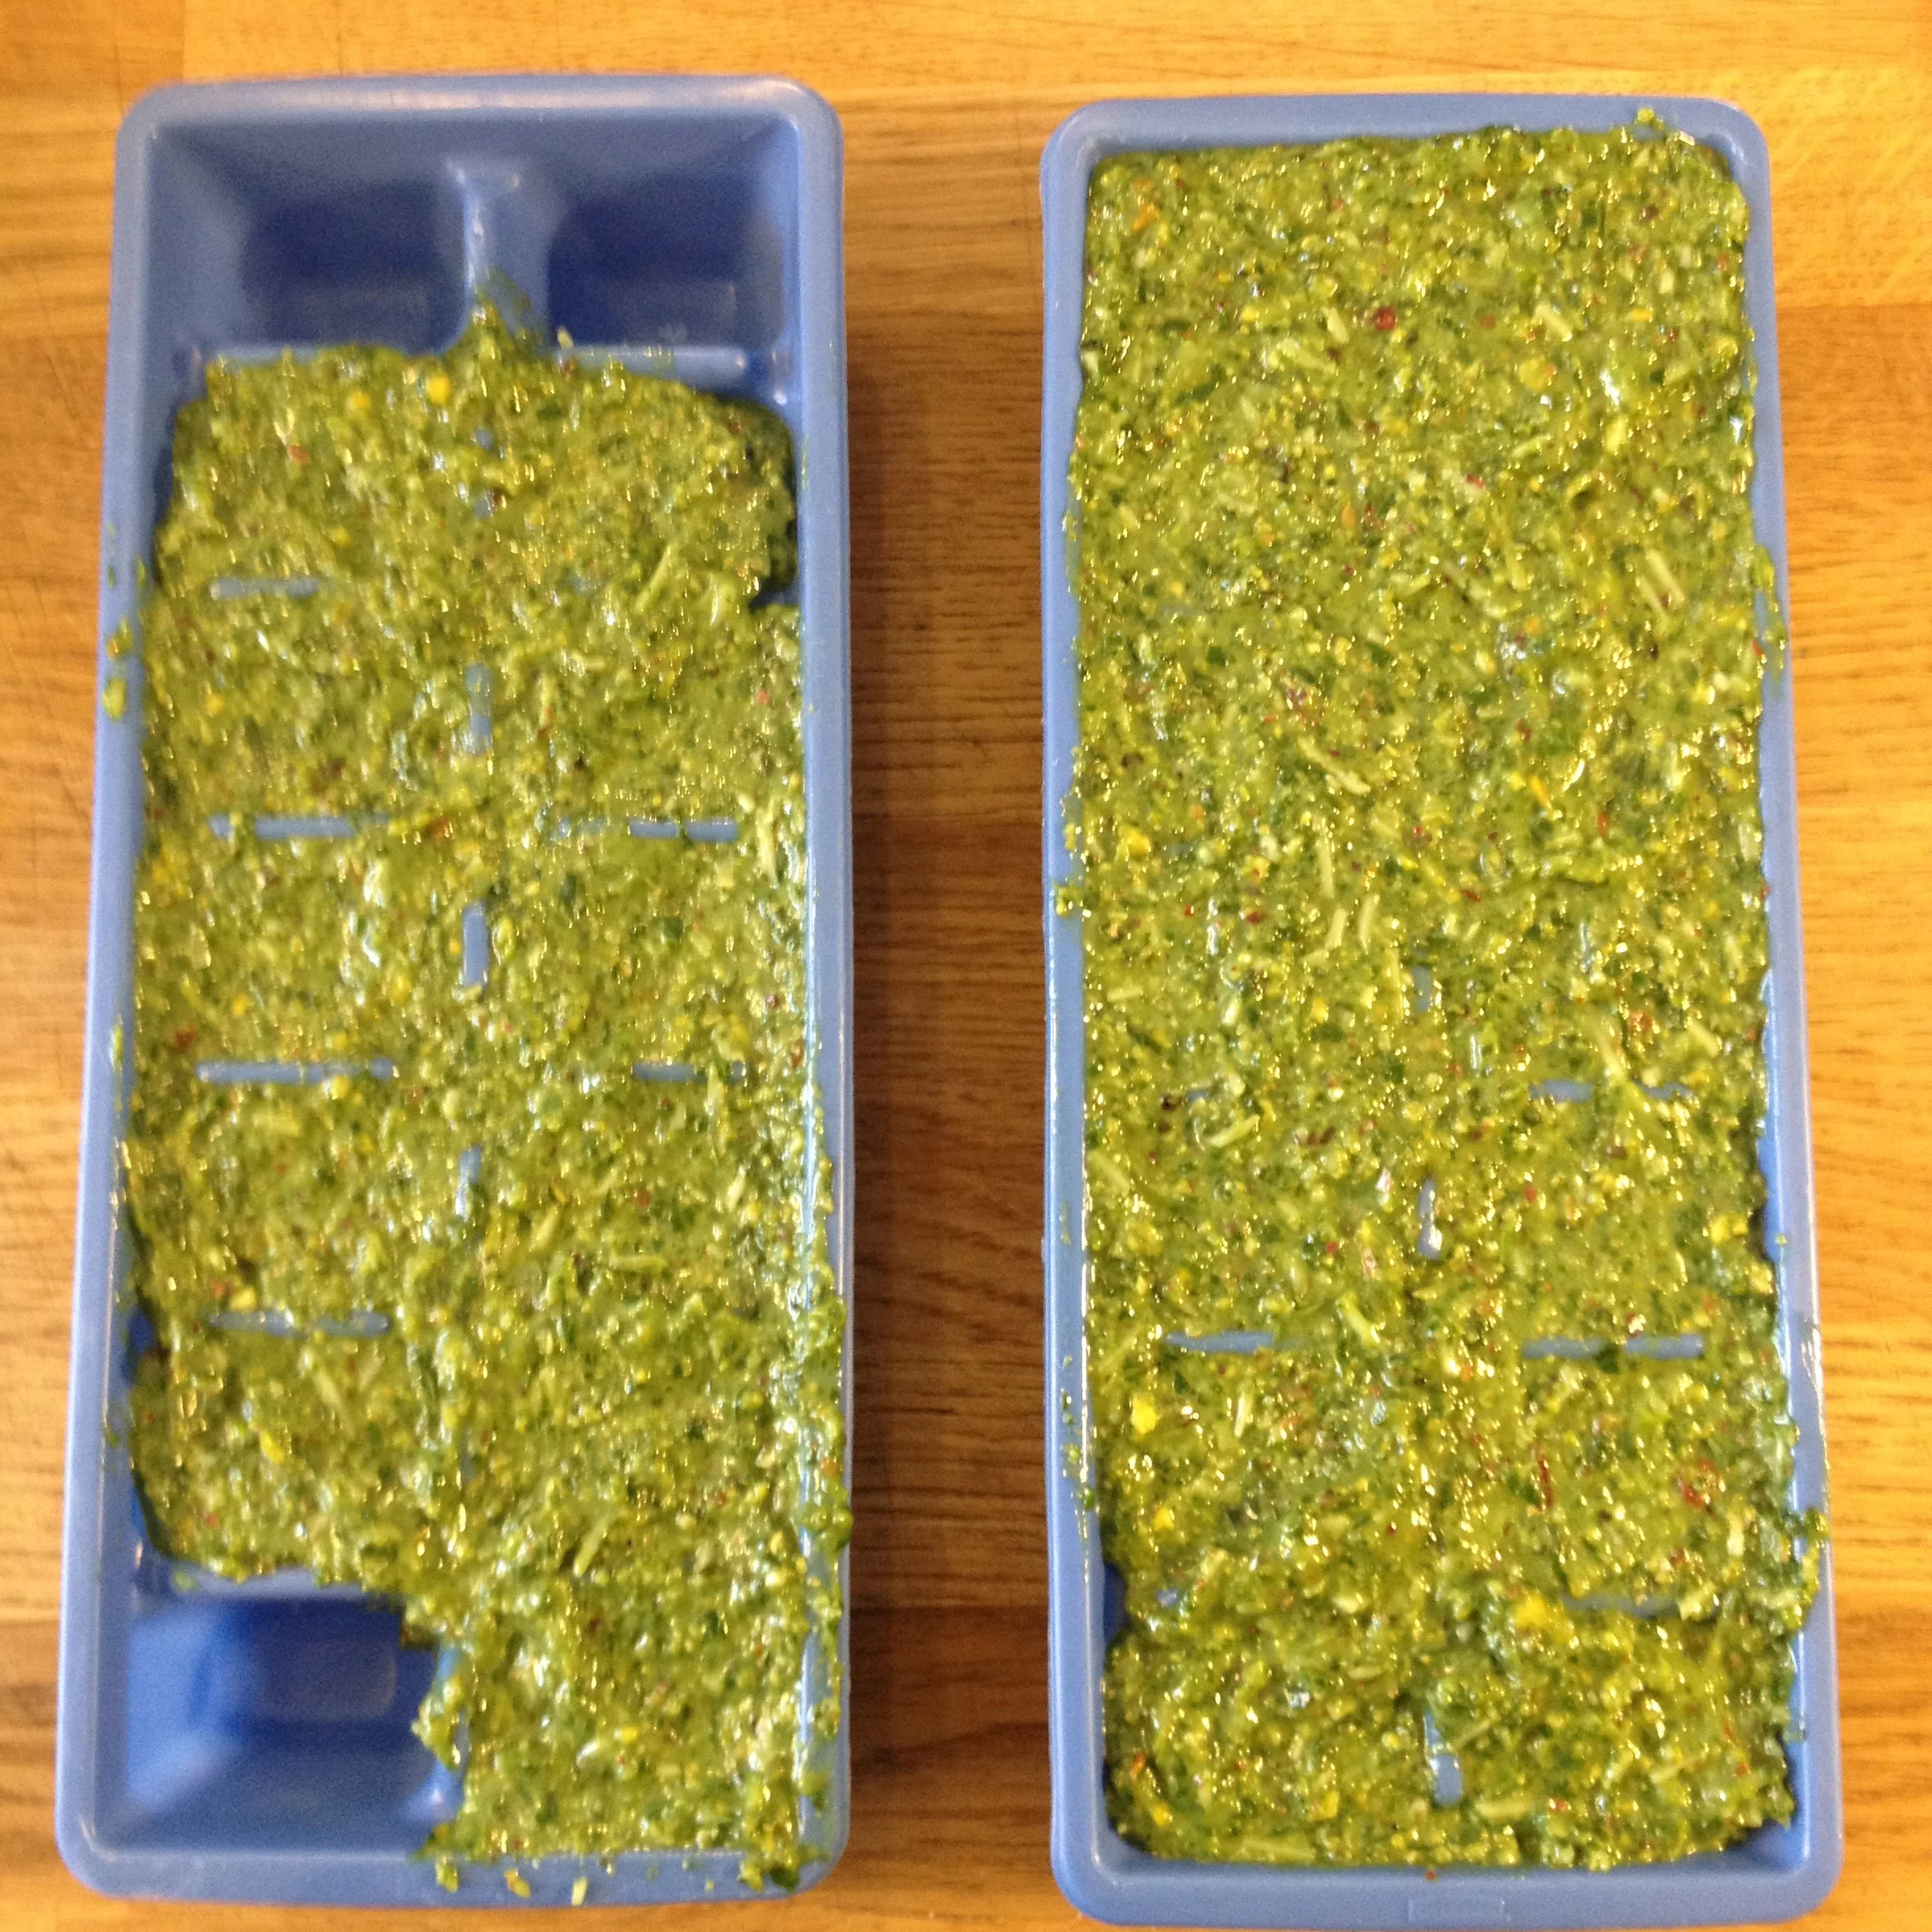
Once it's all mixed in, give it a taste and adjust the flavours if you like. Know that you can swap out the pistachios for any nuts or seeds you have on hand, or any of the greens and any herbs here: you can use straight up basil if you like without the arugula, or do a batch with that lemon sorrel you have in your garden that has gone to seed (note to self), or add calendula petals or nasturtium flowers in the mix BECAUSE FLOWERS. The most important part of this is that you will make your own combos up as it will bring you joy. Promise. But before it brings you joy, you have to put it in the freezer so that you can have it the winter long. So go ahead and slop that pesto goop into ice cube trays, and pop in the freezer for a few days before you load them in your plastic freezer bags, sealing in that pungent herby flavour for winter pick-me-ups. You're welcome.
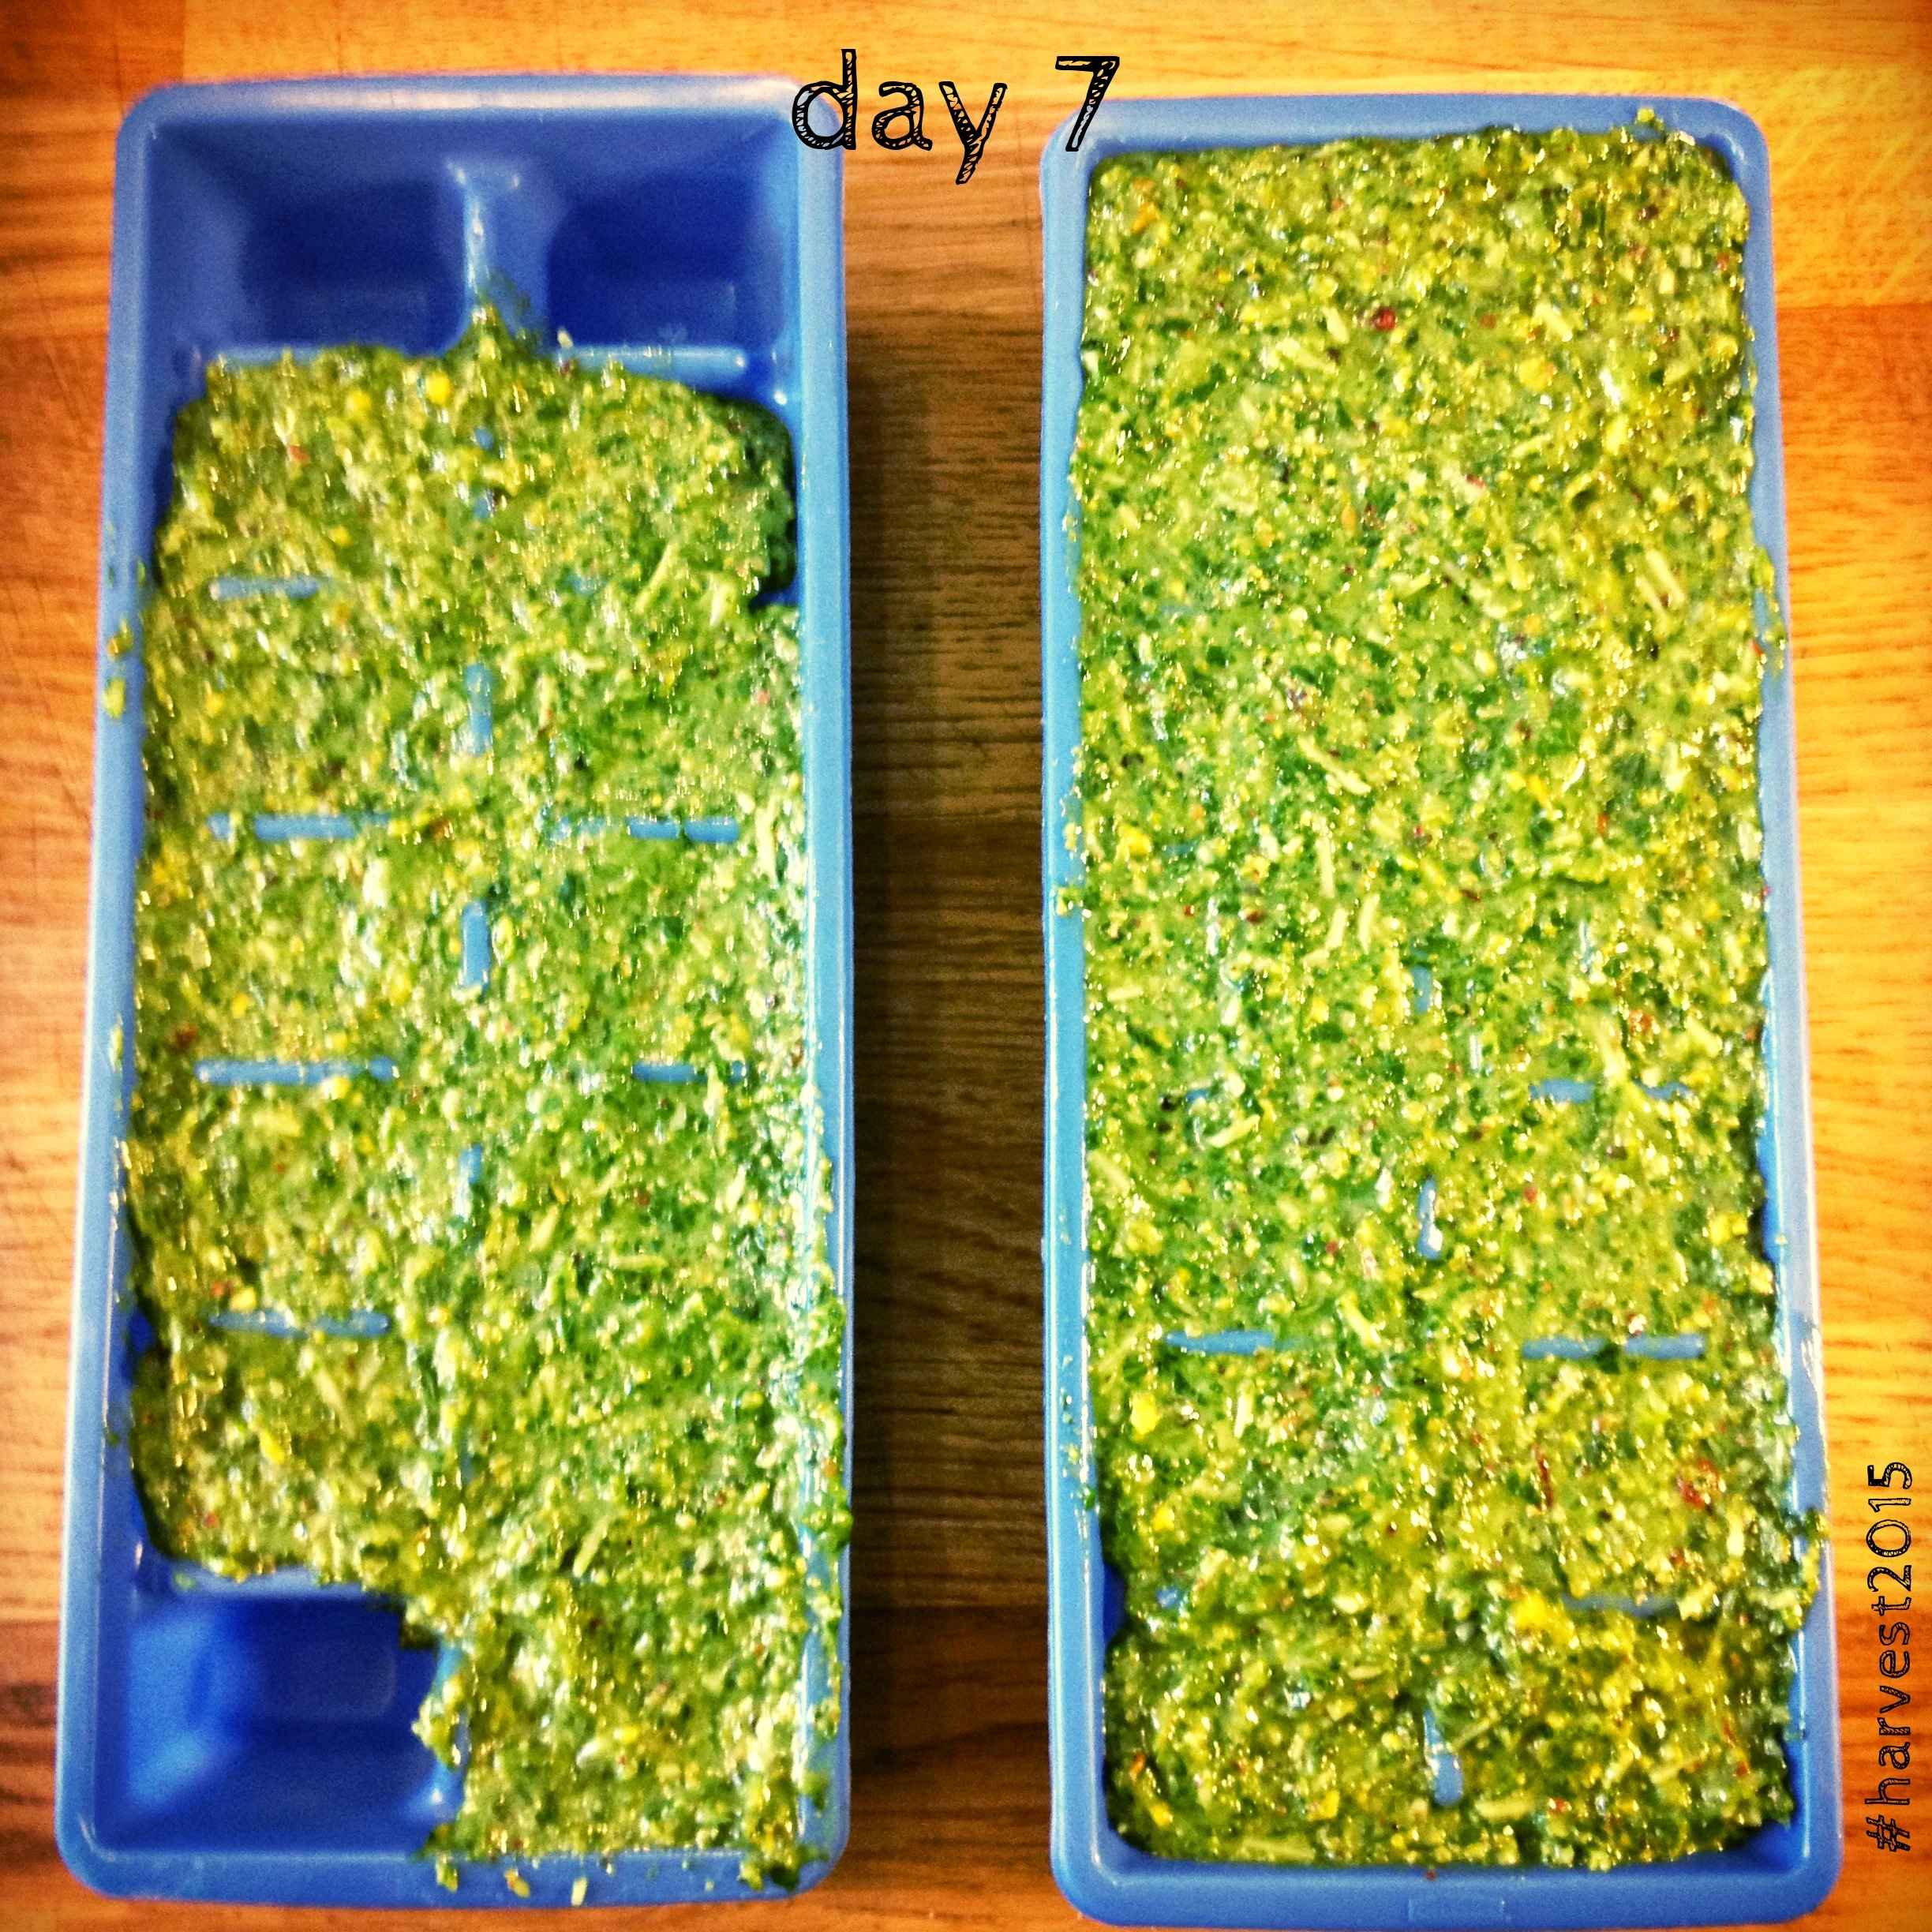
Arugula basil pistachio pesto with chipotle & spirulina #harvest2015
Tomorrow: how to keep vampires and colds at bay. Thanks for checking in, kittens.
A MONTH OF PUTTING UP THE HARVEST - Day 6
Today is Monday, a perfect day for a harvest. This is one of those things that is dead easy, and for whatever reason, I have a hard time ever getting around to this most summers. I don't know why, it's really so quick and again, big bang for your investment/buck/time. Let's keep this one short and sweet kids. Hanging herbs to dry. It's really just what it seems: you pick herbs, and tie them together, and leave them to dry. Done deal.
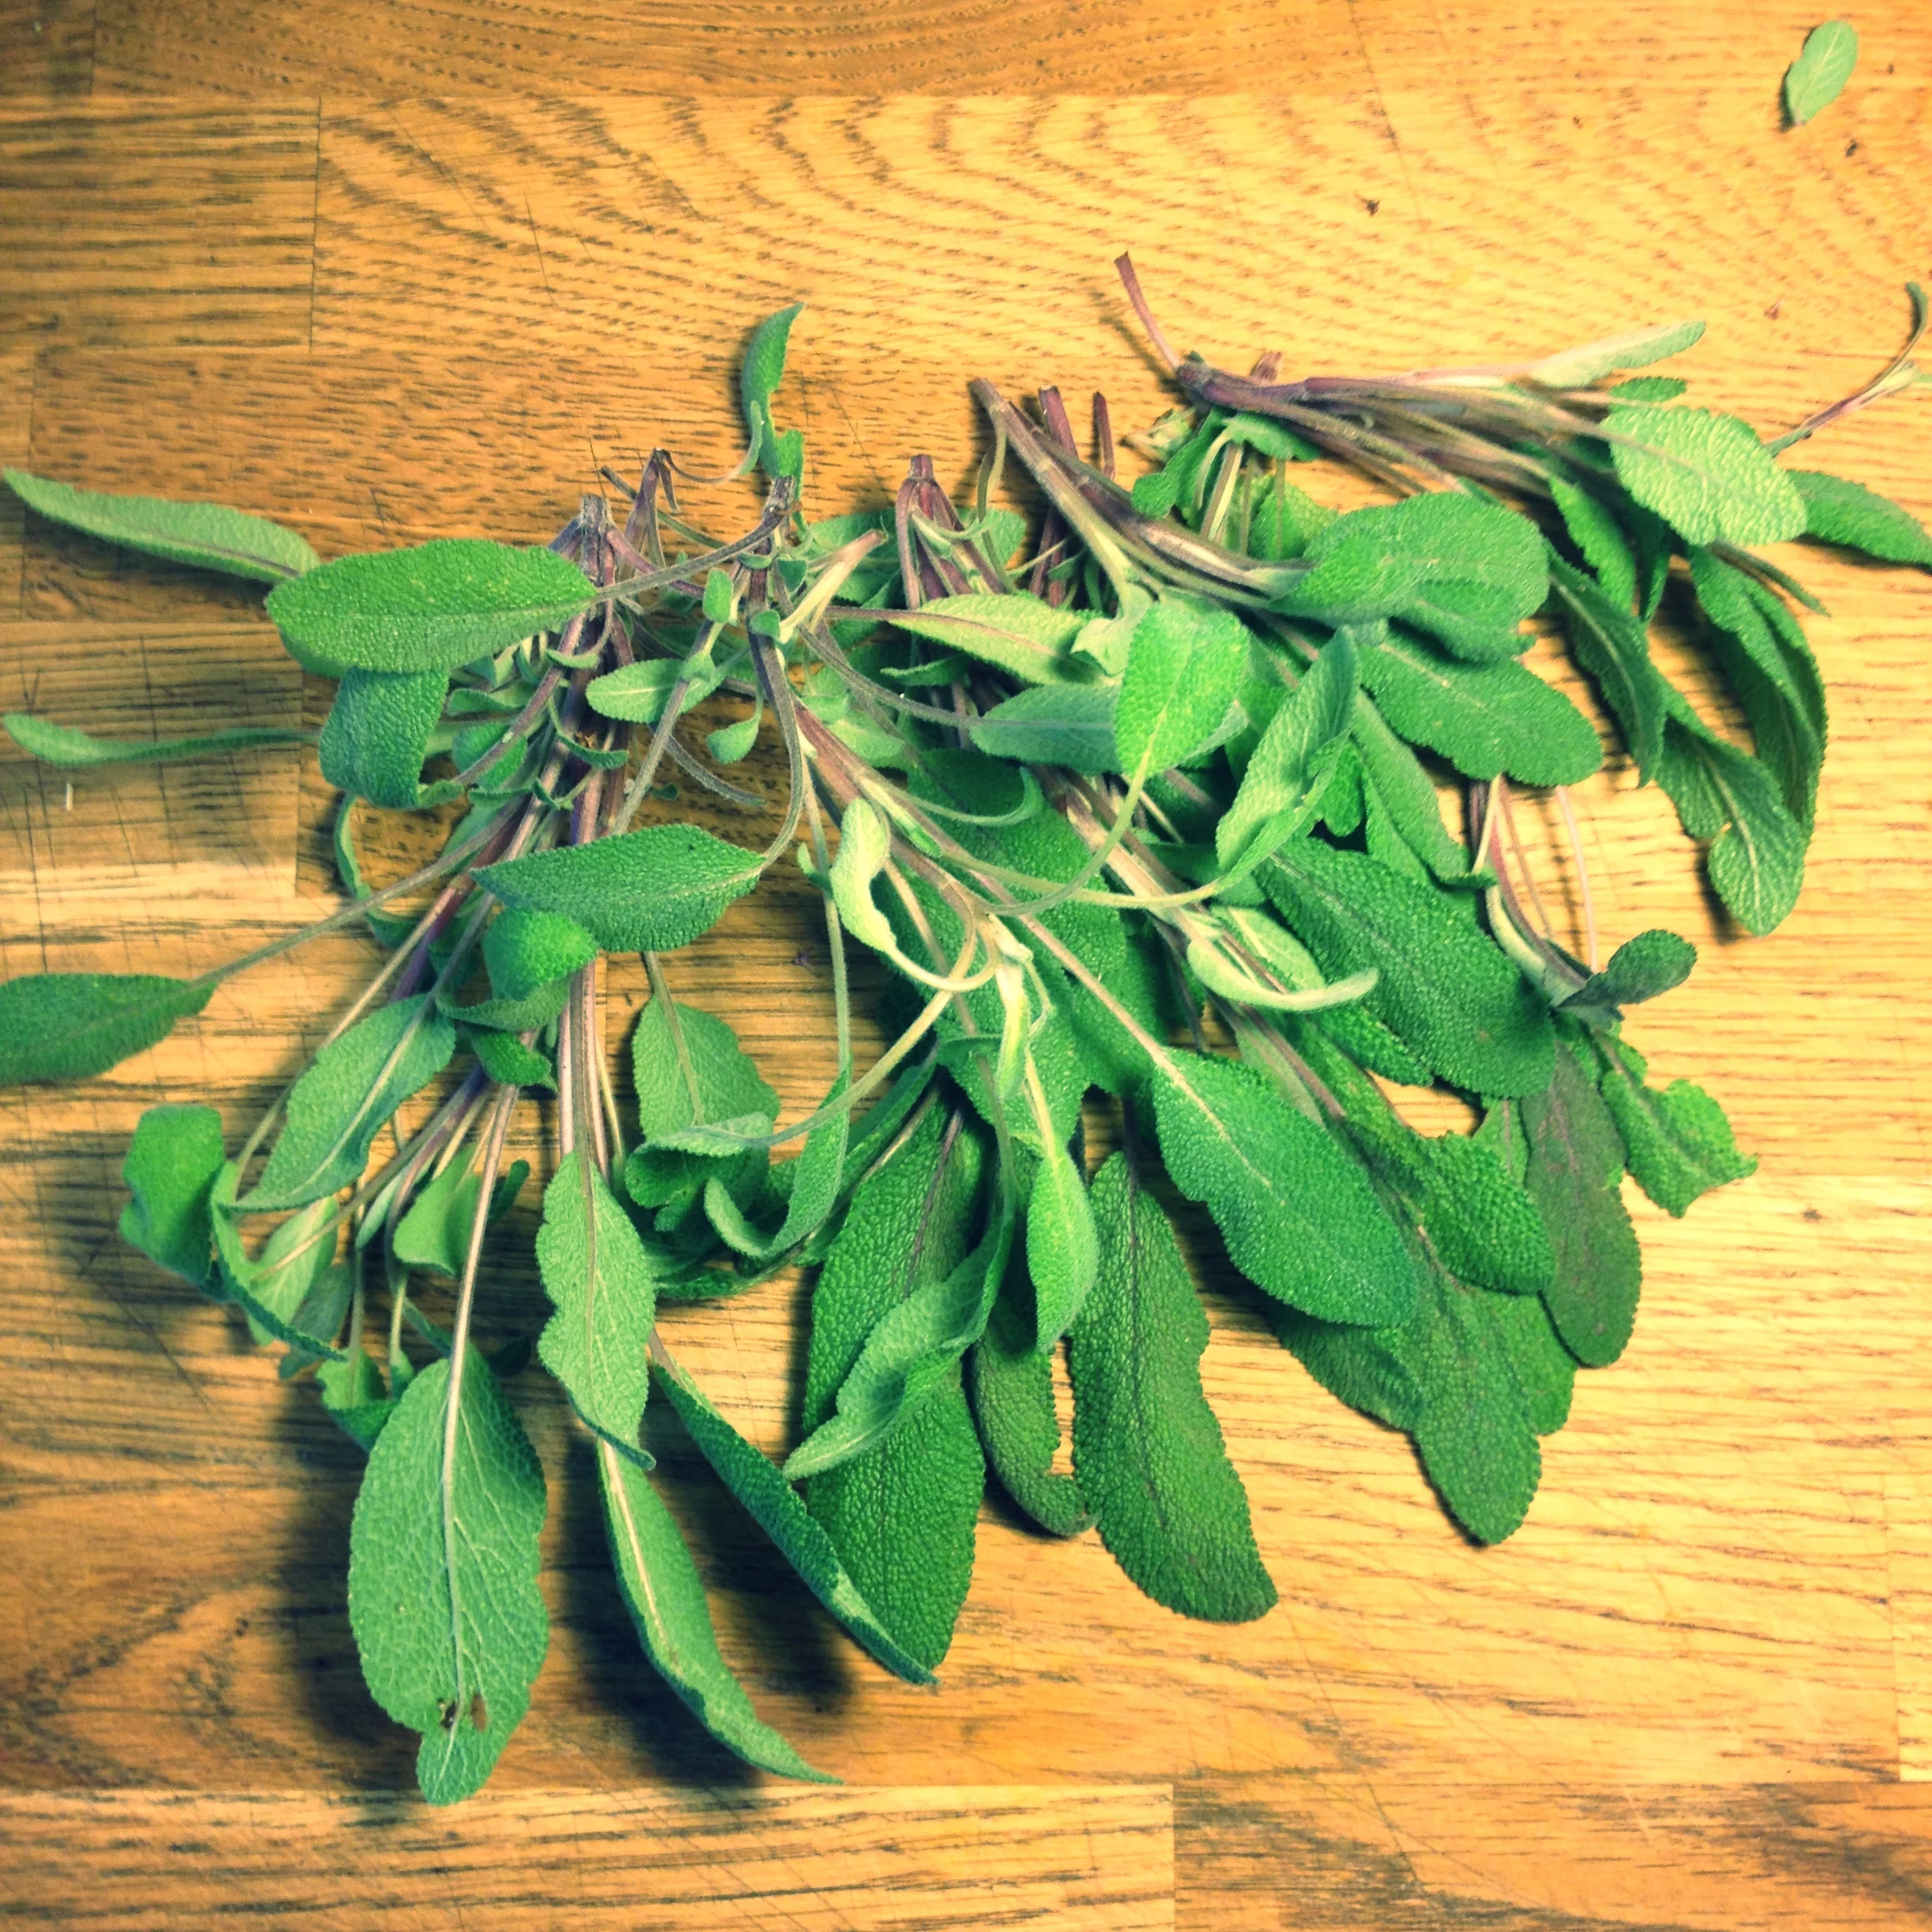
Sage from the garden. So fragrant!
Today is Monday, a perfect day for a harvest. This is one of those things that is dead easy, and for whatever reason, I have a hard time ever getting around to this most summers. I don't know why, it's really so quick and again, big bang for your investment/buck/time. Let's keep this one short and sweet kids. Hanging herbs to dry. It's really just what it seems: you pick herbs, and tie them together, and leave them to dry. Done deal.
Truly. There are a few herbs I prefer to harvest in other ways, and so I'll also add this one here. I just went outside to pick a few bundles of herbs for today's post and harvesting, and I remembered that I prefer sage in its fresh format, for those delicious pork dishes you'll be making come cooler times.
I trimmed a few stalks off my plant, leaving some on the plant so that it can keep doing its thing. My sage plants have been coming back for a few years now (not always the case in Calgary, depends on the winter) and so I tend to have a lot of leaves, so I usually harvest on a regular basis and offer bundles to friends or leave them on the table for my husband's co-workers in their lunch room. I prefer to freeze some of my sage, again because I like the fresh taste so much: it's great to pair with pork, or with chopped up pancetta on top of your next turkey, or wherever your imagination takes you. I don't wash it, seeing as it comes from my garden, but you could wash it first. I'd let it dry thoroughly first if you do though. When it's ready, tuck the leaves in a clean freezer bag and label the year and herb, and you're done. Tuck it in the freezer. So stinkin easy. I do this with chives as well, and lovage leaves too.
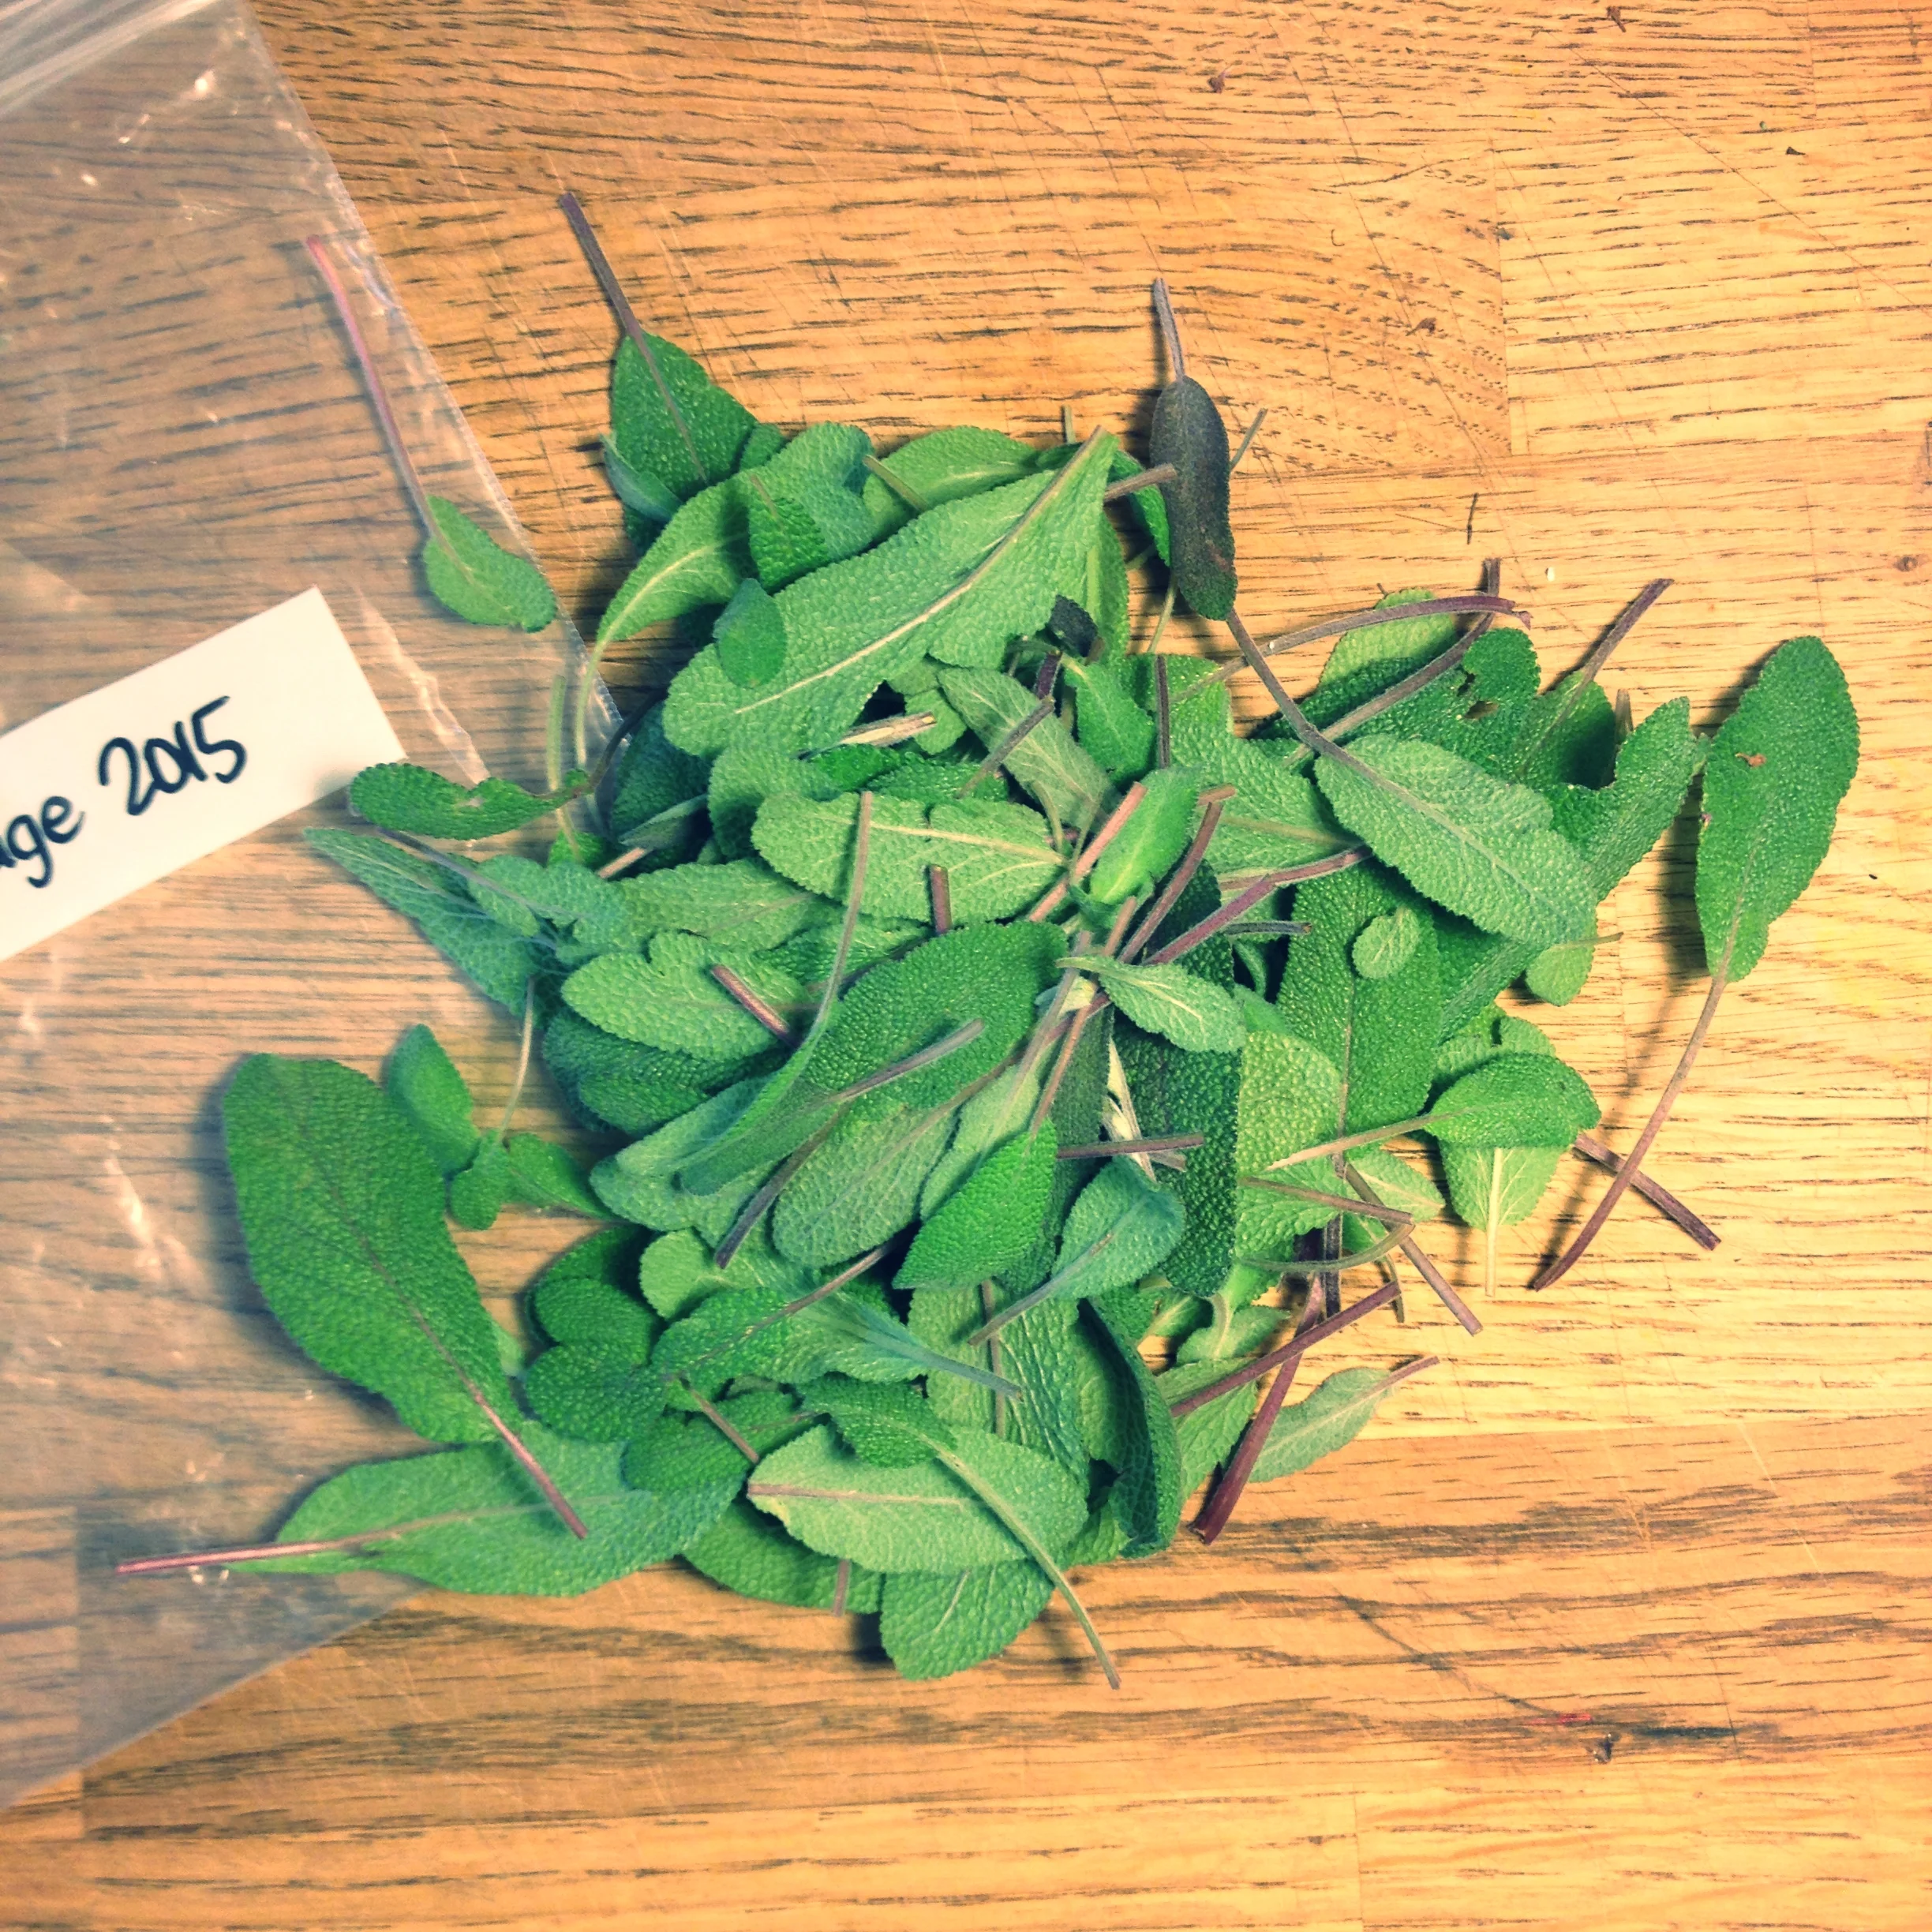
Picked over sage, ready for the freezer.
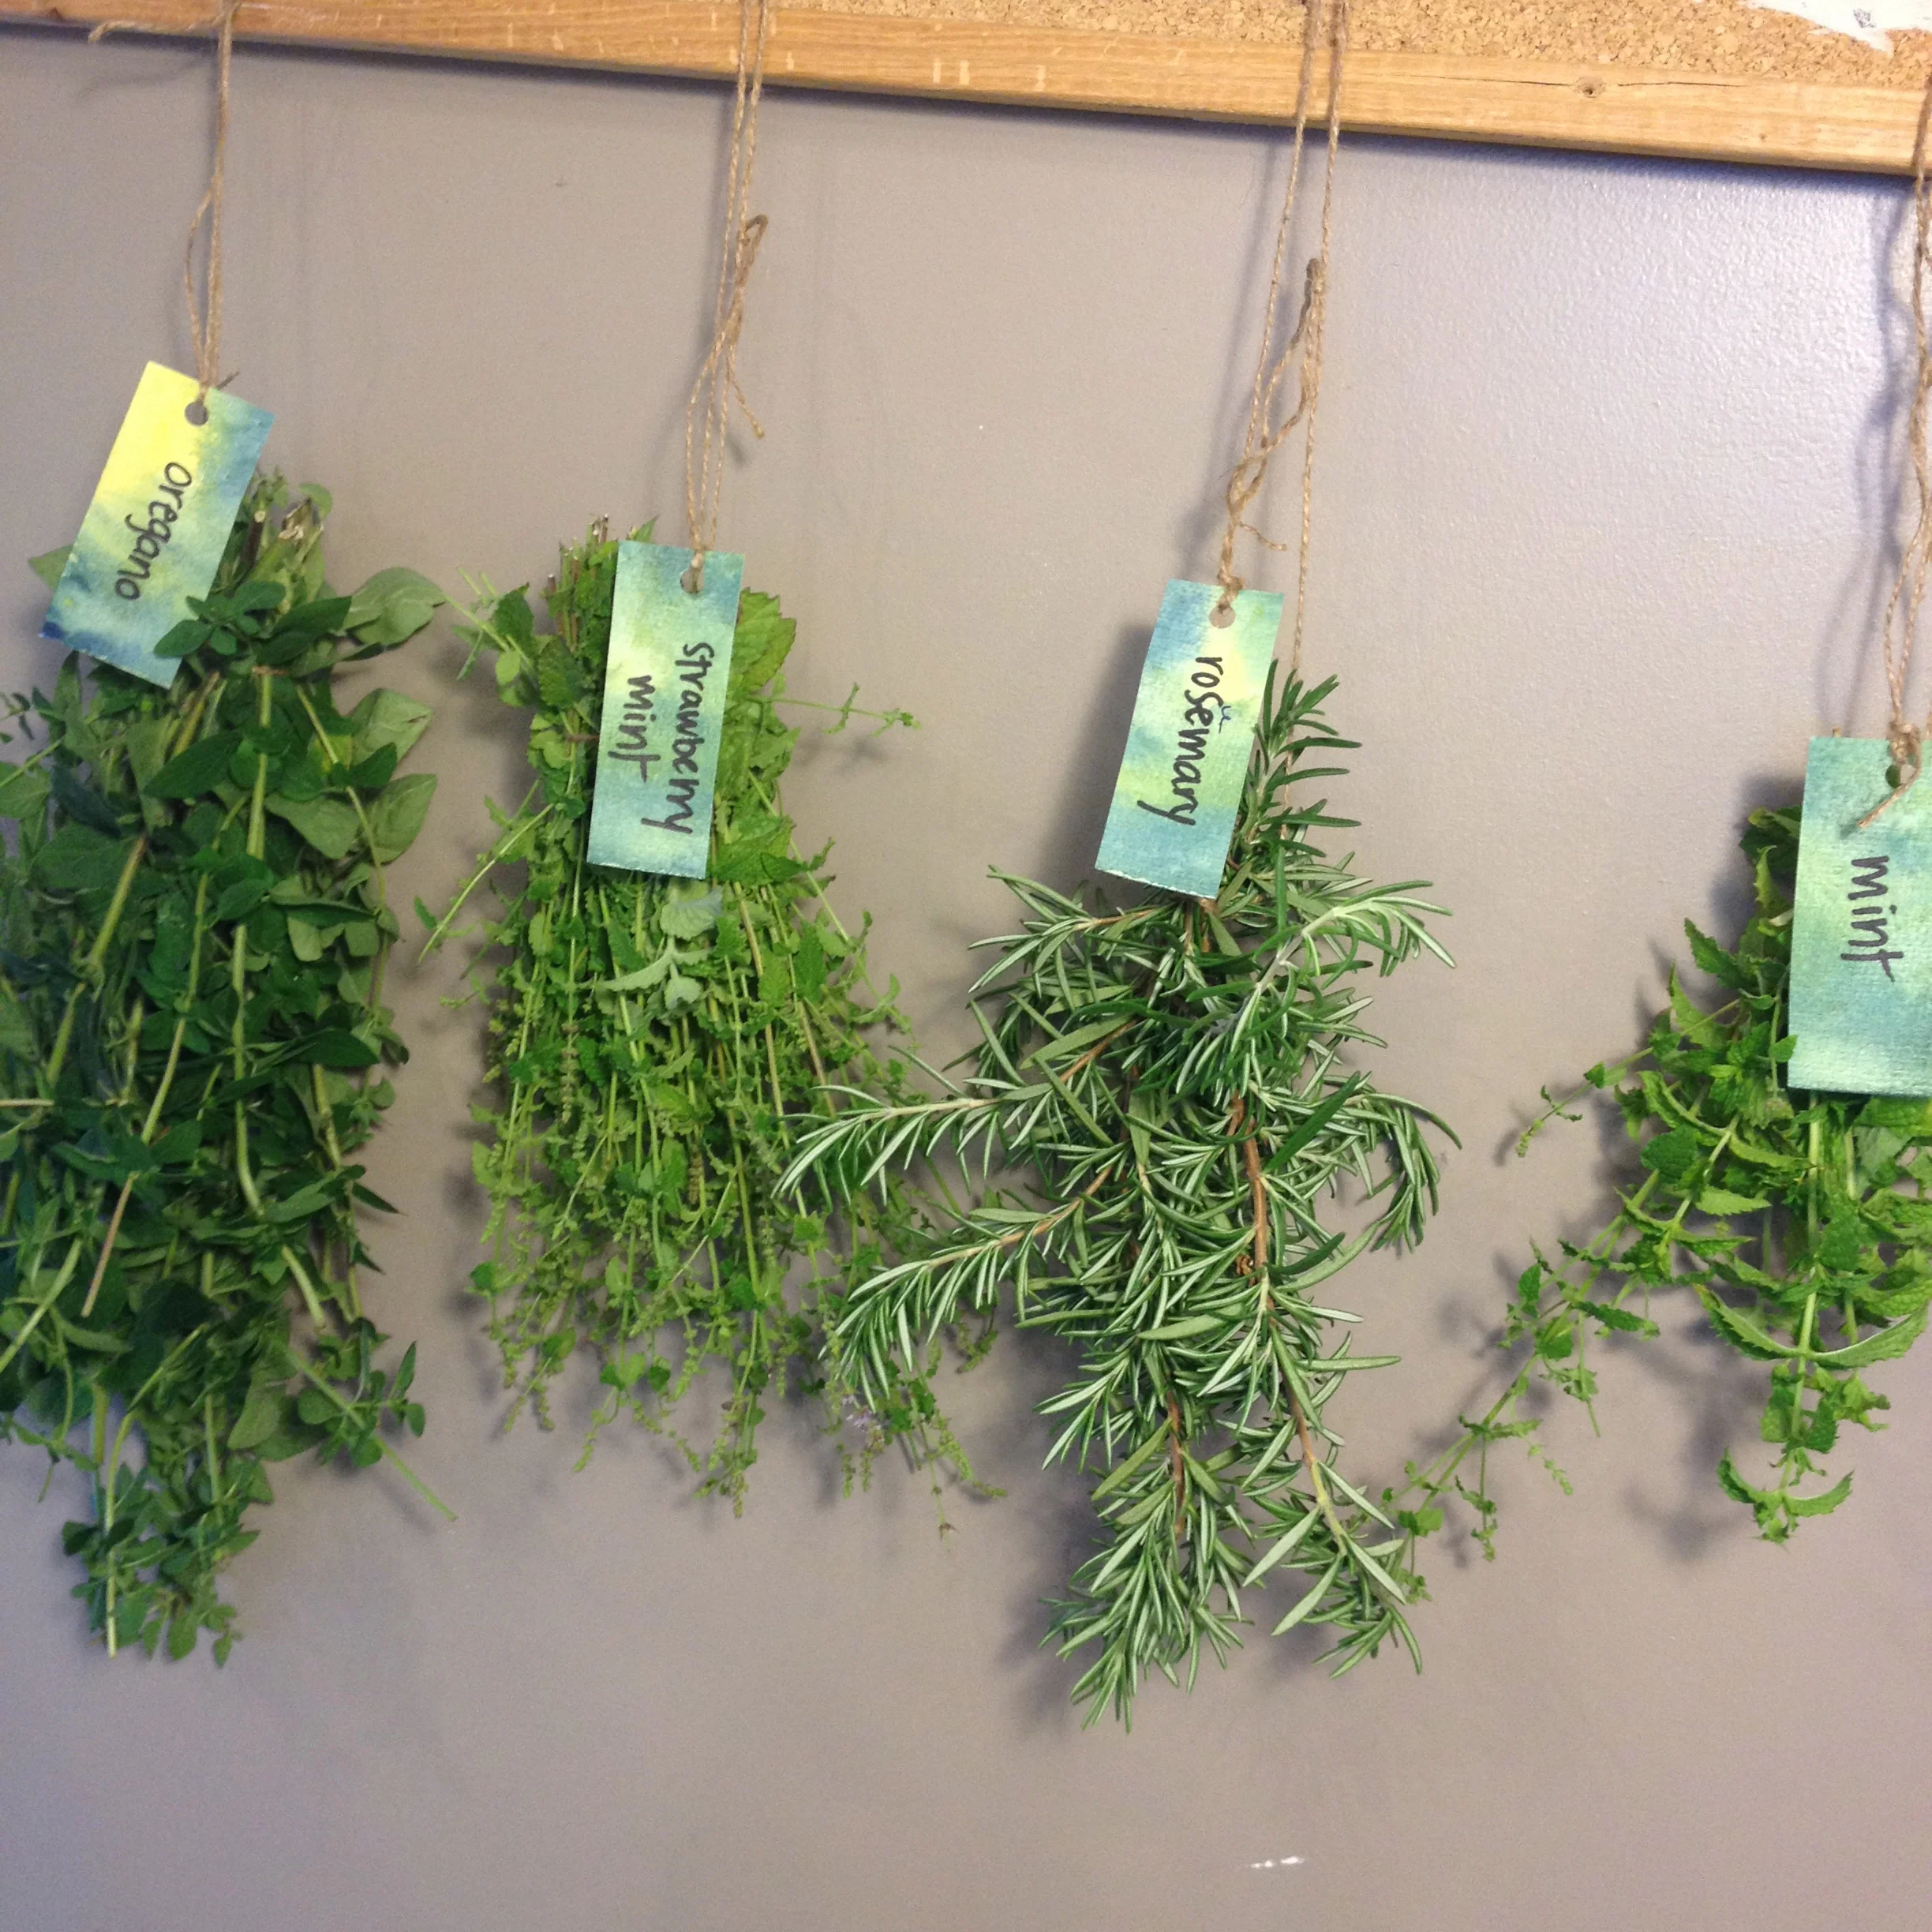
As for the other herbs I gathered this evening, I trimmed them of dead leaves and such, and gathered all of the stems at the top, one type of herb at a time. I wound some kitchen twine around the top and made the tie a little long so that I could hook it on tacks on my kitchen cork board, and made a quick label for each herb, in case I'd lose my sense of smell and be unable to i.d. the herb later on down the road. My herbs today include, from left to right, oregano, strawberry mint, rosemary and regular mint.
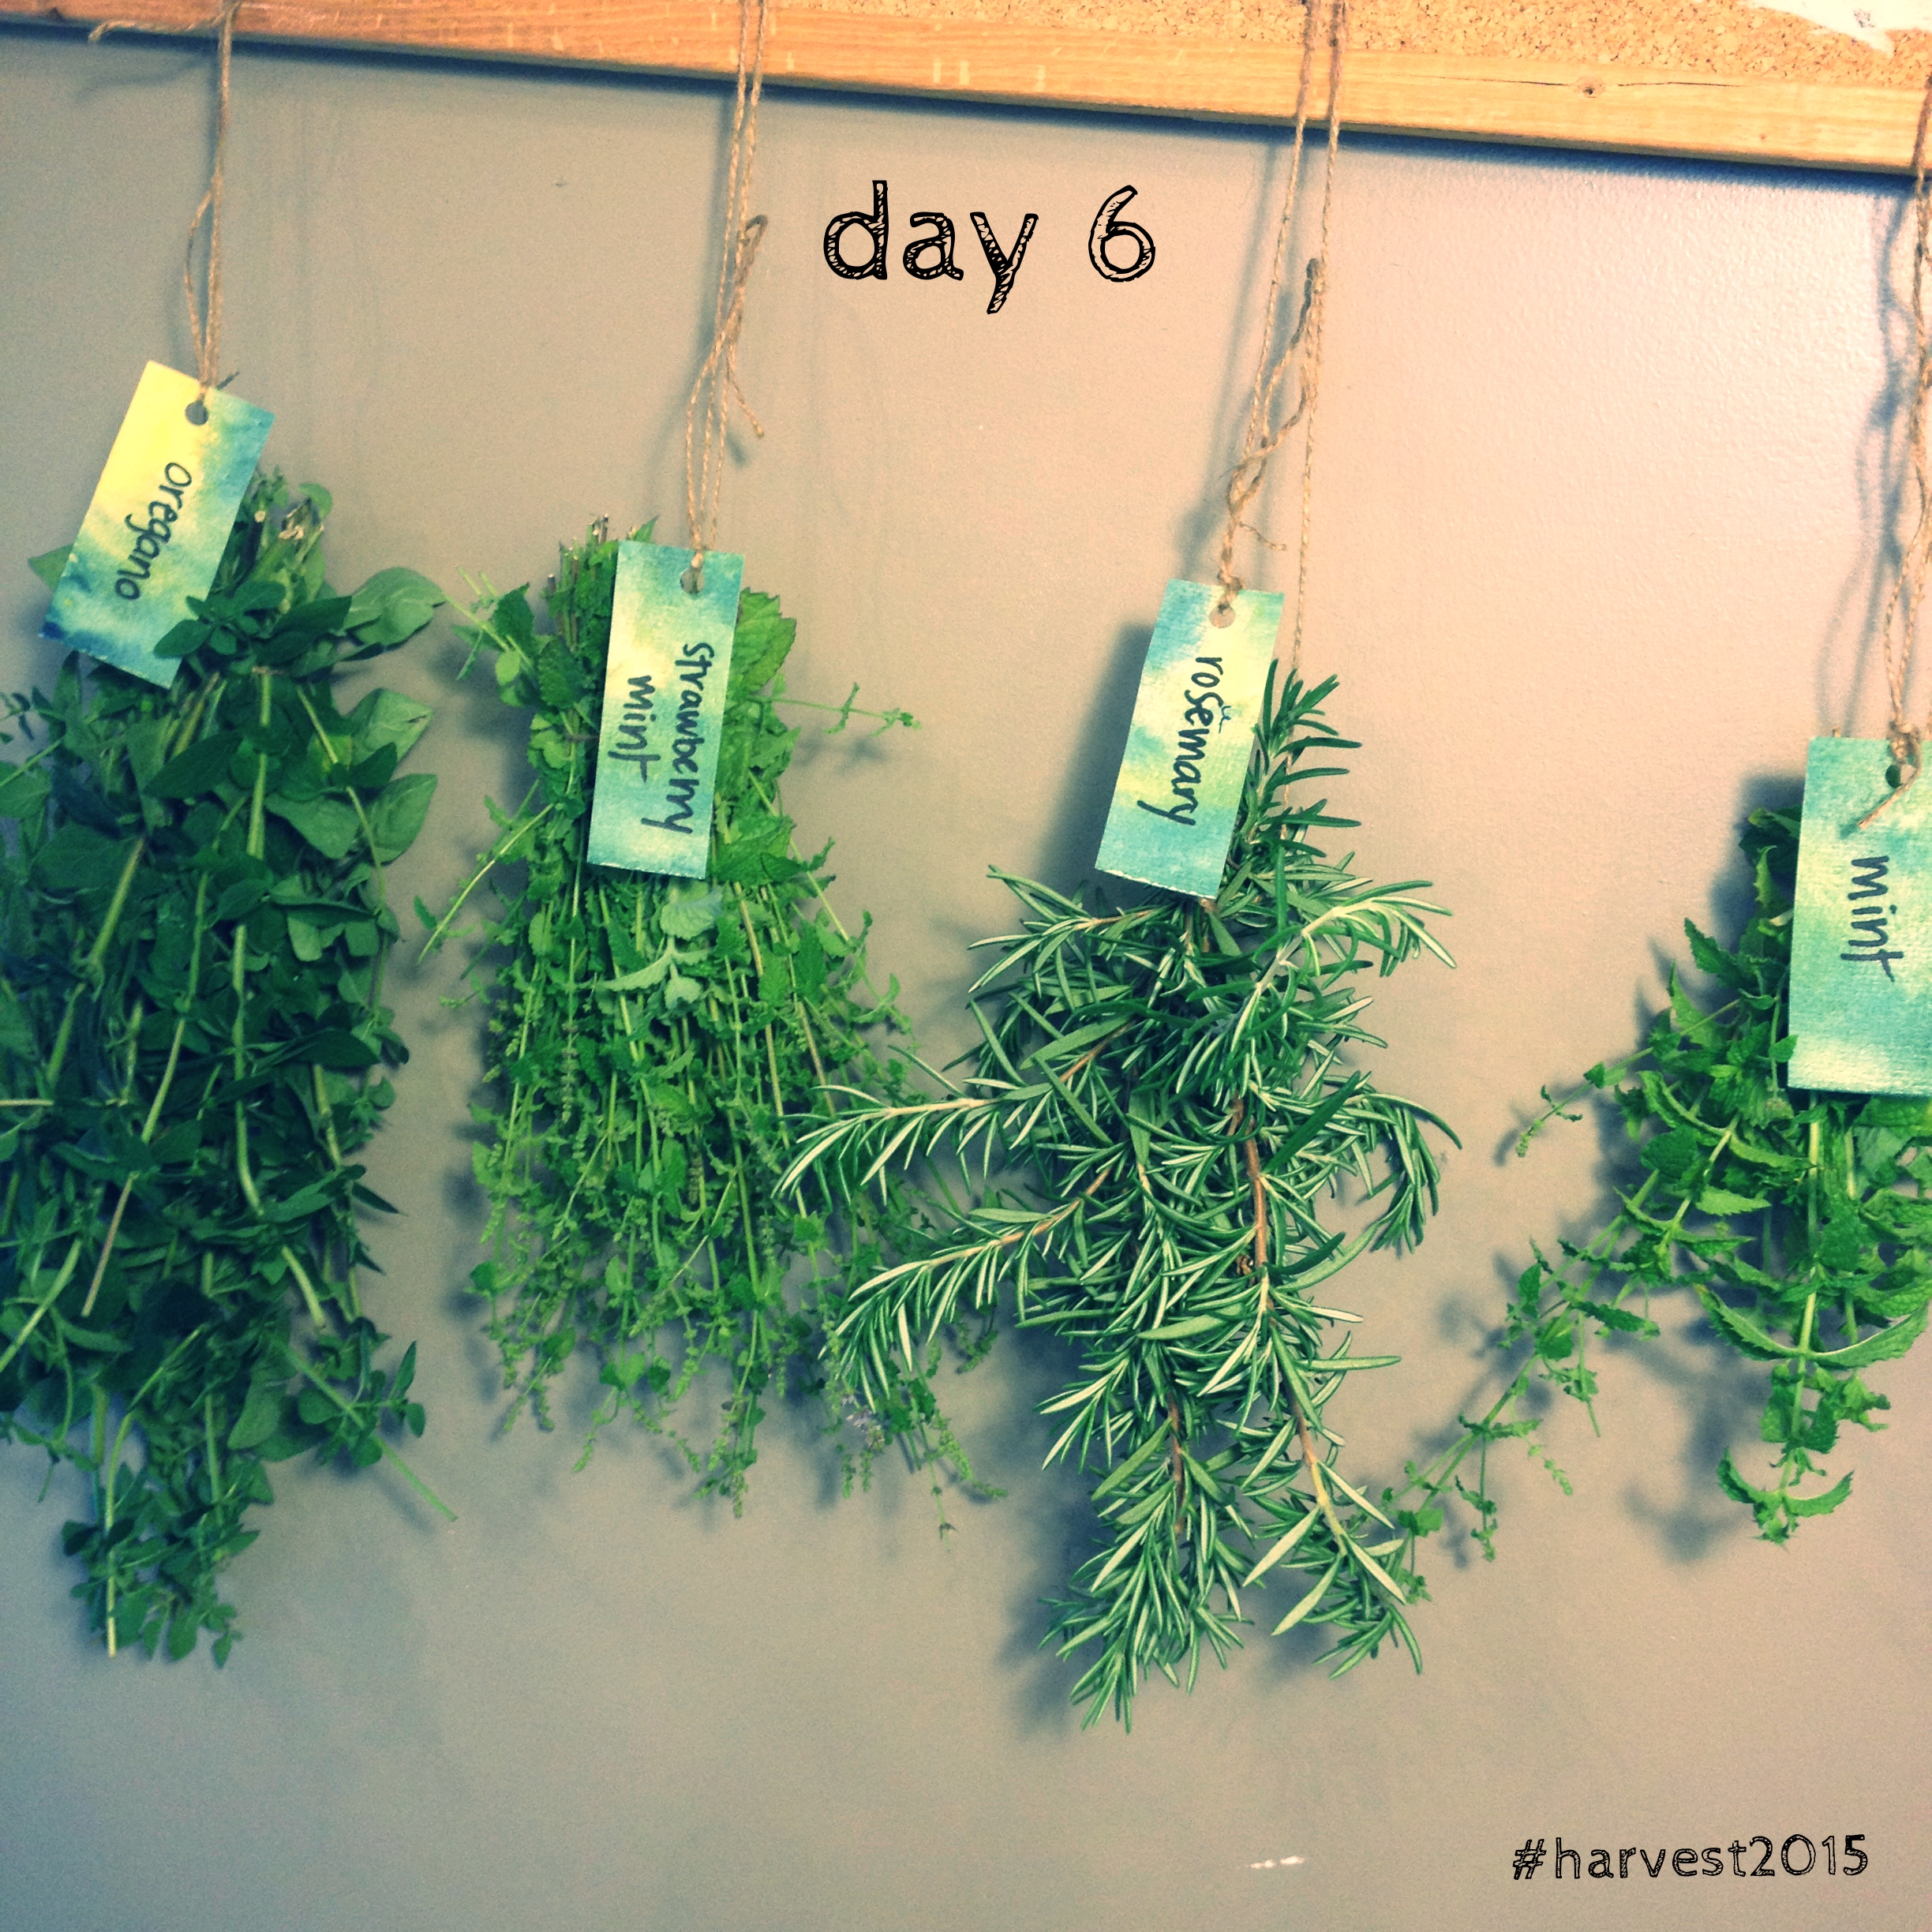
Herbs, hanging to dry. #harvest2015
The trick here is to make sure they're dry, so no dew left on the leaves; hang them loosely enough to allow air flow in and around the stems and leaves; and use some sort of twine you can tighten as the herbs get drier, because they will lose some of their girth. I plan to use twist ties on the tops of the bundles the more they dry. The length of time it takes to fully dry is quite dependant on where you're hanging the herbs, and the humidity in your area. Check on them when you think of it, and when they're nice and crisp, they're ready to crumble and tuck into glass jars (labelled!) for the winter.
I like to dry all kinds of things, sometimes hanging like this or sometimes in my dehydrator. Herbs like this I find are a bit easier to hang dry, as you can easily crumble the leaves off of the stems once they've really lost all of their moisture. Having to pull all of the leaves off first to pop in your dehydrator is a bit more time-consuming. And hey, I'm the first to admit, I'm kinda lazy. (Frugal with my time, shall we say.) You can also dry flowers from your garden like this (calendula! so delicious on so many things, and fabulous anti-inflammatory powers!) to use in potions, cheeses, dusting as garnishes, whatever the case may be. I did the two mints for copious pots of tea, and of course the oregano and rosemary for the cooking ahead. In passing, if you're just starting a garden and would like perennial herbs so as to cut back on the amount of work you have to do each year in your garden, may I suggest oregano? It's a perennial herb that flowers like MAD and will re-seed like gangbusters; it is also the most butterfly/bee/moth friendly plant to have out there. I swear half of my neighbourhood population of bees is spending their days in my back yard.
If you're looking for a more scientific approach to drying herbs, or solar dryers, screen drying, or other clever ideas and hacks, may I suggest checking this post out from Mother Earth News. They know what they're doing over there and have tried quite a few different ways. Go grab some herbs right now, and get to work! And in five minutes, when you're done, go make a good pot of tea. And know that come winter, that pot of strawberry mint tea will be that much more tasty because it came from your patch.