
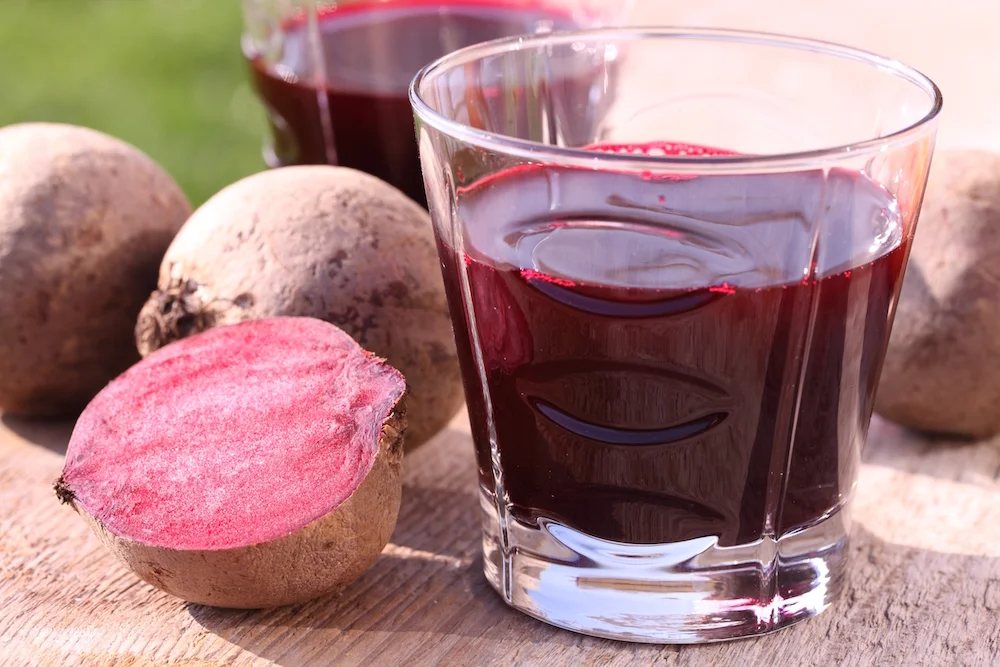
Customize your own Beet Kvass Brew
This past weekend, I had the good fortune of participating in our city’s first Fermentation Festival. What a brilliant way to spend a weekend day, hanging out with fellow Gut Geeks to talk nerdy about the microbiome. It really felt like a celebration of all things I love - culture, community and the power of good food.
This blog post delves into ways to customize your own Beet Kvass Brew and targeting specific organs or health concerns you may have on the go. Click on the image for the full run down of ideas and inspiration.
This past weekend, I had the good fortune of participating in our city’s first Fermentation Festival. What a brilliant way to spend a weekend day, hanging out with fellow Gut Geeks to talk nerdy about the microbiome. It really felt like a celebration of all things I love - culture, community and the power of good food.
I caught a very enlivening and inspiring workshop from Mike Doiron at Living Soil Solutions, talking about the microbiome of the soil, and its role in our overall health. The soil is really the earth’s gut it would seem; the bugs its microbiome. I highly recommend catching Mike at a talk somewhere down the line to help invigorate your comprehension of the power of good soil, and how that has the potential to mitigate carbon emissions, foster better agricultural practices, inherently ending in better health for the soil, the earth, better mineral and micronutrient profiles in the foods we grow. This can only lead to optimal health for all - the earth, the people and the community!
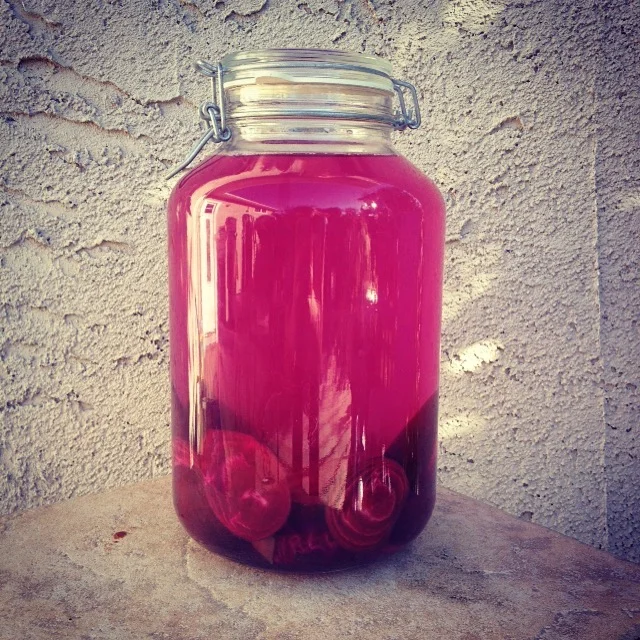
I had the good fortune to kick off the day in the Microbiome Room, diving in to the beauty and health benefits of the ever brilliant Beet Kvass. Many thanks to those who came to hang out and talk about the importance of looking after the microbiome via the good brew. We dove in to the science of the microbiome, its role in our body’s overall health and wellness. We also talked about how to GO SLOW if you are new to fermenting, and what signs to look for if your body is asking you to go even slower.
If you are new to making Beet Kvass, I will point you to this blog post: it features a recipe and video to walk you through how to make your own brew at home. Couldn’t be easier!
I took the chance at this class to jump into one of my tenets - PLAY WITH YOUR FOOD. My hope in putting together this hour on Beet Kvass was to inspire you to come up with your own combinations of extra flavours to add in to the mix. The idea here was to help you choose roots, shoots, herbs + flavours to reach for to help support you with your own specific health goals in mind.
To that effect, I had a request to post on the blog a roundup of ideas and ingredients one could add in order to build flavours according to certain health concerns.
Know this:
Chasing Flavour will always serve you well.
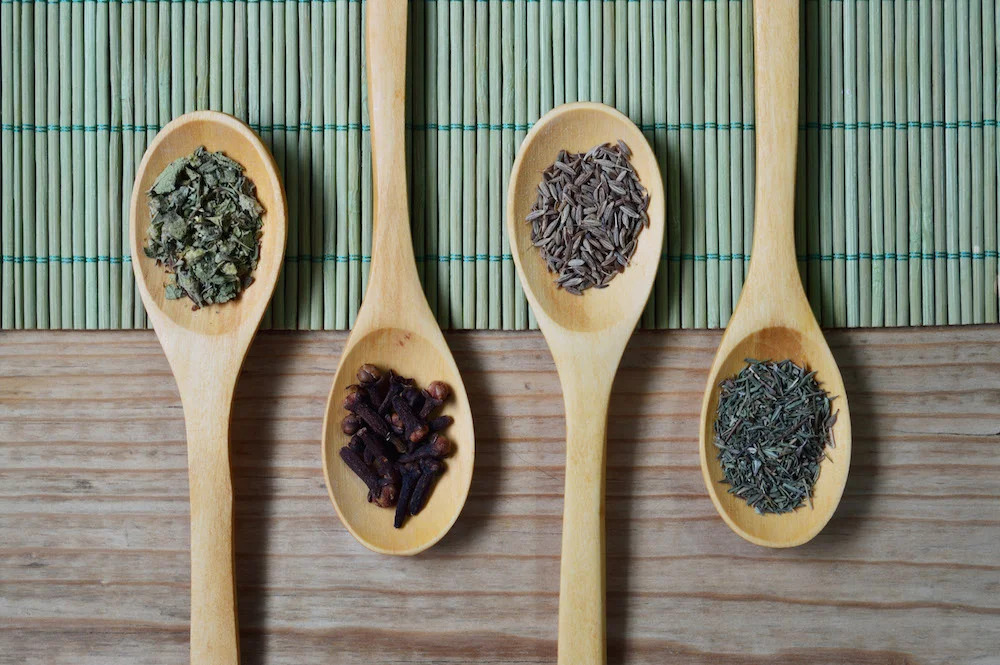
SPICES
dried spices like cinnamon, cloves, cardamom pods, nutmeg, star anise
flavours like fennel, fenugreek, caraway, cumin, coriander seeds, peppercorns
dried herbs like dill, tarragon, sage, thyme, dill seed, nettle, etc.
fresh herbs like dill, parsley, lovage, nettle, rosemary, etc.
ROOTS
dried roots like dandelion, burdock, nettle root, chicory
fresh roots like ginger, turmeric, galangal, lemongrass stalks
medicinal roots like astragalus, rehmannia root, eleuthero
FRUIT
make sure they are unsulphured or organic
dried like goji berries, raisins, cranberries, dates, figs, barberries
superfood dried fruit like elderberries, shizandra berries, jujube dates
dried lemon or orange peel
fresh fruit like any berries, pomegranate arils, slices of citrus fruit
fresh or dried foraged berries like rose hips, silver buffalo berries, saskatoons, sea buckthorn berries, hawthorn berries
VEGETABLES
garlic, green onions, chives
onions, horseradish root (horseradish leaves work well too!)
veggie remnants like cabbage wedges, radish peels
dried veggies like hot peppers, chipotle peppers
HERBS + FLOWERS
think loose leaf tea ingredients
labrador tea leaves, nettle, holy basil, raspberry leaf, rooibos
foraged goodies like spruce tips, pine pollen
flower petals like rose, borage, red clover, heather, calendula petals, chamomile, hibiscus
MEDICINAL MUSHROOMS + SUPERFOODS
always add a piece of seaweed to each batch (kelp, kombu, dulse, wakame, etc.)
reishi slices, chaga, cordyceps, maitake, lion's mane
shiitake mushrooms (dried)
astragalus roots, rehmannia root
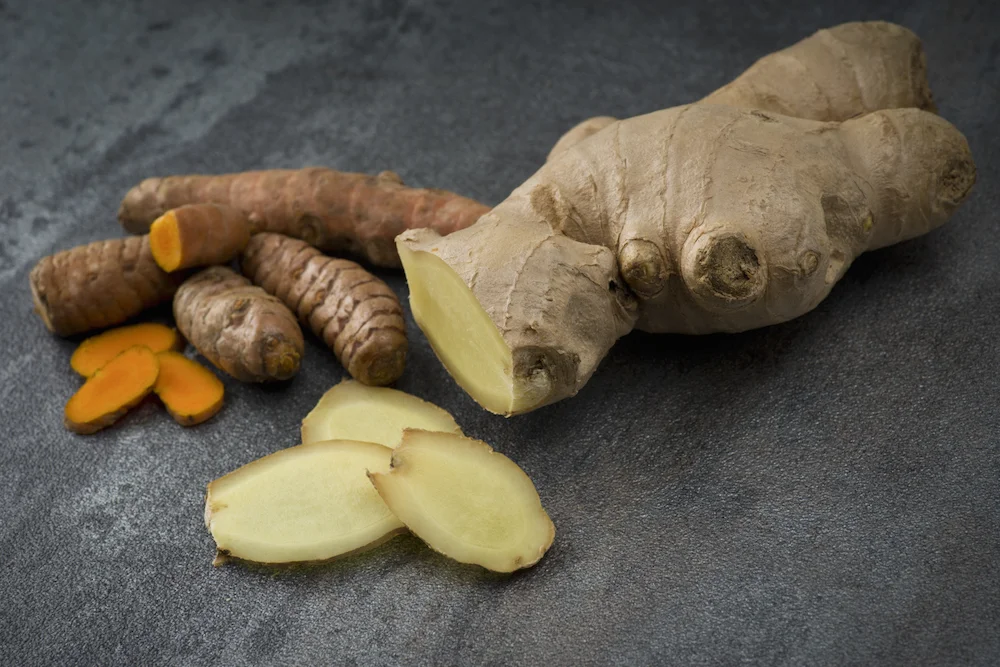
COMBINATION AND FLAVOUR IDEAS
I built a list of flavour combos targeting specific health concerns, and wanted to share these here. Use them as a jumping off point to brew your own combo!
Know that Beet Kvass always supports the liver and improves detox, helps reduce inflammation, improves digestion, loves up the microbiome and takes care of the heart. Beet Kvass has been shown to bust gallstones, kidney stones, dissovle uric acid to help reduce gout flare ups. So really, a basic brew of beets + salt + time is a great place to start. Anything else on top of that is just bonus.
Build from there! Use what you have on hand to start with, and build your pantry slowly over time. And know that a shot glass is what you're working up to, before meals. TAKE YOUR TIME.
IDEAS
IMPROVE DIGESTION: fennel / fenugreek / caraway (strong flavours to wake up the digestive fire)
REDUCE INFLAMMATION: chamomile + turmeric + ginger + medicinal mushroom
GUT HEALTH: cabbage wedge + calendula + fresh dill
DETOX SUPPORT: burdock or dandelion root + goji or jujube dates
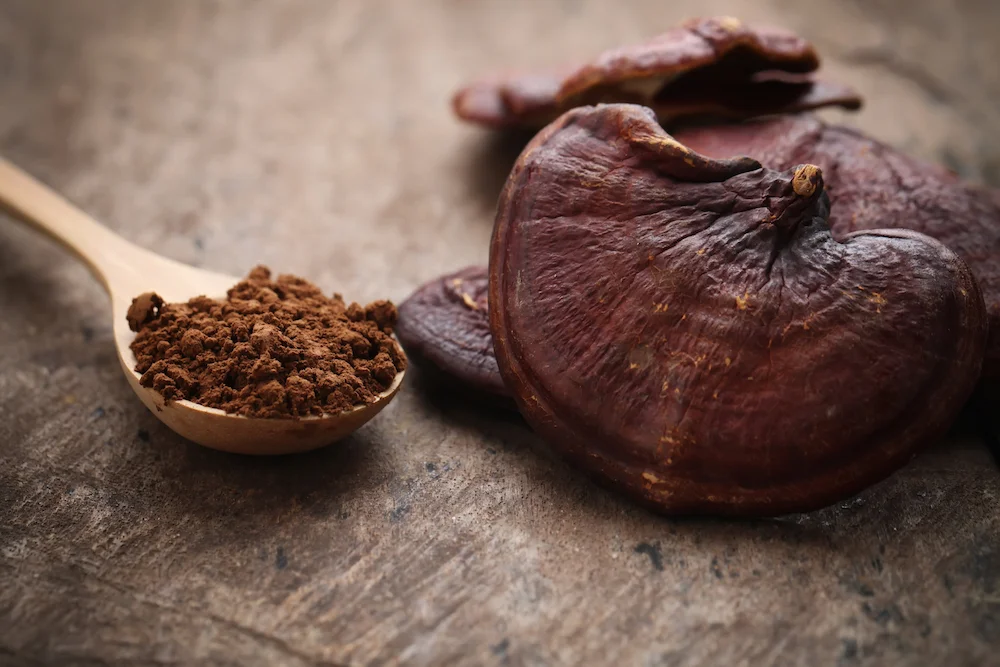
BONES + CONNECTIVE TISSUE: chaga + ginger + nettle
BRAIN + NERVOUS SYSTEM: lion's mane + turmeric root + rosemary
HEART: garlic + goji berries + hawthorn berries + hot pepper
GALLBLADDER: chaga + dried lemon peel + rose hips
LIVER: garlic + ginger + turmeric root + mustard seed; caraway + fennel; cardamom + clove + burdock

KIDNEYS: heather flower + dried cranberries + hibiscus
ADRENALS: rehammnia root + dried fig + fennel
THYROID: cordyceps + eleuthero root; chicory root + ginger
SKIN: shizandra berries + rose hips + fennel
IMMUNITY: astragalus root + elderberries
LYMPH: calendula petals + red clover + burdock root

BALANCE HORMONES: nigella or kalonji seeds + red clover
BALANCE BLOOD SUGARS: maitake mushrooms + true cinnamon + spruce tips
HEALTHY PREGNANCY: ginger + raspberry leaf + rooibos + rose hips
SLEEP: chamomile + nutmeg + dried cherries
Remember to Chase Flavour. What kind of brew will you make?

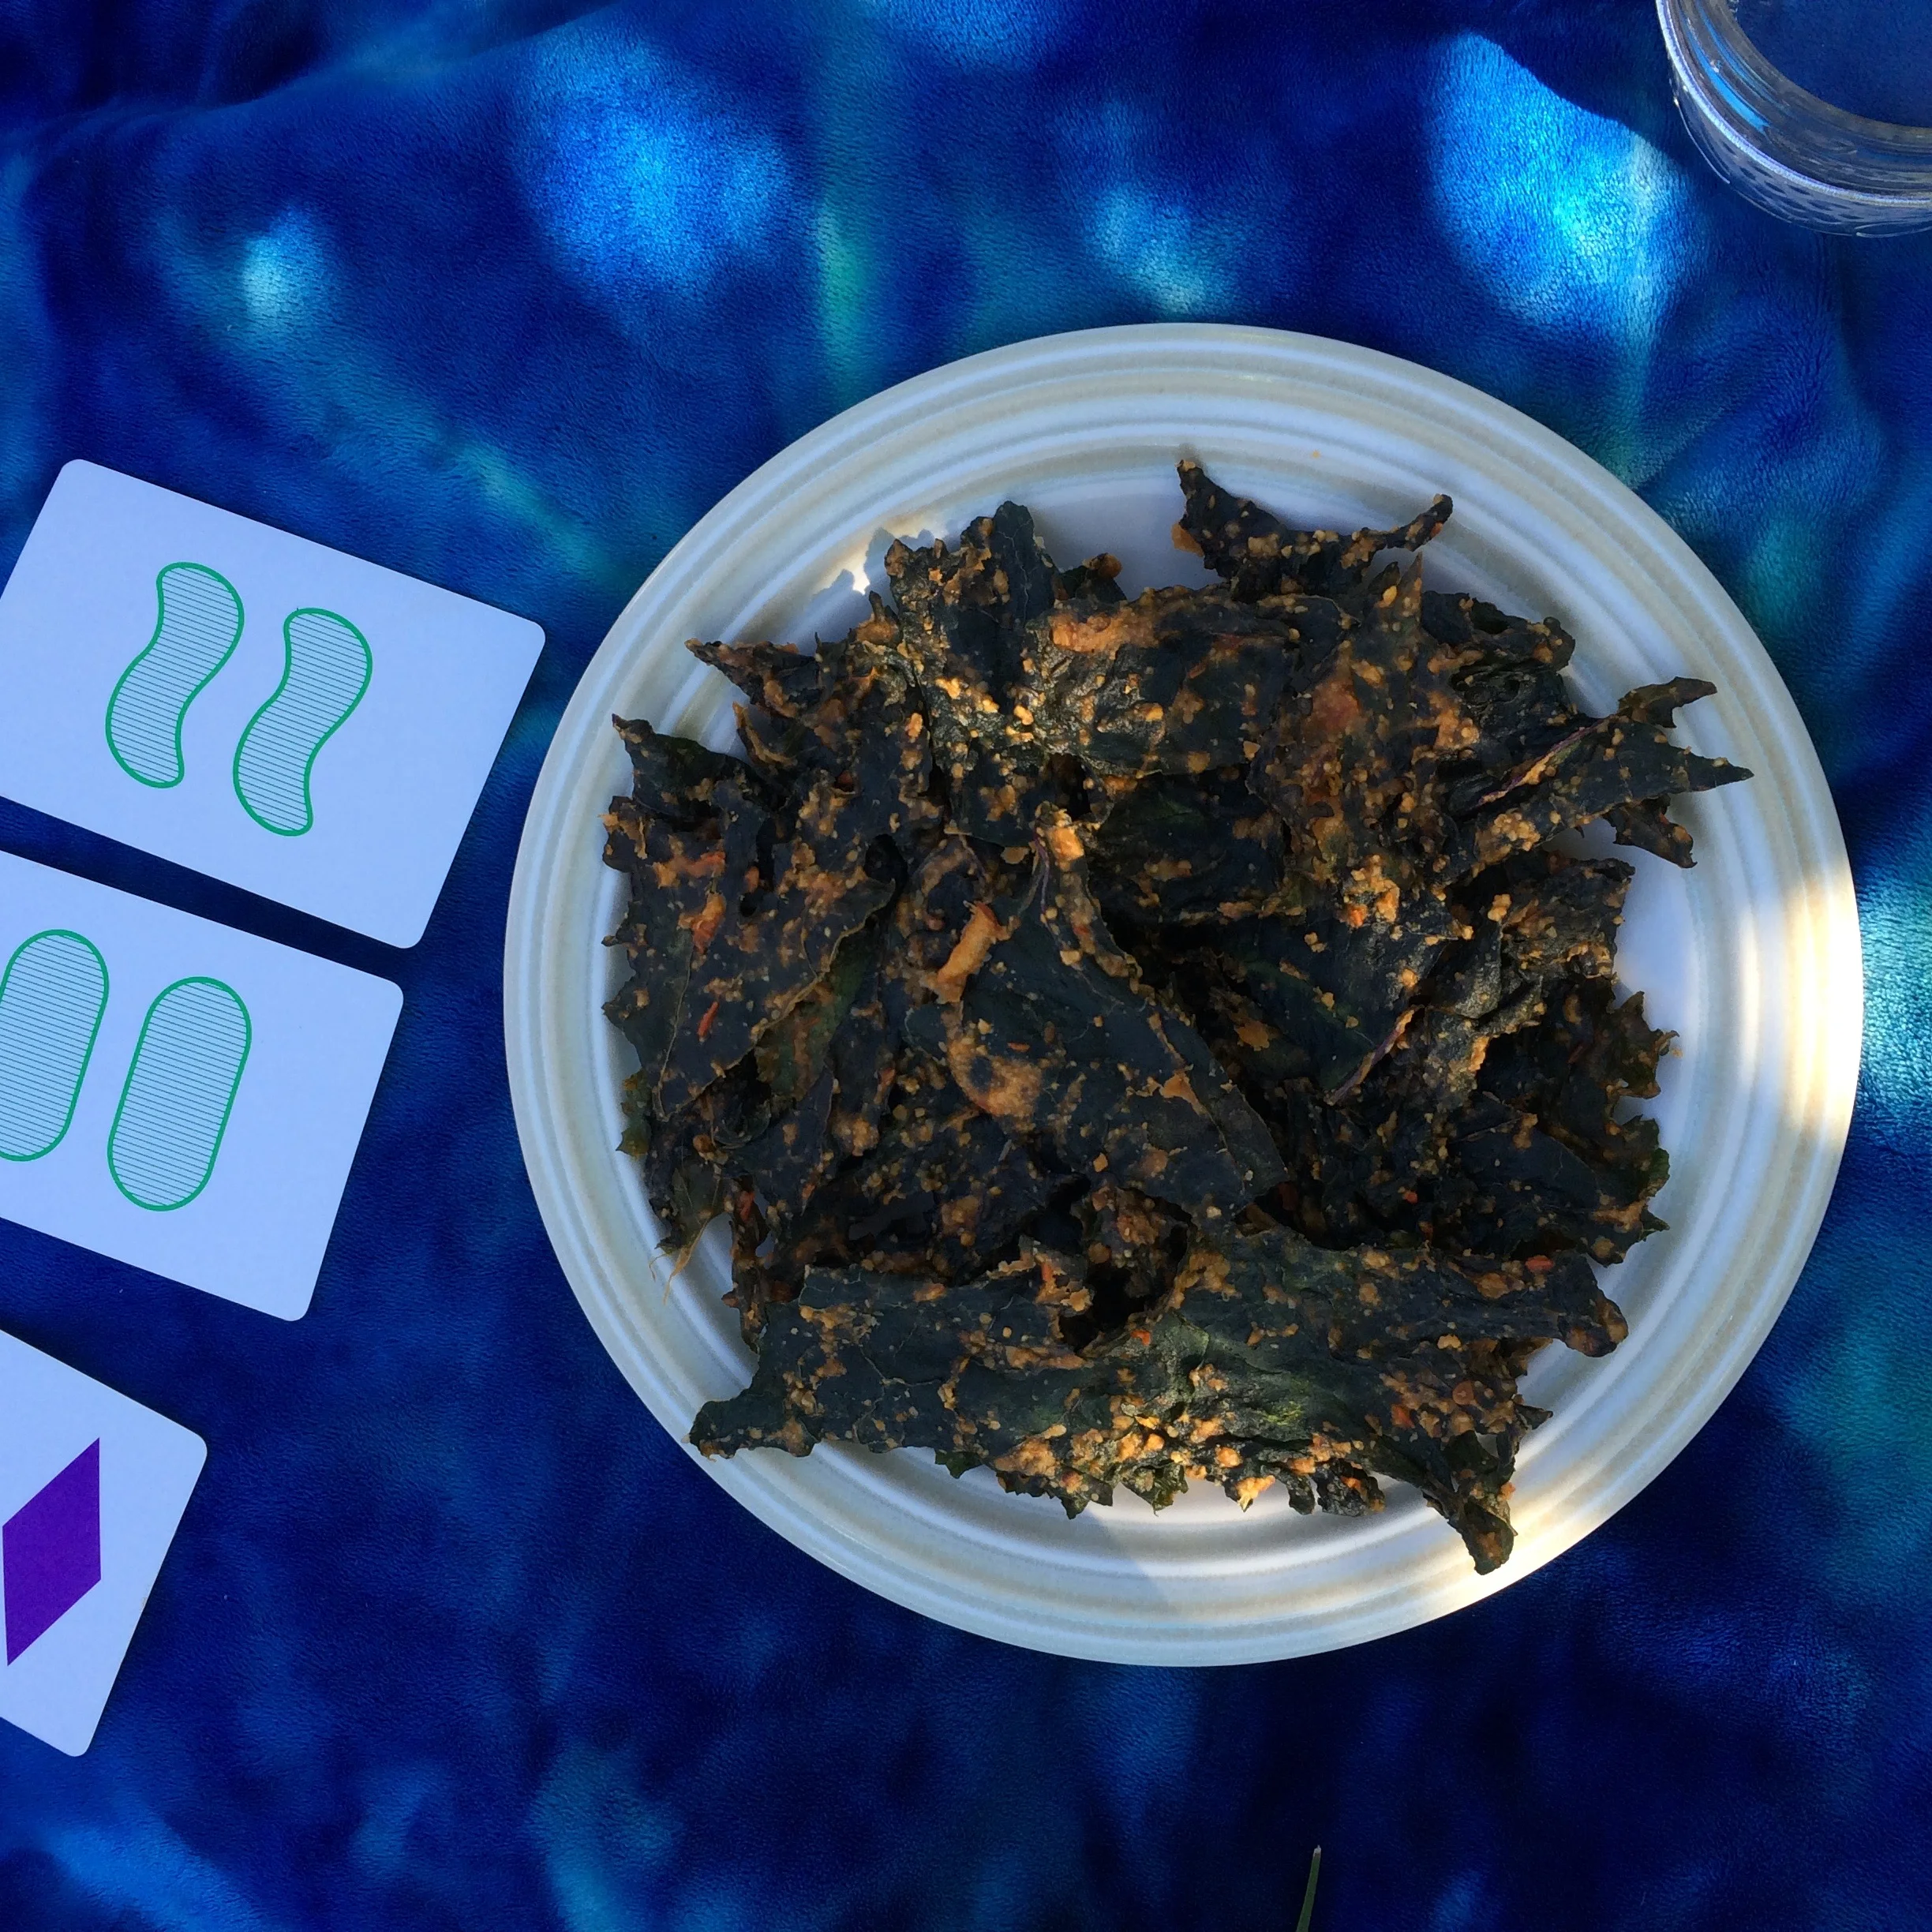
Kale Chips
You have kale coming out your ears, whether from the garden patch of your CSA box. Or maybe you just want to try your hand at a new way to preserve the bounty of this time of year. What to do, what to do…
Might I recommend making a batch of kale chips?
It's the summer time. Your garden is ON FIRE. Stuff is growing EVERYWHERE. You realize you must have let some kale go to seed last year, because you have a bumper crop coming up all over the place in your back plot. (Is it just me?)
Maybe you subscribed to your first CSA growers' box this year, and you have so much kale you don't know what to do with it all.
Or maybe you are dreaming of ways to put up the harvest, of taking a sensory-filled snapshot of the bounty and storing it for those colder climes that are a-comin. Oh yes, they're coming. I mean we have some time yet, do not fret.
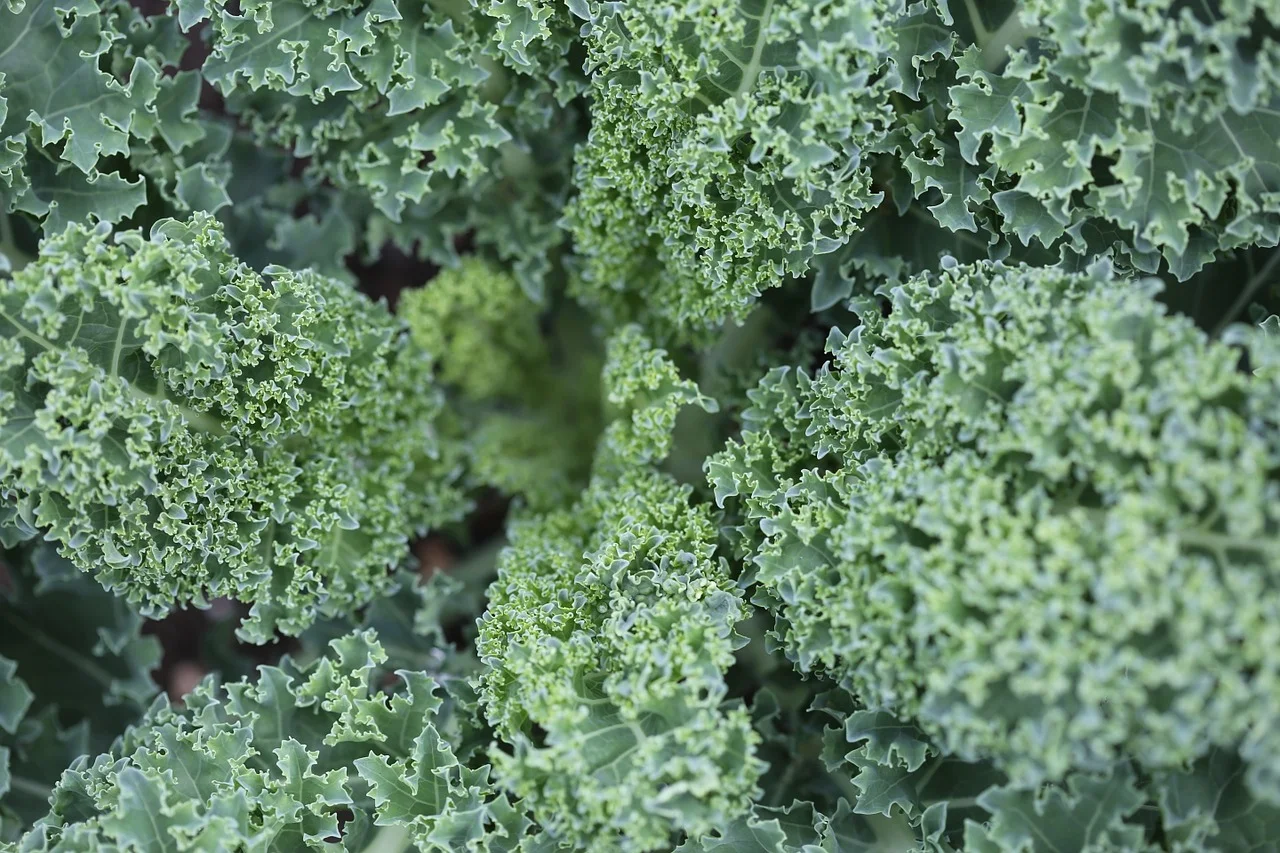
kale for daaaaayyyyyyyyzzzzzzz
What to do, what to do.
Might I recommend making a batch of kale chips?
Whether you have a dehydrator or plan to use your oven, these tasty morsels take a bit of work, but I like to think of it as a bit of a meditative exercise. It is worth it to take a good 45 minutes to pull this whole thing together; your taste buds will thank you. The aroma that fills your house as you are drying these babies will make all the neighbours hungry! And you will have saved the harvest from going to the compost heap! (Oh sure, kale is really good for you. But besides that, who doesn't want a little crunch for snacktime?)
Do not be dissuaded by the long list of ingredients, they really build on the flavour and add a nutritional wallop to help sustain you. And those who will be eating these. Totes ok to not share though.
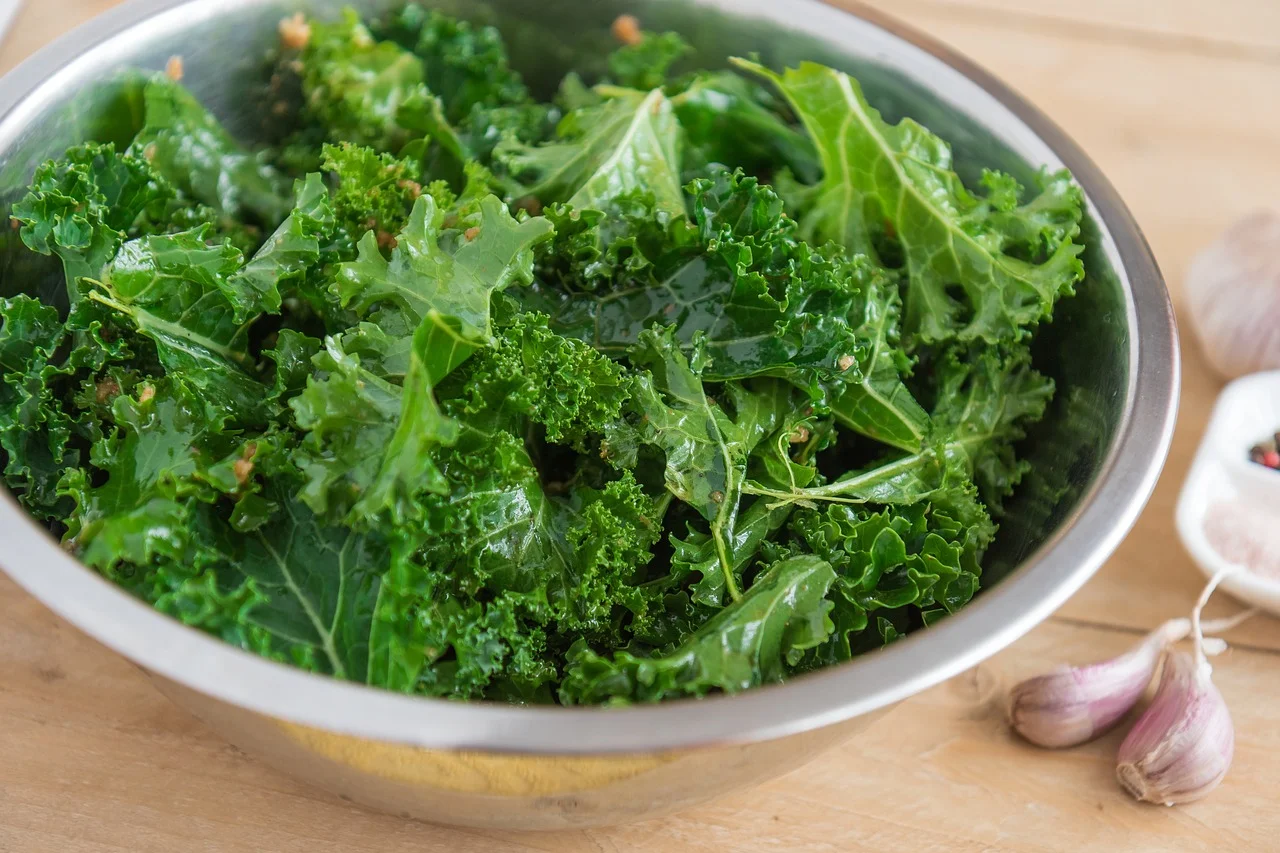
the prep
KALE CHIPS - the do it yourself kind
THE GOODS
1 cup cashew pieces
1 tbsp apple cider vinegar
2/3 of a red bell pepper
2 tbsp lemon juice
1/4 cup good quality olive oil
2 tbsp miso paste (any kind will do)
3 tbsp nutritional yeast
2 large dates, pitted
1.5 tsp sea salt
1 tbsp ground pepper
1.5 tsp curry powder
pinch of chipotle pepper
2 tbsp of juice from a ferment
2 tbsp of filtered water
2-3 bunches of kale, washed; middle rib cut out and greens cut into bite sized pieces
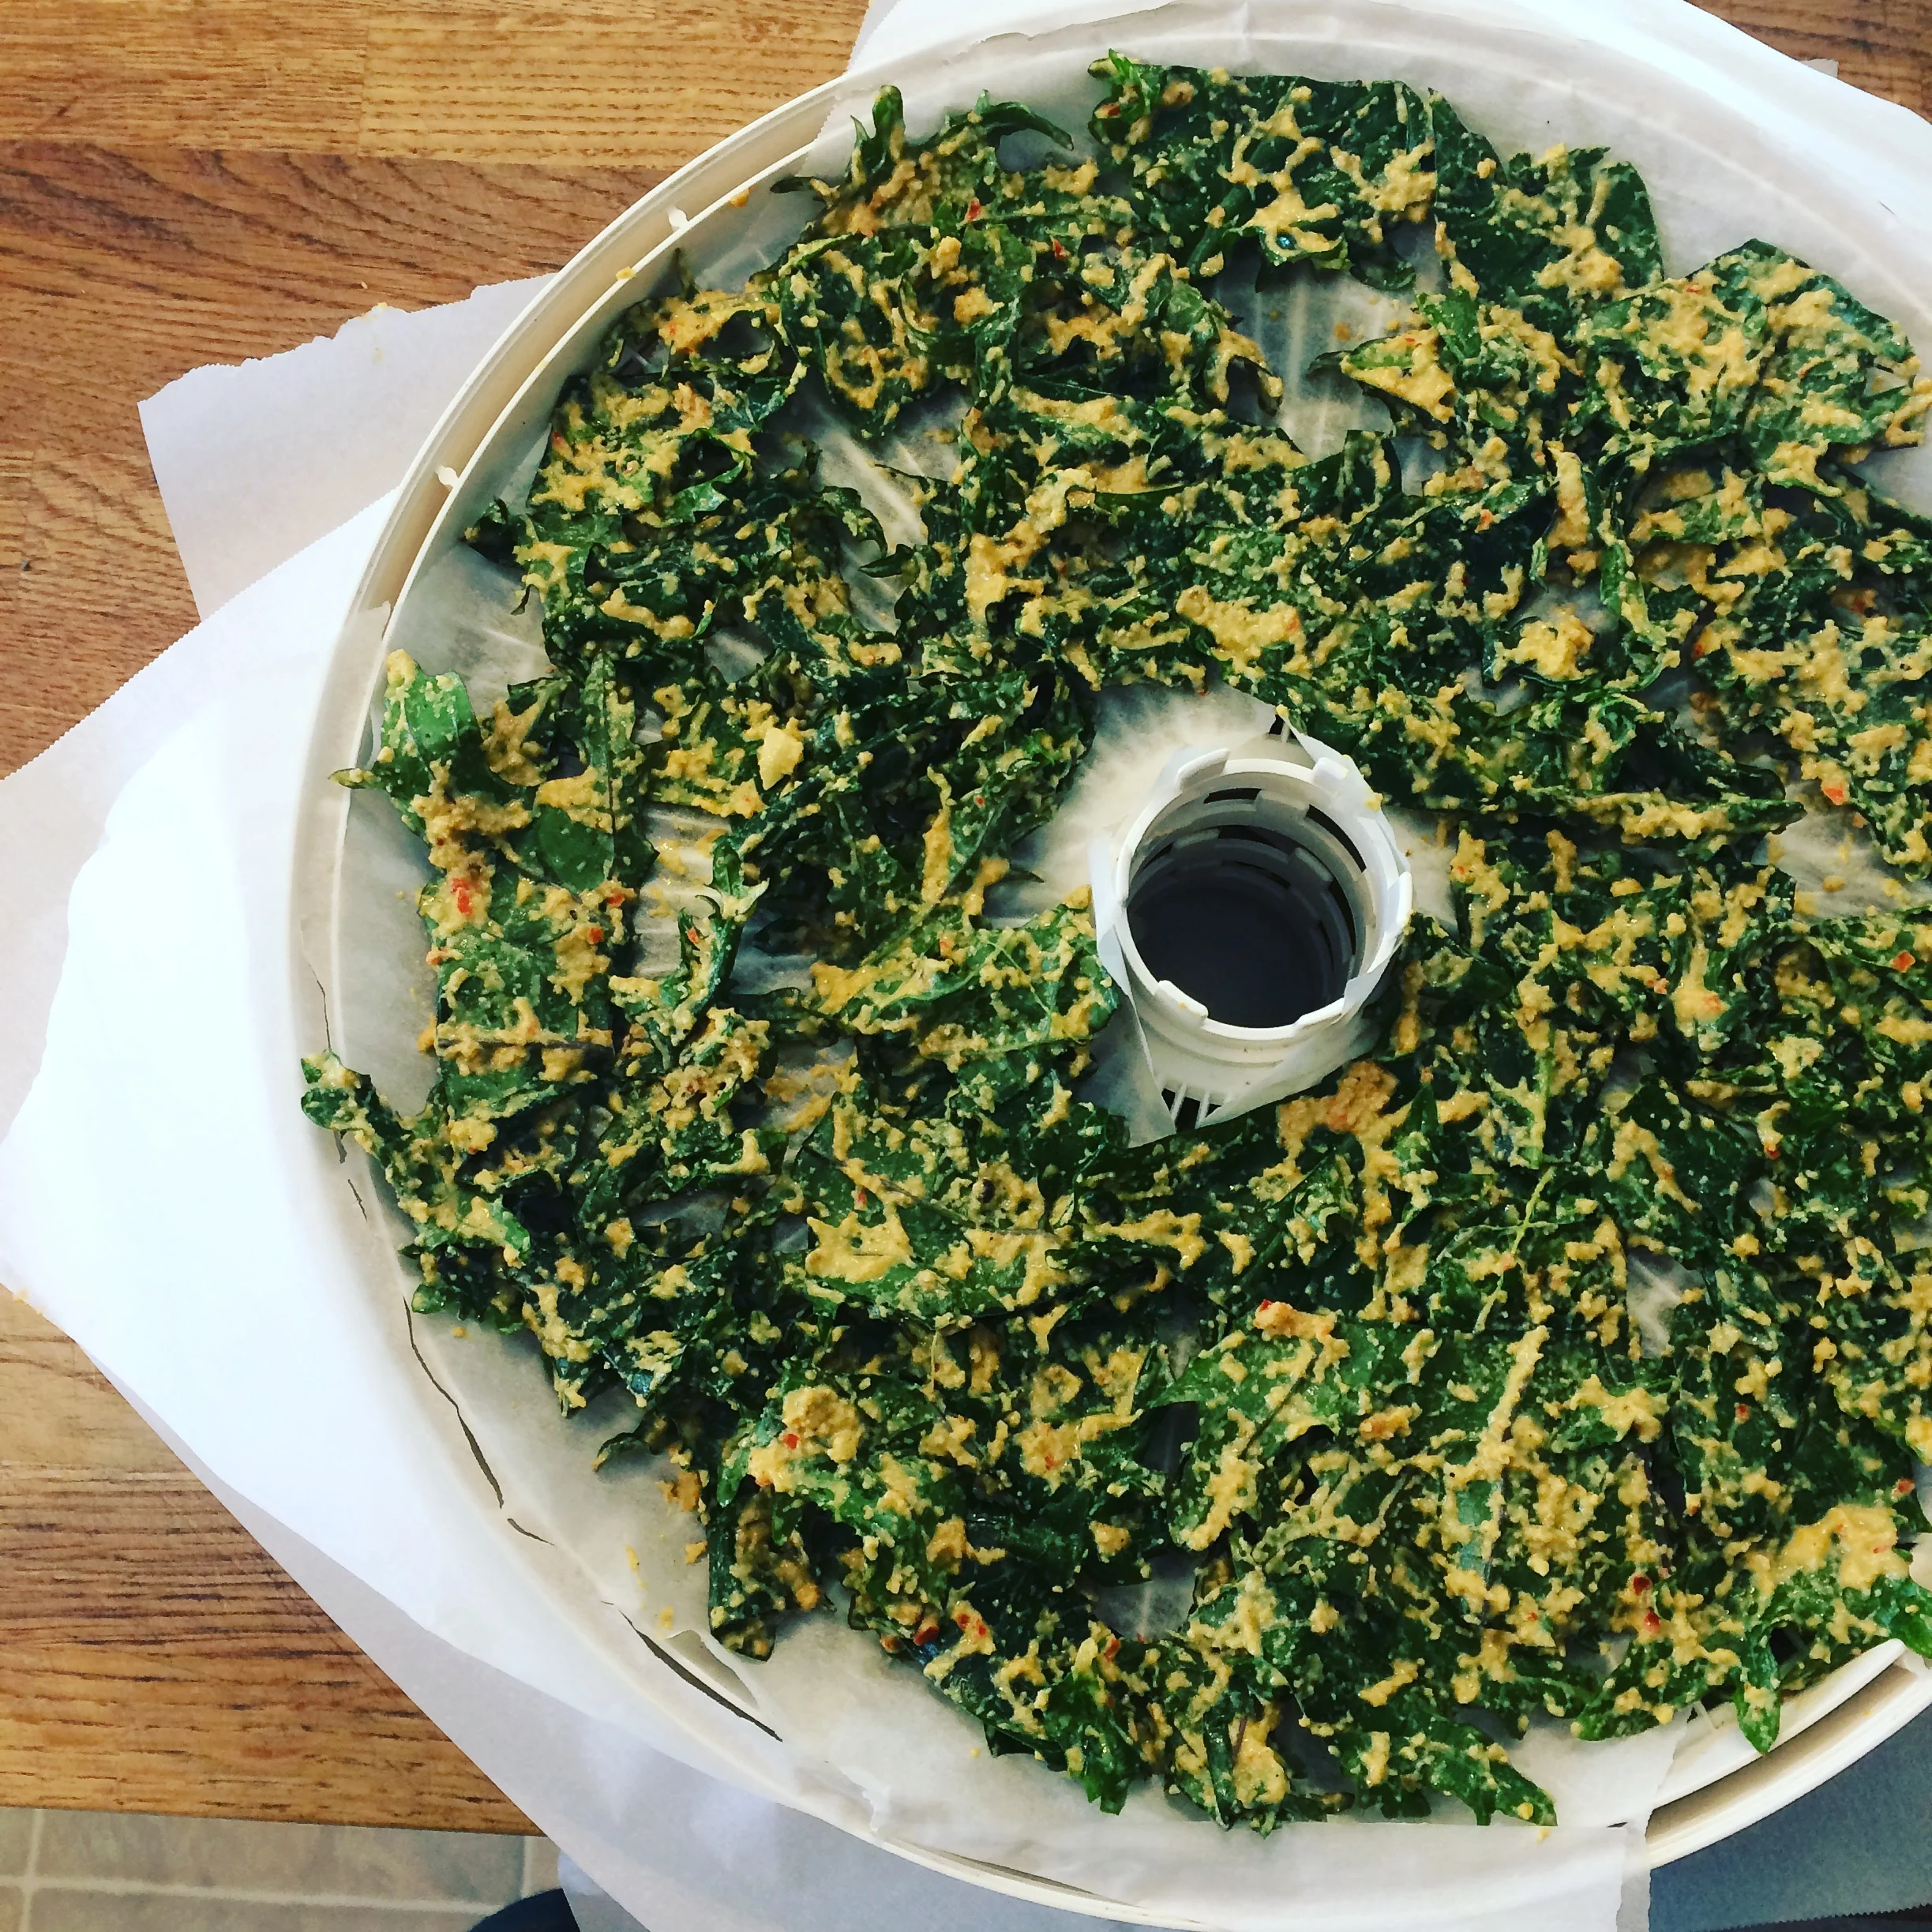
kale chips ready to go in the dehydrator
THE METHOD
Six to twelve hours before you plan to be making your kale chips, put your cashew pieces in a glass jar along with the apple cider vinegar, and cover with filtered water. Allow to sit on the counter with a lid on, and out of direct sunlight for 6-12 hours.
When you are ready to assemble your kale chips, dump the cashews and give them a good rinse. Put them along with the remaining ingredients (minus the kale!) in to a high powered blender and blitz to combine. You can also put in a tall glass jar and using your handblender, blitz the whole lot together.
Drop your dressing in to a big bowl, and add in your chopped bite sized pieces of kale. Using your hands, mash the paste into the kale leaves making sure each leaf is covered with the paste.
Simply lay out your slathered greens onto a parchment-paper lined cookie sheet and pop in to a preheated oven to the lowest temperature your oven can handle. Allow them to bake for anywhere between 45 minutes and 1.5 hours per side, depending on your oven and temp, flipping halfway through to bake evenly. You'll know they're done when they're crispy.
Alternately, you can also crisp these up in a dehydrator set to 115F for 6-8 hours.
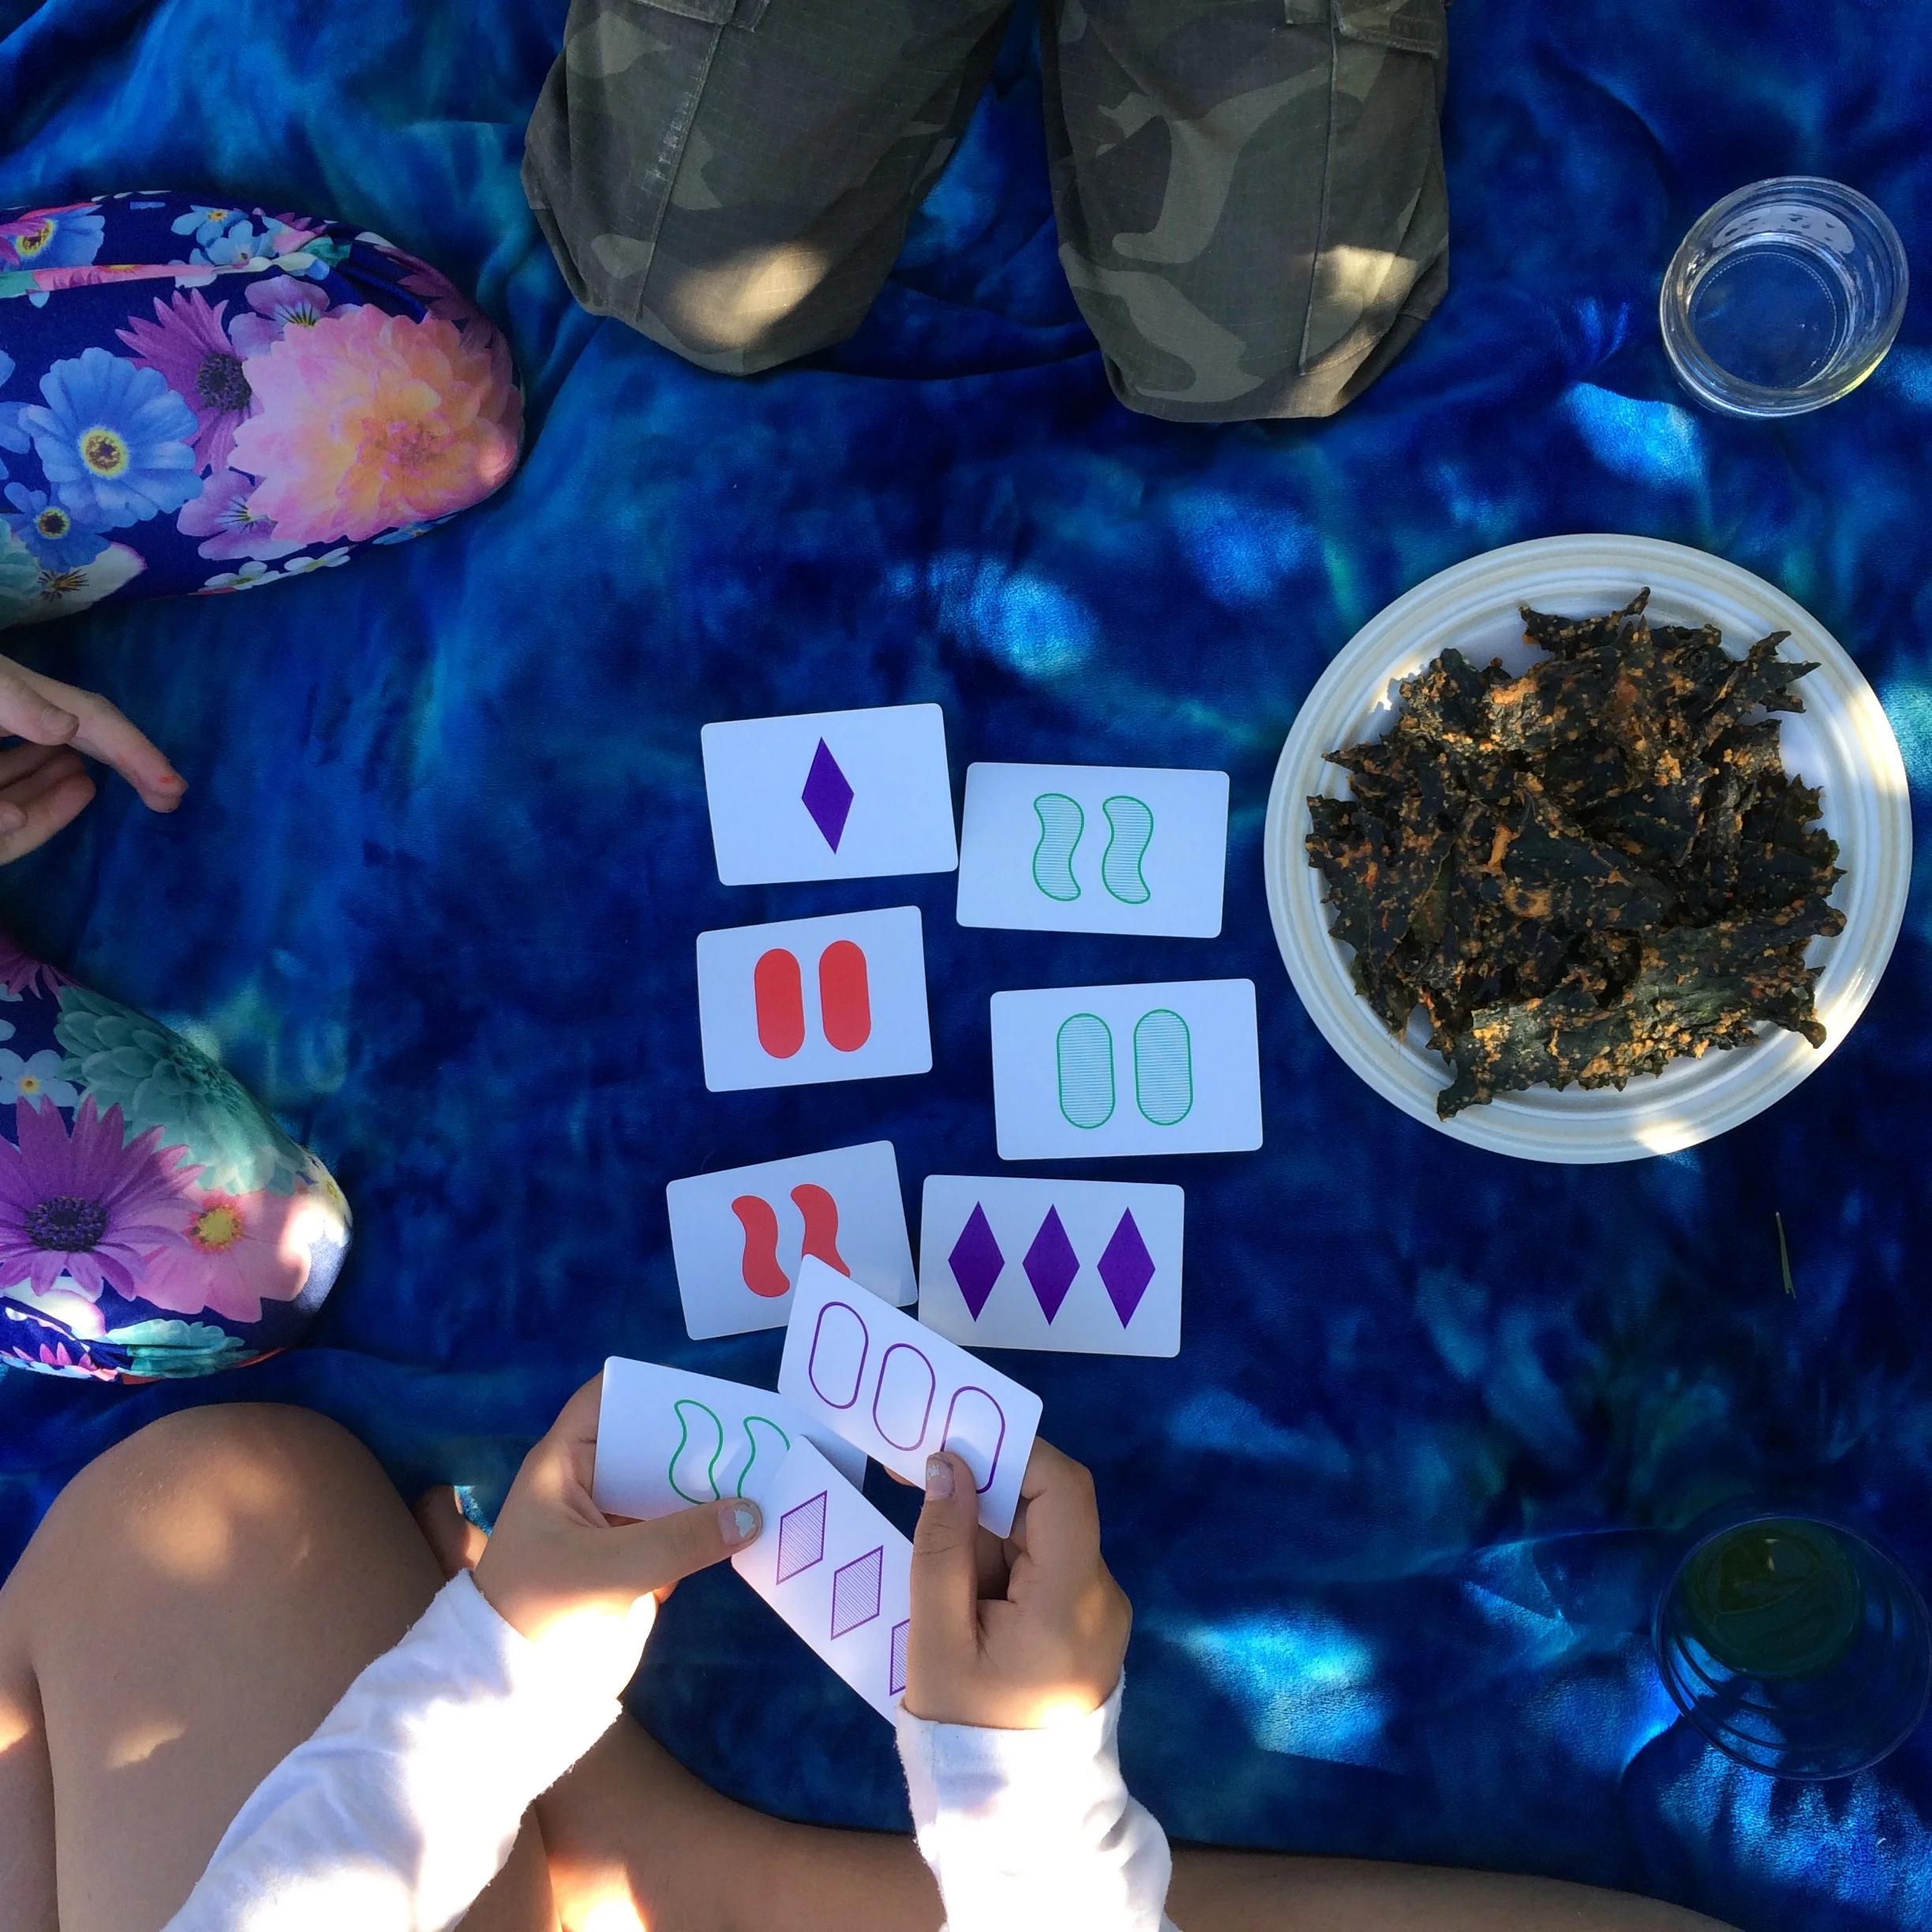
perfect snack to keep the littles satiated mid-afternoon
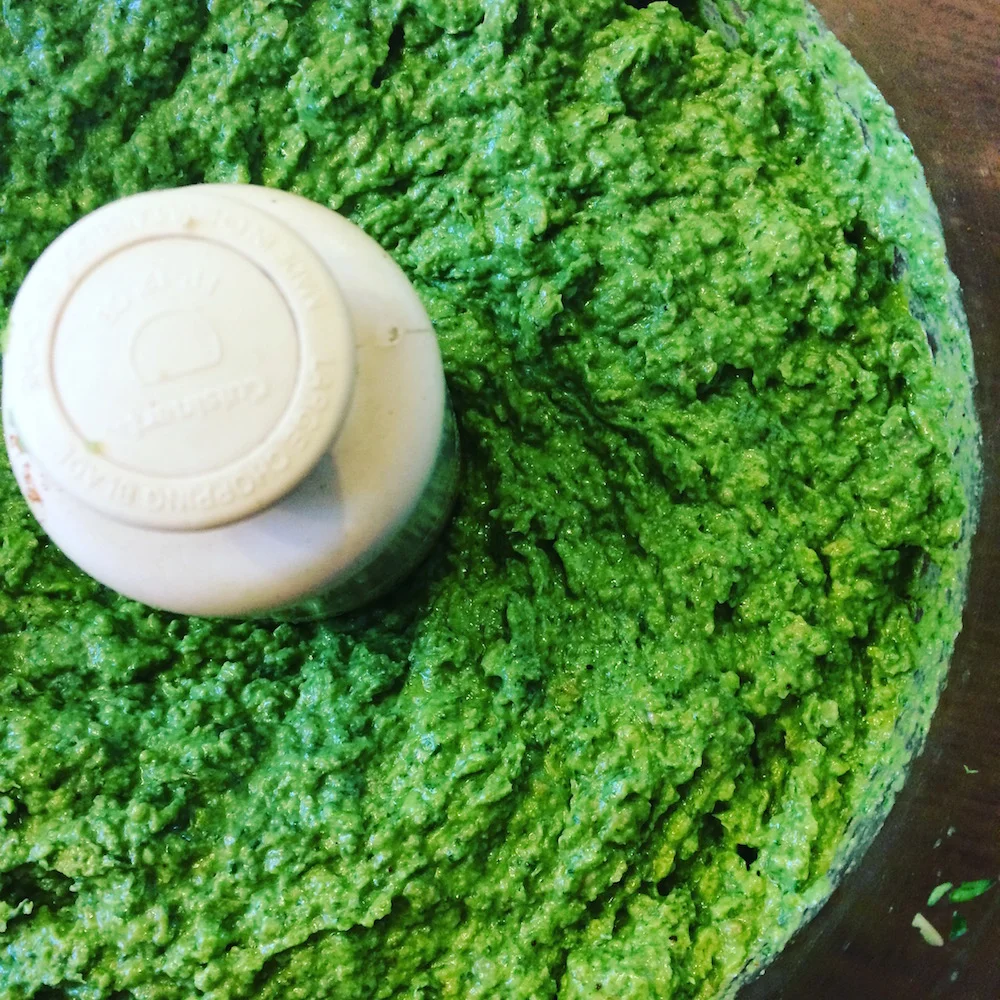
Pesto Template
Easy recipe for a pesto template. A brilliant way to support your liver, and provide your body with a cornucopia of vitamins, minerals and phytonutrients!
Happy New Year, my goodfoodies! I wish for you the most delicious and nourishing year yet, in 2018.

I thought this would be the perfect time to share with you a recipe I share with my clients. It's a template for any kind of greens you have on hand, helping to increase the intake of these delicious vegetables (read up on why you should eat your greens here!). It's a flavour booster that can easily re-invent leftovers into something delicious and new. I always have frozen ice cubes of pesto in the freezer at the ready. You can also choose to freeze them in portioned bags like Melanie at Full Bloom Herbals does it. (Thank you Melanie!)
This recipe calls to use whatever nut or seed you have on hand. It goes without saying that properly activating your seeds/nuts before eating them will increase your ability to digest them, and provide you with a better variety of nutrients too. Activate/sprout/soak if you can! (Or purchase ones already sprouted.) In my cilantro pesto, I find a combo of pumpkin seeds and sunflower seeds is divine.
As for the greens, you can mix and match or use up what you have in your fridge already. If you're looking to use some cilantro, I love the combo of one bunch of cilantro (properly washed! - it's grown in sand and can often impart a grittiness if not washed properly first) with a bunch of arugula. When trying new combos for the greens, think a cup of leafies like spinach or kale, and 1 cup of aromatic herb like basil or mint; do a whole 2 cups of spinach if that’s what you have on hand. I love using sorrel as one of my greens, this perennial grows readily in the garden, and can be found in the early days of spring.
PESTO TEMPLATE
2/3 cup of nuts or seeds
2 cloves of garlic, peeled
2 cups of greens
1/4 tsp sea salt
1/3 cup of good quality olive oil (I love the olive oil at Blue Door)
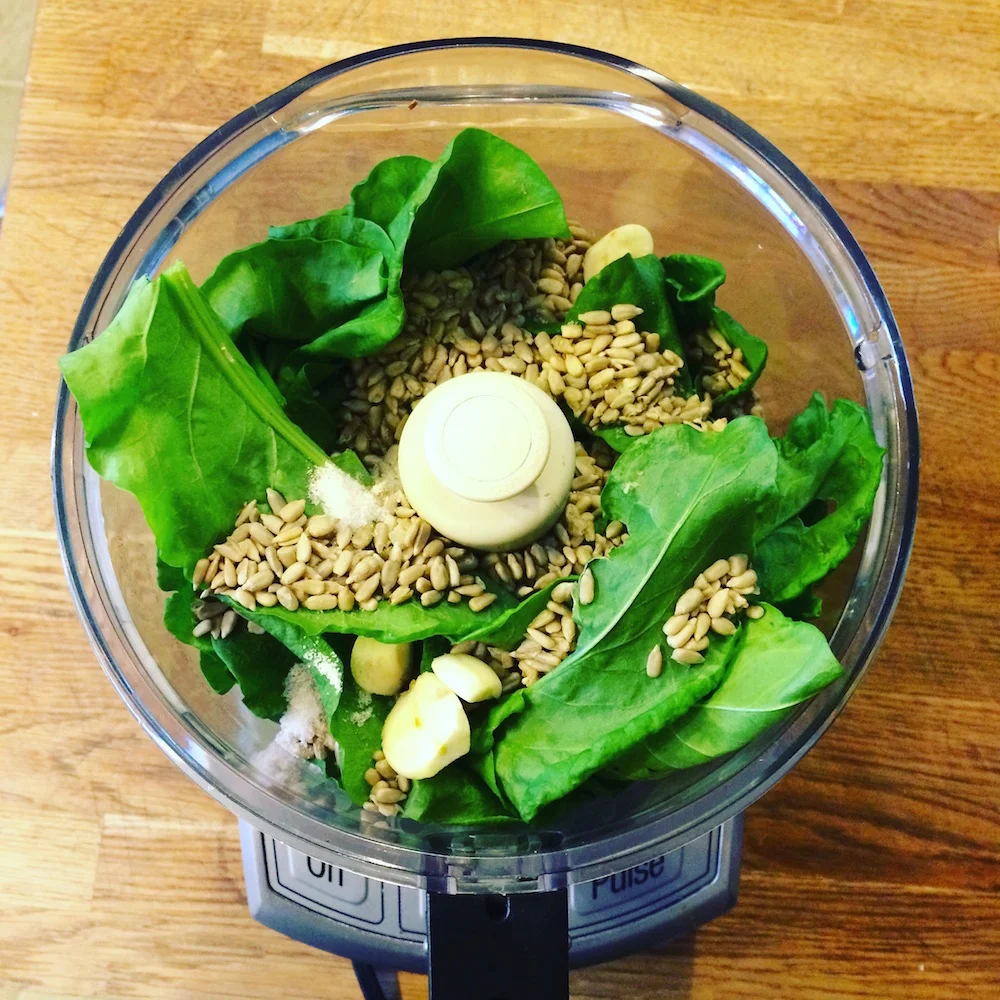
METHOD
- In a blender or food processor, pulse your nuts and/or seeds in order to mince.
- Add the remainder of your ingredients except the olive oil to the blender or food processor and pulse again to roughly combine.
- Mix in the olive oil by hand at the end, or drizzle it in bit by bit with the food processor. Store in a glass jar in the fridge and plan to use up in 5 days. Alternately, freeze all leftovers in to an ice cube tray for 3 days, and then pop out in to labelled freezer bags for easy retrieval.
This is my most favourite flavour upgrade. You could add some sundried tomatoes to the end product as well to add a tomato flavour. Toss in a handful of edible flower petals if it is deep summer and your garden is plentiful. Play with the flavours and ingredients! Keep it dairy free when you make it, and consider only adding something like a good quality Romano or Parmesan at the time of meal assembly. It offers you more versatility with an extra big batch.
How to use this pesto: use a cube of pesto tossed in to a few handfuls of shredded cabbage, carrots and mushrooms and cook up in a pan; use it to toss with roasted spaghetti squash strands, along with bacon and a bit of creme fraiche; toss in a cube or two with some roasted veggies (tomato, corn and peppers) to make a kind of pesto-ish side salad; toss some pesto in with a pound of ground meat and some minced mushrooms for an easy and flavourful dinner idea, wrapped in lettuce leaves; use some pesto with some shredded leftover chicken, add in some chili powder and use that on top of greens with a delicious homemade caesar dressing. Add a few cubes in with your leftover gravy, thinned with more meat stock and some shredded meat and voila, Soupe Pistou! What way would you use this pesto? Comment below!
Now go play with your food! And may your 2018 be your most delicious year yet.
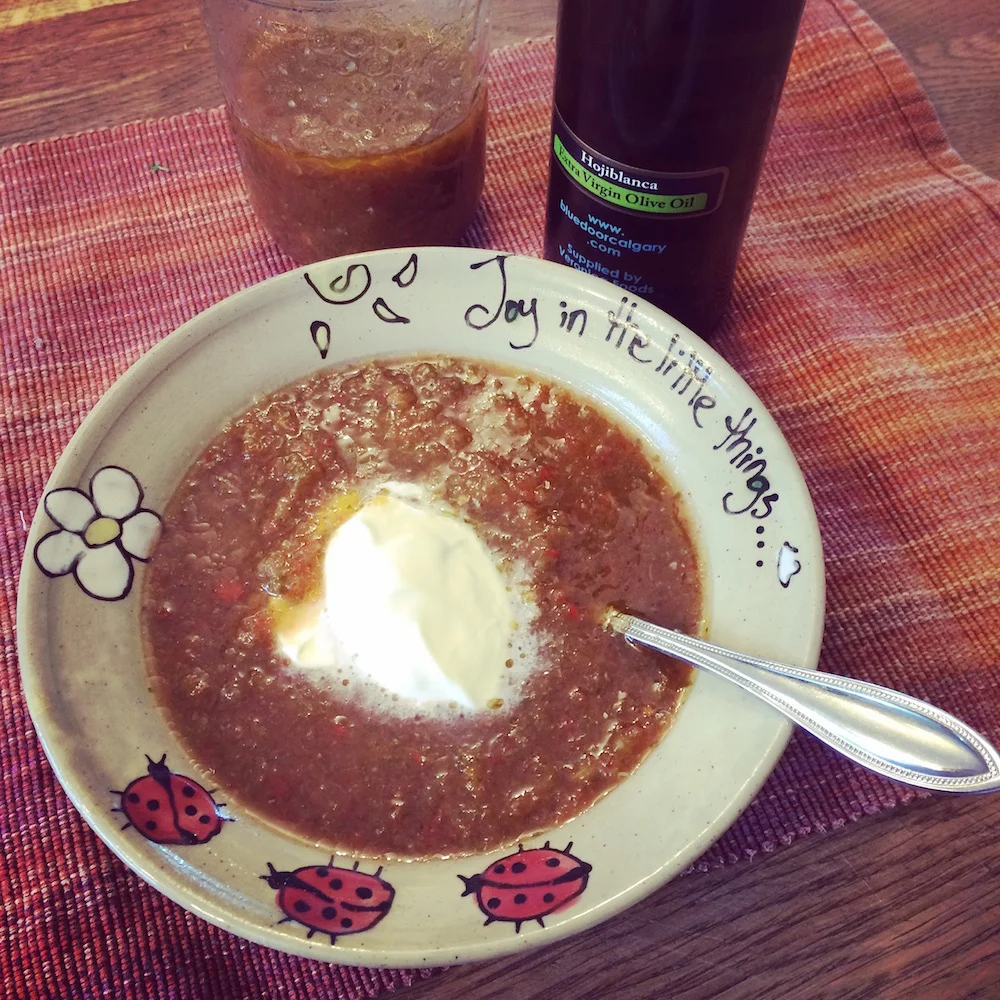
Gazpacho. Fermented.
New recipe on the blog, meant to take in the flavours of the season. Fermented Gazpacho, with flavour spikes from fused olive oil from Blue Door in Calgary, and flavoured vinegar from my wee garden patch. A nourishing probiotic-rich cold soup for the dog days of summer!
This is my story and I'm sticking to it. I had some cucumbers taking up space in my crisper, going a little soft. I had some lovely tomatoes from a local producer I had purchased in anticipation of my own tomatoes ripening at home, and so had to make something with them to make way for the home grown bounty. What does one make when one combines cukes and tomatoes? Well, gazpacho of course!
Being who I am, I couldn't just follow a recipe. Oh no, I had to experiment... I had some time on my hands. So play I did. Here is the finished product: Fermented Gazpacho! I fermented it in order to increase the nourishing aspects and add some probiotics to the mix. I fermented it in order to help it last in the fridge (fermenting extends the shelf life, did you know?). I also fermented in order to develop a really nice sour note to the cold soup; gazpacho just naturally lends itself to flavour explosions. I decided to try my hand at coming up with my own recipe.
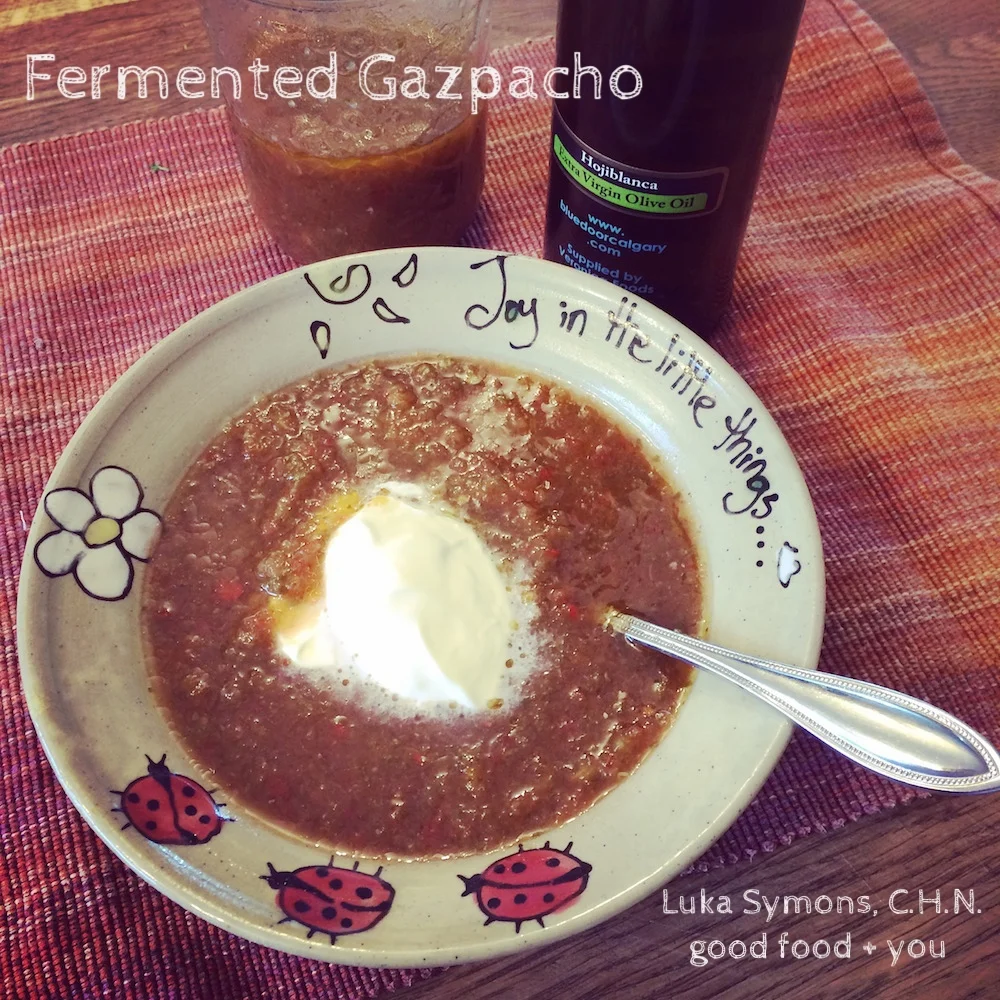
FERMENTED GAZPACHO
In a blender, combine until chunky (your desired consistency) or hand chop to pieces in the size you want:
- 5 mini cucumbers or 1 long english cucumber
- 4 tomatoes
- 2 bell peppers (I added colourful ones to enhance the visual glee you get from a gazpacho)
- 1 red onion
- 3 cloves of garlic (minced)
- 1 bunch of cilantro (minced)
- 1 bunch of parsley (minced)
- a handful of chives (minced)
Using a digital scale, pre-weigh a big kitchen bowl, big enough to hold your chopped veg. Mark down the weight of your bowl on a piece of paper, and return the bowl to the scale. Add your chopped veg. Mark the weight of the bowl + veg, and subtract the weight of the bowl: you have the total weight of veg! This is important, in order to know how much salt to use in order to allow for proper lactofermentation.
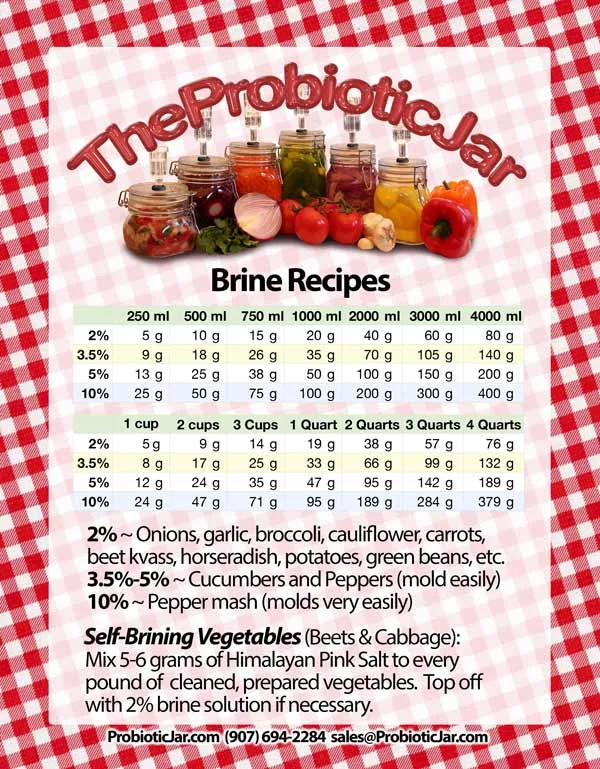
Handy chart to use to measure how much salt to volume. I prefer to measure by weight.
The good folks at The Probiotic Jar can do a much better and thorough explanation of how to figure out your salt brine percentage when making a ferment. See, when fermenting, it is crucial to set up the proper percentage of salt in your final product in order to have that tiny window that allows only the good probiotics to develop, selectively nixing out those that can't live in that salt percentage. This is how you ensure your product is food safe and won't mold, it's by ensuring the proper salt ratio for your ferment. And seeing as this gazpacho had cucumbers and peppers which are prone to mold, I opted to go for a 3.5% brine.
The total weight of my chopped veggies came to 1,623 grams. I multiplied this by 0.035 to get the 3.5% of weight to figure out how much salt to add to this lot. That turned out to be 57g of sea salt. I measured this amount out in a separate bowl using my digital scale, and then proceeded to swap out some of that salt for some leftover brine from a jalapeno+garlic ferment I did last summer. Knowing that 1 tbsp of sea salt can be replaced with 4 tbsp of leftover brine, I then whittled down the 57g of sea salt to 30g of sea salt by scooping out 2 tbsp of sea salt, and I added 1/2 cup of the juice from the jalapeno+garlic ferment, along with a few jalalpeno peppers for proper hit of spice.
It is important you figure out your own amount of sea salt you will need to add to your ferment, in order to ensure it is in that fine range to keep nefarious molds and bacteria out of the final product and make it a food safe venture. Do not follow my measurement, you won't have the same amount of veggies as I did. Each batch is different; it's why I am a big believer in measuring out in grams on a digital scale. It's not as hard as it seems!
Mix the salt + brine (if you are using) in with the vegetables well, and pour your final mix into a fermenting jar that will fit, or a fermenting crock or my favourite, a Fido jar. Make sure the lid is on tight, and if it's a jar you are using, mix your gazpacho every day by tipping upside down and right side up again to redistribute the veggies and salt, in order to prevent mold from developing on the top. If you have your gazpacho in a crock, it might be wise to mix it every day to redistribute the salt and re-submerge the tender veggies.
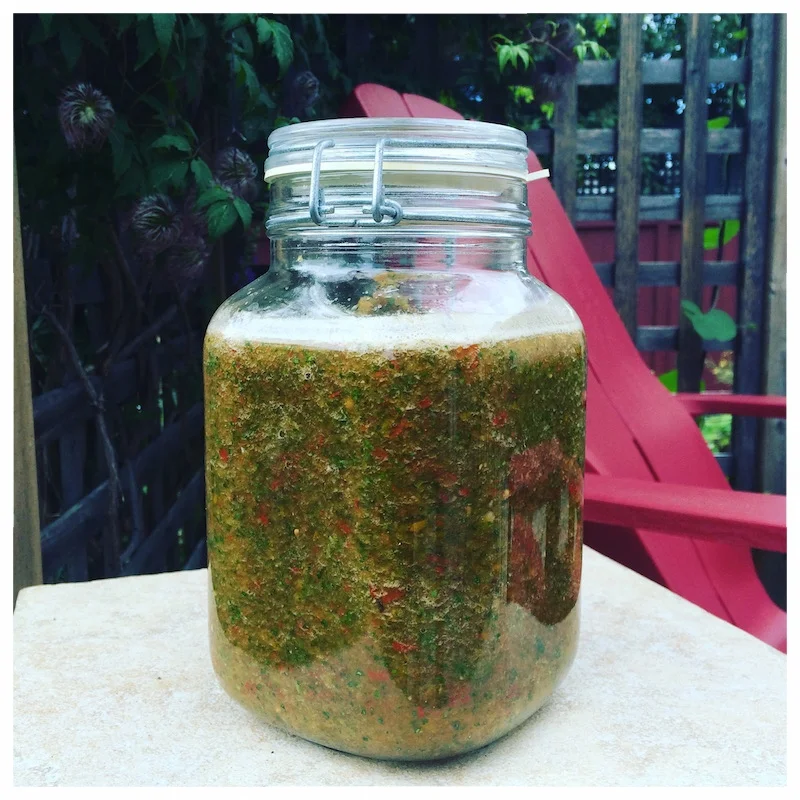
Gazpacho fermenting in my 2L Fido jar.
I let mine sit on the counter for 5 days, but you may prefer the taste at 3 days. It gets a bit more sour as the days go by, so when you decide to tuck in the fridge is completely dependant on your taste buds and preferences.
After the fermentation time on the counter, add to your jar:
- 1/4c flavoured olive oil (I used the Hojiblanca olive oil from Blue Door Oil + Vinegar, but you could use any flavour of olive oil here. Milanese Gremolata might impart that je-ne-sais-quoi!)
- 1/4c red wine or balsamic vinegar or flavoured vinegar (I used my homemade chive blossom vinegar)
- 2 tbsp of lime juice (fresh is best)
- Optional: hot sauce, chipotle peppers, red chili flakes
Mix well, and store the soup now in the refrigerator. Adding these ingredients deepen the flavours of the gazpacho, making each batch a unique offering. Having the good quality olive oil in the mix also imparts anti-inflammatory benefits, and packs on the nourishment and fats to help you assimilate more of the nutrients found in the gazpacho. Up that nutritional ante! Play with your food! And add a dollop of creme fraiche at serving time while you're at it.
The soup will keep for a minimum of 7 days, but I bet you'll run out before the end of day 2.
Bon appetit, les ami(e)s.
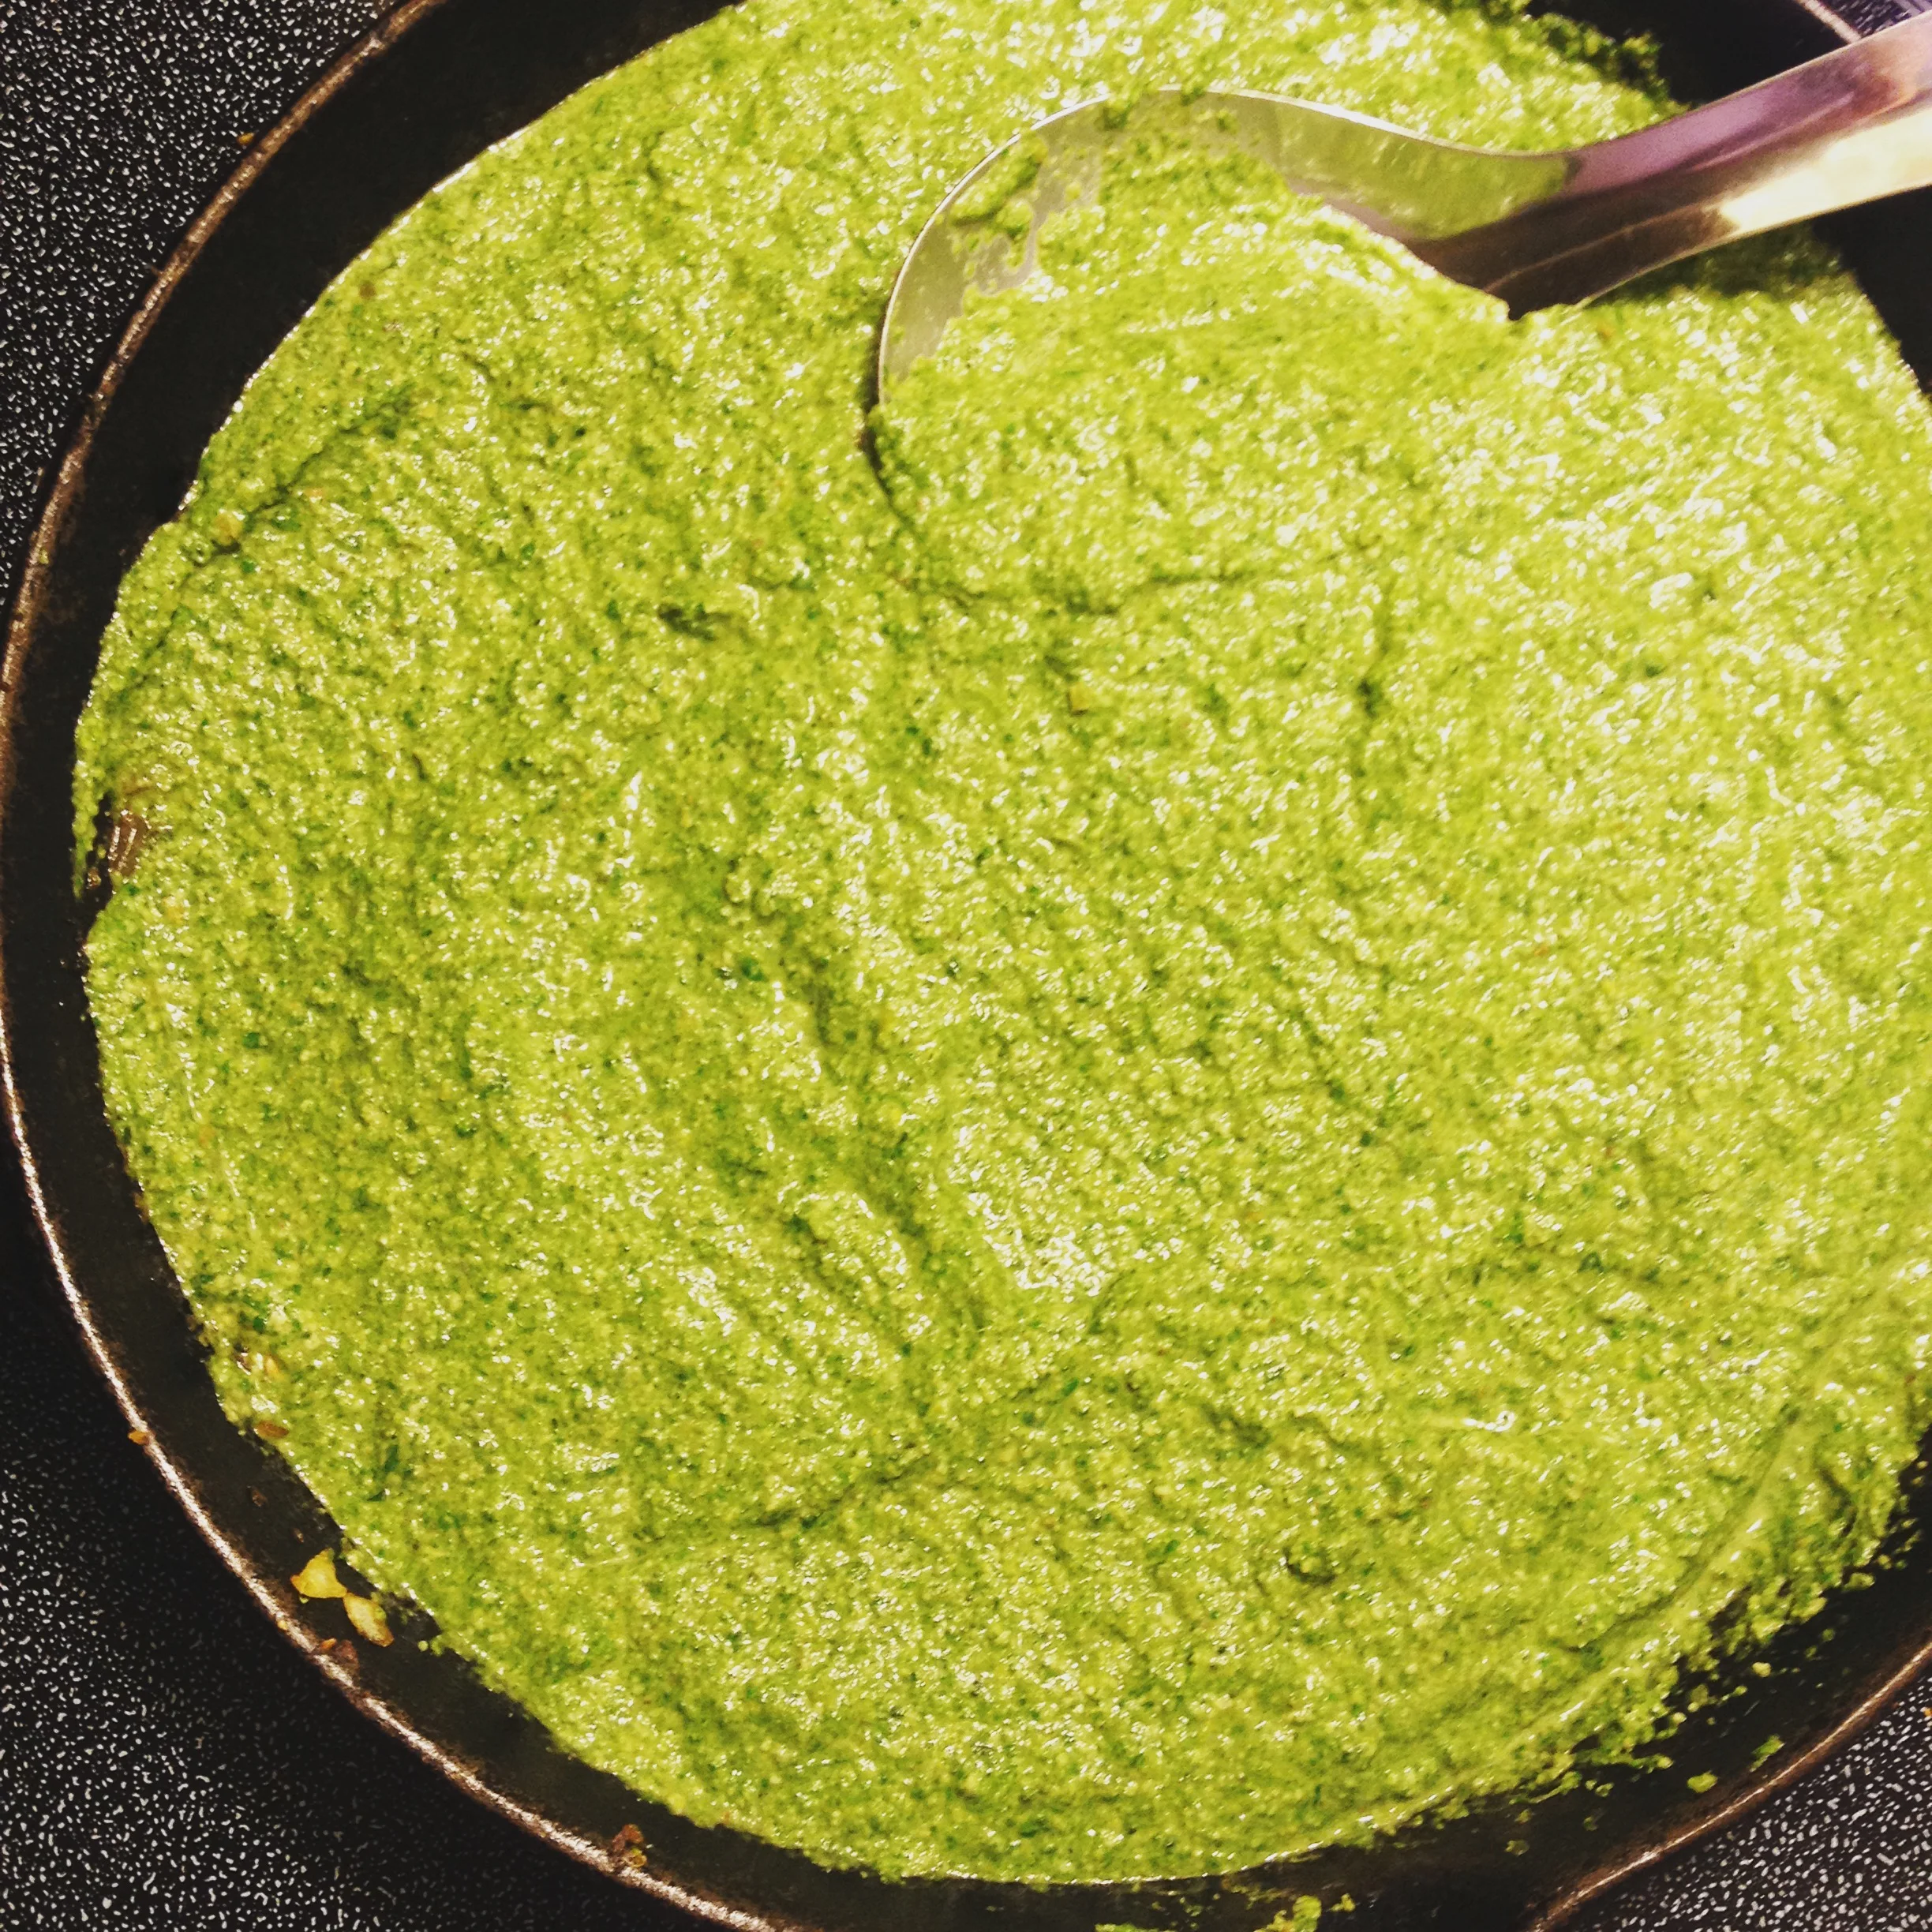
Easy Sides - Palak
I love greens. We all know we should eat them. Some may like them, others may have a hard time choking them down. I have a little one who won't eat a salad, say, but she'll devour this easy side every time I make it. In fact, she requests it on a regular basis. Making a nourishing side like this makes me feel like EVERYTHING IS GOING TO BE OK. She had some greens. (And so did I, in the process.)
Recipe for an easy side (or veggie loving main!) – Palak
I love greens. We all know we should eat them. Some may like them, others may have a hard time choking them down. I have a little one who won't eat a salad, say, but she'll devour this easy side every time I make it. In fact, she requests it on a regular basis. Making a nourishing side like this makes me feel like EVERYTHING IS GOING TO BE OK. She had some greens. (And so did I, in the process.)

Easy Sides. Palak. GF DF
I also just did a presentation last night on the importance of soaking nuts and seeds, grains, beans and legumes. We touched on the why, went over the how, and talked about alternatives to make it a do-able task in any kitchen. I will offer this class again in the future, to be sure, but let it be known that if this is a topic that is of interest to you and you'd like to gather a small group of friends or co-workers to explore the why and the how, get in touch.
This recipe has evolved over the years, and started out as an offering for dinner from my friend Virginia. So thank you, Ginny. This is a nourishing and nutrient-packed food that can be served as a main at your meal, or as a delicious side. You get to pick. Oh yes, it reheats beautifully for lunches and future meals, so make sure to make a double batch. I intended for this to be a double batch, but we wolfed it all down at dinner last night. I guess we were hungry.
This is a great way to get those greens in. It's also one to tuck in the 'Remember for the Summer' file, for when your garden is overrun with greens and you just don't know what to do with them. For this recipe I made last night, I used a big container of organic spinach, threw in 3 leaves of swiss chard (chopped the ribs separately and added them earlier in the cooking time along with the onions), about a handful of broccoli and half a bunch of fresh parsley, stems and all. I love adding fresh herbs to this kind of meal, as aromatic herbs tend to be higher in polyphenols and antioxidants, and where there are polyphenols, one should think 'anti-inflammatory' and 'liver love'. (Same goes for cilantro. That would be yummy in this dish!)
Know that pre-soaking does involve a bit of fore-thought, but it will certainly be worth it. As Isa from the Post Punk Kitchen says, 'A.B.S. Always Be Soaking.'
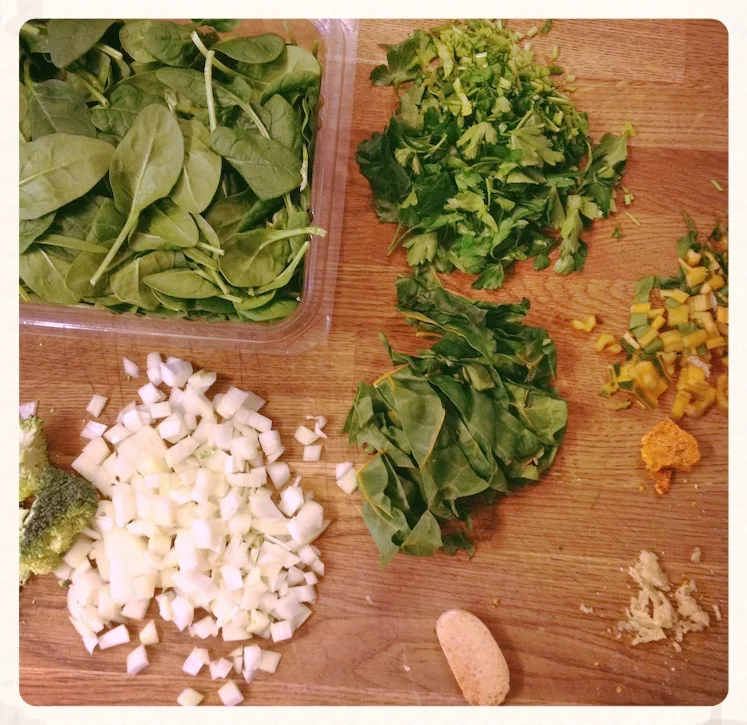
Mise-en-place will benefit you greatly here.
THE PLAYERS
1 cup cashew nuts
1 tbsp lemon juice
filtered water
2 tbsp solid cooking fat (I love coconut oil here, to support the curry flavours but ghee or butter works)
1 onion, minced
1 tbsp minced garlic
1 tbsp minced ginger, fresh
½ tbsp minced turmeric root, fresh (optional – you could use turmeric powder instead, about ½ tsp)
big container or two bunches of greens, chopped
3 tsp Madras curry powder
1 tbsp curry paste (You can use store-bought, or make your own like the Korma paste I made from Jamie Oliver's book Food Revolution)
2 tsp good quality sea salt
2 tsp lemon juice
pepper
THE HOW-TO
- At least 8 hours before you plan to make this dish, pop your cashews along with the lemon juice in a glass jar, and cover with filtered water. Put your cover on, and allow it to sit at room temperature on the counter for the day, or at least 6 hours. If you think you will be too busy the morning of this meal, do it the night before, and when you come to breakfast, pop that jar in the fridge to use later that day. No harm in letting it soak a bit longer.
- When it's time to start dinner, take all of your ingredients out, along with your blender and a big bowl, if your blender is a hand blender. Chop up your veggies so they're ready to go. (Mise-en-place will help you immensely in this kind of scenario.)
- Set a deep and wide pan or pot on your burner on medium, and heat up. When it's hot, add your solid fat, allow it to melt, and throw in your onion, ginger and turmeric (if using). Sauté in your pan, moving the bits around, for about 5 minutes, then add the garlic, curry powder and curry paste. Sauté this in your pan for a minute or two, until it's very fragrant.
- Add your greens at this point, from the toughest greens down to the ones that will cook fastest, and toss around until they're wilted and cooked through. (Broccoli will take longer to cook than parsley, so wait a bit before adding the parsley.)
- In a big bowl, dump your soaked cashews along with the liquid they're in, and blitz them in to a paste using a handblender. Alternately, you can also do this in a blender. Once they are nice and creamy, you want to add the concoction from the pan (greens, onions, spices, flavours) and blitz them in with the blended cashews, until they are a nice creamy consistency. Dump the whole lot back in the pan.
- Set your heat to medium low, add your lemon juice and pepper, and adjust your flavours. If you want it to sing a bit more, add some salt; if you'd like a bit more bitterness, add a bit of lemon juice. If it's too thick, add some stock or water to the mix, until it has reached your desired consistency. Serve as soon as it's warmed up.
- If you're ok with dairy, you can turn this into Palak Paneer: once your greens and cashews are blended, leave them in the bowl or blender, and turn your pan back on. Add some solid cooking fat to the pan when it's ready, and pan-fry some paneer chunks until nice and golden. Halloumi cheese might be good to use here too! When they are golden, dump your palak back in with the paneer, and continue on as the recipe states above.
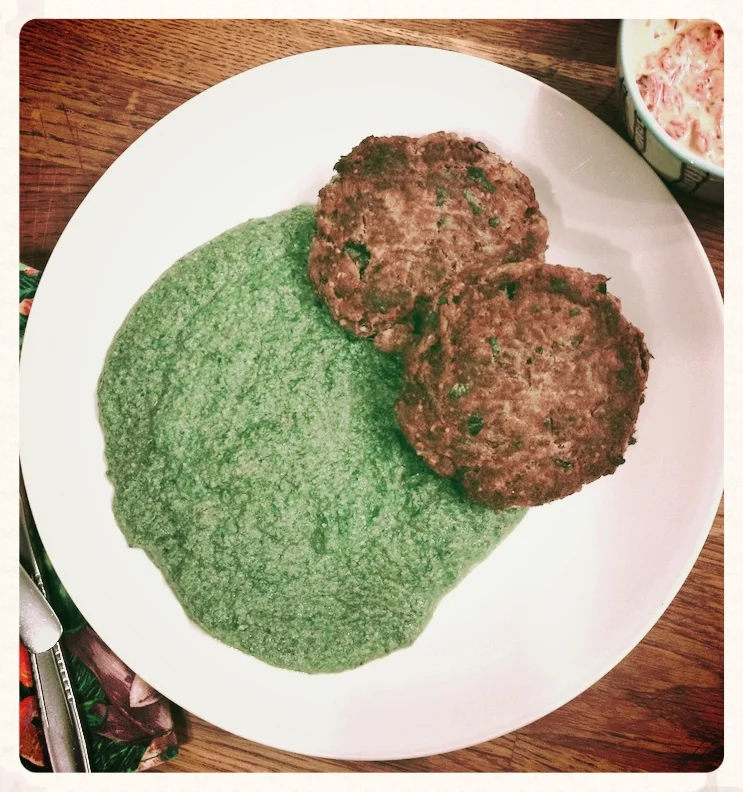
Generous helping of Palak, with Salmon Burgers and kimchi horseradish compound mayo.