
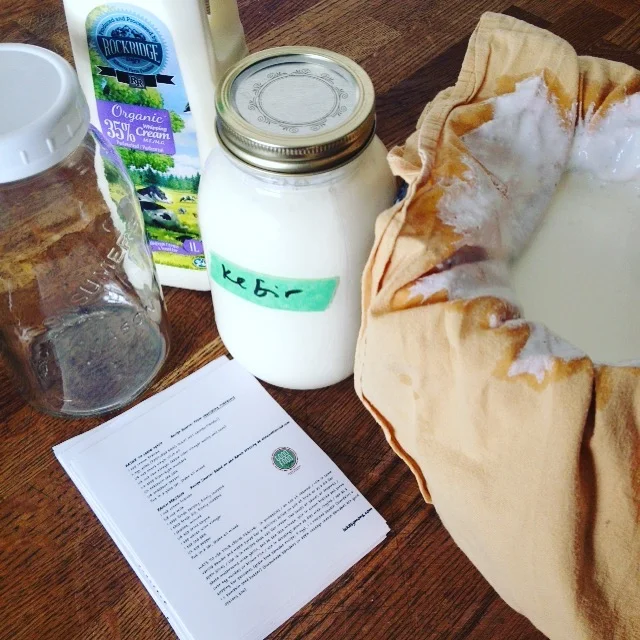
MY FAVOURITE FERMENT
I've had fermenting on the brain for the better part of the last three years, discovering the health benefits, enjoying the variety of flavours and appreciating the complexity of time married with salt and vegetables, or playing with those flavours and dreaming up new taste combinations for my adventuresome palate. Through my travels and explorations, it has become clear to me that there is one ferment that really stands out above most for me, for many different reasons. Let me explain.
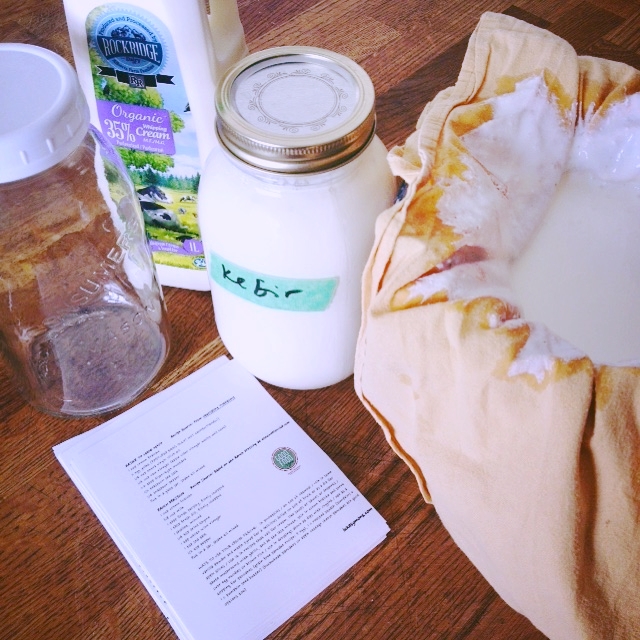
Making Crème Fraîche. And straining milk kefir made with 3.5% non homogenized milk, soon to become kefir cheese.
I've had fermenting on the brain for the better part of the last three years, discovering the health benefits, enjoying the variety of flavours and appreciating the complexity of time married with salt and vegetables, or playing with those flavours and dreaming up new taste combinations for my adventuresome palate. Through my travels and explorations, it has become clear to me that there is one ferment that really stands out above most for me, for many different reasons. Let me explain.
Let's talk delicious and nutritionally dense Crème Fraîche. You take whipping cream and inoculate it with the good kefir bugs for a minimum of 24 hours, and it becomes one of those 'better than the sum of its parts' kinda deal. The end result of this ferment (because that is precisely what is going on here, the fermentation of this good full fat cream) not only breaks down all lactose found in the cream with that 24+ hour window, your probiotic count goes through the roof in this time. Depending on how you prepare your crème fraîche, your probiotic count can certainly be comparable if not supersede the number of colony forming units (CFUs) OR NUMBER OF GOOD BUGS found in a supplement. It's ridiculously easy, requires no heating, no special equipment save from a glass jar and maybe some tape and a pen. It's economical, to boot. By fermenting the whipping cream, you are increasing the nutritive value of the food as well, as during the fermentation process, those good bugs are freeing up more vitamins and minerals and making them easier to absorb and digest for you. They're also creating beneficial acids that can play a role in balancing out the pH in your gut to bring it back closer to what Ma Nature intended it to be, all the while equipping you to better handle and battle unsuspecting E. coli outbreaks, thereby playing a role in protecting you against possible food poisoning.. And those probiotics? Well heck, some can take heavy metals out of circulation so you don't absorb them. And get this, milk kefir is a more potent probiotic food than yogurt is, by a long shot. It is also a very valuable place to get your vitamin K2 in order to ensure good bone health and mental health too, a heart healthy vitamin and a good cancer fighter to boot.
Did I mention it's ridiculously easy? And versatile? And delicious? And economical? Because that's what counts at the end of the day for me. (Bonus if it's good for me too.)
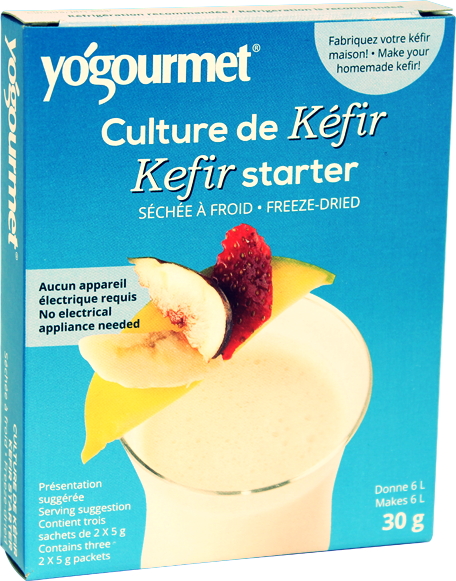
Where to find the particulars: I buy the package of kefir starter at my local favourite health food store, in the refrigerator exactly where the yogurt and kefir is usually kept. You will be looking for a box resembling the picture just above. Make sure it says KEFIR on it, not yogourt.
THE HOW-TO:
1 litre of 35% whipping cream (preferably organic)
1 packet of Kefir Starter (info here) (there are 6 envelopes per package of culture starter, use only one)
a one litre sized glass jar
Put all contents in a jar. Shake vigorously. Leave on the counter for at least 24 hours, at which time that cream will eventually turn into a more sour-cream-like consistency. Make sure to shake it up a few times during that 24 hour period to ensure good distribution of the bugs. Tuck it in the fridge. You're done.
Did you get that it was easy?
Why I like it: it's a fabulous source of good saturated fats if you're able to tolerate dairy that can play a big role in helping in support strong bones, cardiovascular health, liver protecting, good brain and nervous support and excellent immune support; when paired with something sweet like raspberries or pears or peaches, it slows down the hit of sugar to your system to make it a more even release into your blood stream, contributing to keeping your hormones in balance and going easy on your adrenals and supporting a more balanced mood. It's so easy to whip up for a lunch or an on-the-go-snack to tide you over until dinnertime. When you make it with this kefir starter, in your 100 g serving you will be ingesting 100 billion live and active bacteria.
If your mind isn't sufficiently blown yet, know this: the taste will send you over the edge. Eat it straight up, or mix it in with salsa or some pesto for a yummy dip. Add a dollop of maple syrup, splash of vanilla and a handful of frozen raspberries for that lunchtime nourishing dessert treat. Make a batch with more maple syrup and raspberries and churn it in your ice cream maker for a most wonderful and delicious treat. Add matcha green tea powder for that extra kick of antioxidants and decadence. Use it as a base for a creamy salad dressing, just add lemon juice and a touch of honey. Use it wherever a recipe indicates using thick cream or sour cream: finish off a butter chicken sauce with the stuff, making sure to add the fermented cream AFTER heating of the sauce in order to retain more of the good bugs.
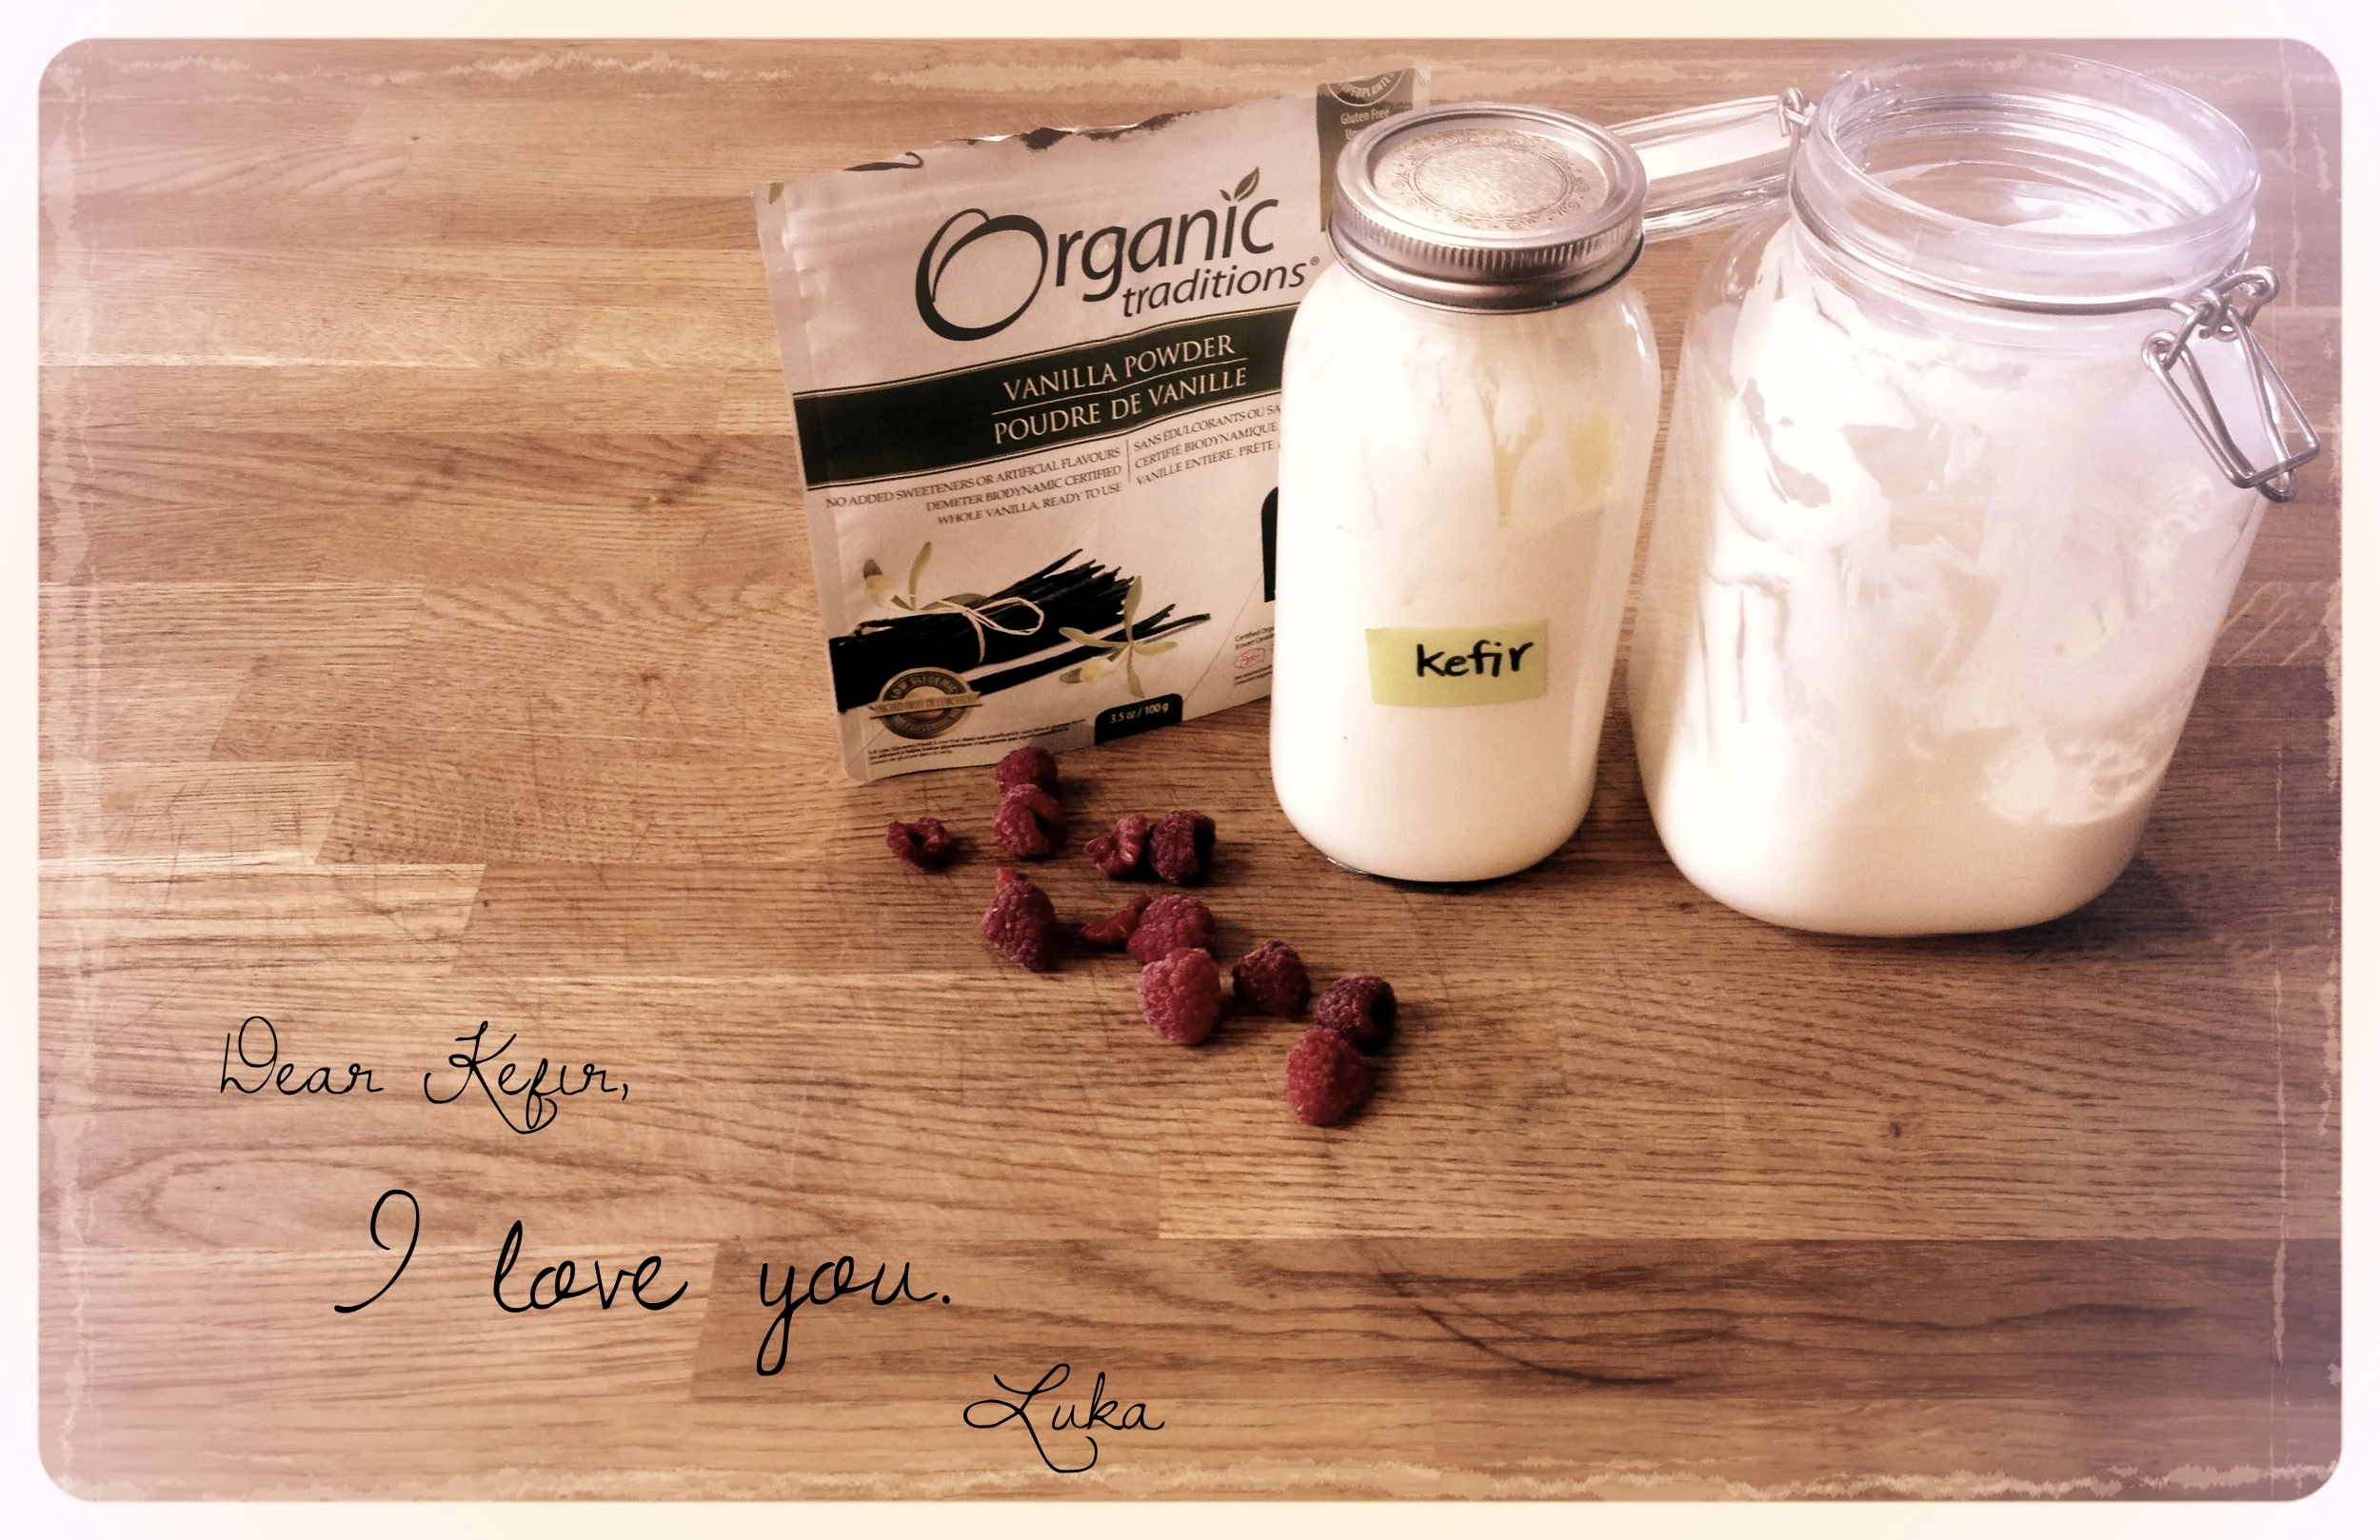
My love letter.
Whatever you do, may I recommend you do it soon. Once you try this stuff, there is no going back.
*To be clear, this is but one way to make Crème Fraîche. At home, I use milk kefir grains that are higher in probiotic count and diversity than those found in these culture starters (and doing it this way means no skim milk powder!), but they require a bit more hand holding and caring. This starter is a good place to get acquainted with the magic of Crème Fraîche. Let me know how you make out, and what kinds of flavour combos get you going. (Imagine this made into ice cream, and combined with a homemade probiotic soda to have homemade superprobiotic floats! The world will never be the same!)
**Curious as to why powdered skim milk or whey powder isn't the best thing for you? Read on. (And yes, this kefir powder has skim milk powder in it. In the interest of information.)
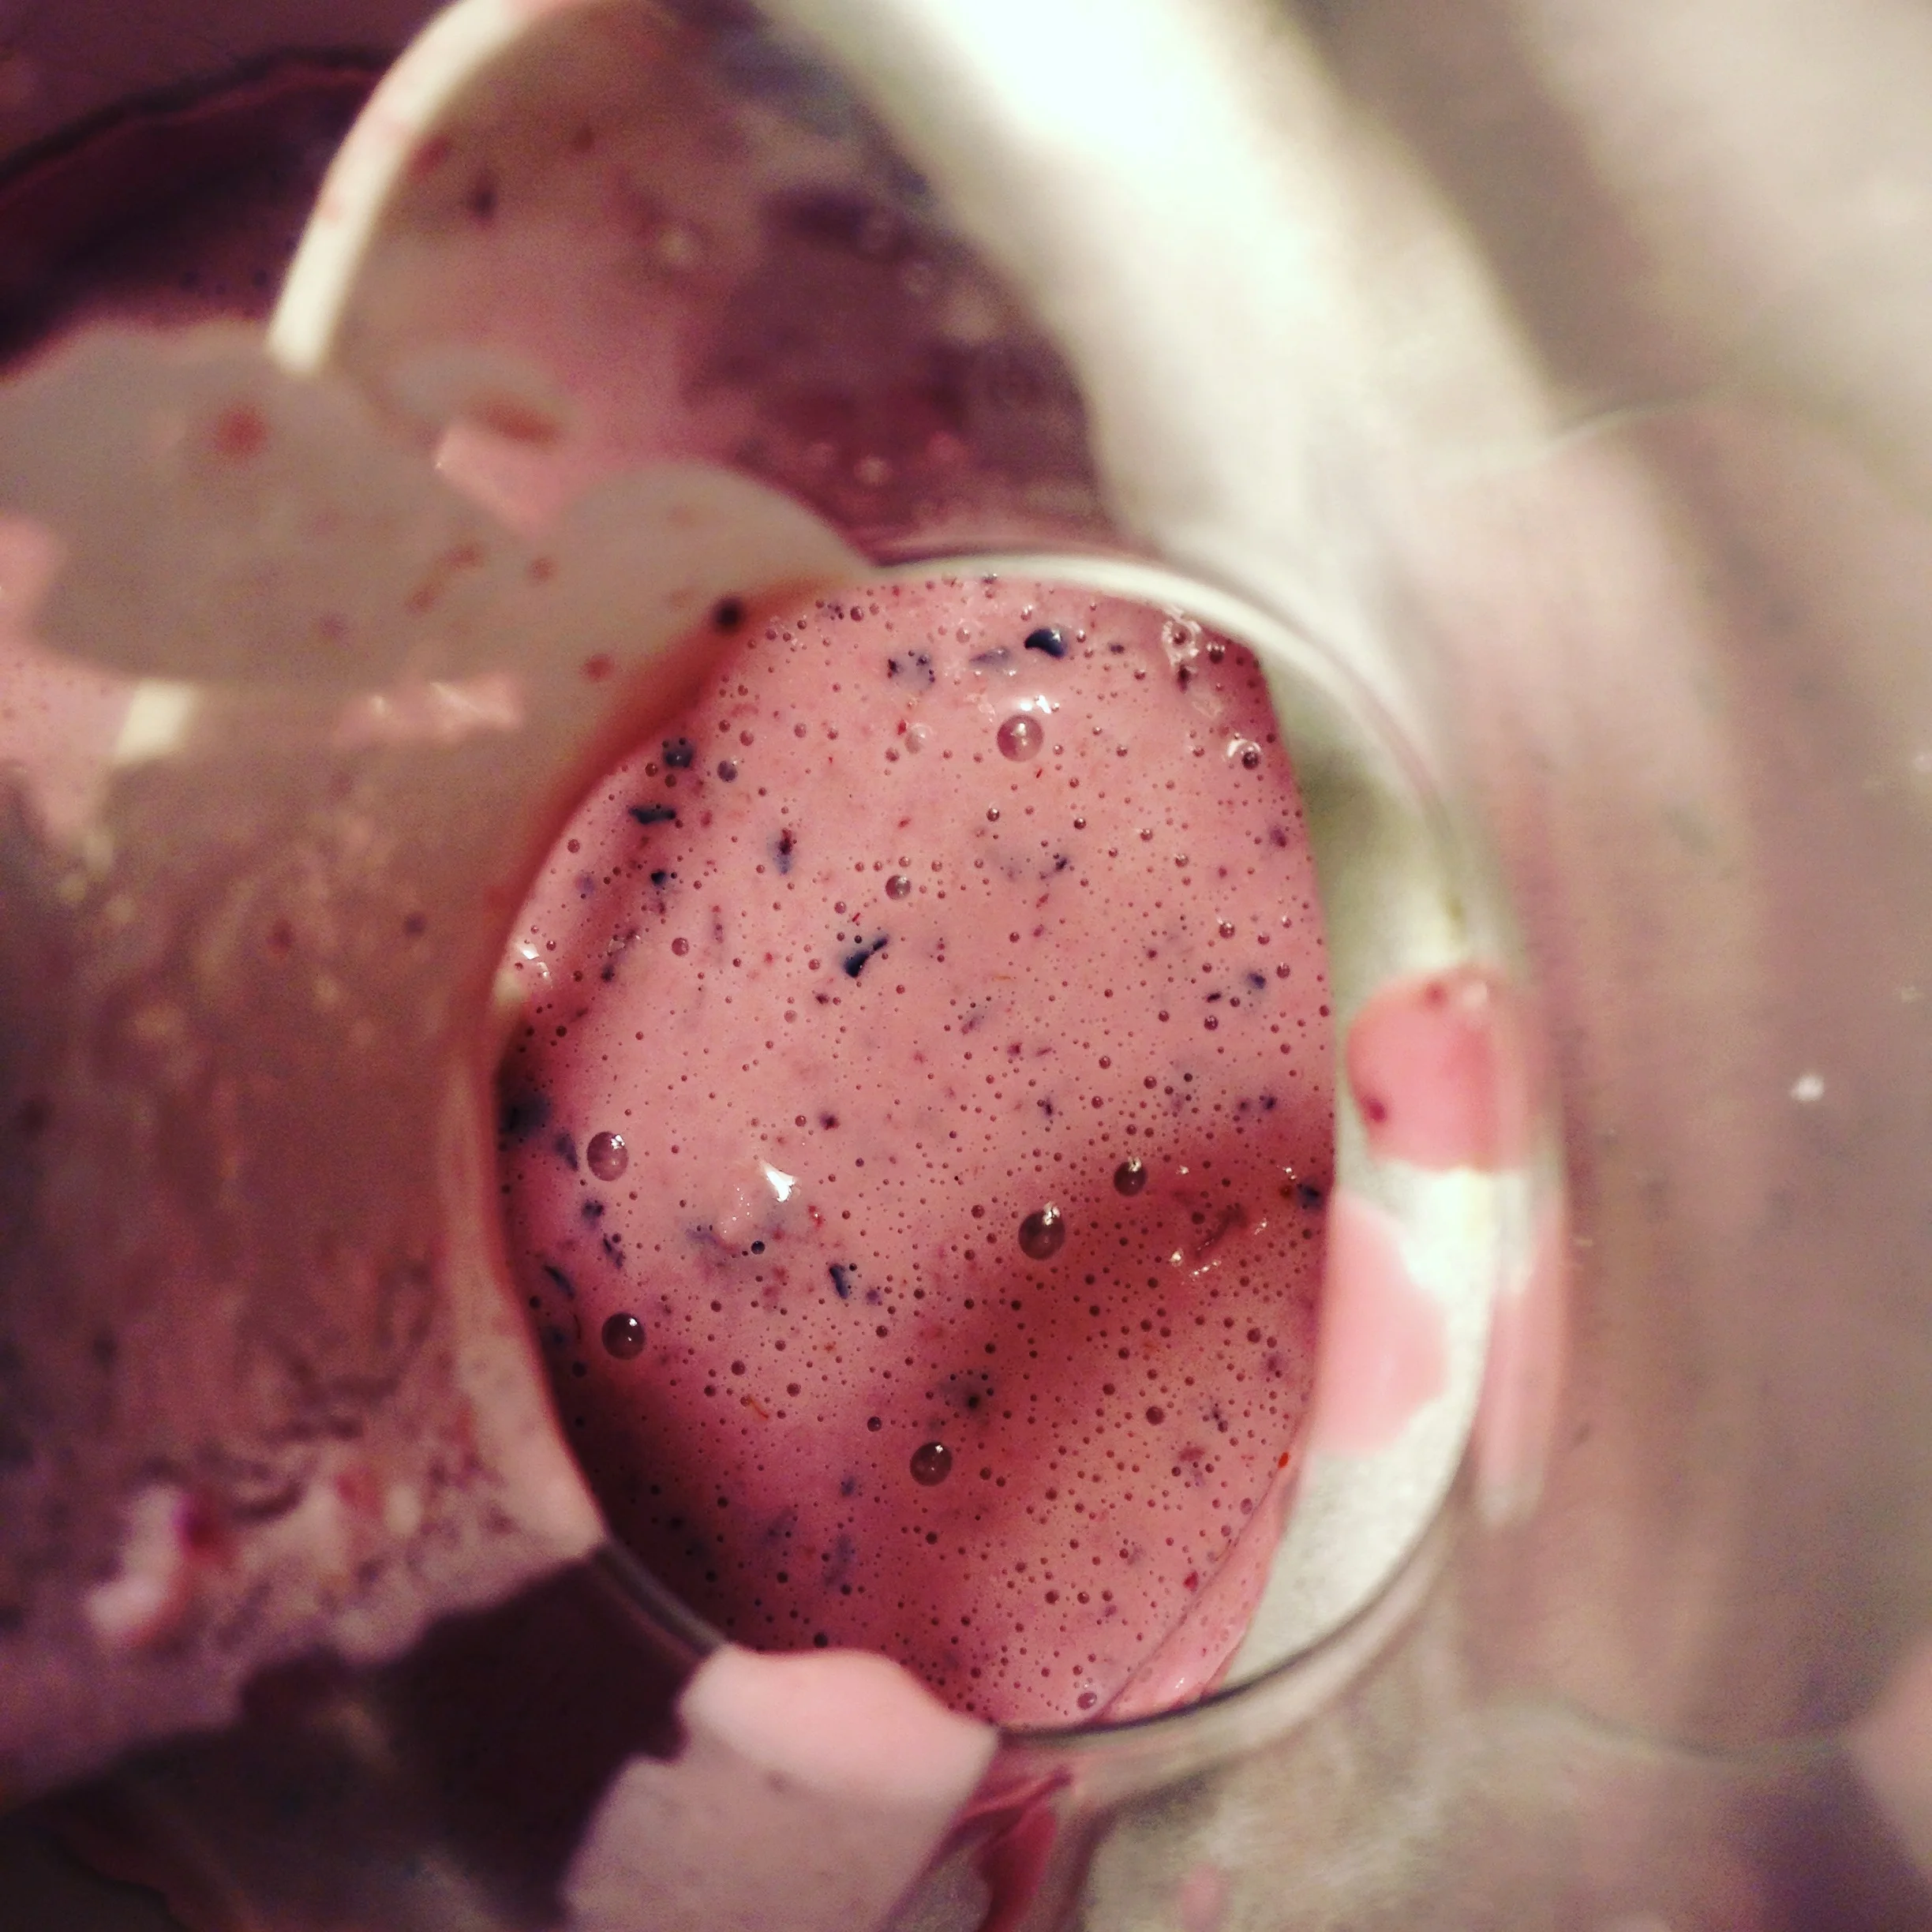
Kefir cultured 35% whipping cream with raspberries, blueberries, maple syrup. Churning into delicious ice cream.
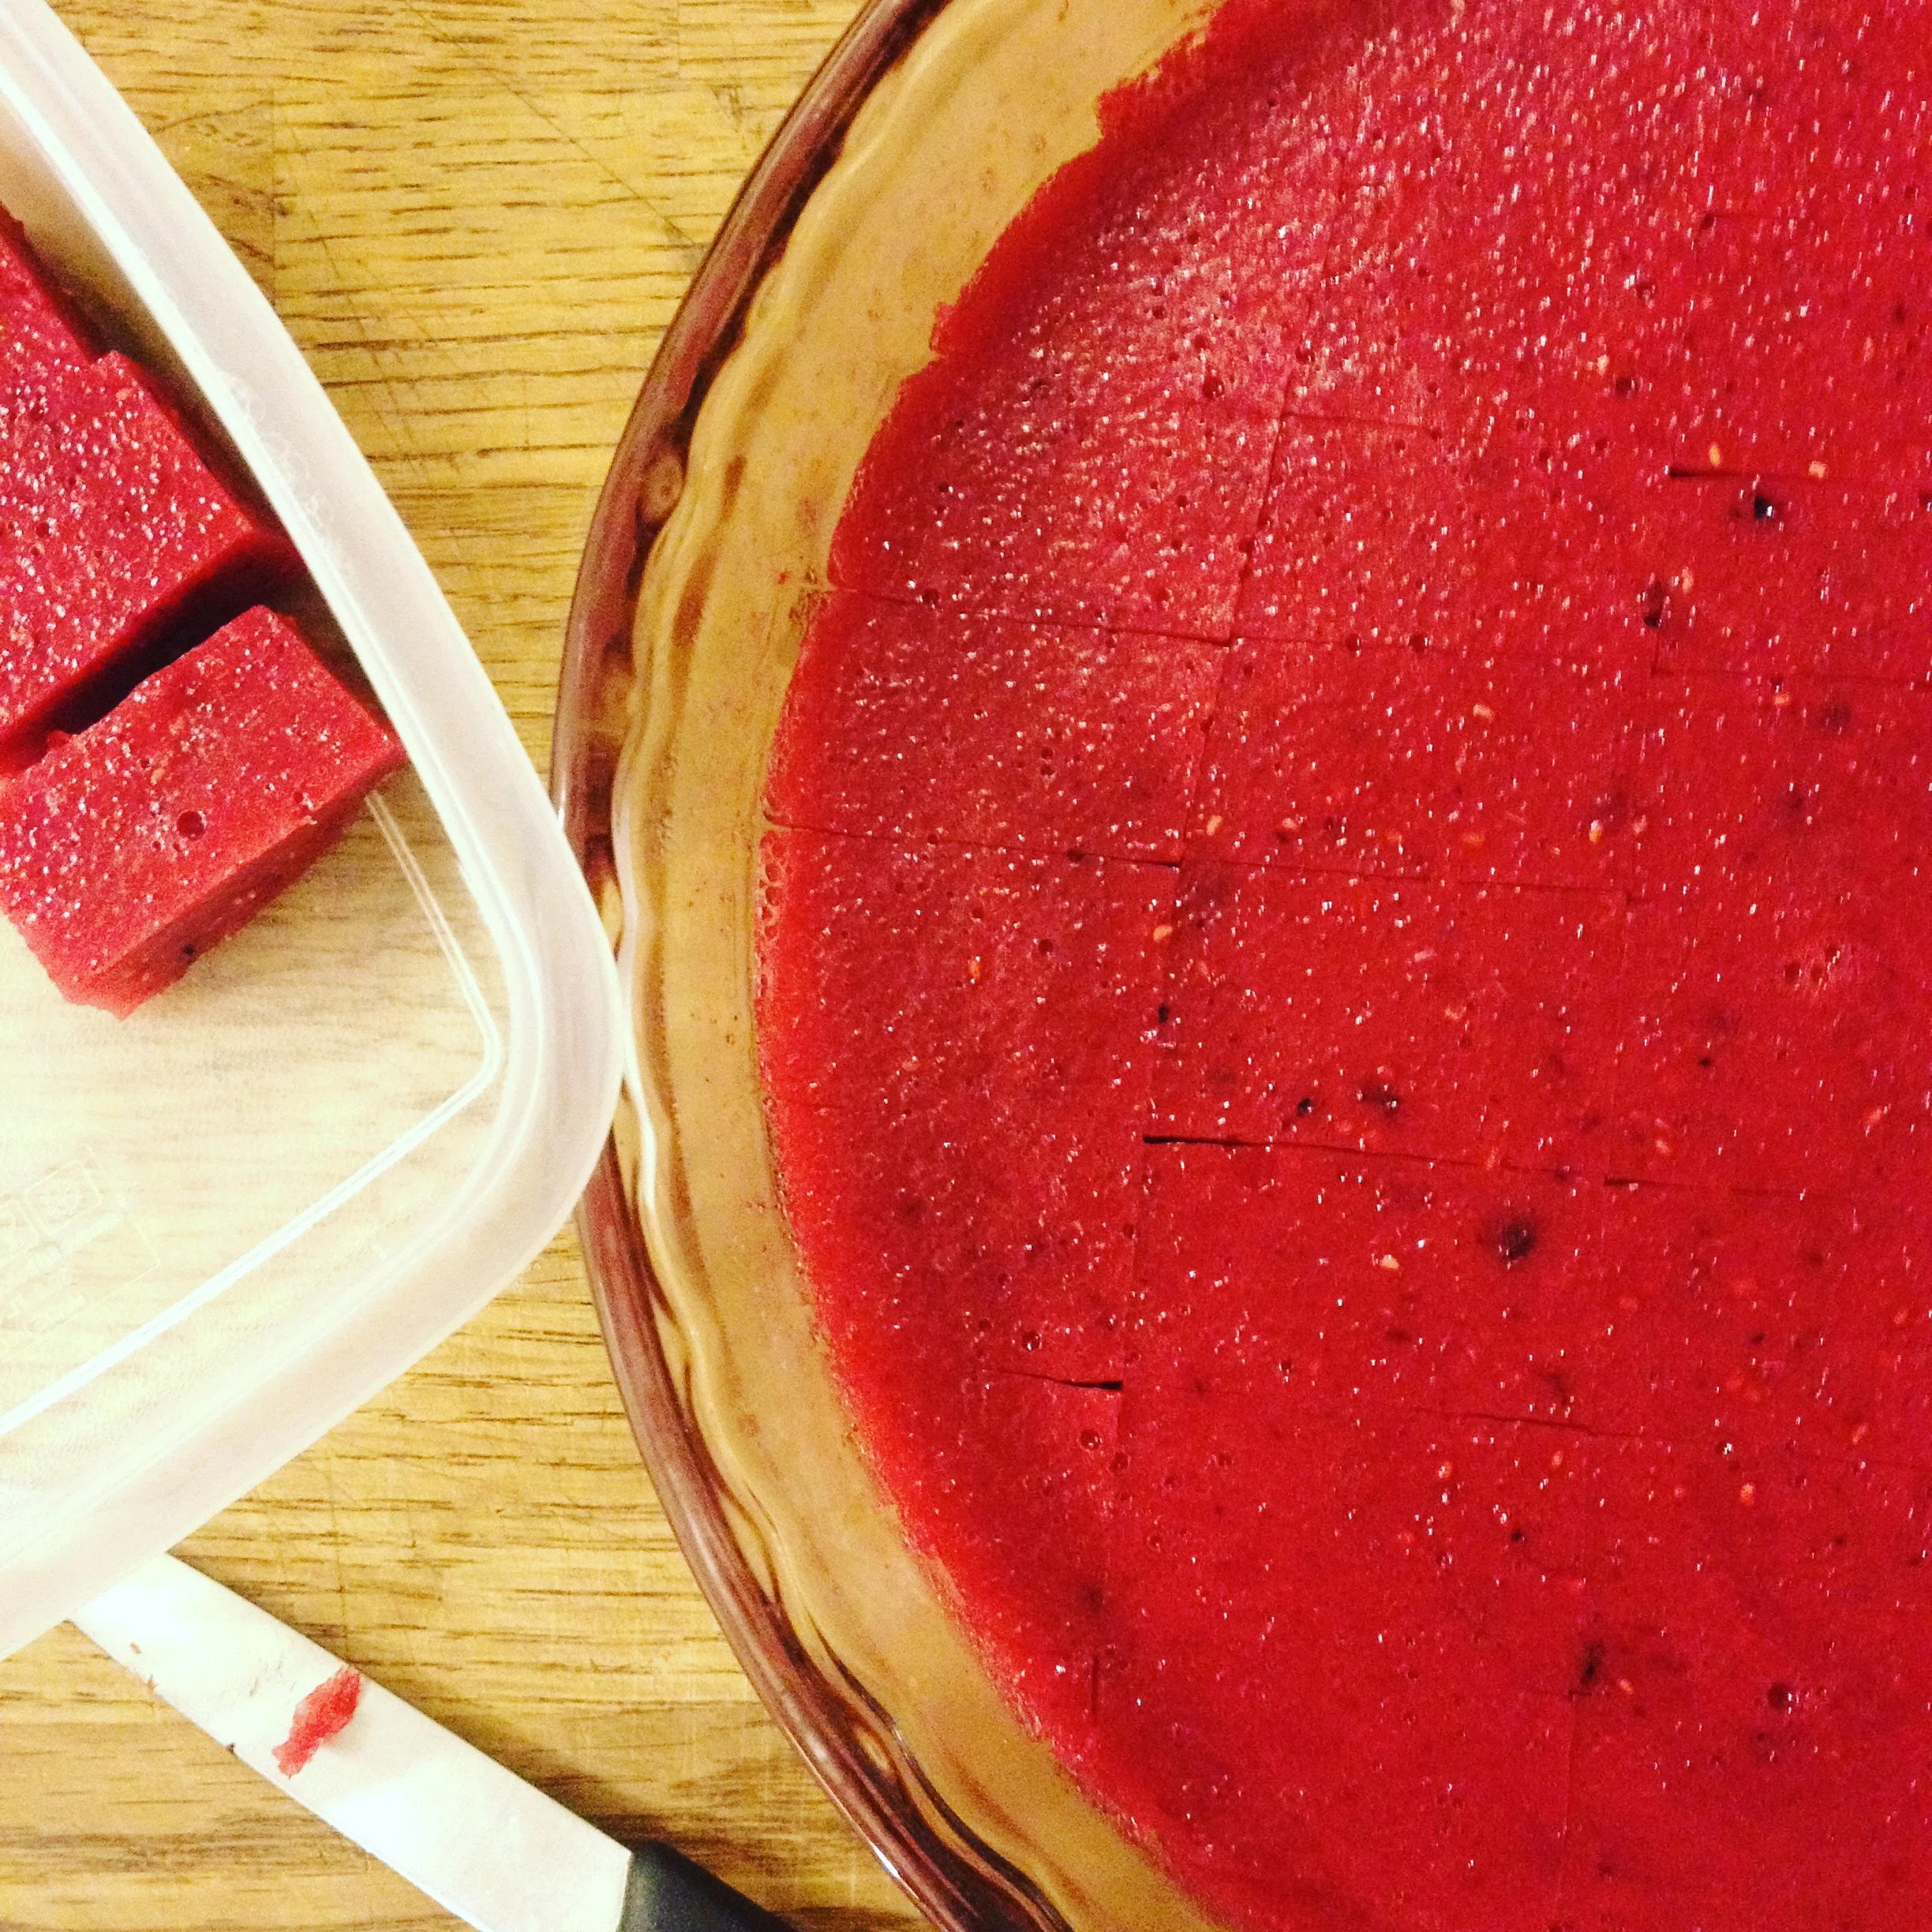
HOMEMADE JELLO - A yummy lunch time treat!
I don't know about you, but sometimes the task of putting together a lunch box for my kiddo to take to school with her seems like a daunting task, if not only for the fact that it's a daily task. Poor kid, she has a nutritionist for a mom. DOUBLE WHAMMO. We have come up with some pretty yummy lunches over the years she and I (oh yes, she is an integral part of the lunch time planning. Meal planning and gathering is one of those important things we impart to our children as they grow, from the early days of imitation and modelling to these current days of co-planning she and I do on a weekly basis.) Regardless. I still sometimes come up (near) empty when it comes to food things that pass my ok for her lunch box. Enter, the fun dessert: JELLO.
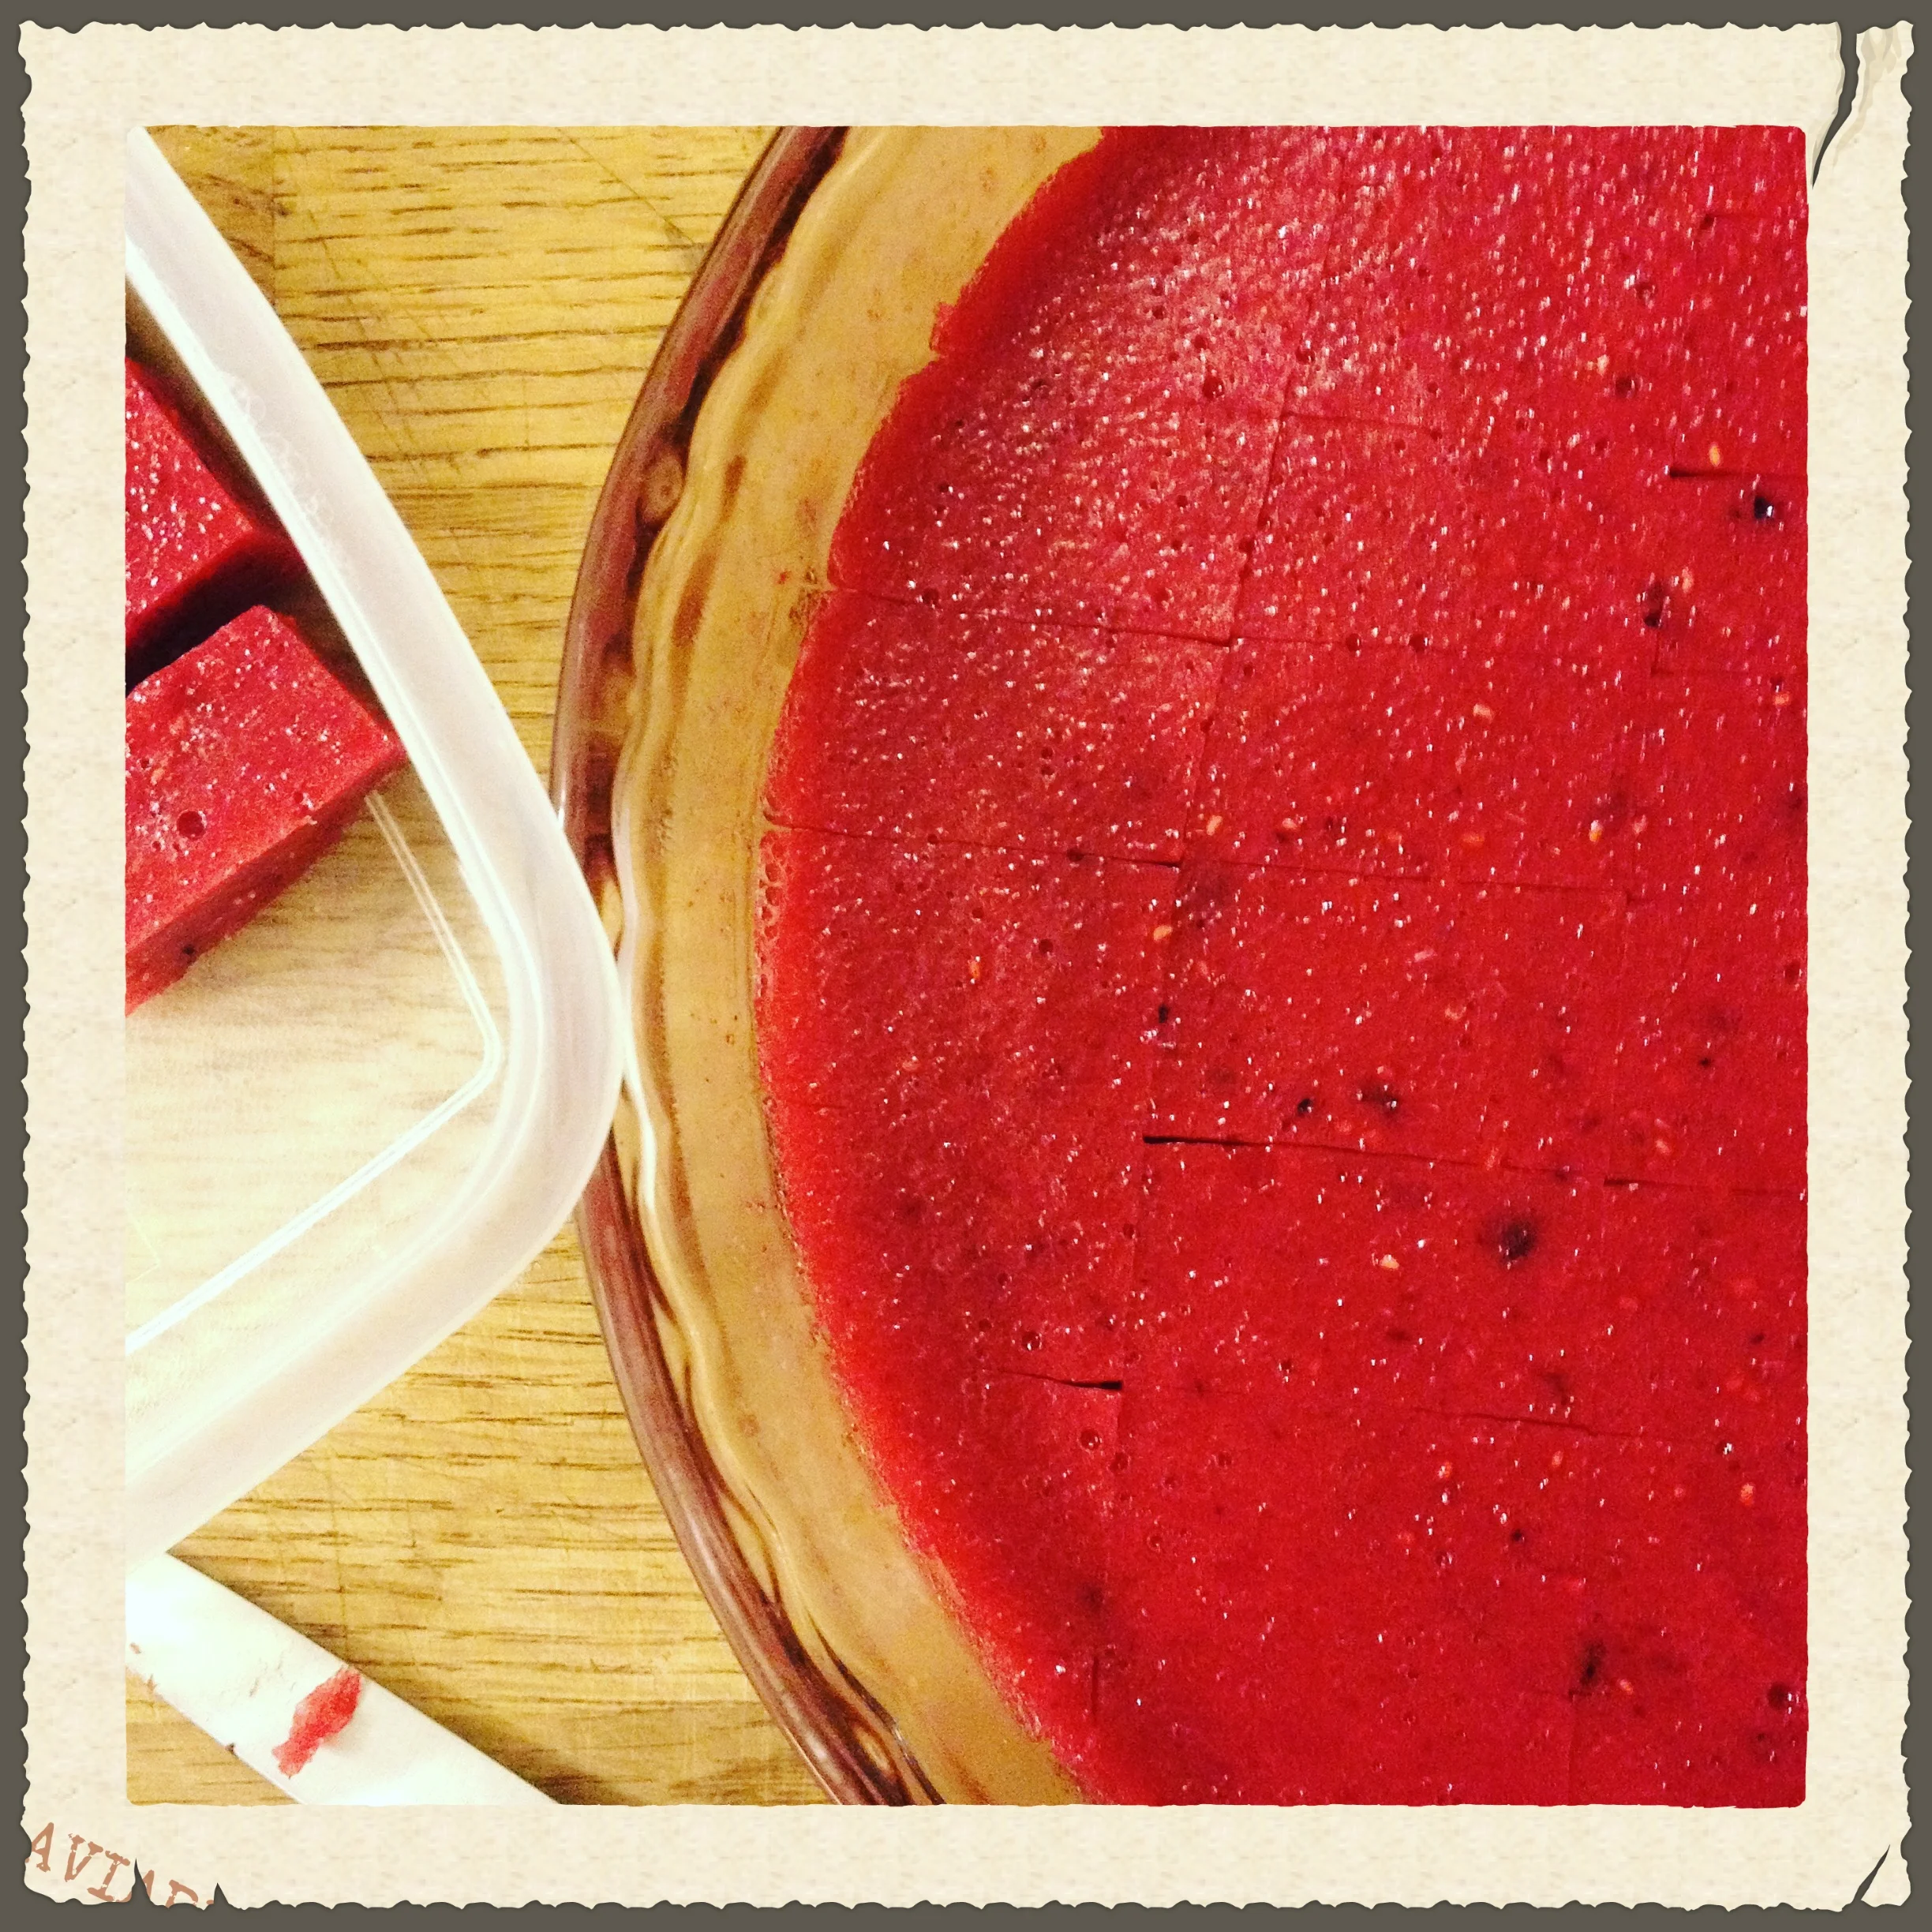
Quick and easy homemade jello treats.
I don't know about you, but sometimes the task of putting together a lunch box for my kiddo to take to school with her seems like a daunting task, if not only for the fact that it's a daily task. Poor kid, she has a nutritionist for a mom. DOUBLE WHAMMO. We have come up with some pretty yummy lunches over the years she and I (oh yes, she is an integral part of the lunch time planning. Meal planning and gathering is one of those important things we impart to our children as they grow, from the early days of imitation and modelling to these current days of co-planning she and I do on a weekly basis.) Regardless. I still sometimes come up (near) empty when it comes to food things that pass my ok for her lunch box or so it seems at the end of a long day. Enter, the fun insta-dessert: JELLO.
Sure, she has the fresh fruit, and the fruit-buried-in-yogurt dessert. There is the occasional baking too, but most of the time it's just fresh fruit. But then I thought up today's concoction, and voila, easy-peasy-lemon-squeezie homemade jello cubes. I don't think they'll last past two days in our fridge, they're pretty stinking delicious.
THE PLAYERS:
2 cups raspberries (you can use whatever fruit/berry you like here, fresh or frozen)
1/2 cup local honey
3 tbsp grass-fed beef gelatin (I use this one; you can find at The Light Cellar or online)
1 cup water kefir or kombucha or water
juice of 1 lemon
THE HOW-TO:
-In a small pan, meld the berries and honey together until warm. Set aside to cool slightly.
- In a separate bowl, use an immersion blender or a strong arm to whip together the gelatin and water kefir or kombucha, along with the lemon juice. Add the raspberry/honey mixture to the mix, and thoroughly mix or blend. Pour into molds, ice cube trays or a glass dish.
- Tuck the dish in the refrigerator for a few hours. Cut into cubes and store in an airtight container in the fridge for up to a week. Try not to eat them all at once.
WHY I LOVE THIS:
- it's so easy. and takes NO TIME. (Would I lie to you?)
- I left the whole berries in there, didn't strain to just use the juice. So the fibre is still there. (Fibre is so good for you, helps elimination, binds to spent hormones so they don't re-circulate in your system, and helps sweep your innards clean.)
- Not to mention lots of vitamin C from the berries. Yes please!
- And honey is of fabulous support to your immune system and has been shown to contribute to the reduction of allergy symptoms.
- I added the probiotic beverage there in order to help inoculate our gut with the good guys, helping keep our immune system in good running order and reducing inflammation everywhere.
- The gelatin! So good for the cells of your intestinal lining, good for your skin, for strong nails and hair, amazing for bone health too. Gelatin is of great benefit to help support healthy connective tissue, so is of benefit to those suffering from arthritis, joint pain and inflammation. I mean the list goes on and on!
Bon appetit, les petits et petites! Make sure to leave some for the lunches, my friends. Remember the lunches.
A MONTH OF PUTTING UP THE HARVEST - Day 18
I kind of feel like I'm cheating with today's post. It's a non-post, really. I have done a lot of these kinds of things over the years and already this season, but it's one that does in fact come in quite handy over the course of the year. It's putting up the fruit harvest, and there are a couple of ways you can do it. I'll show the simplest ways, and will endeavour to make a fermented version of fruit-keeping in the days ahead, seeing as I just hauled home some great finds from a produce stall in the Shuswap. I tell you, the harvest season is quite easily one of my most favourite times of the year, it has all the excitement that Christmas had for me when I was a kid, but in fresh food form. I know, geek, amiright?
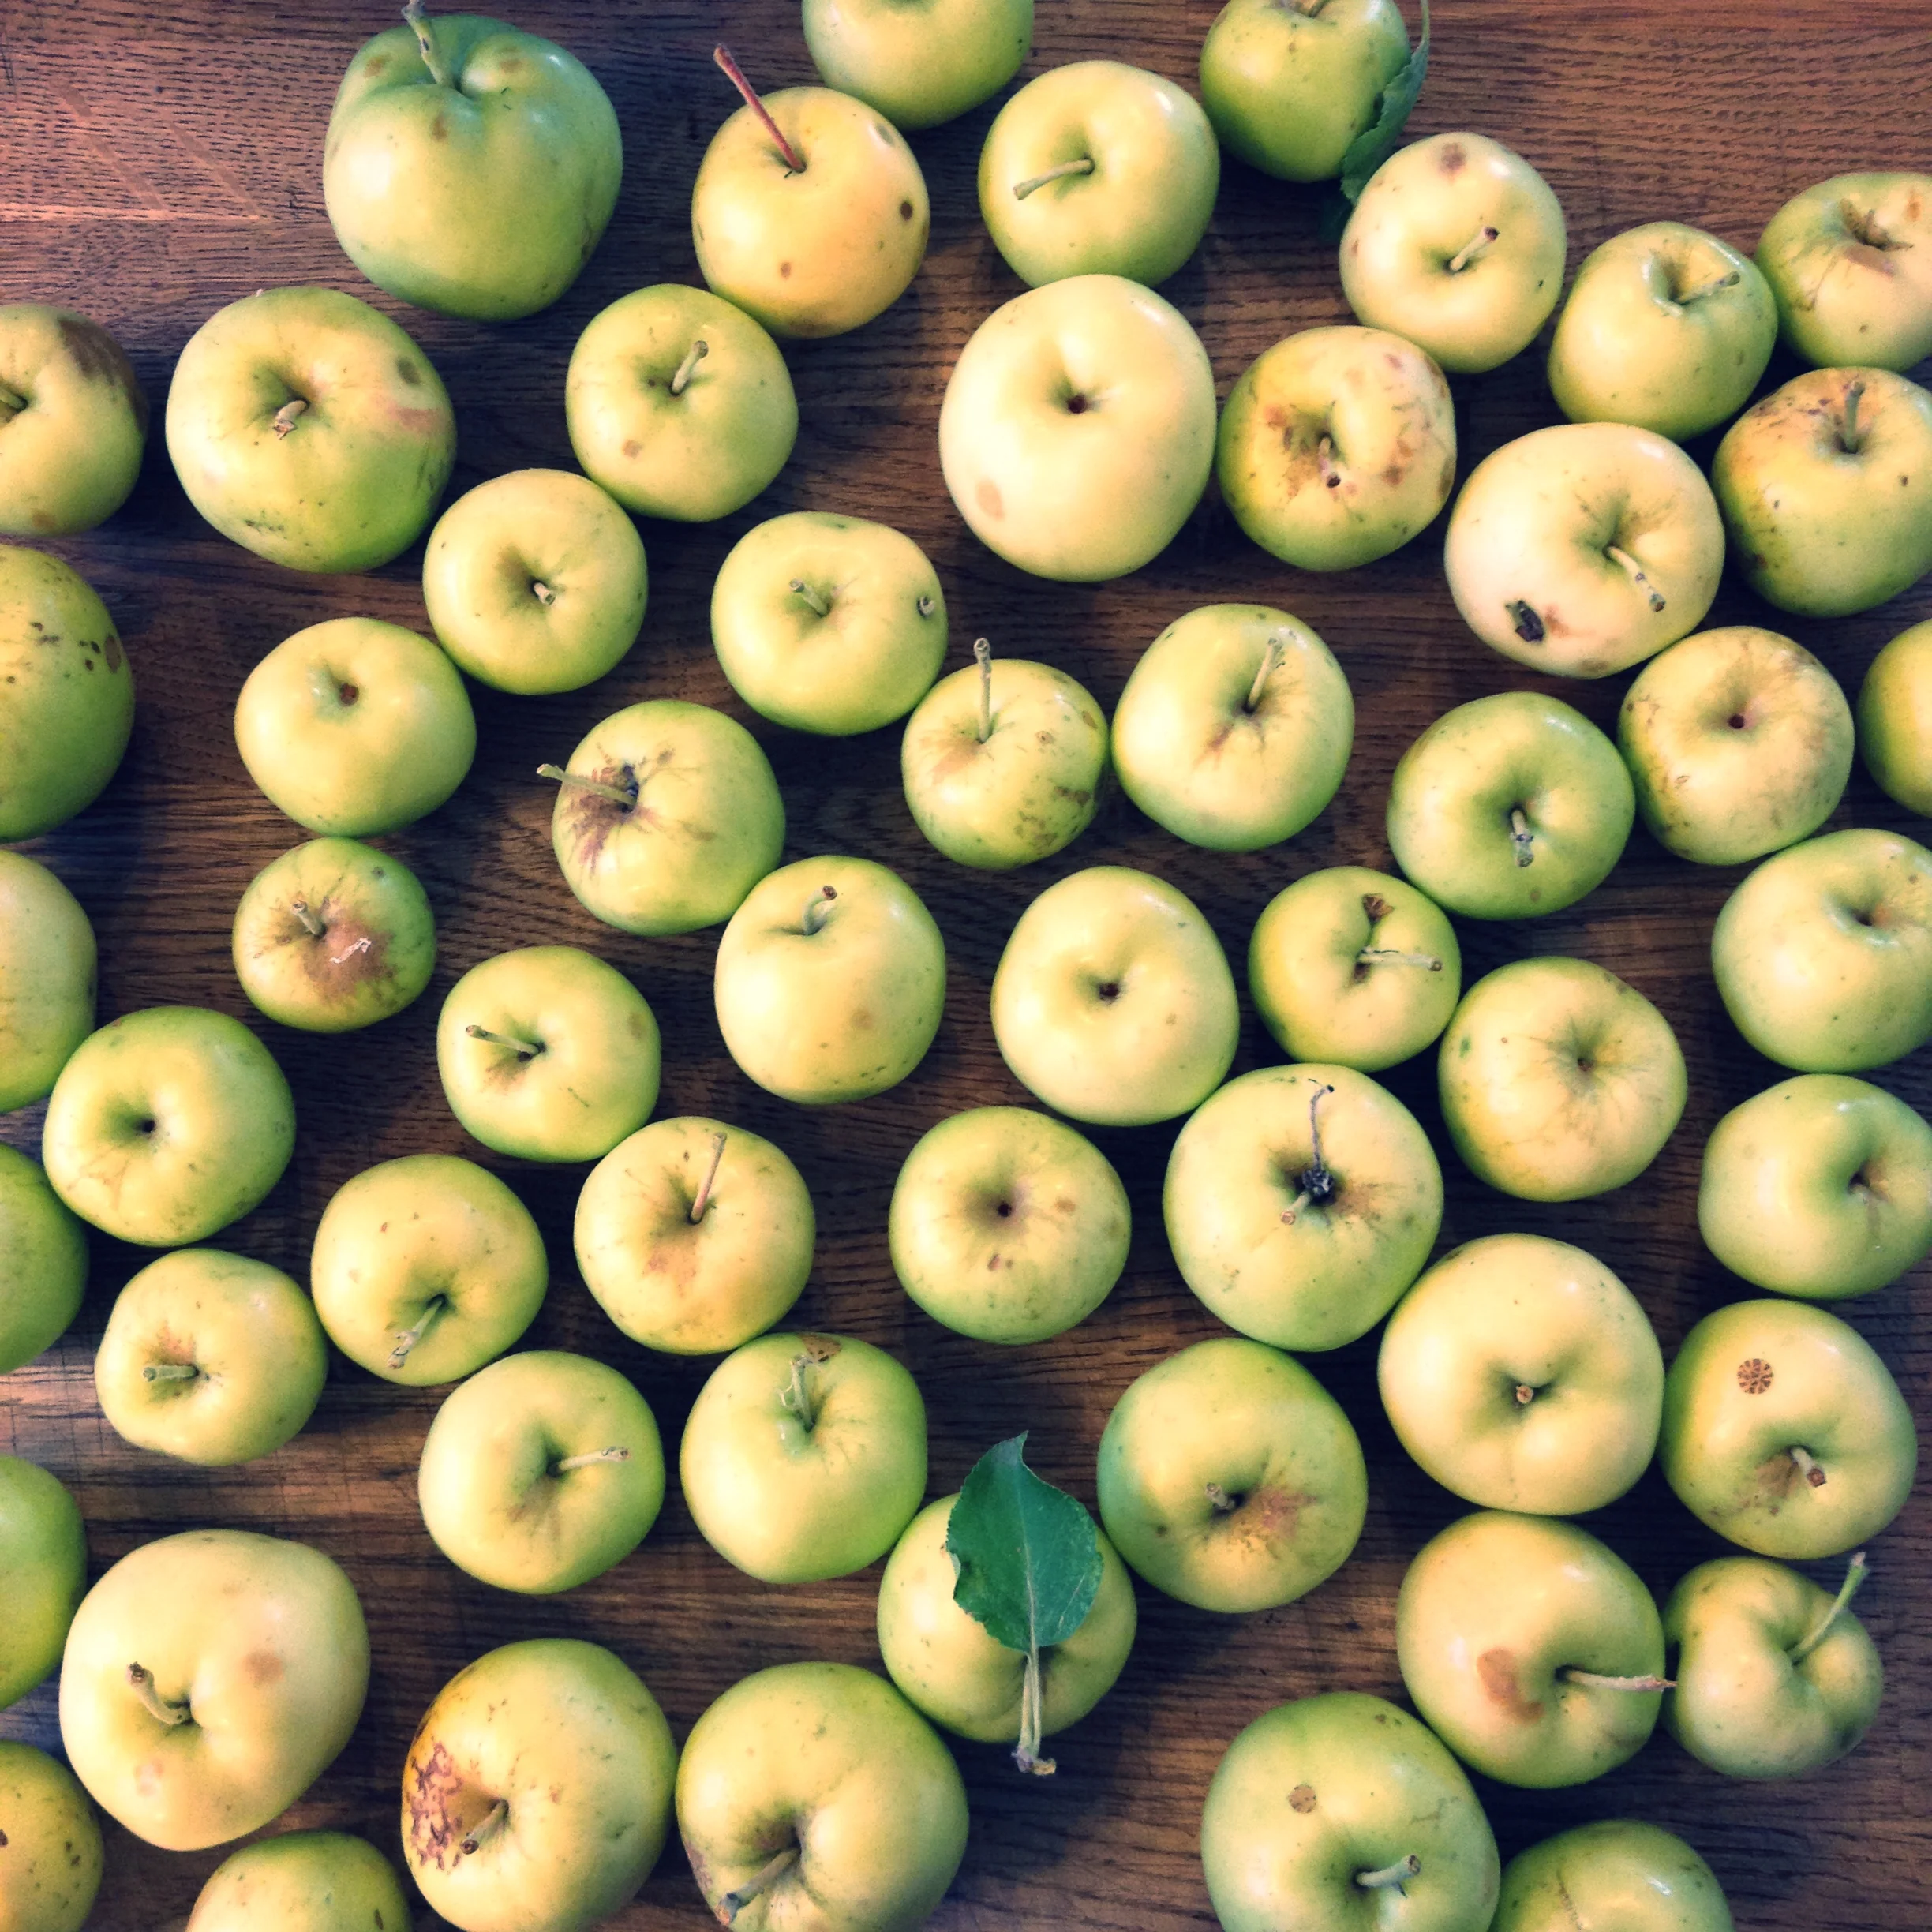
Tart Alberta apples. #harvest2015
I kind of feel like I'm cheating with today's post. It's a non-post, really. I have done a lot of these kinds of things over the years and already this season, but it's one that does in fact come in quite handy over the course of the year. It's putting up the fruit harvest, and there are a couple of ways you can do it. I'll show the simplest ways, and will endeavour to make a fermented version of fruit-keeping in the days ahead, seeing as I just hauled home some great finds from a produce stall in the Shuswap. I tell you, the harvest season is quite easily one of my most favourite times of the year, it has all the excitement that Christmas had for me when I was a kid, but in fresh food form. I know, geek, amiright?
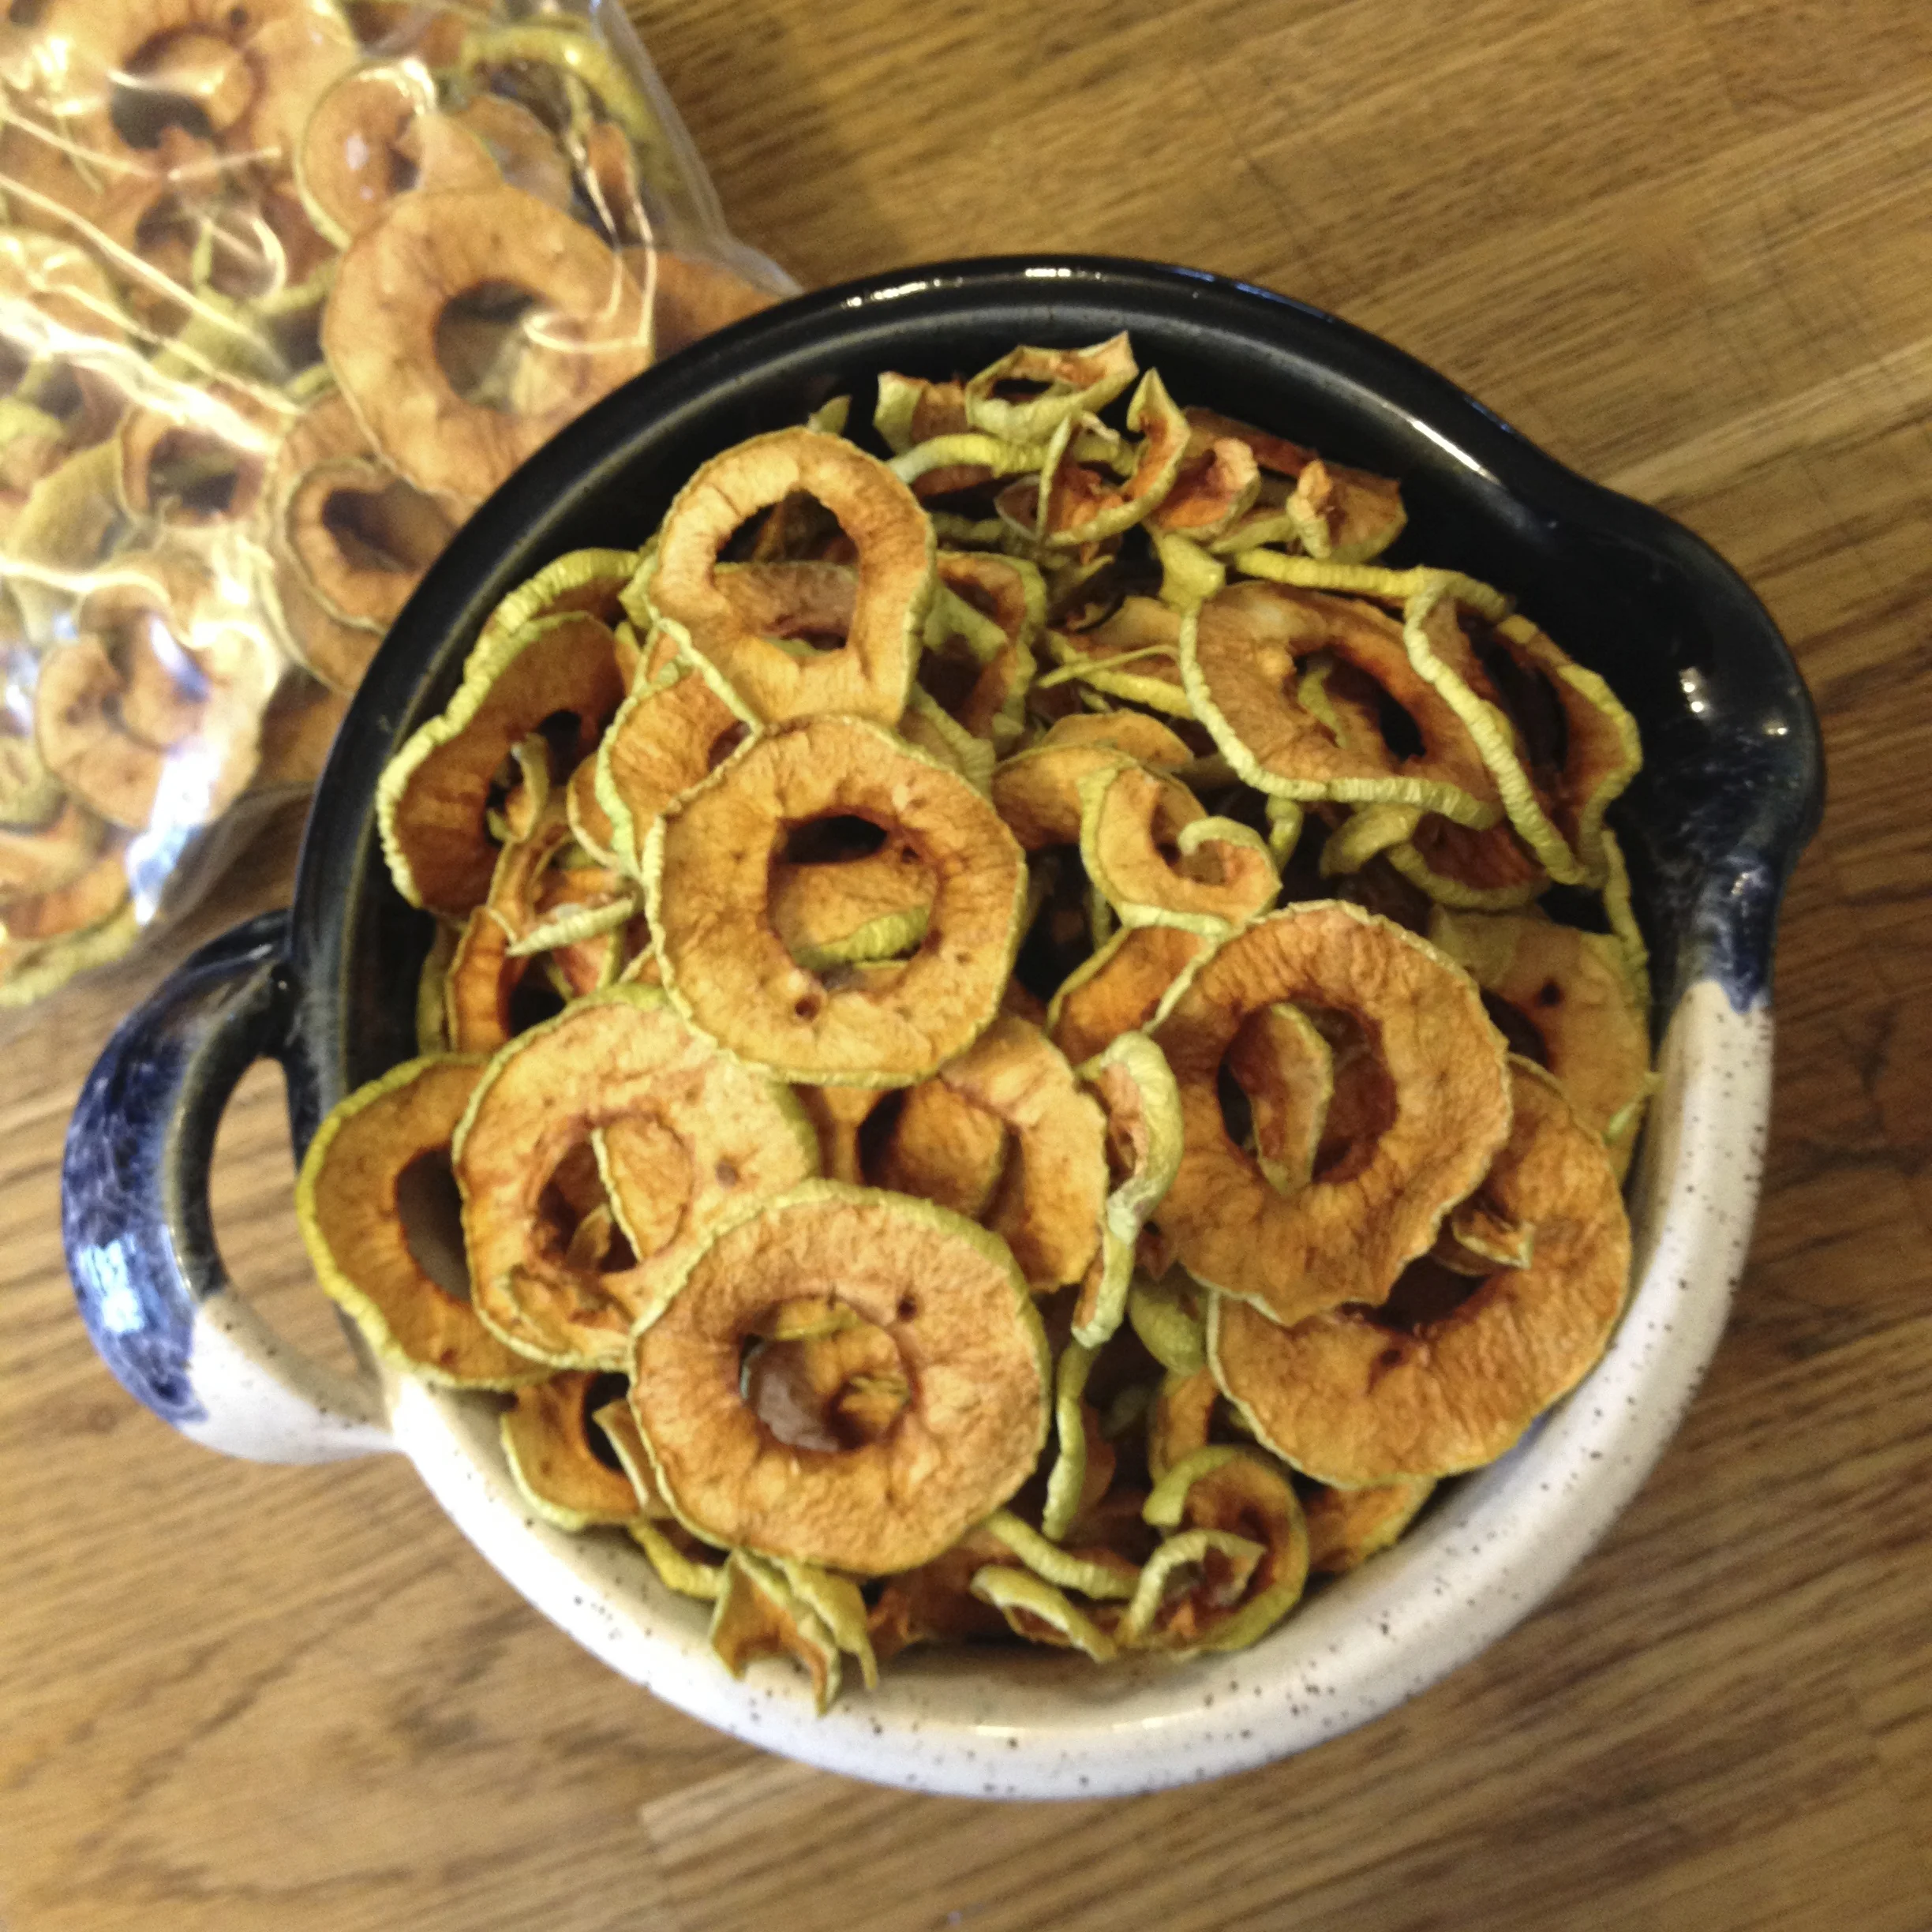
Let's start with apples: they're easy to get, whether they be from your tree or from your local Apple Lady, and they're delicious. And there are many ways you can put these up: the easiest being, if you have access to cold storage, to drop your bounty in there so you can pull some out in small batches. Other ways: I make a big batch of apple sauce every year by melting chopped cored apples in with some honey and cinnamon until it tastes right, and mashed with my hand blender. I freeze it in small containers and pull it out for lunches or desserts or pork chops. There is no recipe, it involves you using your taste buds and making it taste right. THAT'S IT. Also, you could do like I did with this lovely batch of apples, core them and slice thinly (I use my $1 mandolin slicer that is on its last legs) and pop on a dehydrator screen and dry until it's like a dried apple spear. I know, again with the technical stuff. I use these sliced apples in granola, throw them in my girl's lunchbox, and use them as the base for flavouring my water kefir and kombucha drinks. I'm sure there are many other uses, but my favourite thing about this is that it takes just a few hours in the dehydrator, and they will stay for a few years in my pantry, not taking up much space but really earning their keep in my pantry arsenal of tools.
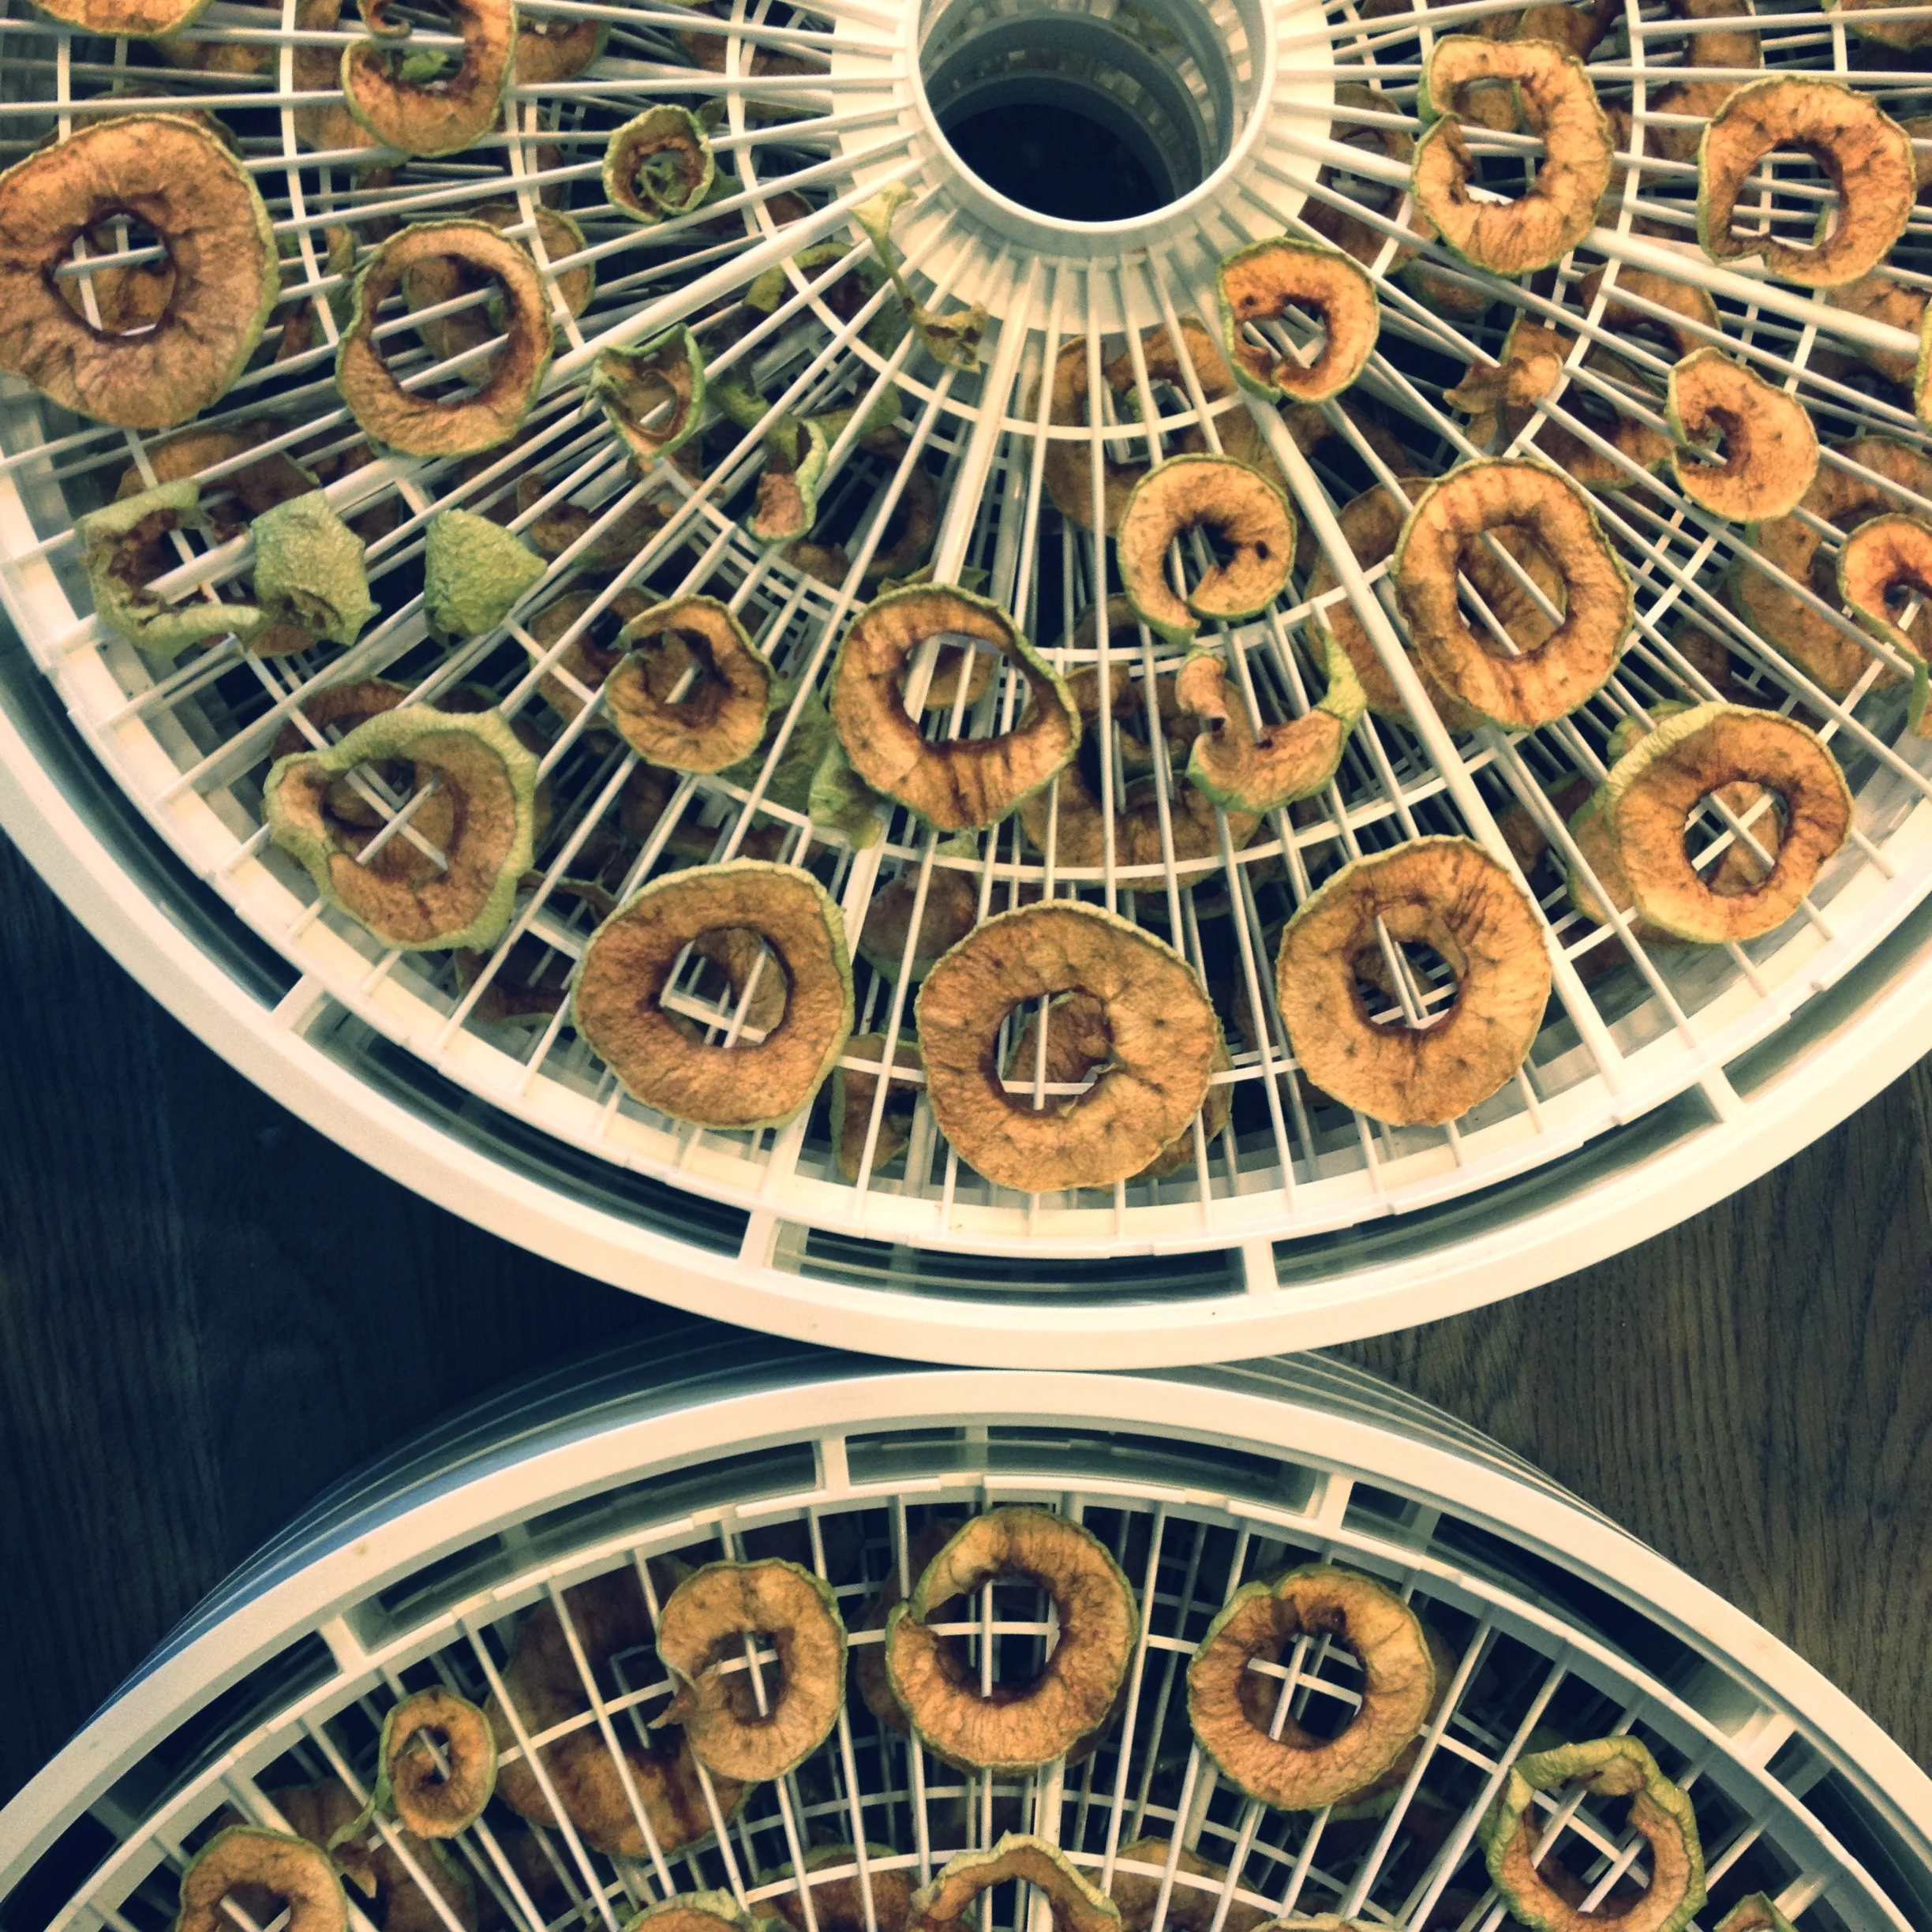
Apples ready out of the dehydrator. #harvest2015
I did the same thing with pears this year, as the pear/ginger combination is a favourite in my homemade probiotic drinks. I did halves though, and sliced three grooves out of the back of each cored half in the hopes it would dehydrate more fully (and because my good friend Di told me to do it this way), and plunked those in the dehydrator (for a considerably longer time than the apples, I might add). My thought here was that it would be a delicious treat for my girlie in her lunches this year, kind of like homemade gummies, with only one ingredient. I will be doing more of these this fall, they are INCREDIBLE. (Make sure to also save the smaller wedges you have cut out of the pears - they're great and dry out before the halves do.)

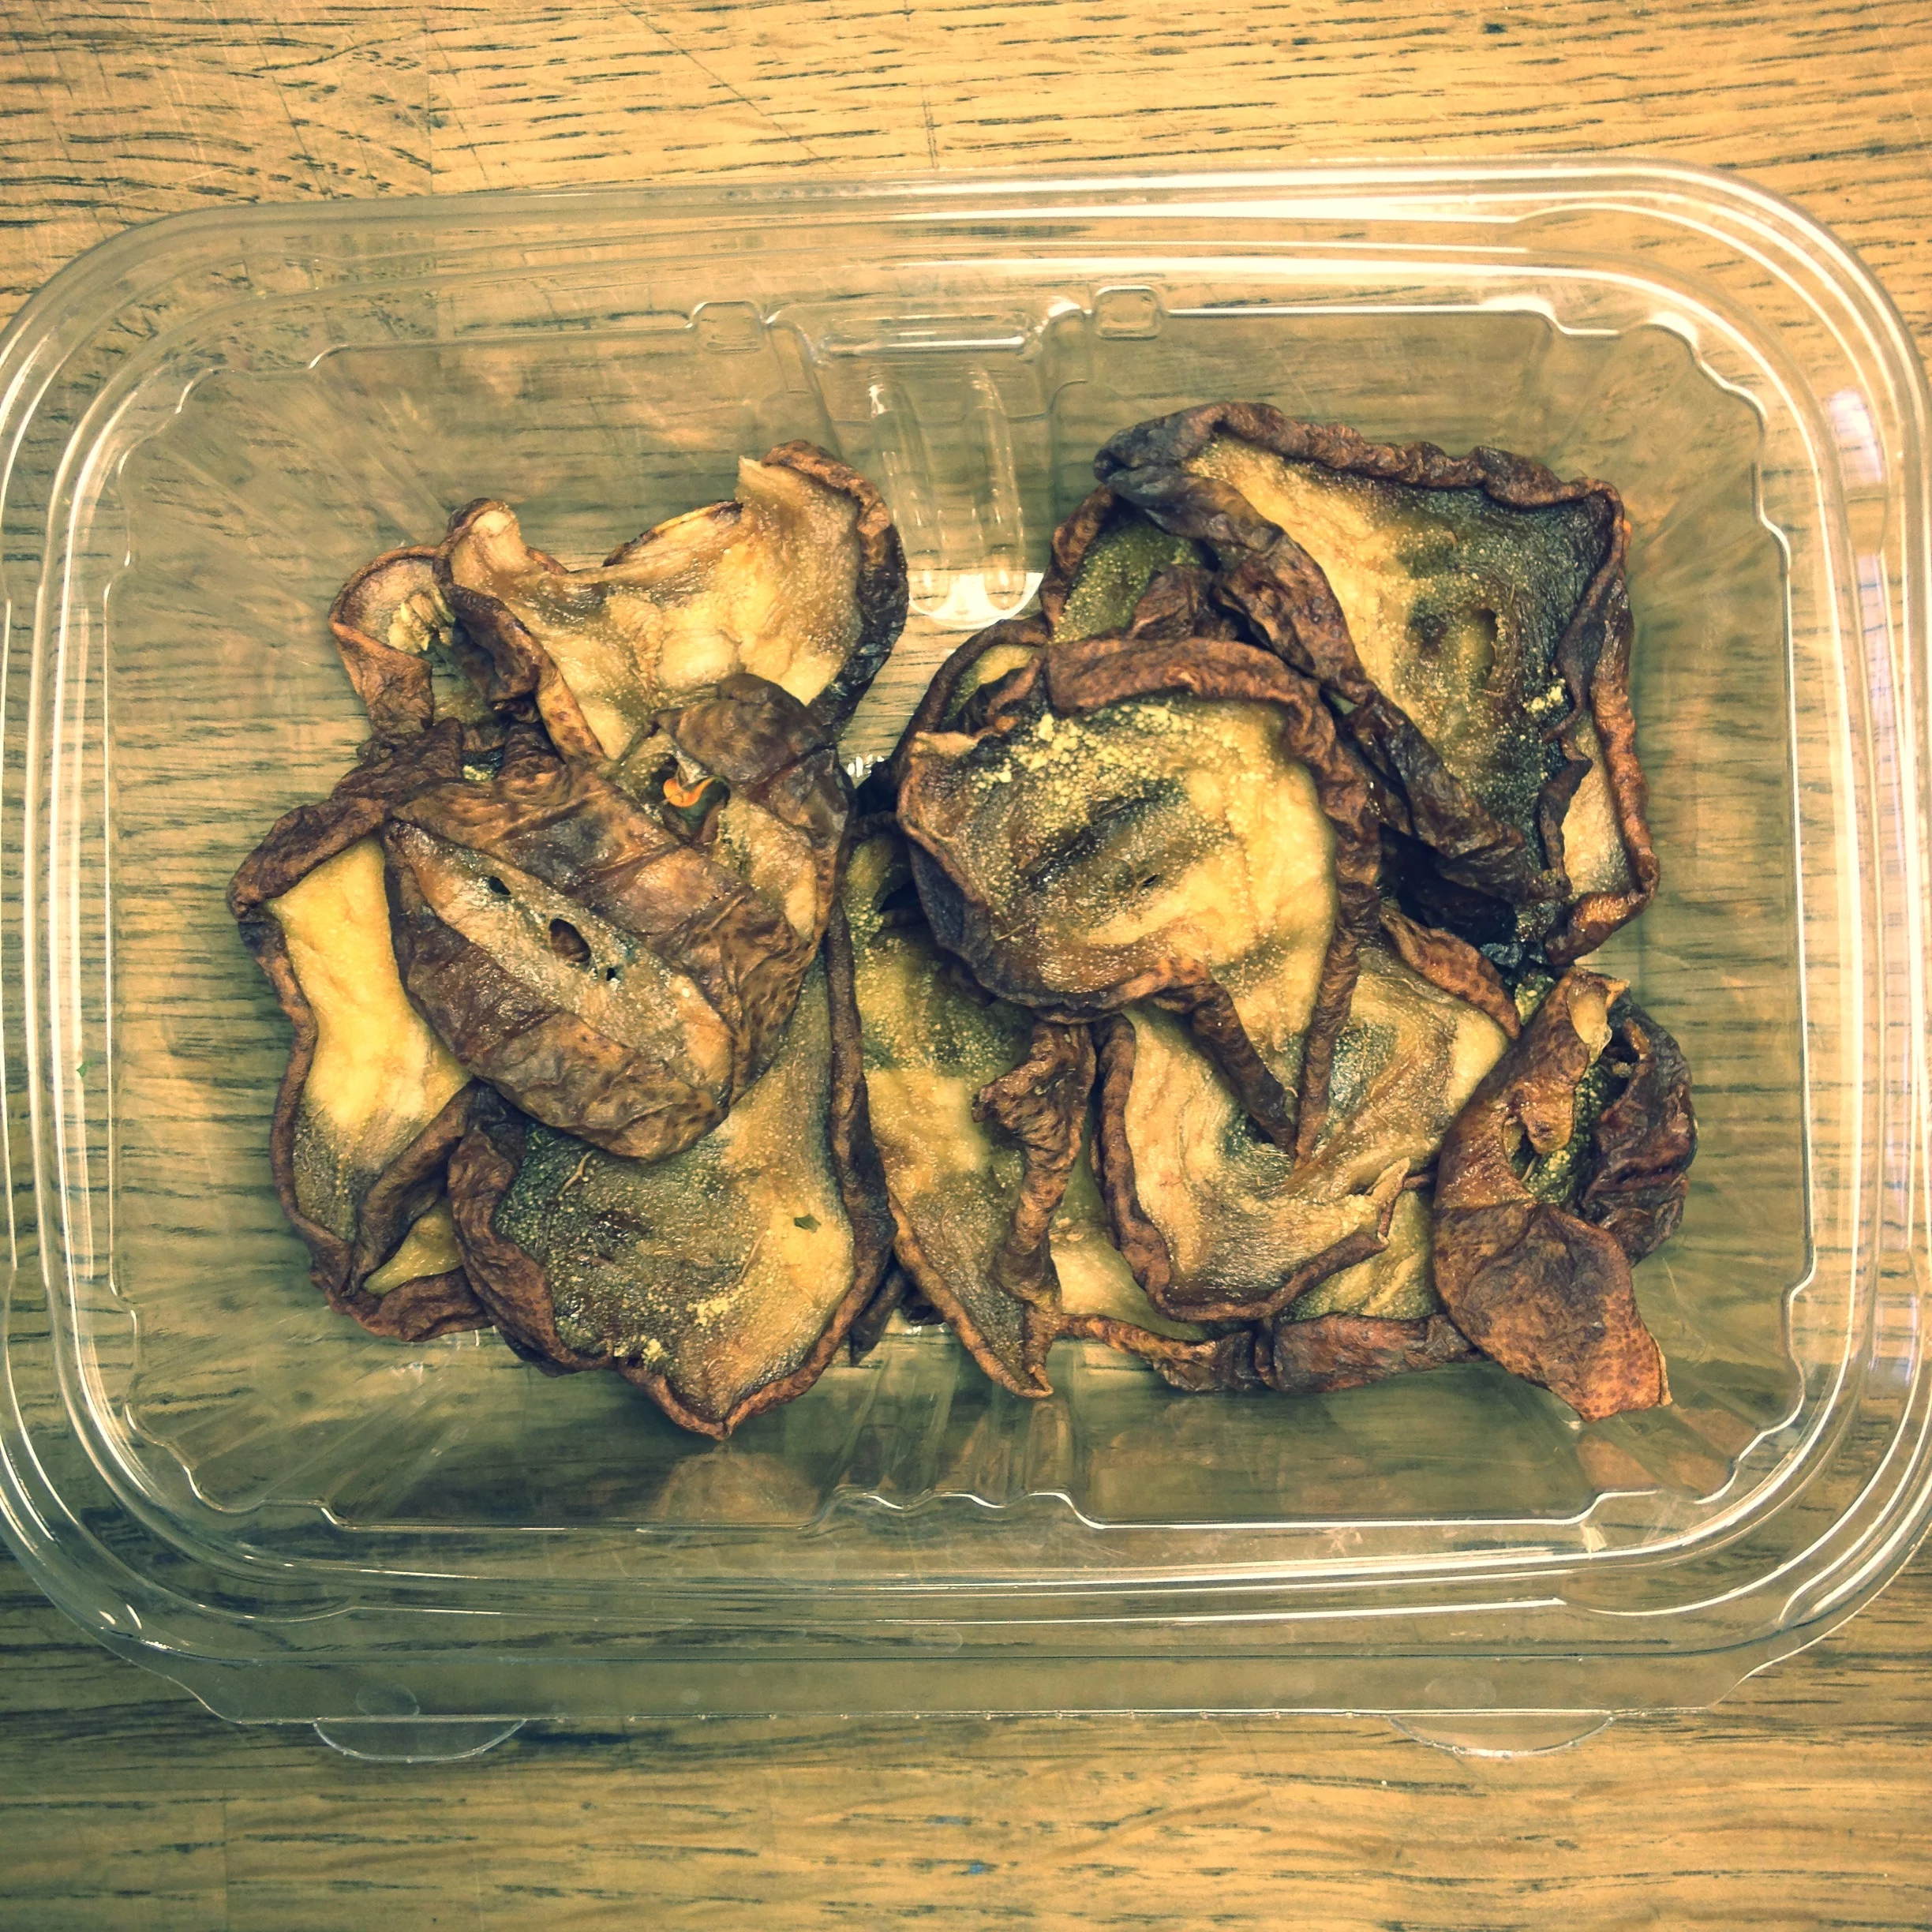
I did soak the apples and pears in a water/lemon juice combination beforehand in the hopes of preventing browning from happening, but wasn't that successful. It's ok, it's how things are supposed to be when dried! They still taste delicious.
Other things you could do with apples or pears instead of dehydrating them: you could make homemade apple cider vinegar from scraps, you could of course ferment it into a myriad of things like apple cranberry relish, this most delicious apple/kohlrabi/fennel relish that ferments beautifully, or if you or a friend has a juicer, you can throw these babies in whole to the juicer, pressing all of the good juice out of there and storing it for drinking up in the following few days or a special treat for the kids on your street.
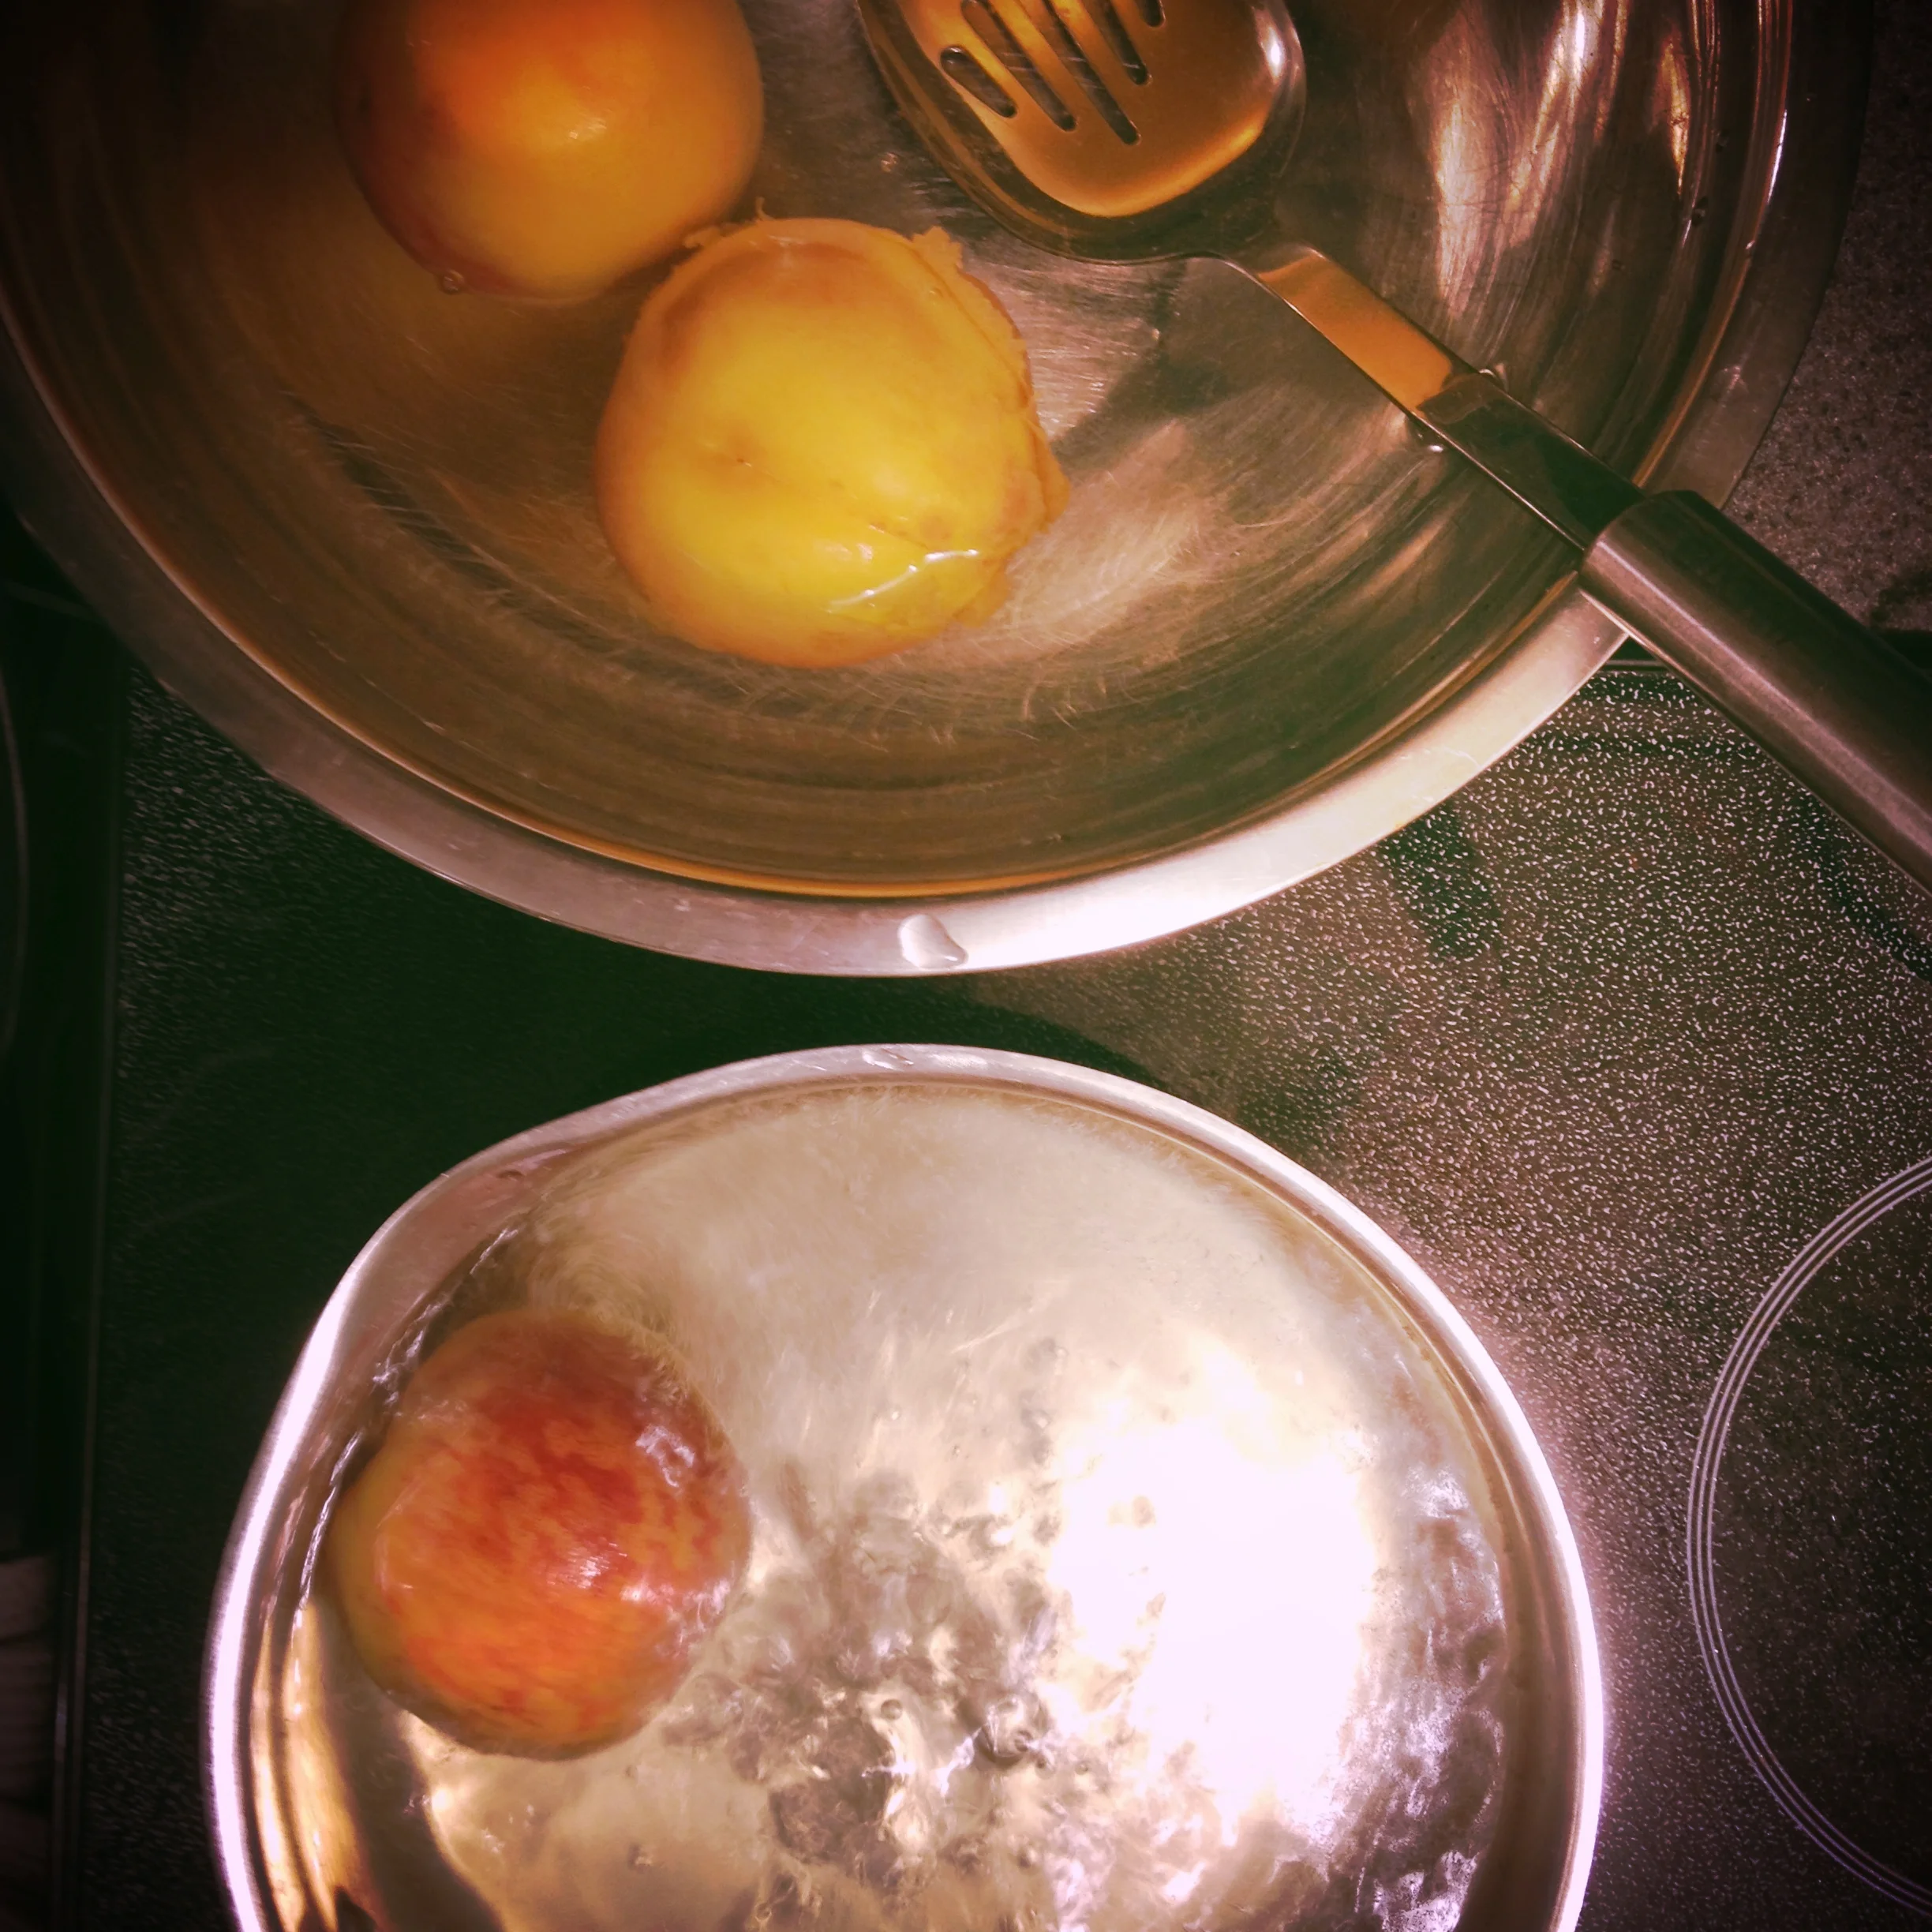
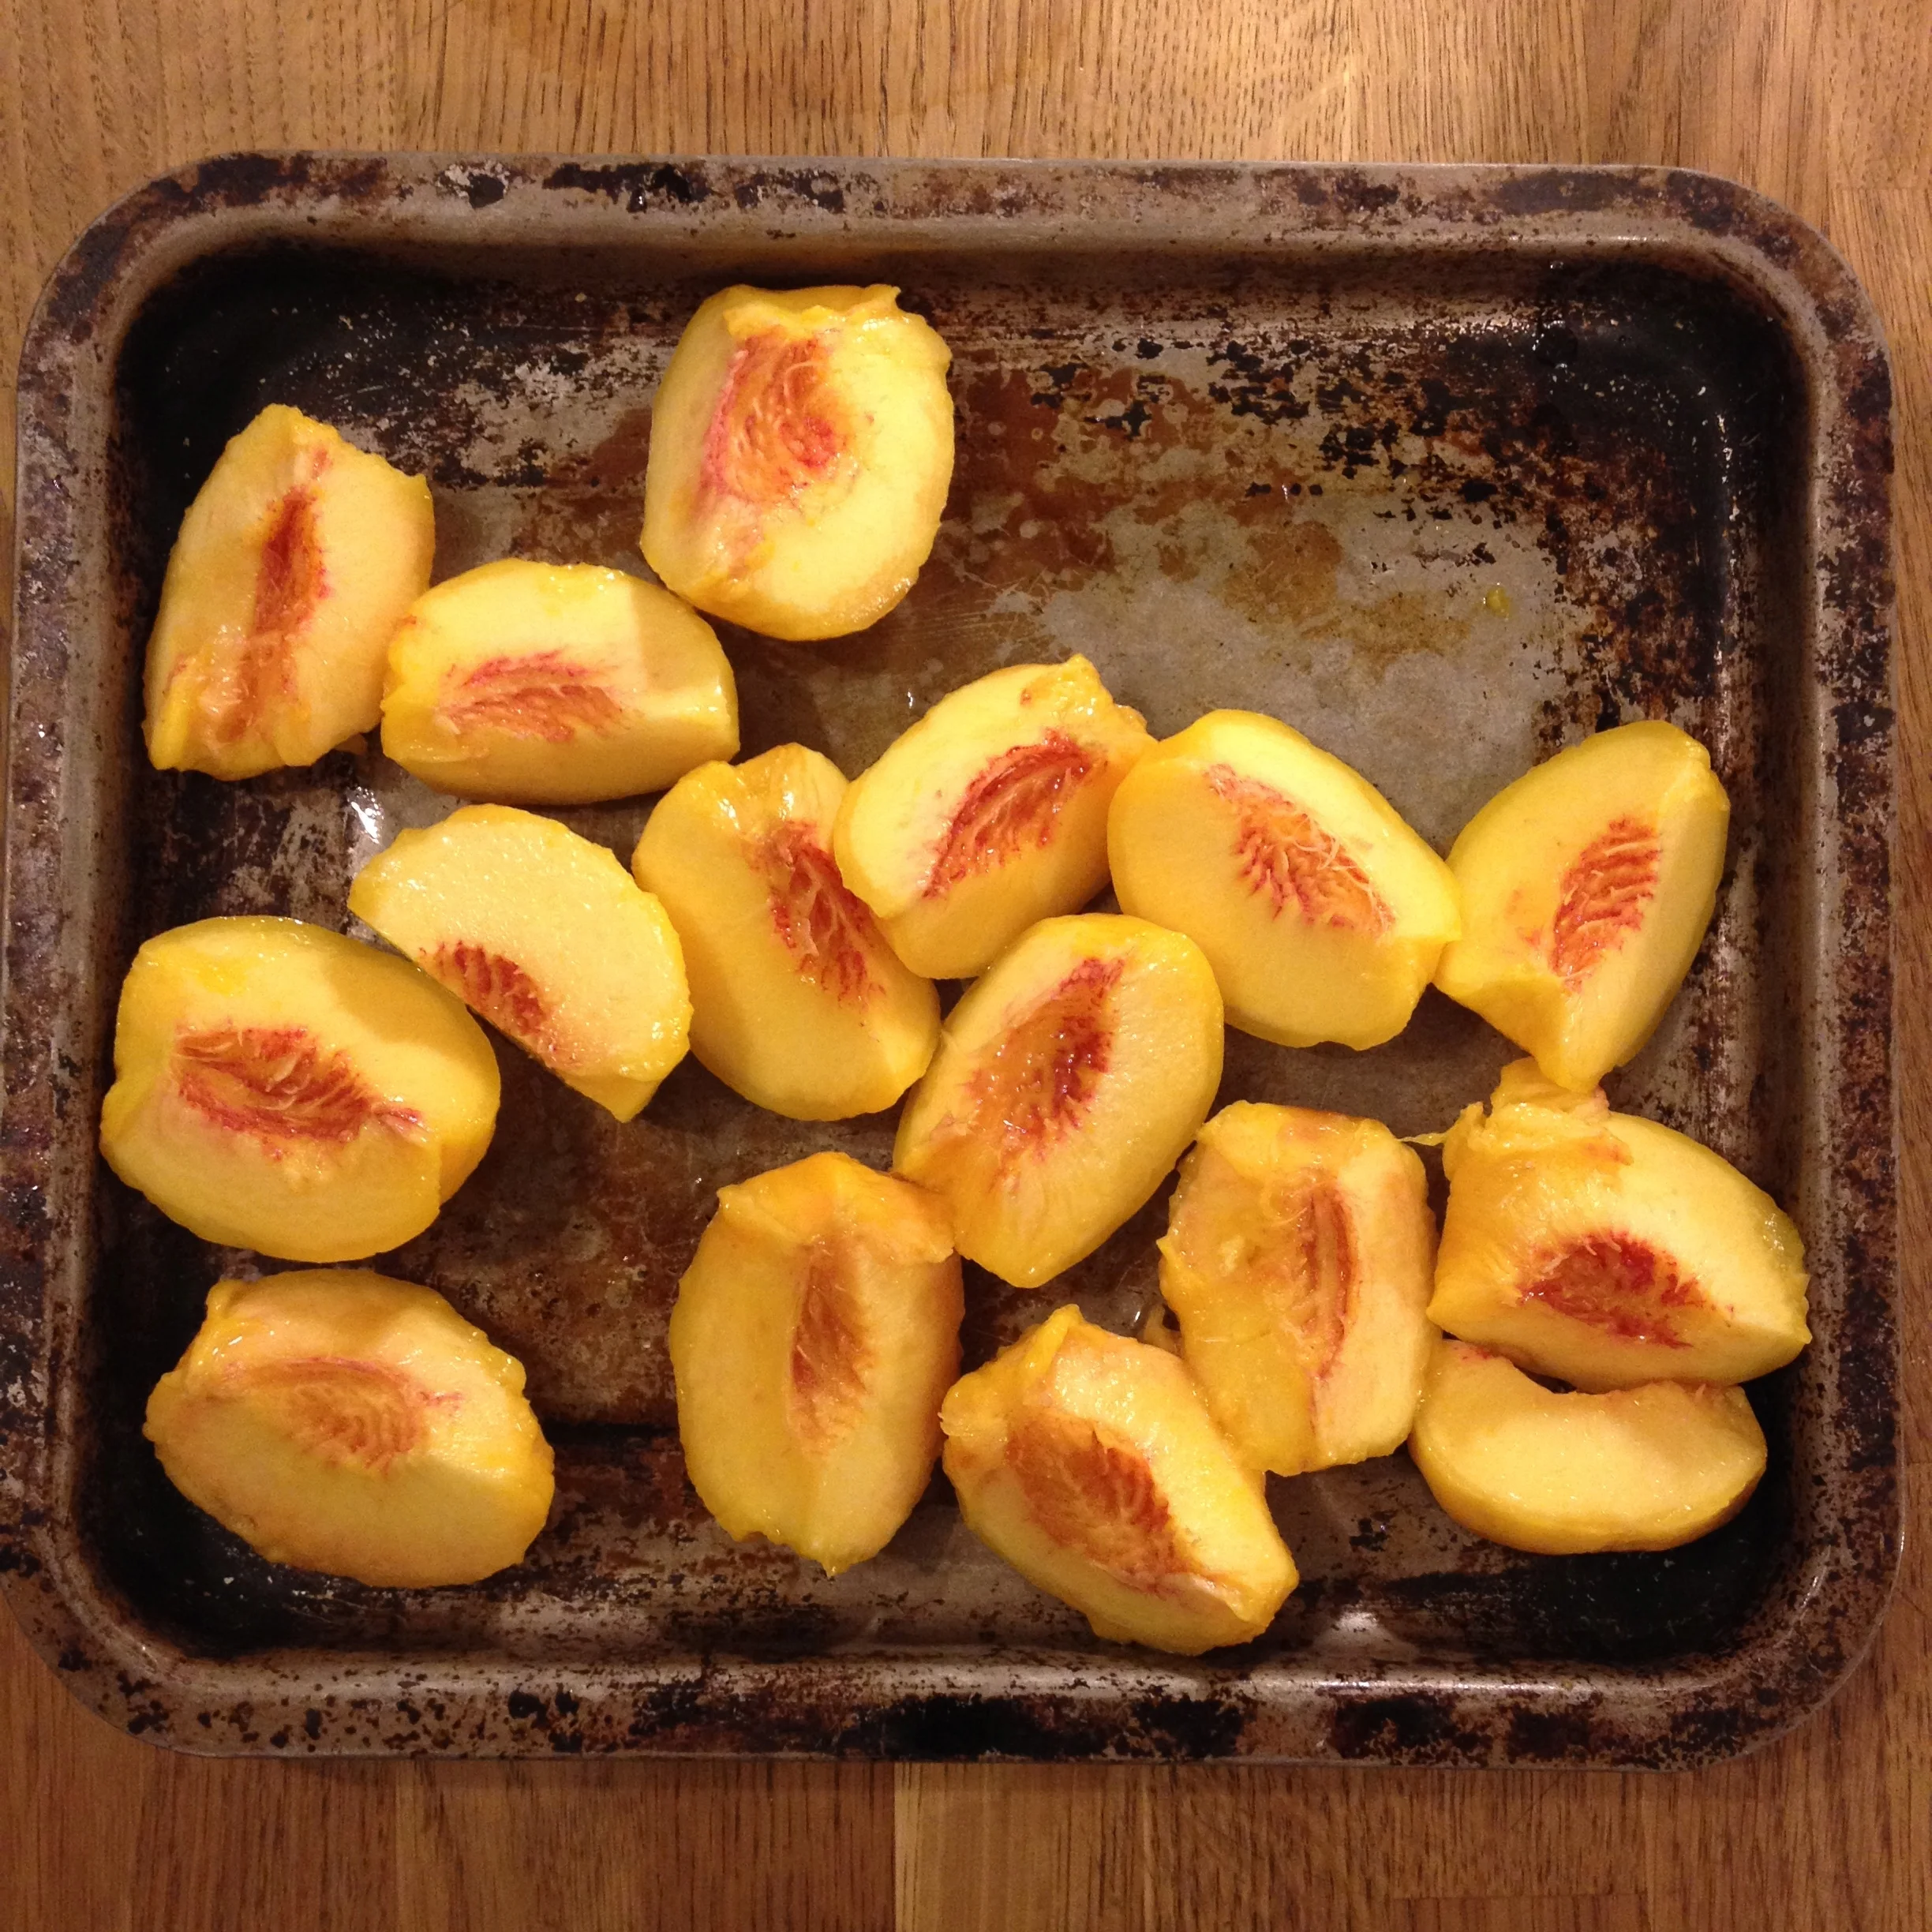
I picked some peaches up when in the Shuswap this past weekend for that last swing at summer, and have plans to make some fermented peach chutney in the coming days. In the meantime though, I did plunk a few in boiling water for a minute at a time, and then shocked them in a cold icy water bath in order to stop the cooking, and then peeled them, scored in quarters and de-pitted them. I dropped them on a tray and popped those babies in the freezer, the idea being that they will end up in smoothies or cobblers down the road. Truly though, I dream that they all end up meddled in with some creme fraiche and turned into peach vanilla ice cream. There really is no other way to describe summer, is there?
For those with an overabundance of rhubarb, you could chop it and freeze it in small batches to use in desserts and to flavour those second ferments, or you could make this wonderful Rhubarb Salsa (oh it's fermented, of course). Whatever you do, make something with that bounty in your yard or by picking up a few boxes of things while out in the Okanagan or your favourite local farmer's market, and play with your food. Your mid-winter self will be thanking your busy-summer-bee self before you know it.
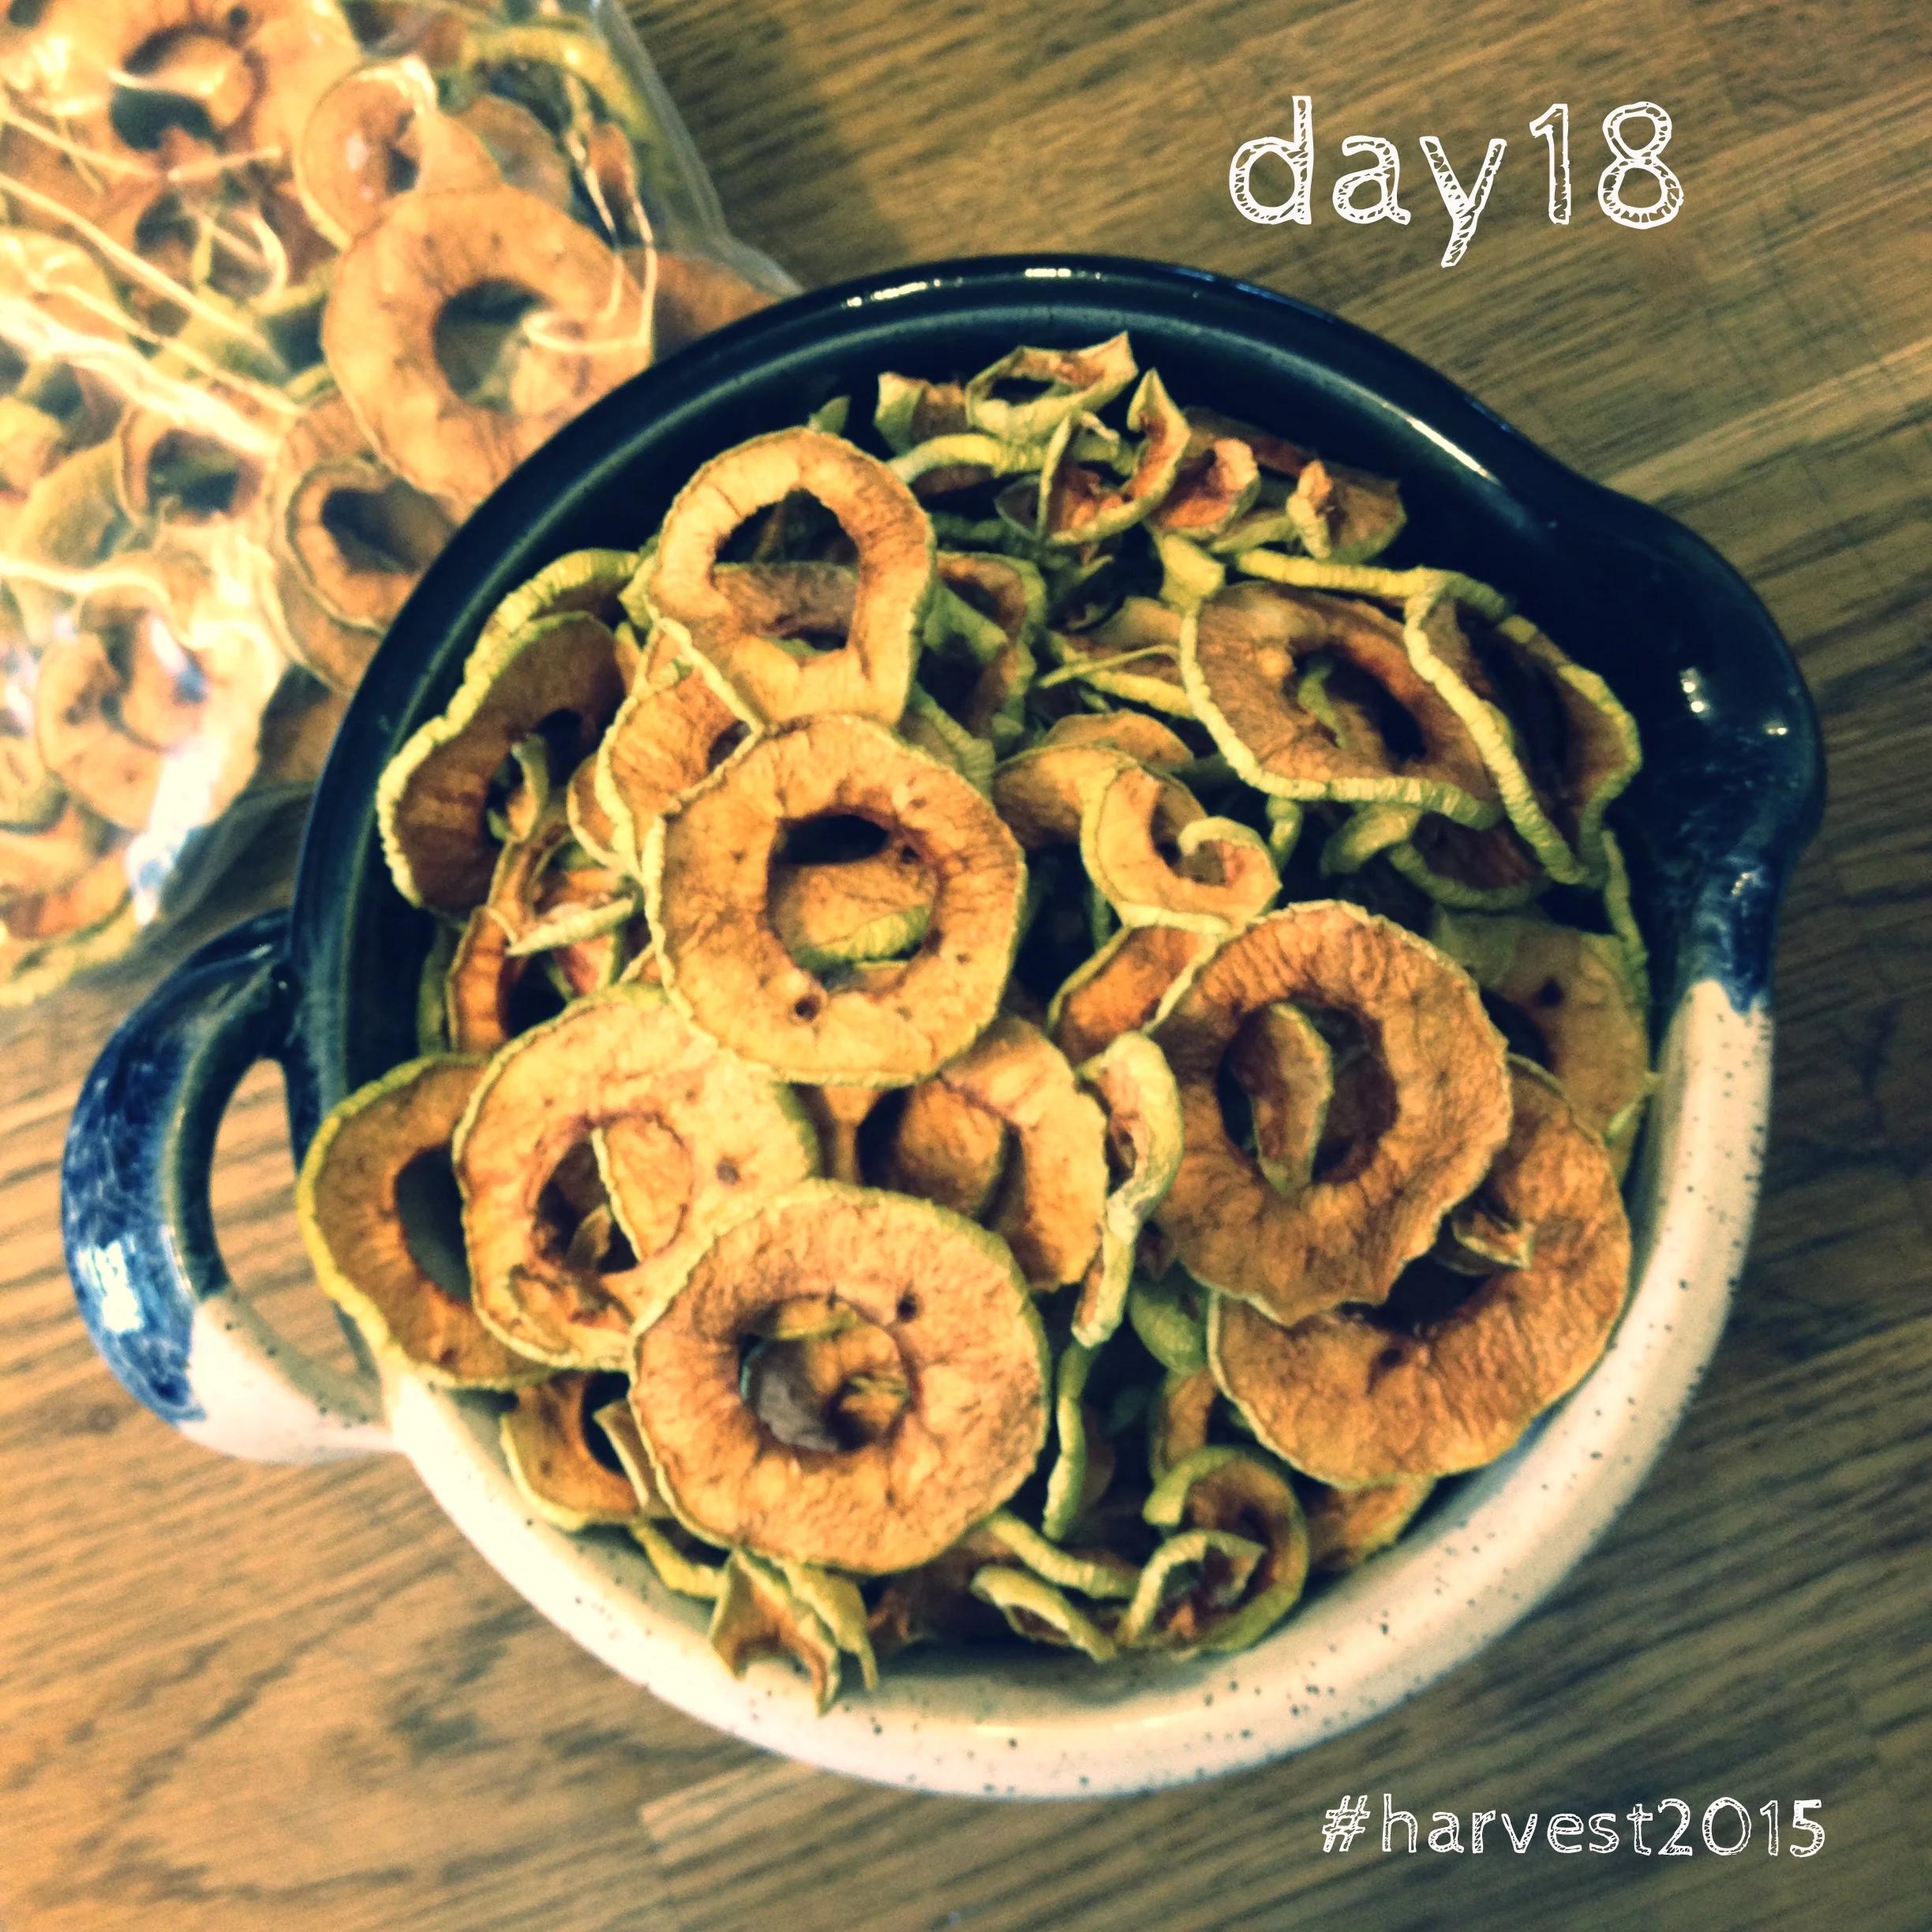
Dried apple rings from tart Alberta apples, for safe-keeping. #harvest2015
A MONTH OF PUTTING UP THE HARVEST - Day 4
We are taking a regularly scheduled break from tomatoes. Fret not, we will return to tomatoes, but goodness knows there is a lot more out there that could be 'put up' from your favourite road side stand or farmers' market. And this one is a bit more time-sensitive (as will be tomorrow's). These things, they're all contingent on having that extra hour window of time where you can do the work that needs to happen.
We are taking a regularly scheduled break from tomatoes. Fret not, we will return to tomatoes, but goodness knows there is a lot more out there that could be 'put up' from your favourite road side stand or farmers' market. And this one is a bit more time-sensitive (as will be tomorrow's). These things, they're all contingent on having that extra hour window of time where you can do the work that needs to happen.
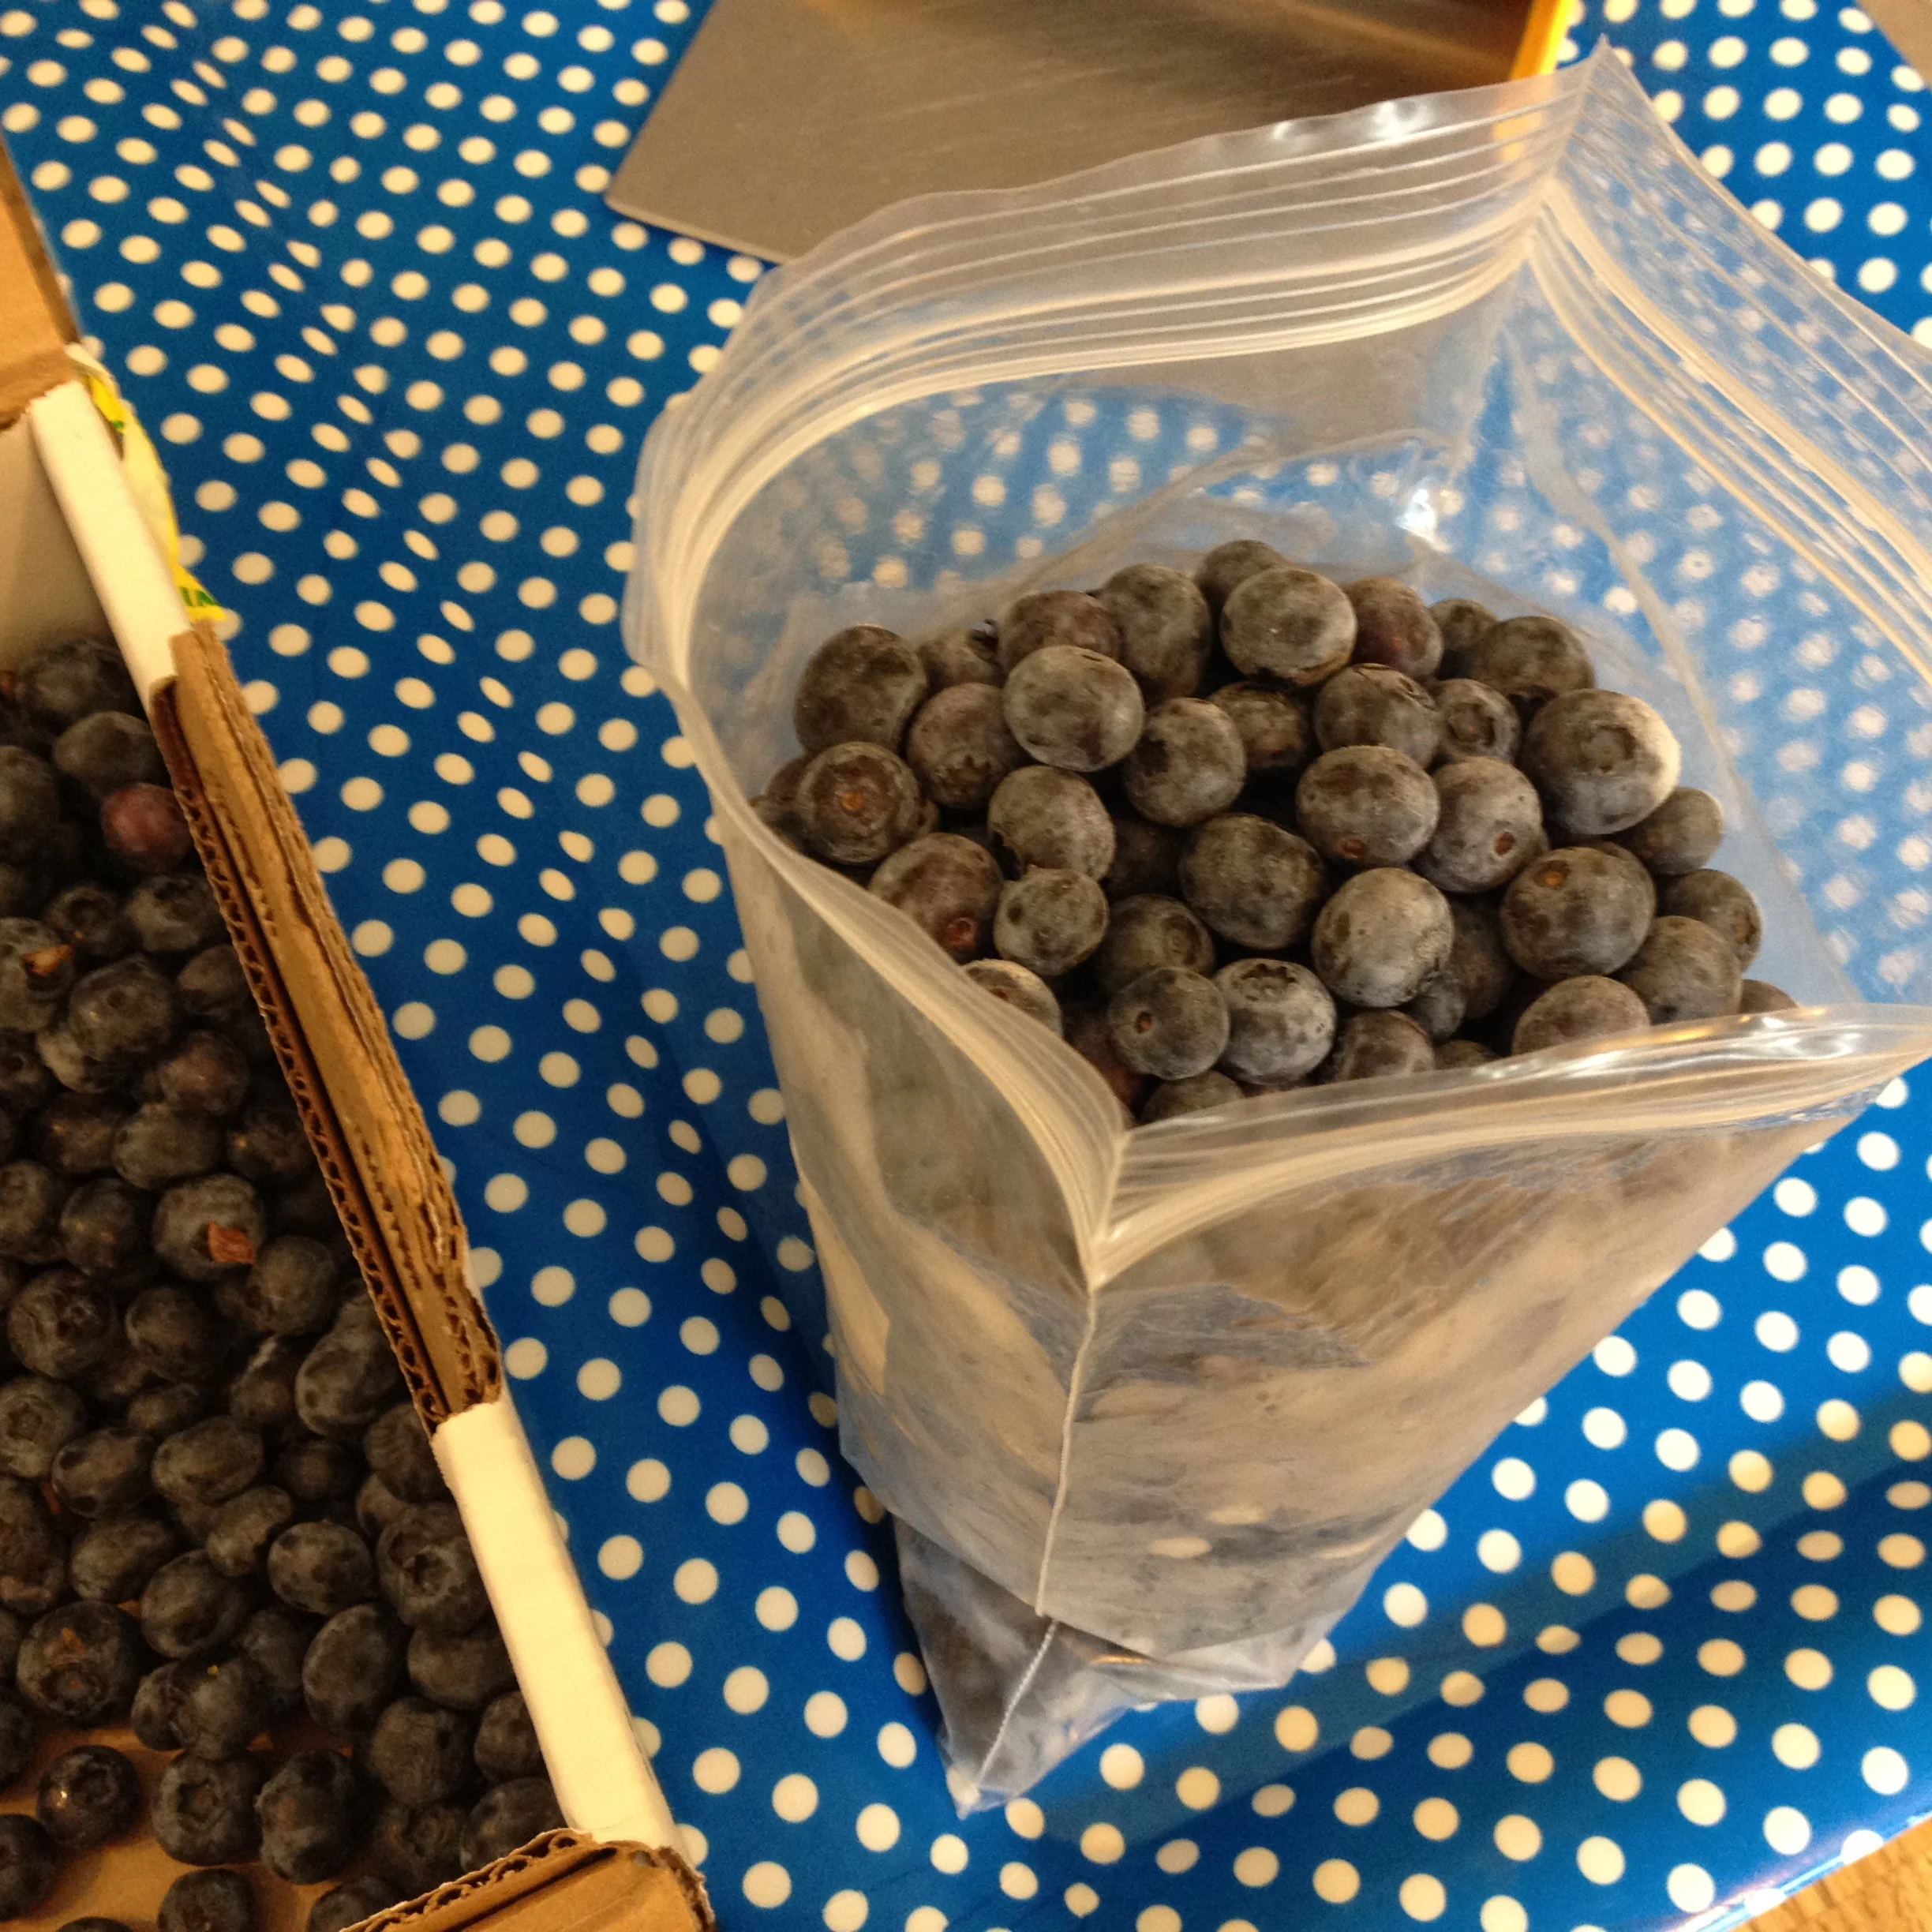
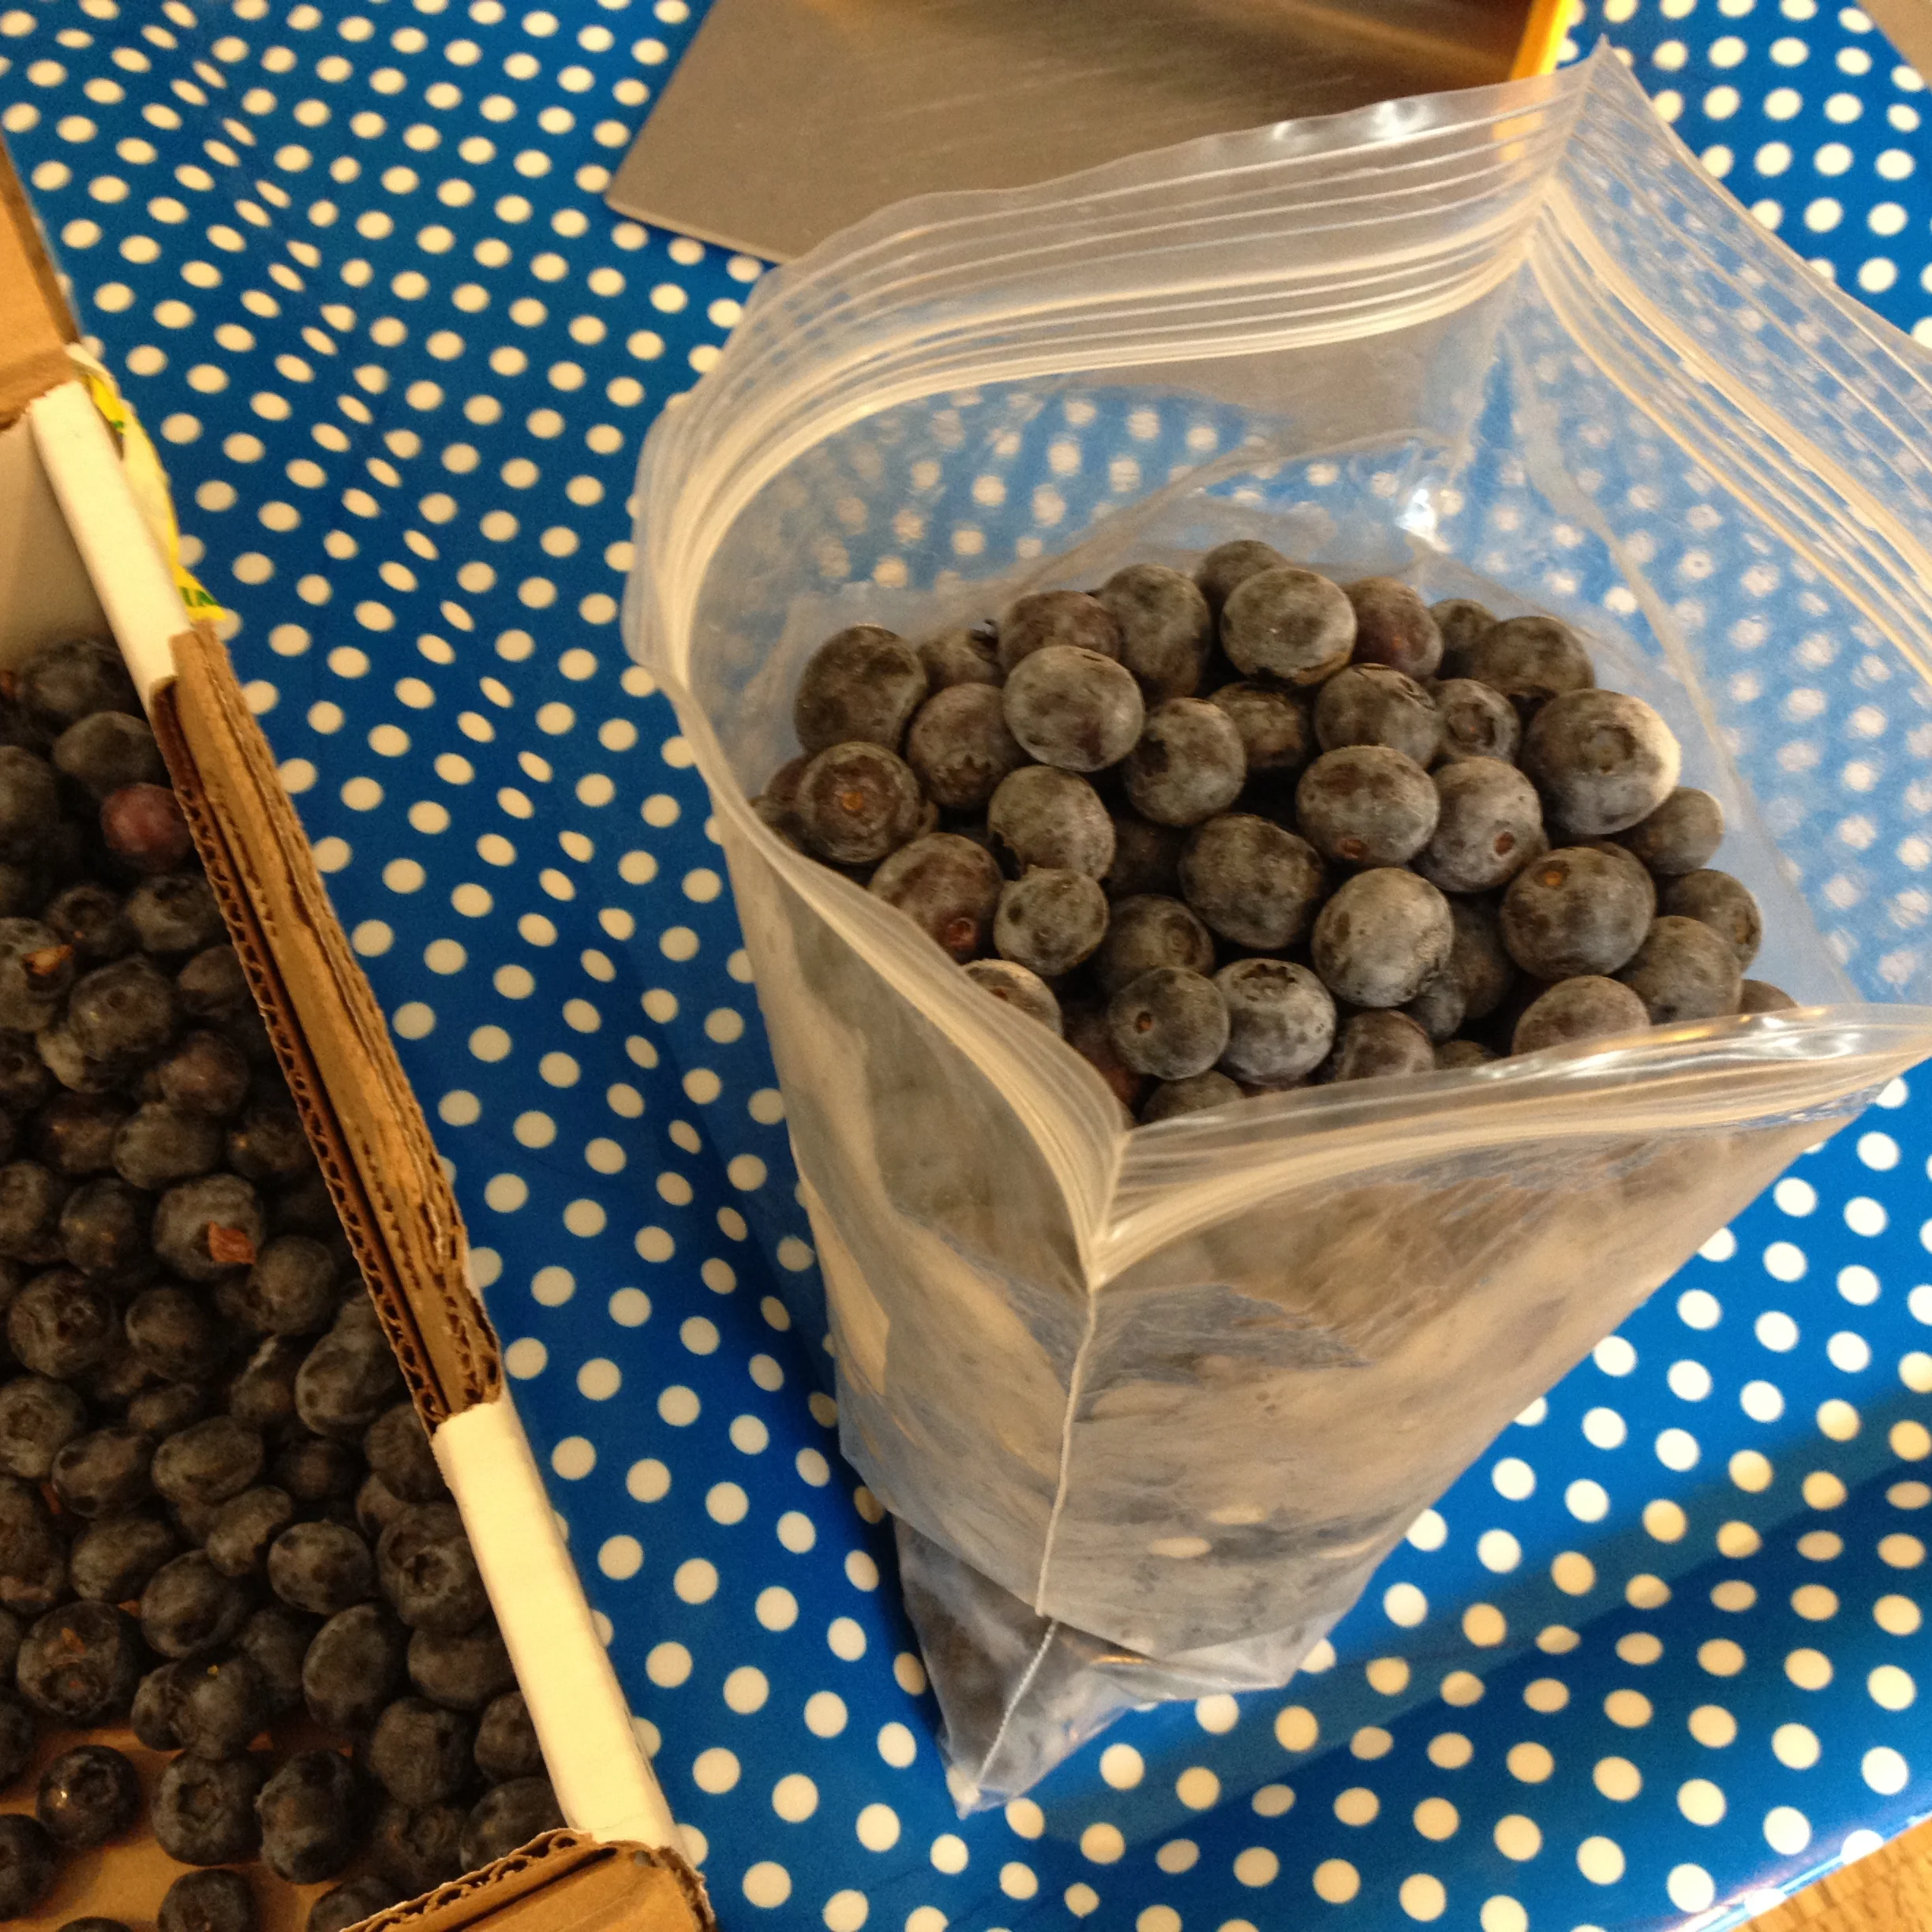
Well today's instalment on how-to-prepare-for-armageddon I MEAN how-to-prepare-for-winter takes all of FIVE MINUTES. Five minutes today, and five minutes, well maybe 10 down the road, when you have time. Would I lie to you? Freezing berries. The one thing you'll do this summer that will give you the biggest pay-back, and the most delicious bang for your time/buck.
THE HOW-TO: Buy copious amounts of berries. You won't be sorry. Berries are one of the most-sprayed produce items out there, so if you can spring for it, go organic. Buy all kinds. Or go foraging for saskatoons in the coulee by your house. (Call 311 to find out if they spray for pesticides in that area first!) Or blueberry and raspberry picking by your cottage if you are so lucky to live somewhere where these jewels grow in abundance. Just make sure to bring your bear spray with you.
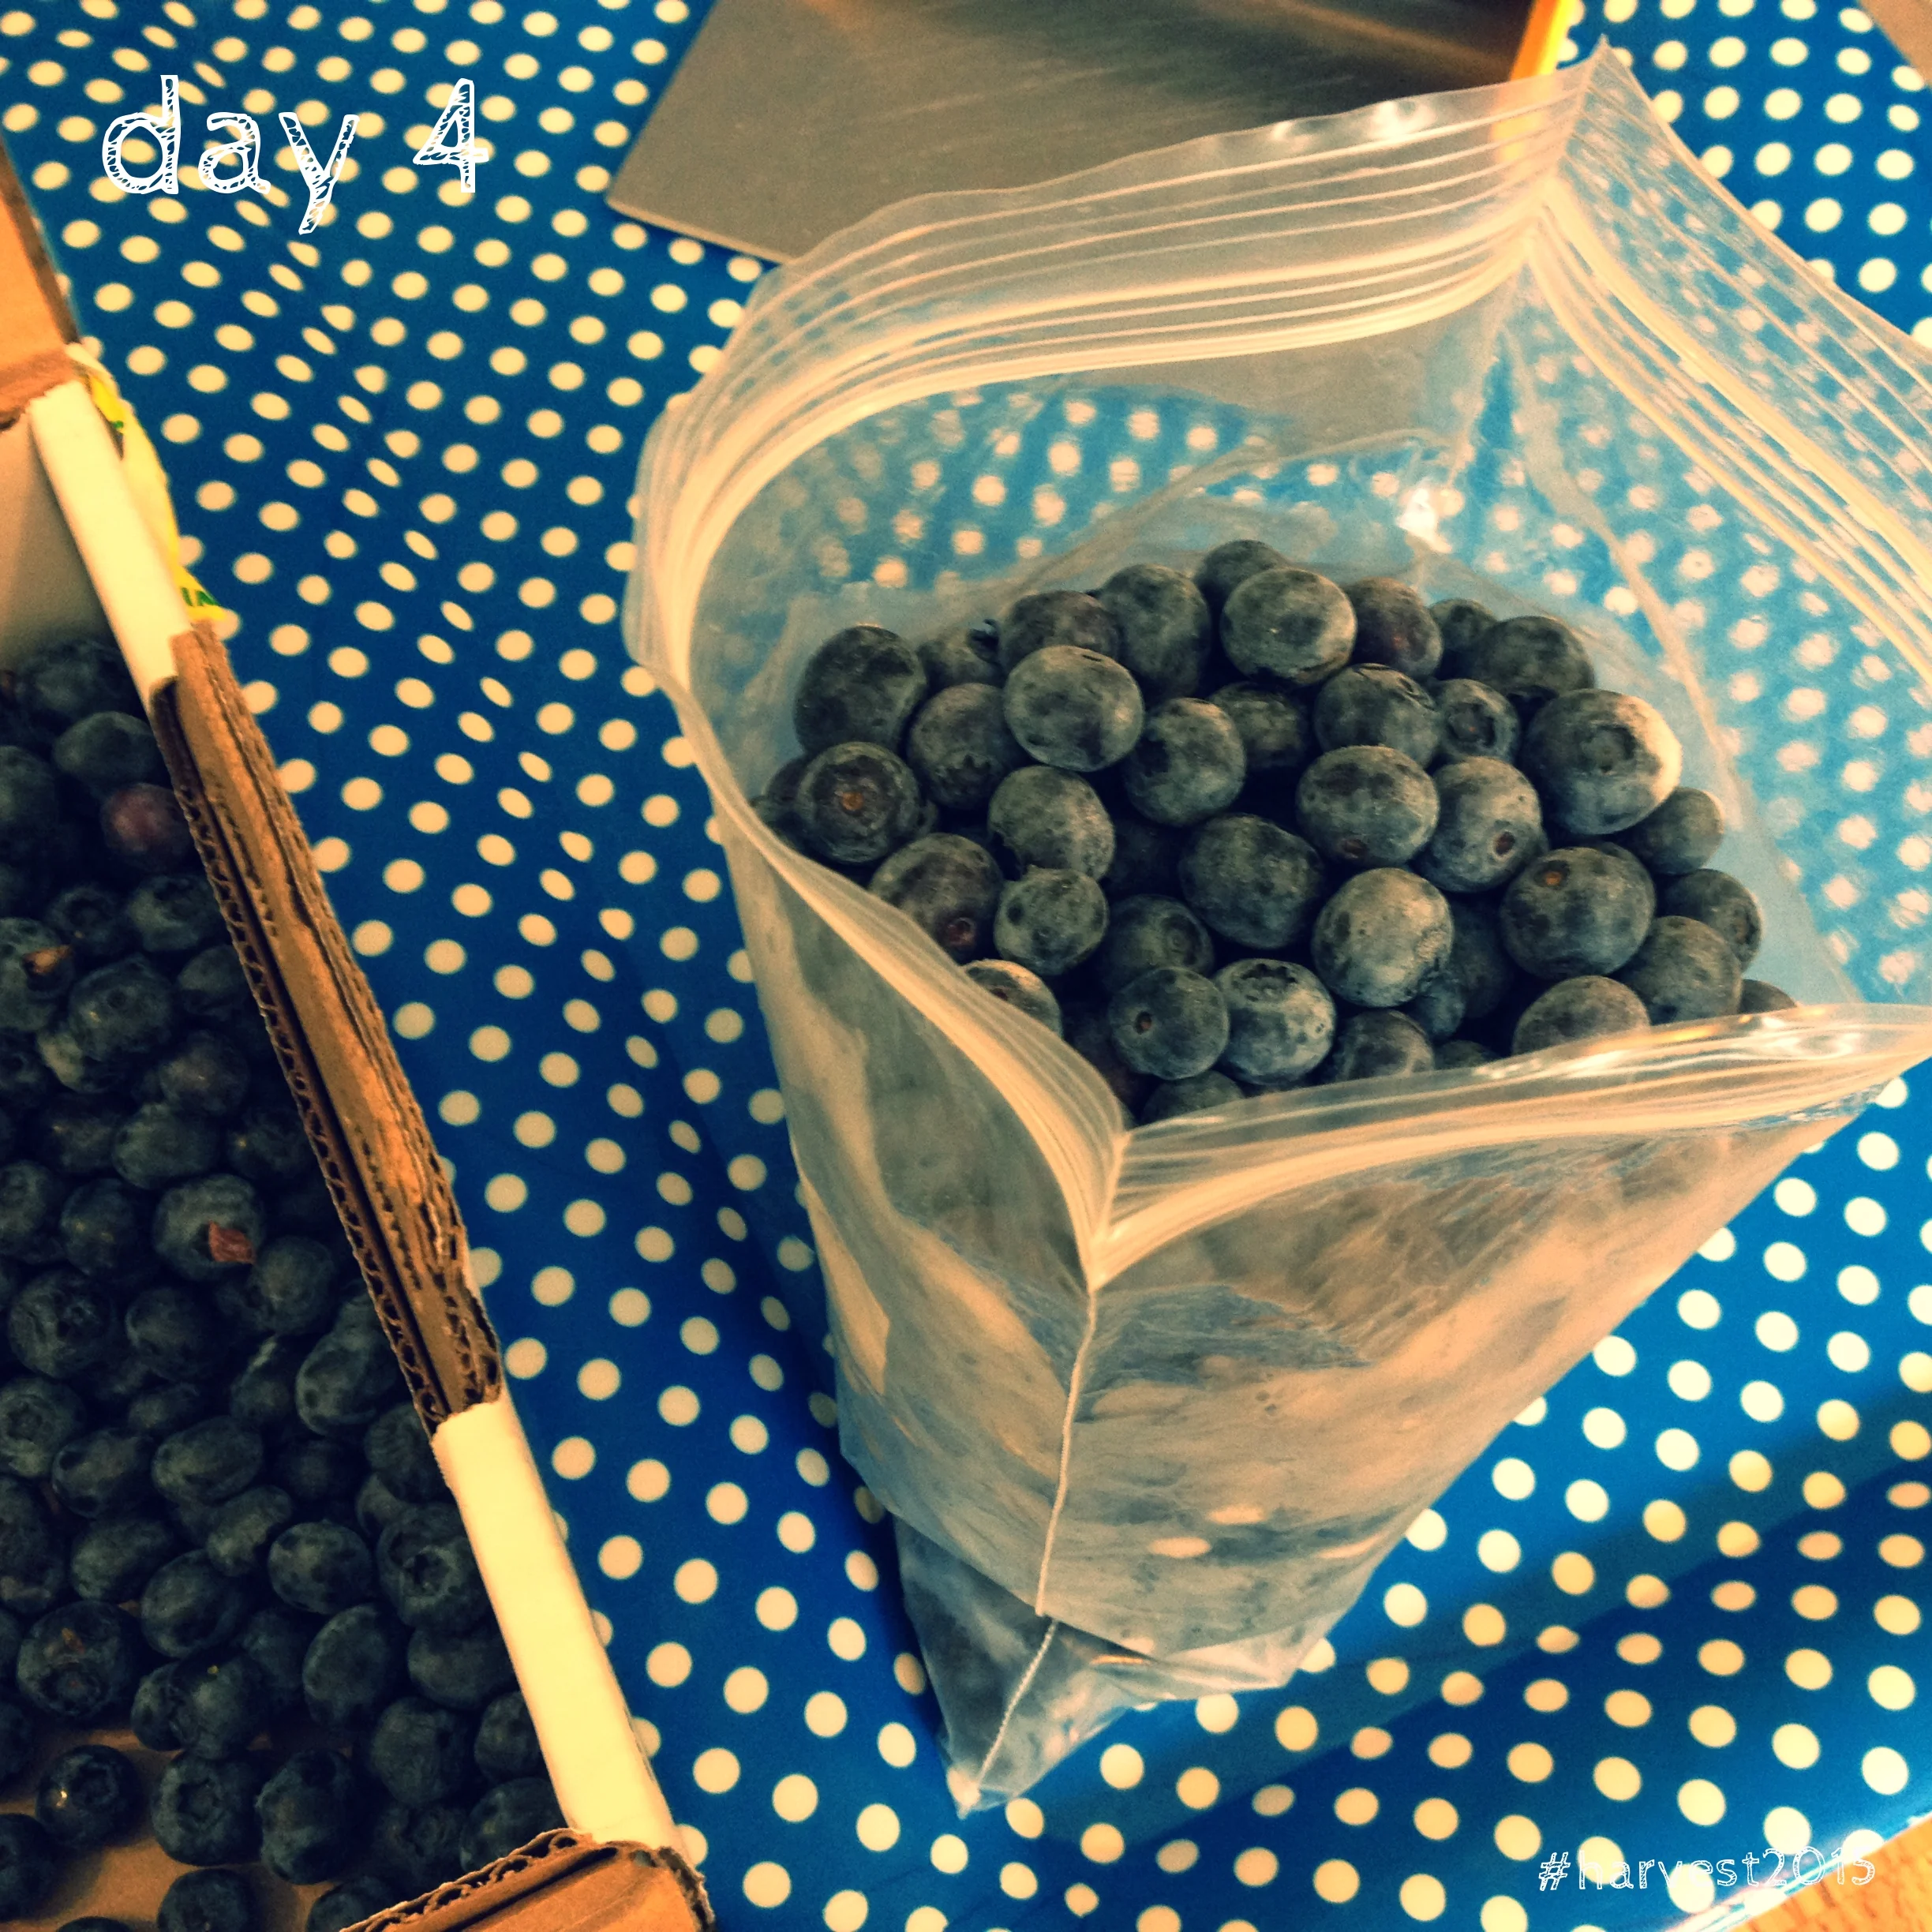
Quick and easy: frozen berries, best way to preserve summer flavours and nutrients. #harvest2015
I learned this from my Mom. I associate all things berries with my Maman. She is a berry-picking fiend and makes I think perhaps the most perfect pies and jams in all of the land. (Pie making is a surefire way to keep the harvest. But it's a bit harder than what we're attempting today.) To this day, the smell of small-batch raspberry jam means JE SUIS AU CHALET ET MAMAN EST APRES FAIRE DE LA COMPOTE. Which means all is right with the world, yes? How Lorraine does it (and consequently, I do it): she fills the bottom of a tray or cookie sheet with one layer of berries, and goes through picking it to remove the bugs, leaves, twigs, stemmy bits and dirt. I think she washes them, but if they're clean enough (and organic or foraged), I won't as I usually pick them or get them when they're ripe and I fear smooshing them if I wash them. So I leave them as-is. The tray is one-layer thick and now picked cleaned; now at this point my mom makes jam. But for me, I pop it in the freezer as-is, of course on a flat surface. I leave it in the freezer for how many days it takes to really freeze them through (at least 2 days), but not more than a week as you'll start to lose some of the moisture content. When I have that extra 10 minutes, I take the tray out and start filling those medium sized freezer bags with the berries, and you can label them if you'd like so you know which summer they were picked in. I tuck the bags in the freezer, and voila! Insta-berries for smoothies, pies, crisps or cobblers, tarts, muffins, sauces, pancakes, ice cream.
Oh yes, I meant to add that if you like, you can pre-measure those berries out and put them in bags labelled with the amount you've put in, if you have a go-to recipe that calls for 2 cups, say.
Do I need to say it? GO PLAY WITH YOUR FOOD.
A MONTH OF SALADS - Day 22
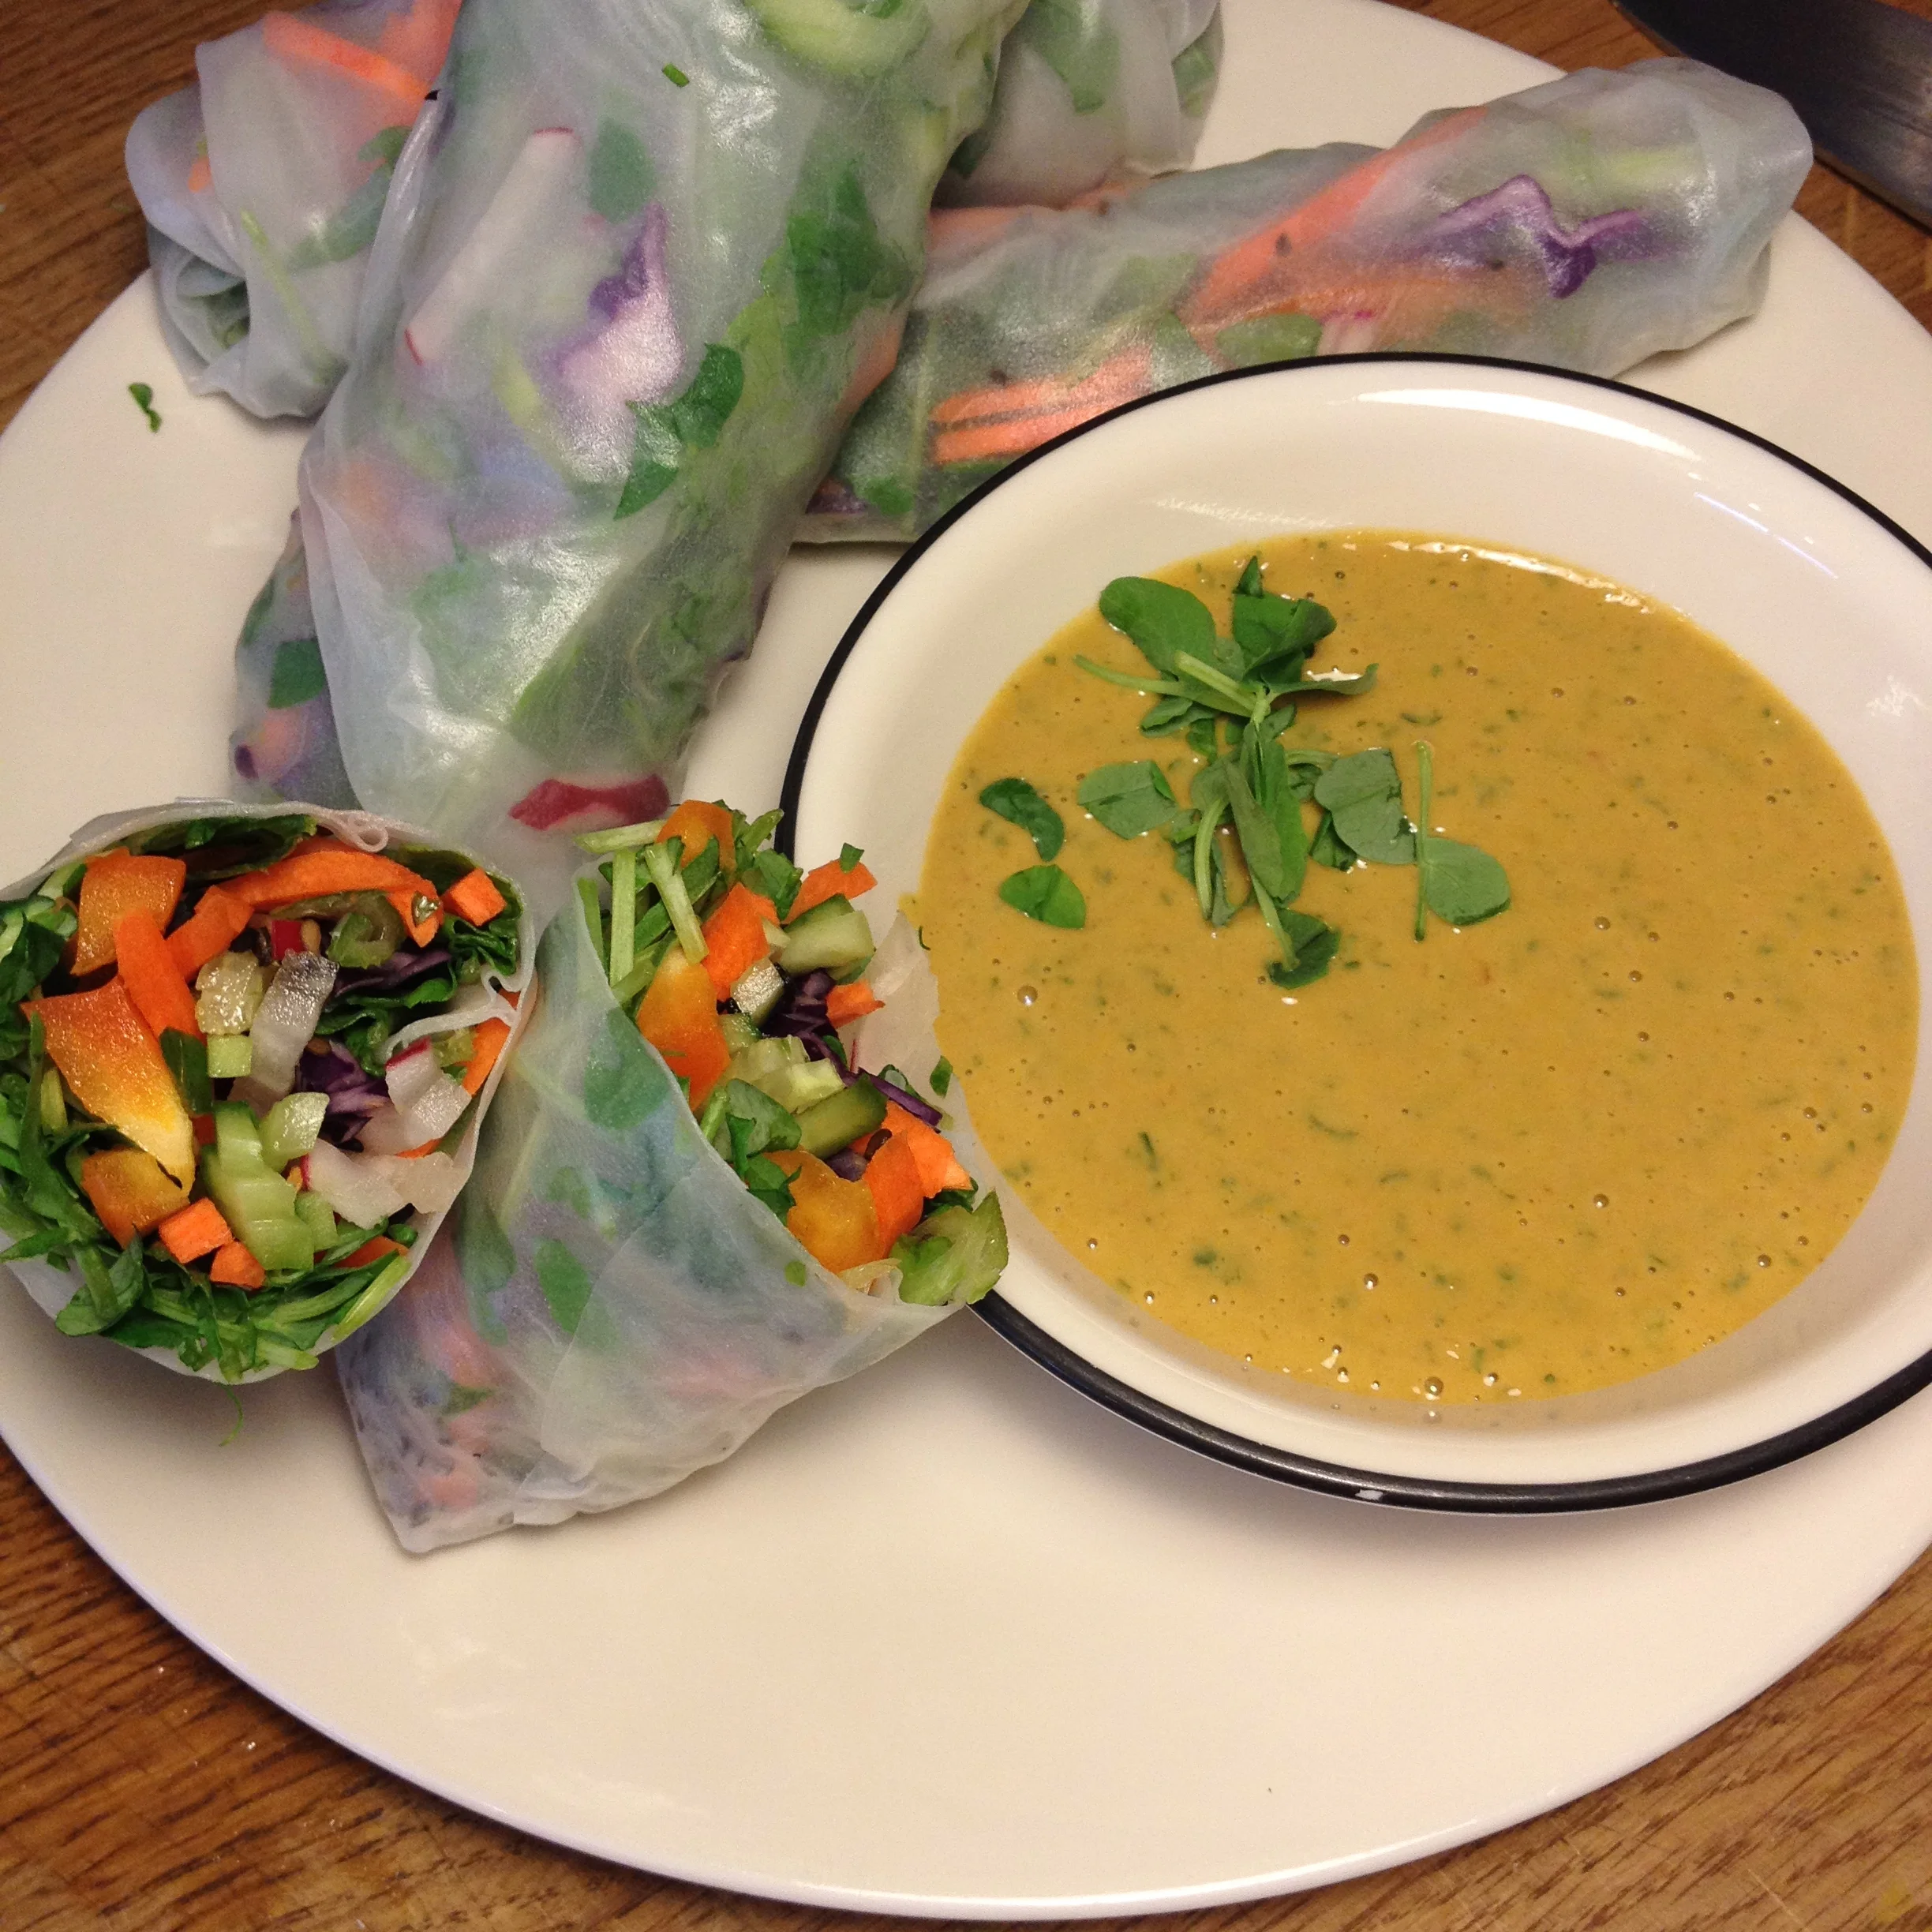
Salad rolls. Who said salad had to be served in a bowl or plate with cutlery?
Day 22. The final day of this month's foray into salad making. During this month, my family and I tasted our way through full meal salads, on to simple sides, flavours from other parts of the world, easy lunch salads and flavour explosions. Today's offering, as a means of wrapping things up, is to say that salad doesn't need to be served on a plate or a bowl; you don't need to use utensils. Why when the weather is scorching, and you're looking for something fun to make for dinner, think of these salad rolls! Easy peasy lemon squeezie.
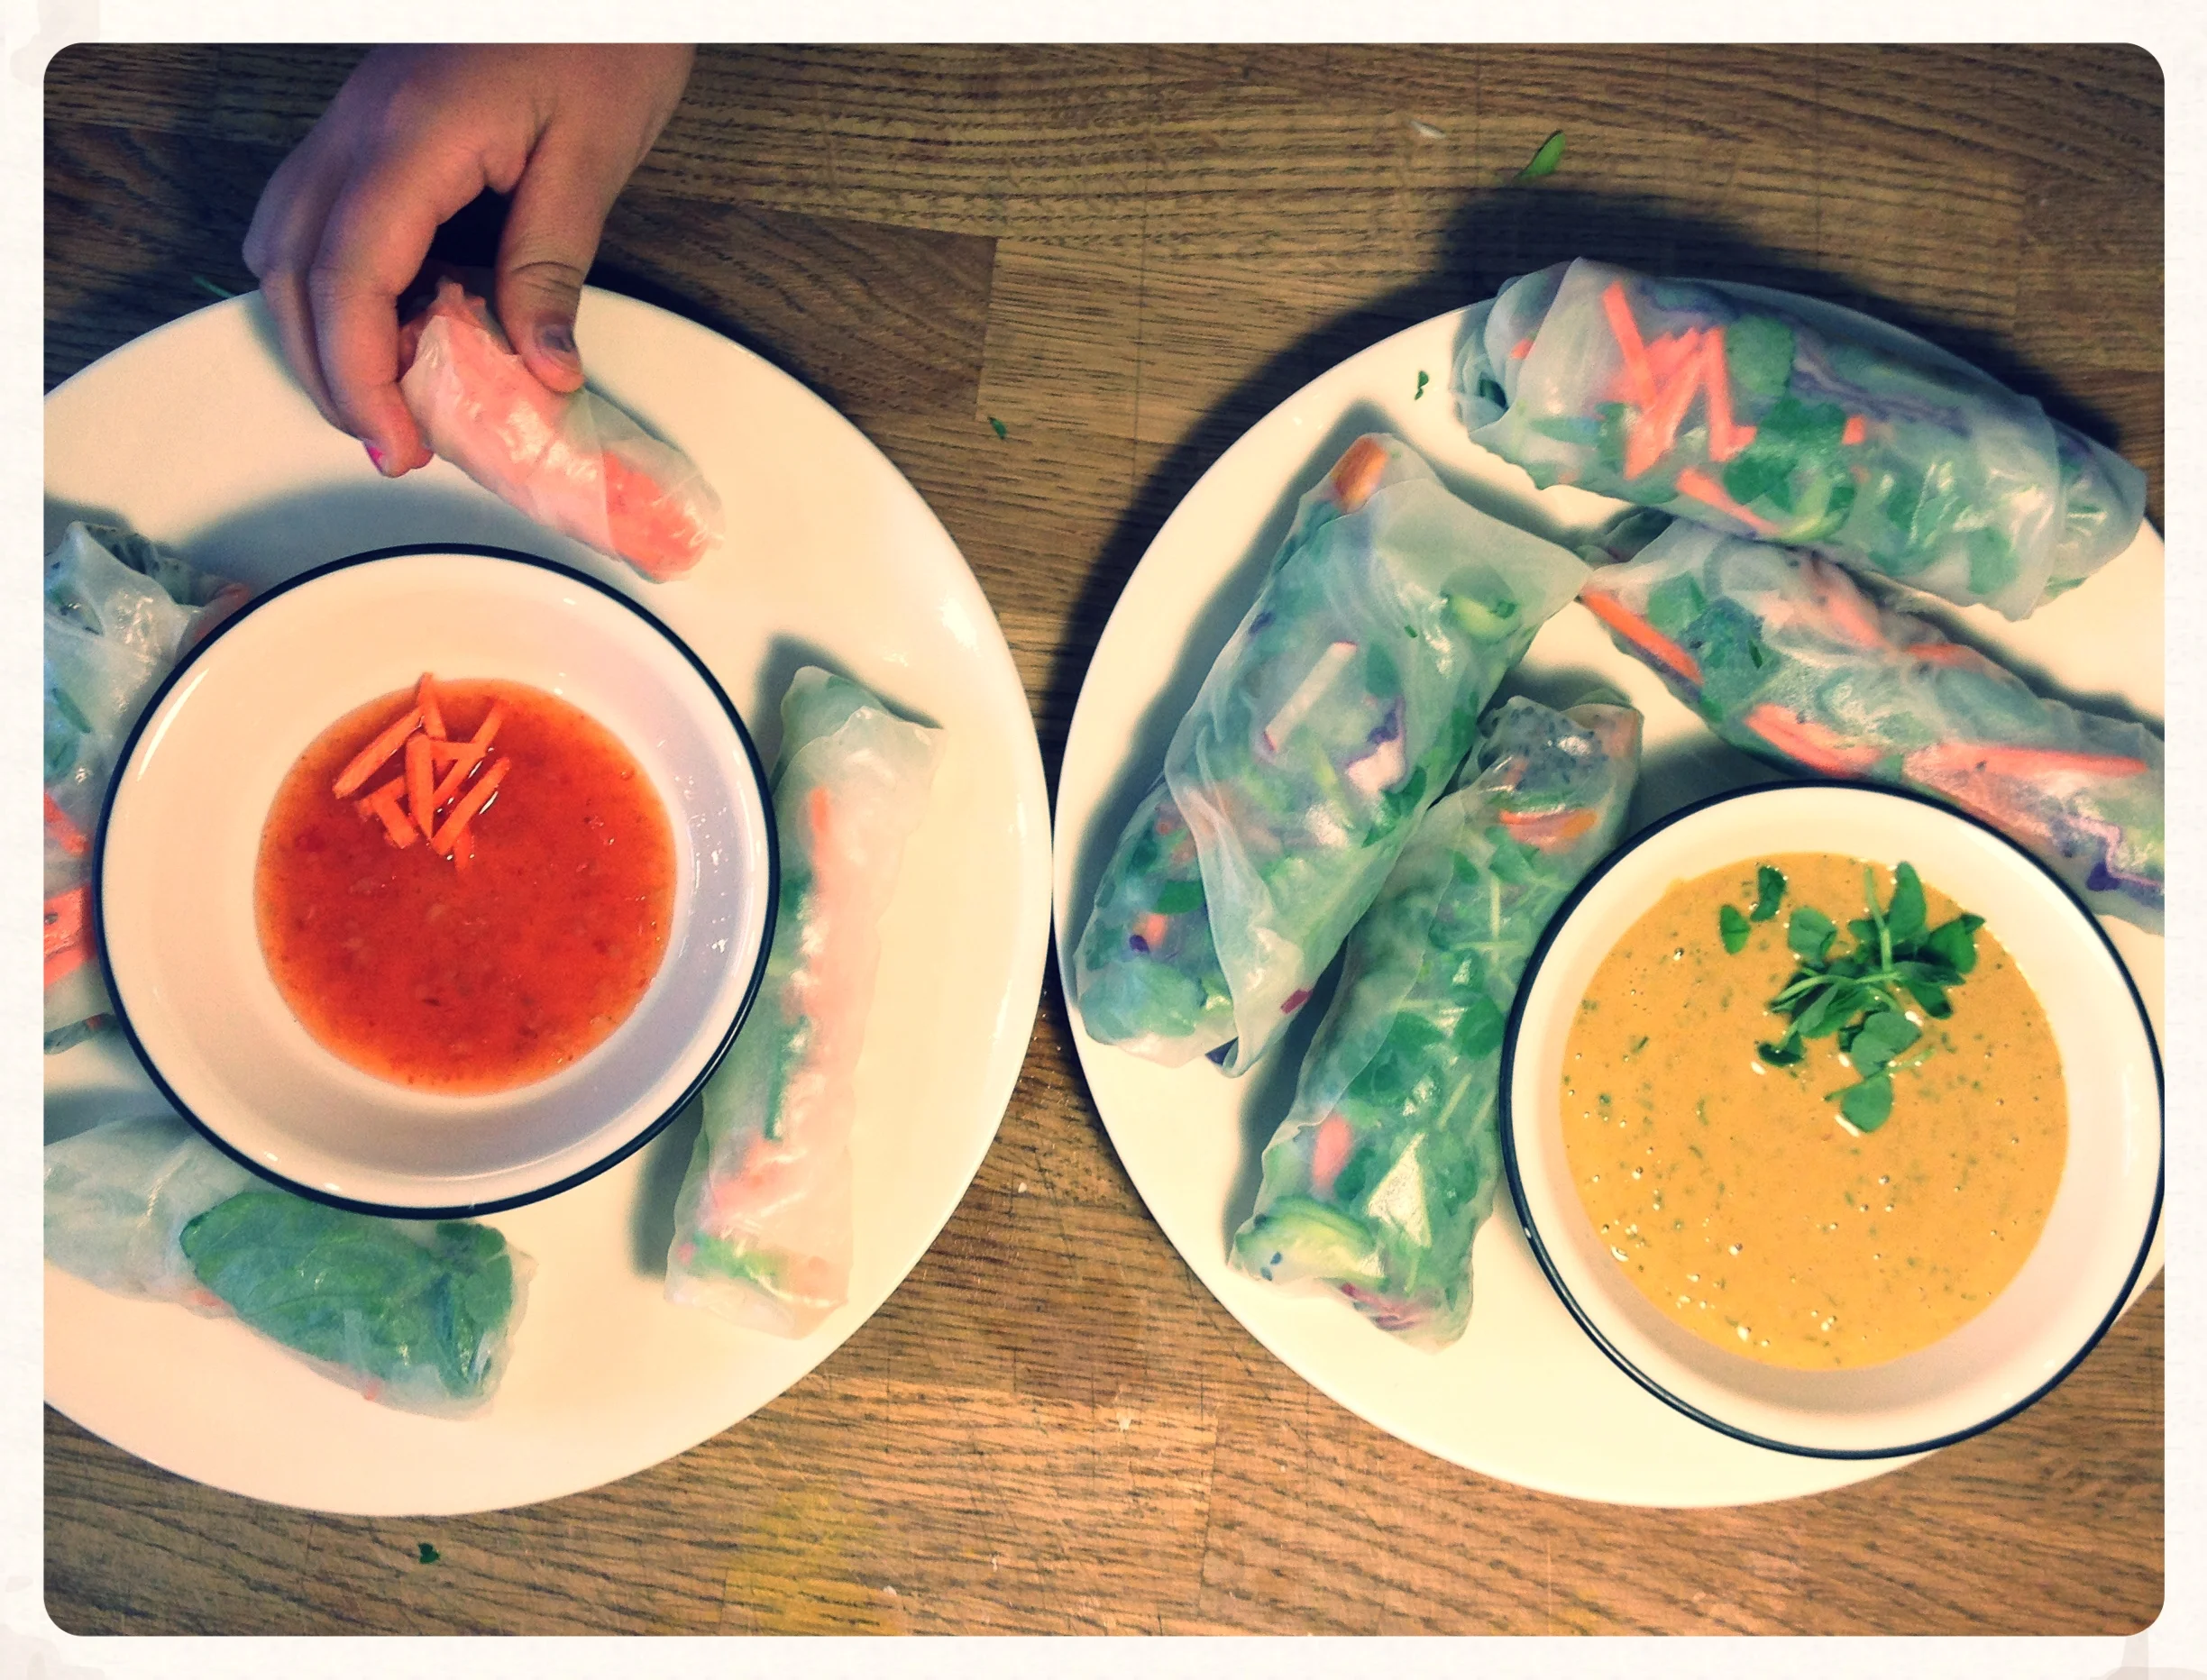
First things first. As there were again only two of us here at home, my little opted to have her favourite sweet chili sauce (a bottled version). I opted for a revisit of the peanut dressing from the Orchid Lime Salad from Whitewater Cooks, as the flavour was explosive and I just couldn't help myself. It seems a good salad roll needs a good substantial thick dressing in which to dip, and a zingy one at that. This one fits the bill to a T.
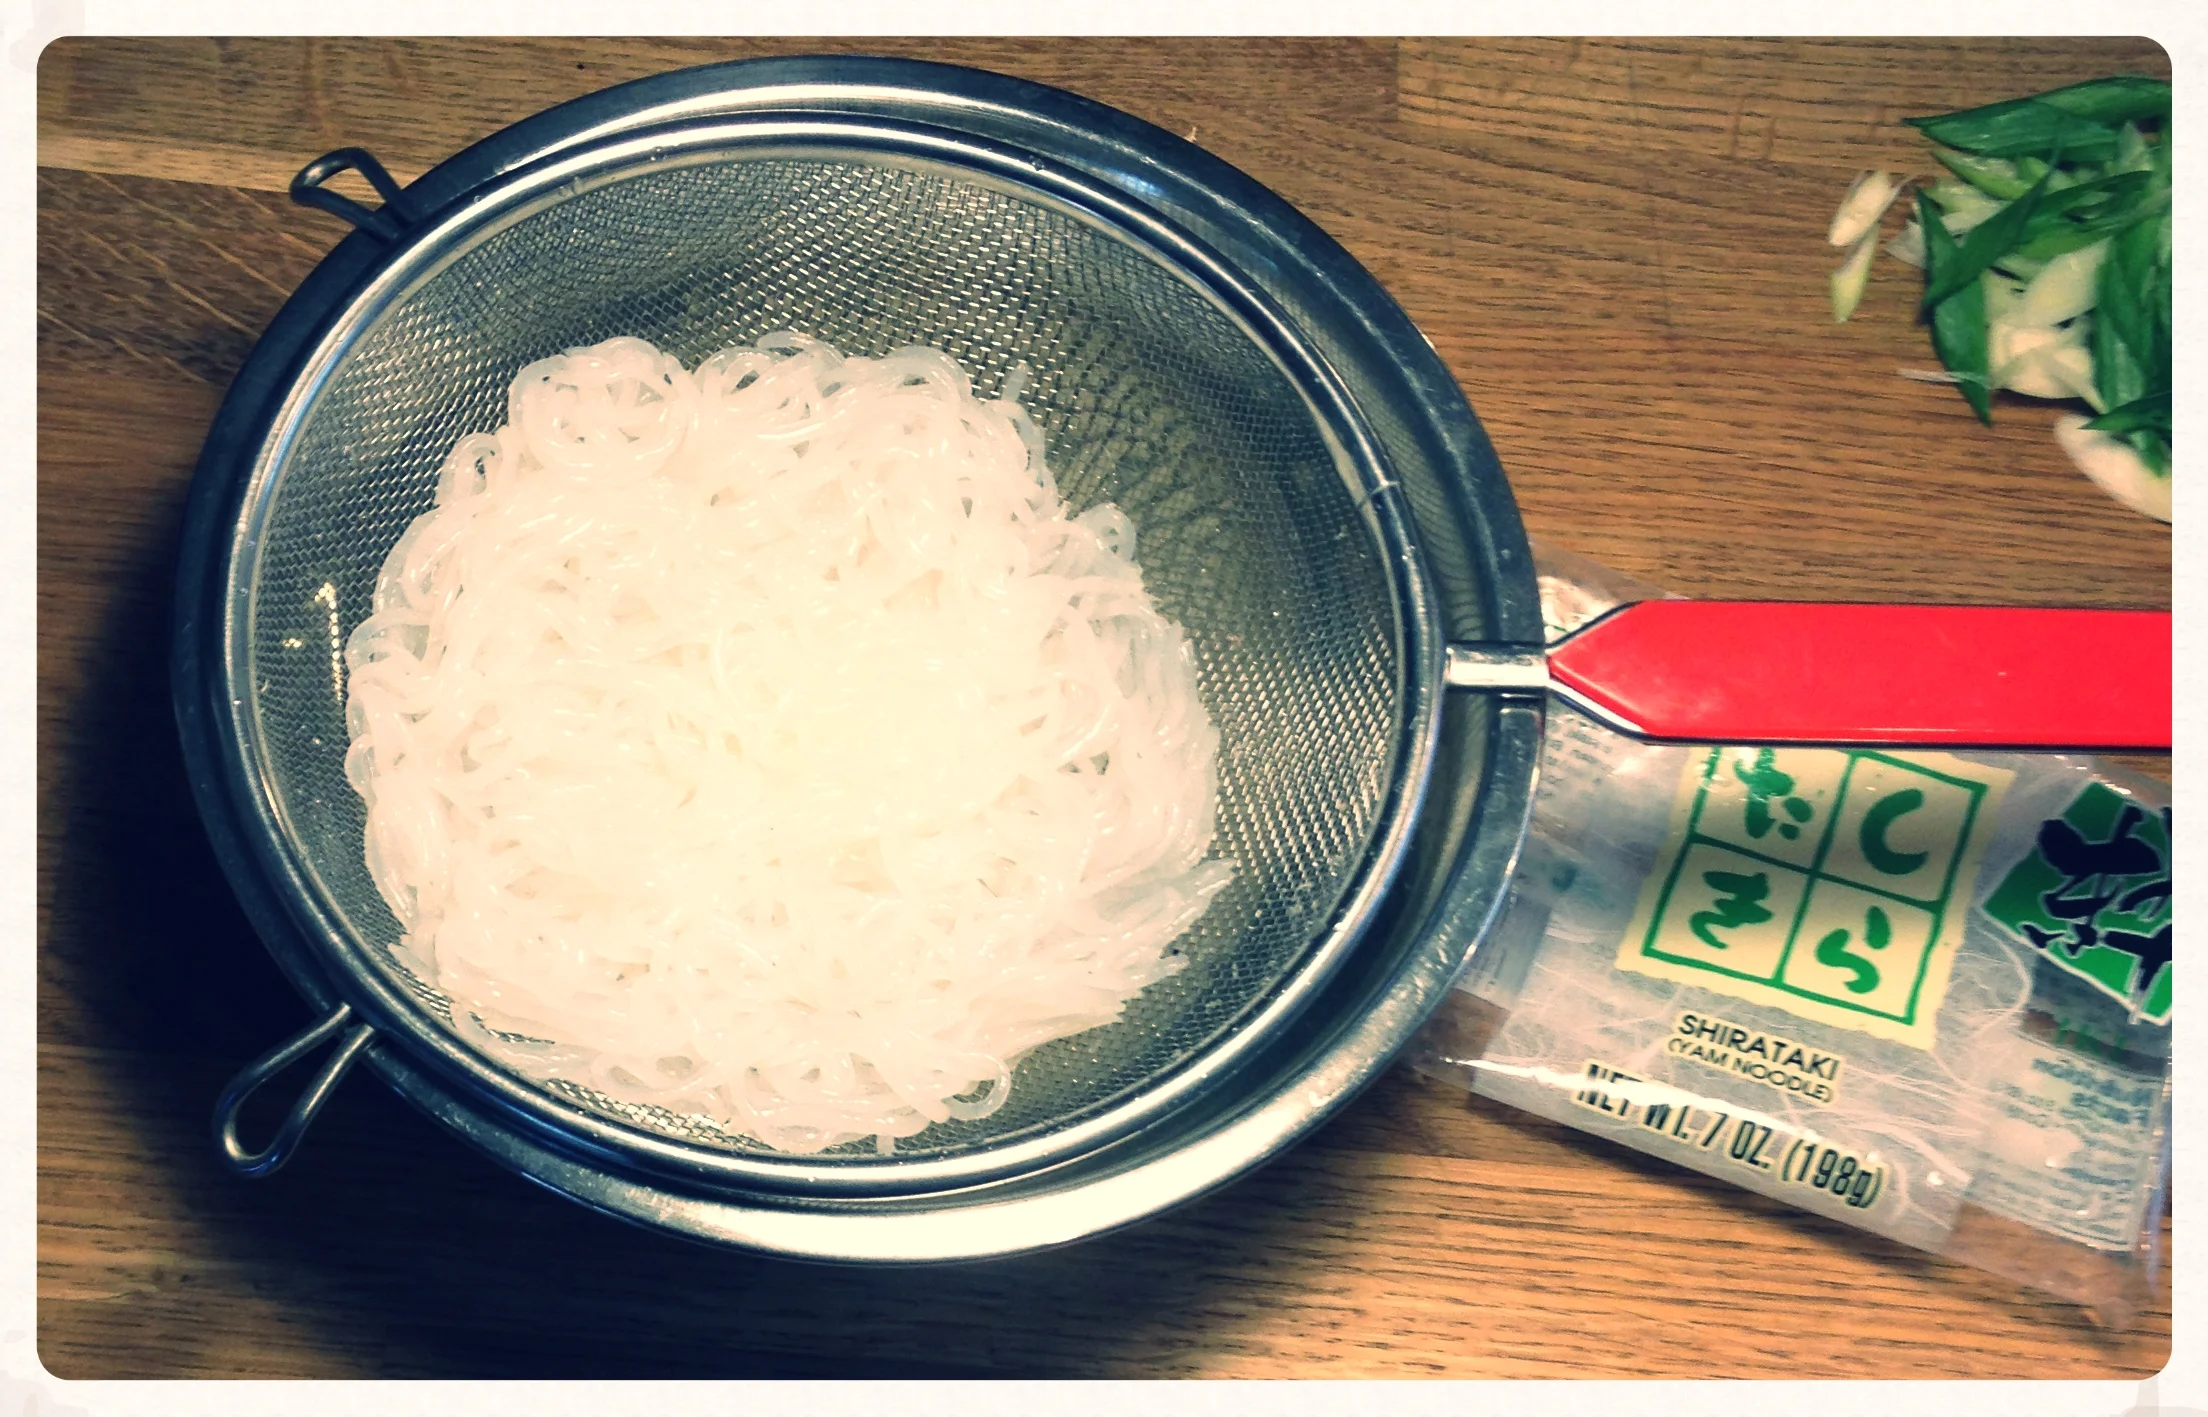
Shirataki noodles. Find them in the refrigerator section of your Asian supermarket.
As most salad rolls come with some delicious slurpy noodles in them, I opted to pick up some Shirataki noodles while at the Korean and Japanese Grocery Store down on 10th Ave at 14th Street in the SW. These noodles are so easy to prepare: just dump in a strainer straight from the package, and rinse them out. And voila, they're ready to use up! They're a low-carb option for those who watch these kinds of things; me, I'm just looking for something quick and easy. They're made of a specific type of yam, and are quite high in fibre. They really have no taste, so lend themselves well to something like these salad rolls, especially if you have a tangy slurpy peanut mess of a sauce to bathe it all in.
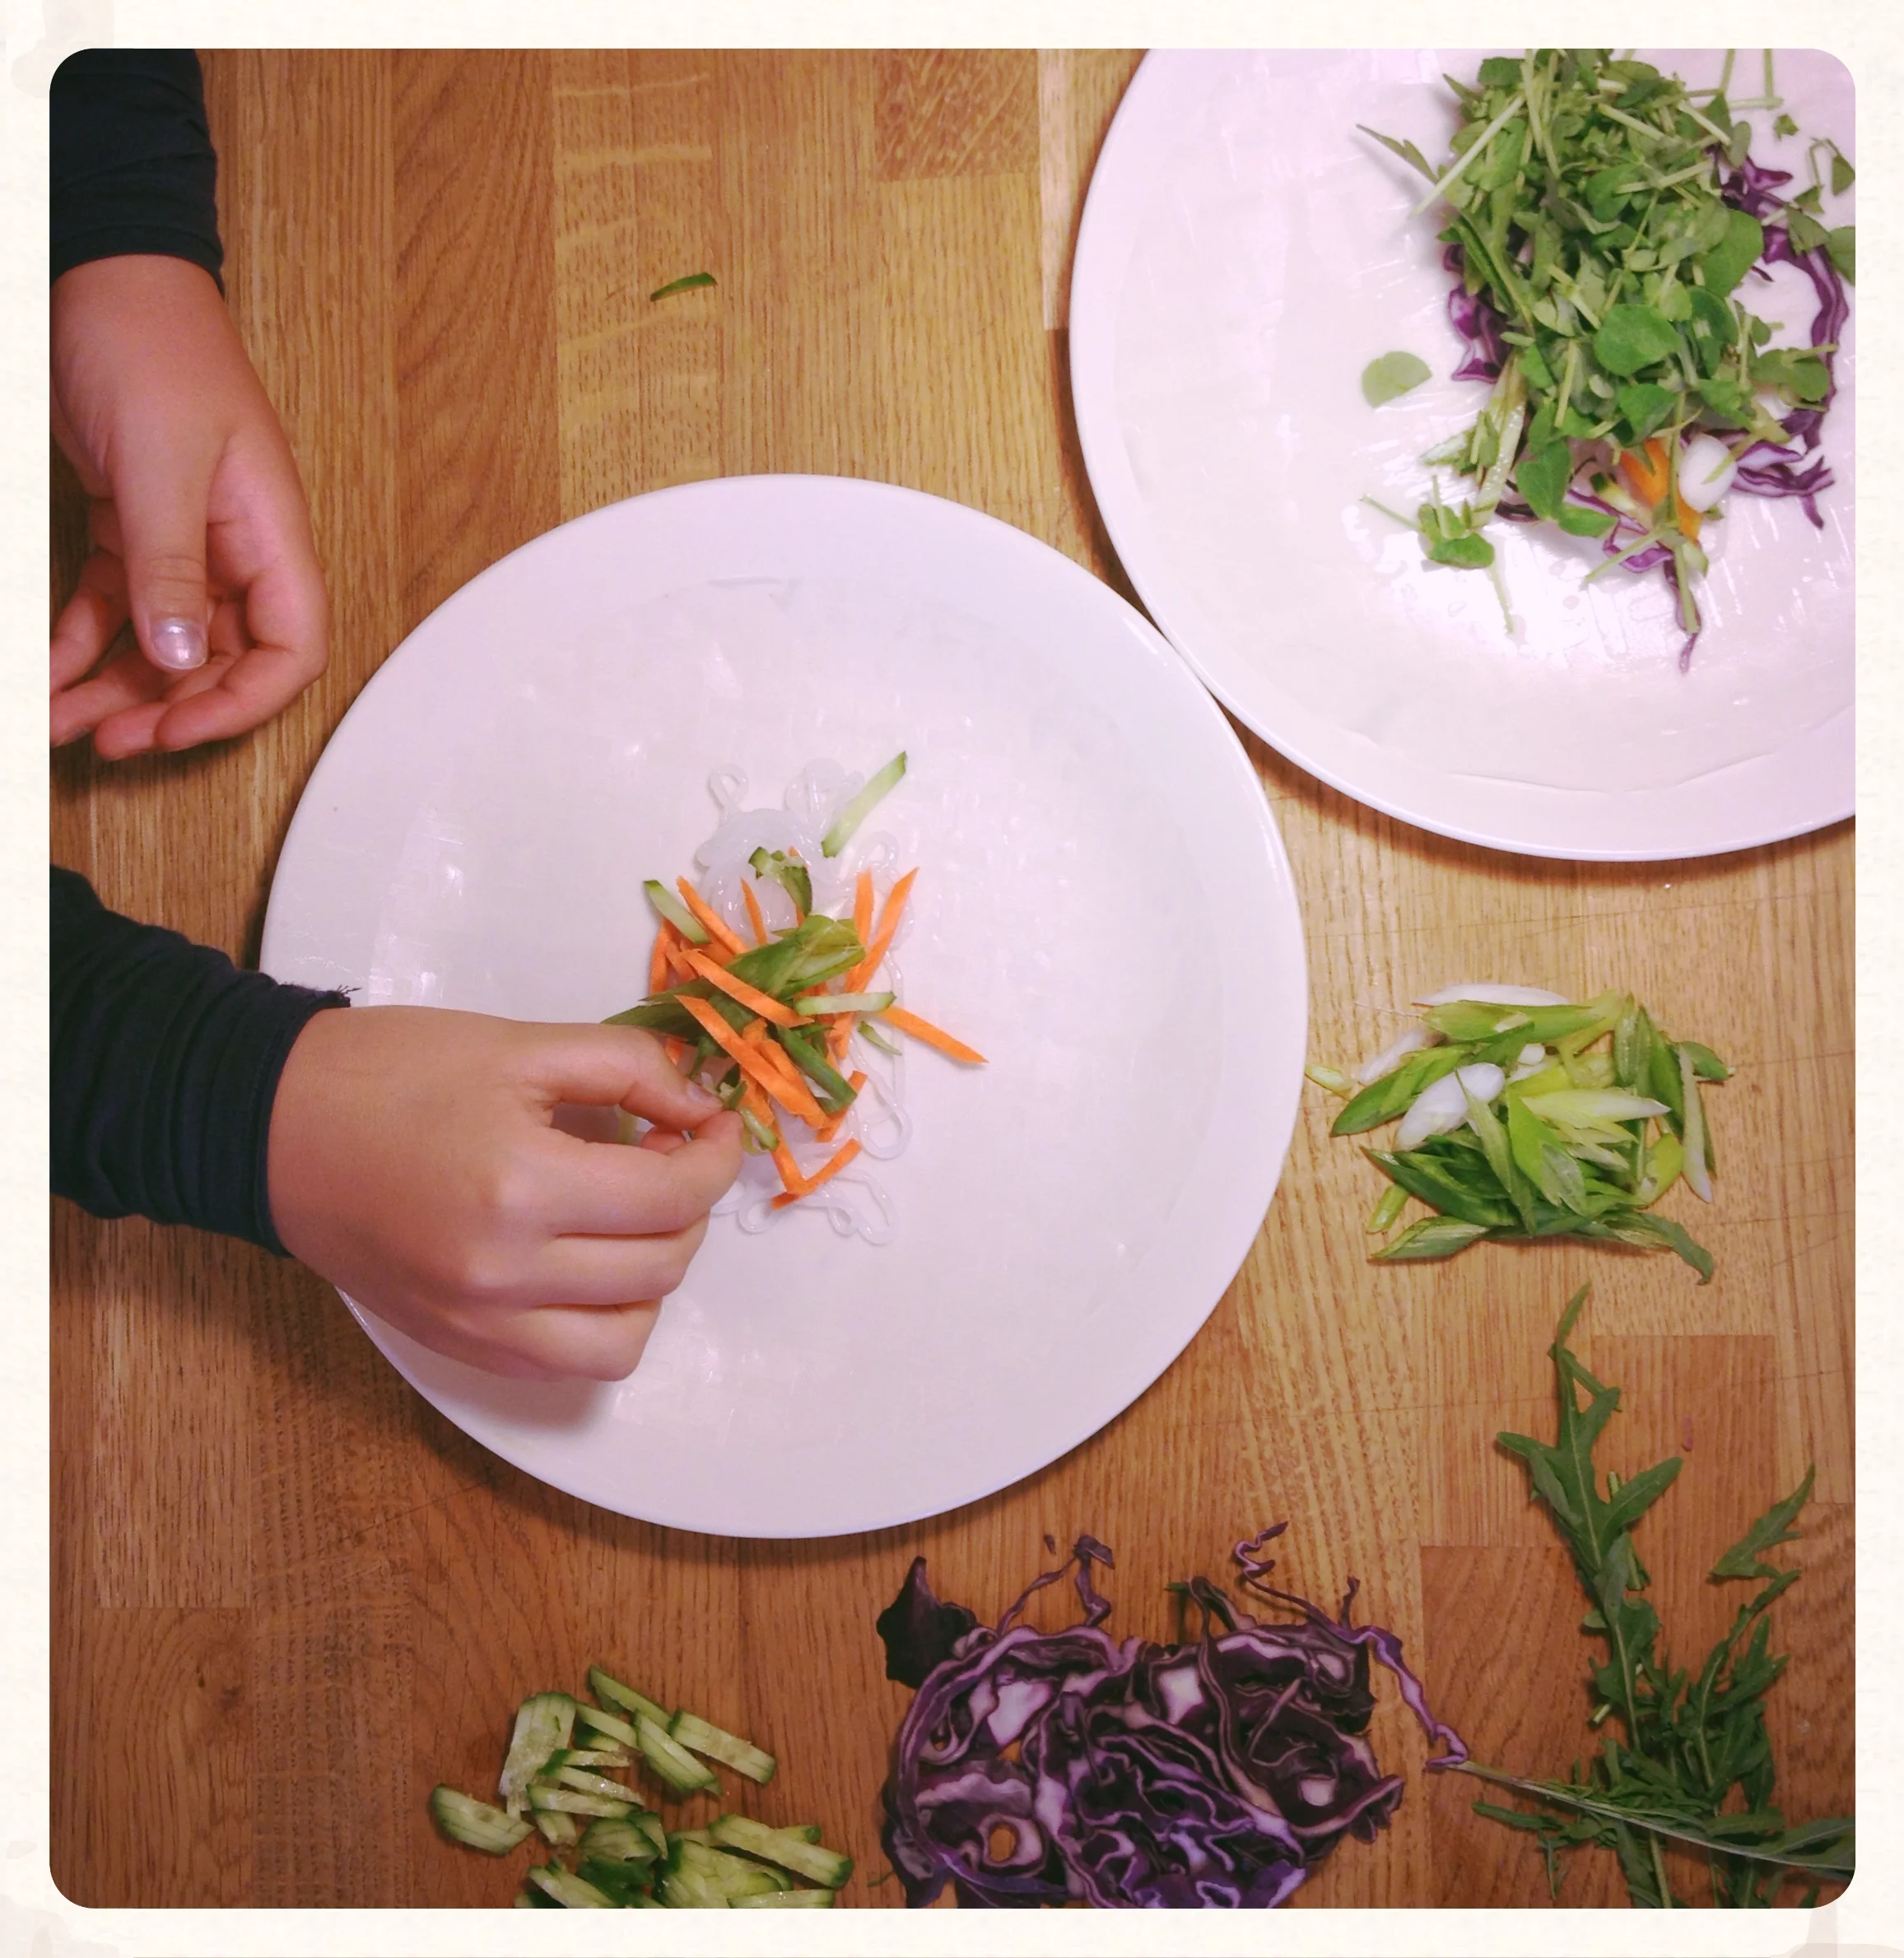
Next, I sliced and chopped a variety of veggies we had on hand. This is quite reminiscent of the piles of ingredients I had on the Vietnamese Noodle Bowl salad day; it's the same concept. Each person gets to make their own salad rolls and the rule in our house is that you have to include at least 3 different vegetables. So in our piles on the butcher block were: arugula, pea sprouts, lettuce, radishes, carrots, cucumber, red cabbage, green onion, celery and yellow peppers. Not seen: black sesame seeds. What should have been included: cooked shrimp. They're delicious in something like this, but I forgot to defrost them in time. Also delicious in this would have been some avocado. You could also add some shredded nori crackers, or a smidge of kimchi or some other ferment in the midst of the pile-o-veg. It's up to you.
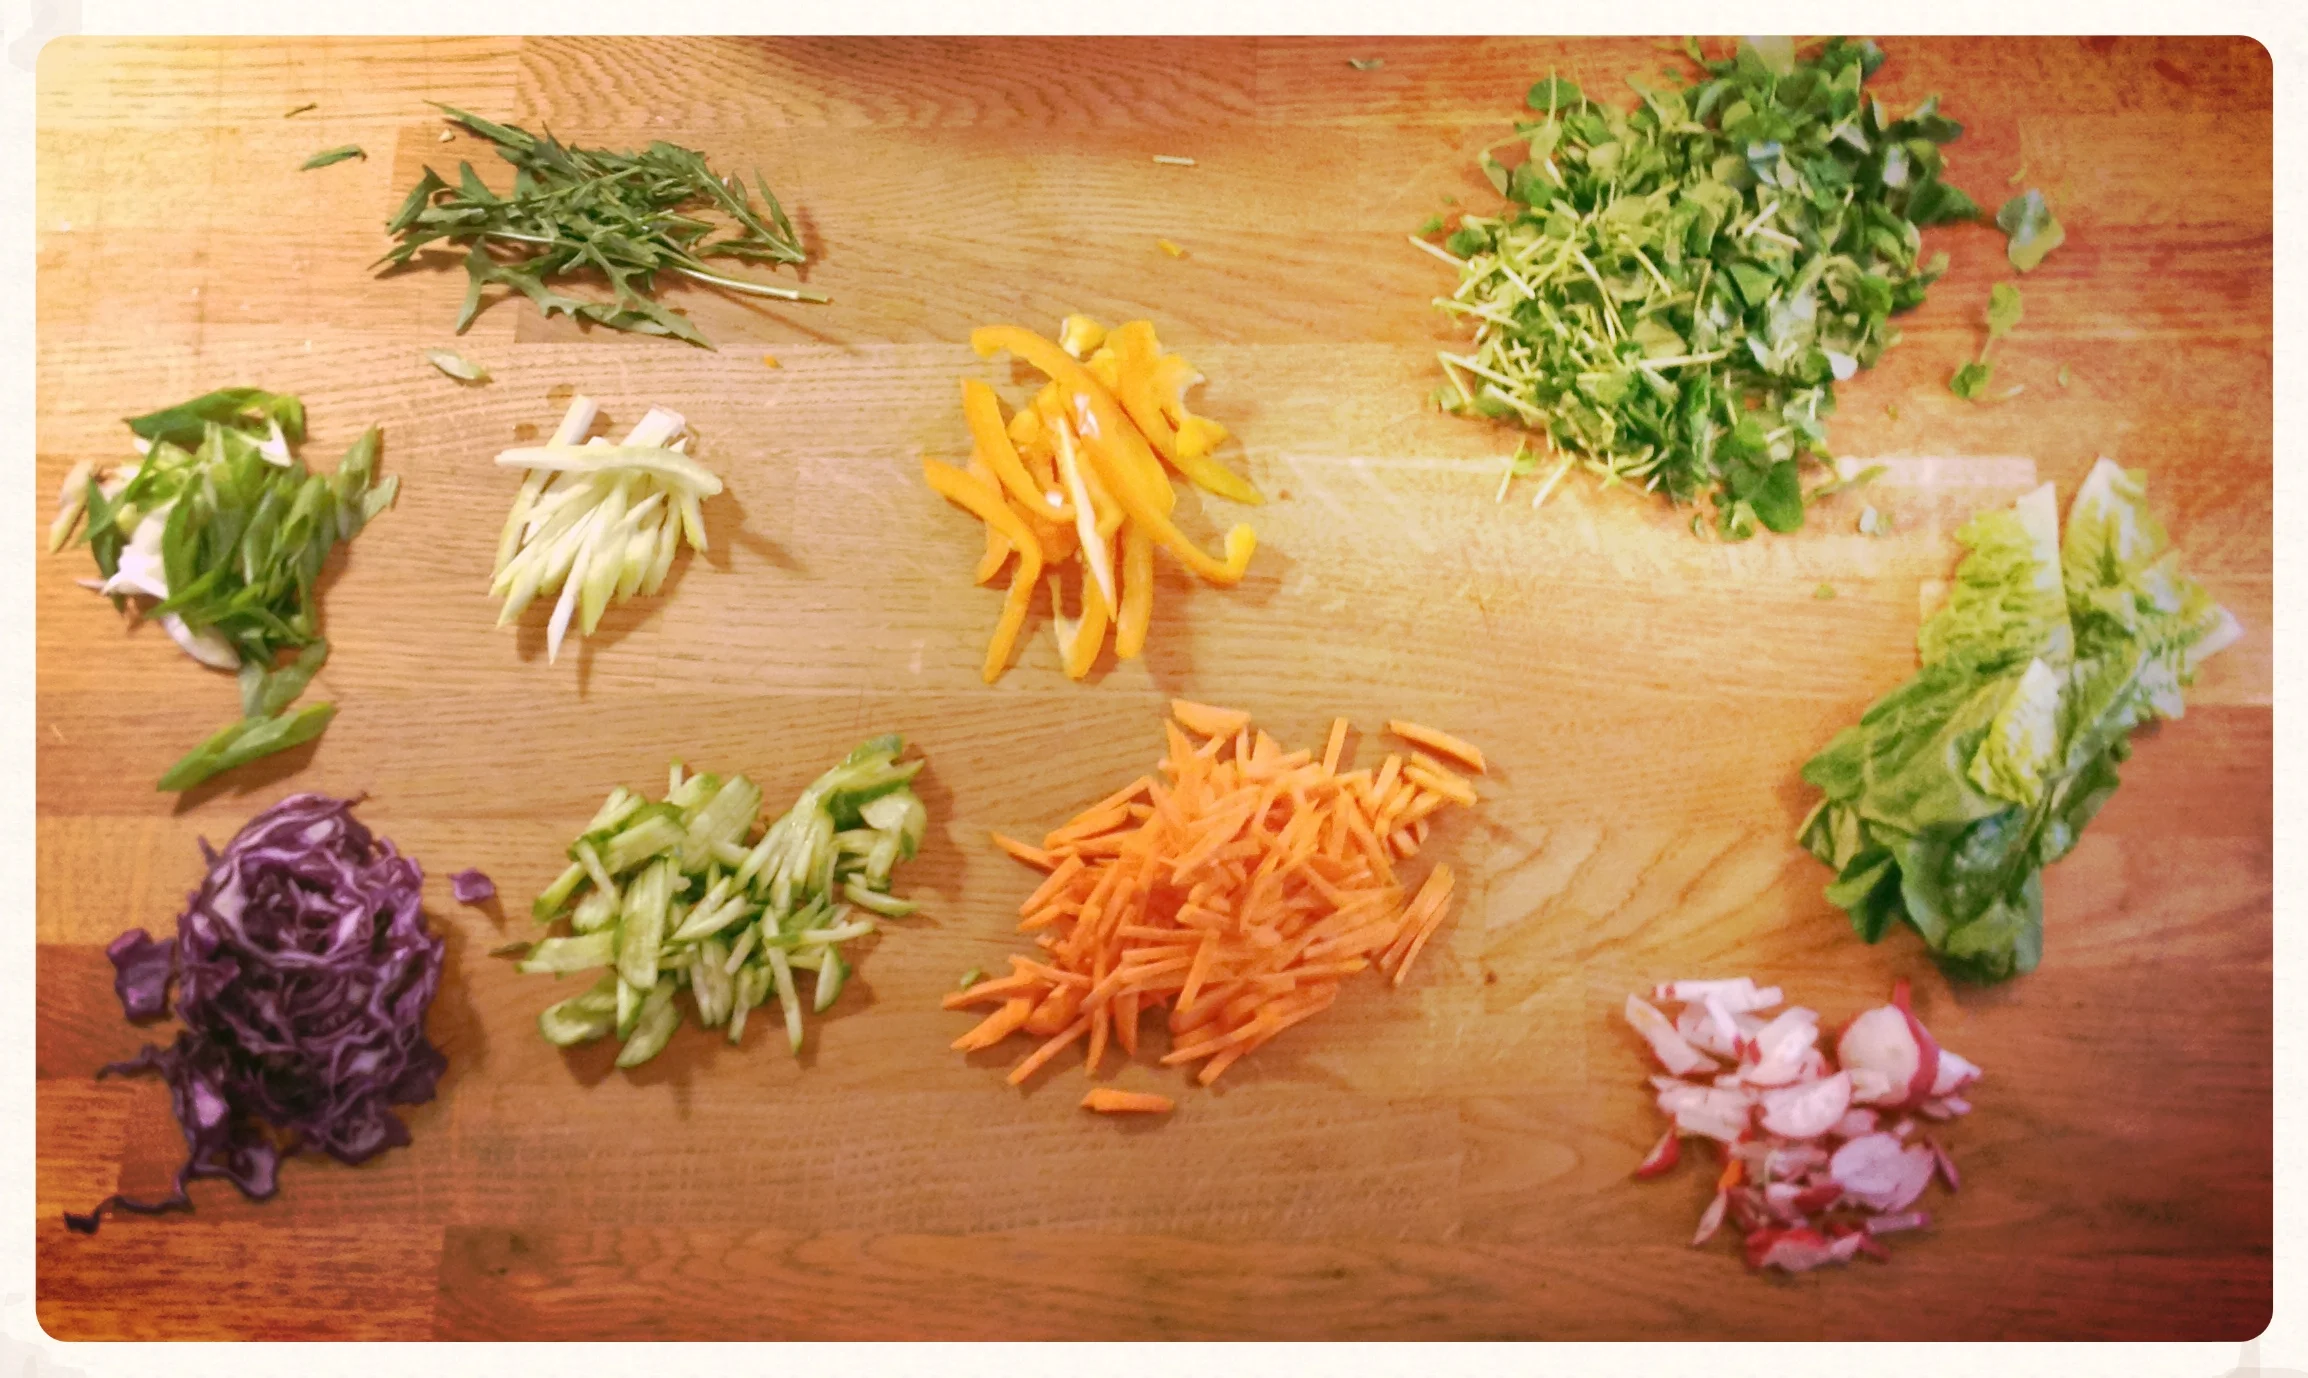
It's all about the options.
Next up, you prepare a big bowl of warm water, and you prep your rice papers (I prefer round ones for this). You soak one rice paper at a time, and really no longer than a count of 3. When you take it out of the water, it will seem improbable that it will ever bend enough, but by the time you load the paper up with your fixings, it will be flexible enough and not over-soaked. This way, it will hold the ingredients together much better and be less prone to ripping.
Pile your ingredients one on top of the other in a mound in the centre of your paper, sprinkle on some seeds at the end. Tuck two sides of the paper in just to close off the ends, and then roll your rice paper up like a big cigar.
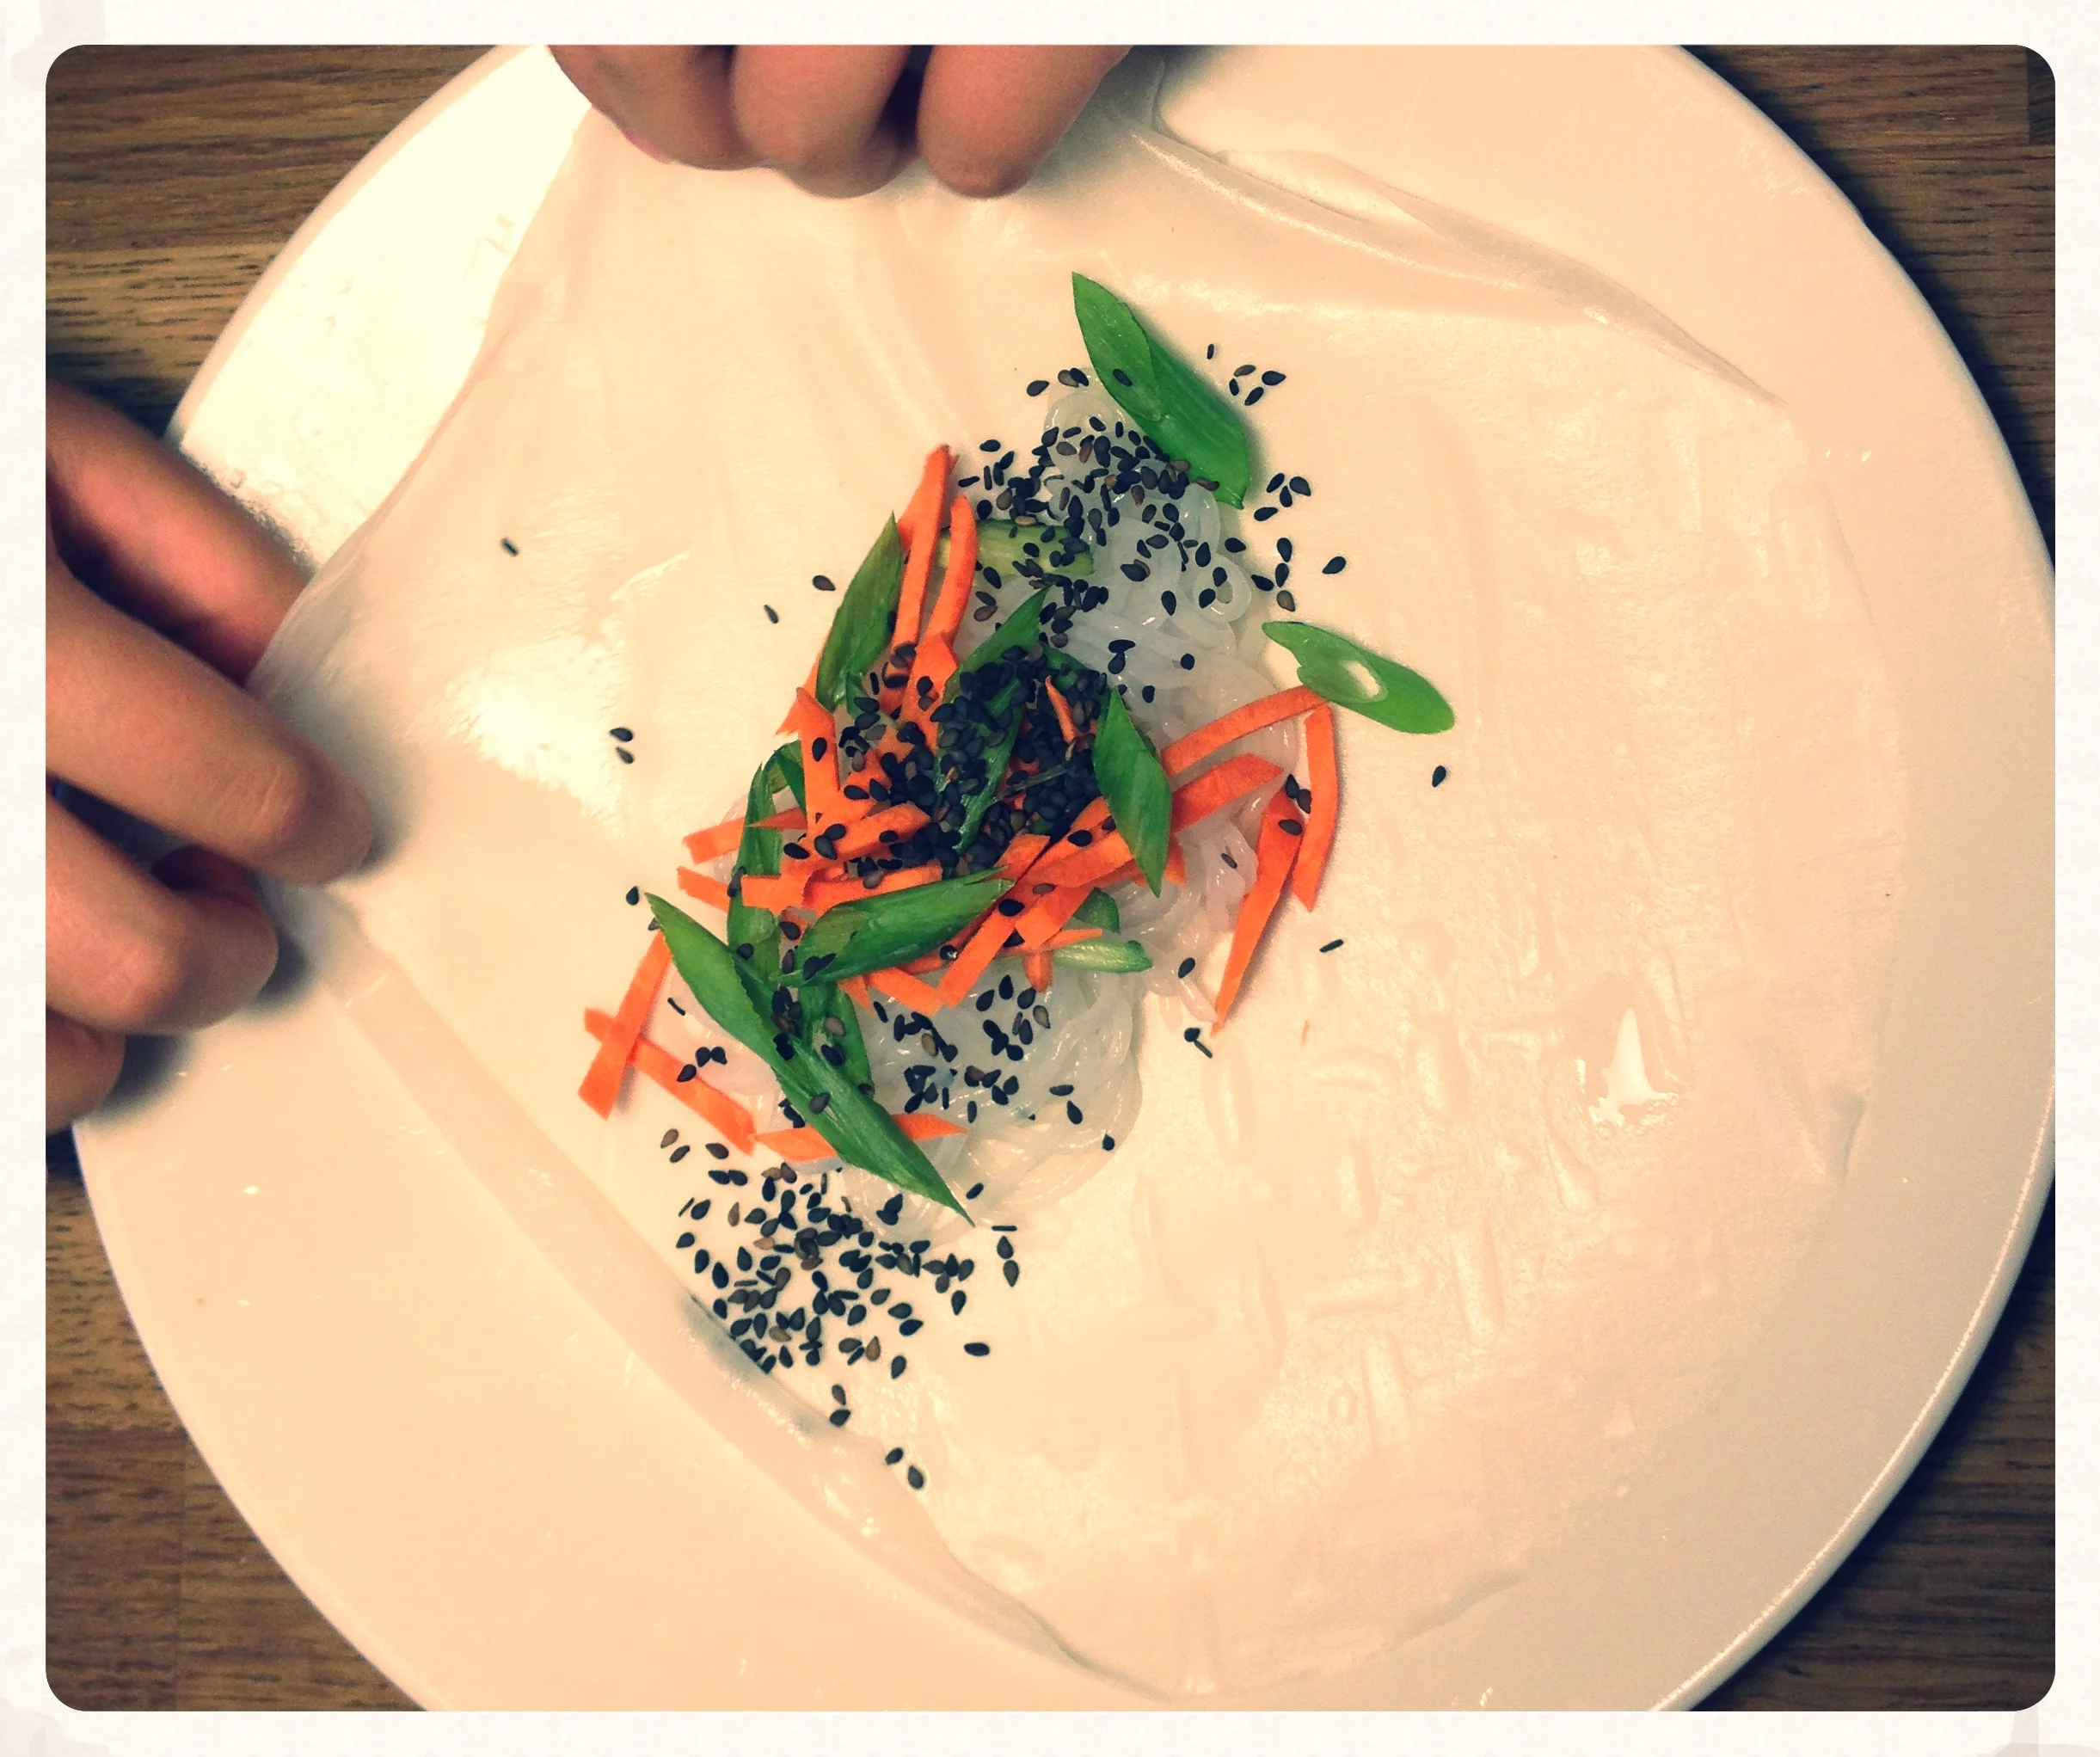
This is where you can have some fun: you can mix those noodles in with a sauce like the one I used for dipping, or a soy-sesame concoction or something, or even a roasted red pepper kind of dip in order to add flavour. This is an incredibly versatile recipe. We both rolled four salad rolls each; I finished mine because I couldn't help myself, but my little lady stopped short of the last one. These are also good things to pull together to bring potluck style to someone's house; my good friend Erica does this all the time, and they are always the favourite item on the buffet table.
And that will do it, my friends! A big thank you to my parents who were the originators of month-of-salads: my parents and we four kidlets tended our vegetable patches every summer in our back yard and at our farm or our cottage, in fact they still do. My dad just received his Master Gardener designation! And my mom is the original Salad Queen, I owe my love of veggies to her. I thank the local suppliers that time and again inspire me to play with my food, and a big thanks go to my two honeys for putting up with these salad trials. I hope to post a compendium of my month of salads in the next day or so, be sure to check in to this 'posts' page and mark it for future reference, or share with ones you think would dig the recipes. I'm all ears as to other topics you'd like to cover in these monthly-type of food escapades, drop a comment below and I'll consider it! And let me know how you get on with these salads, or others you've come across that have caught your fancy.
And people, for goodness sake, GO PLAY WITH YOUR FOOD.
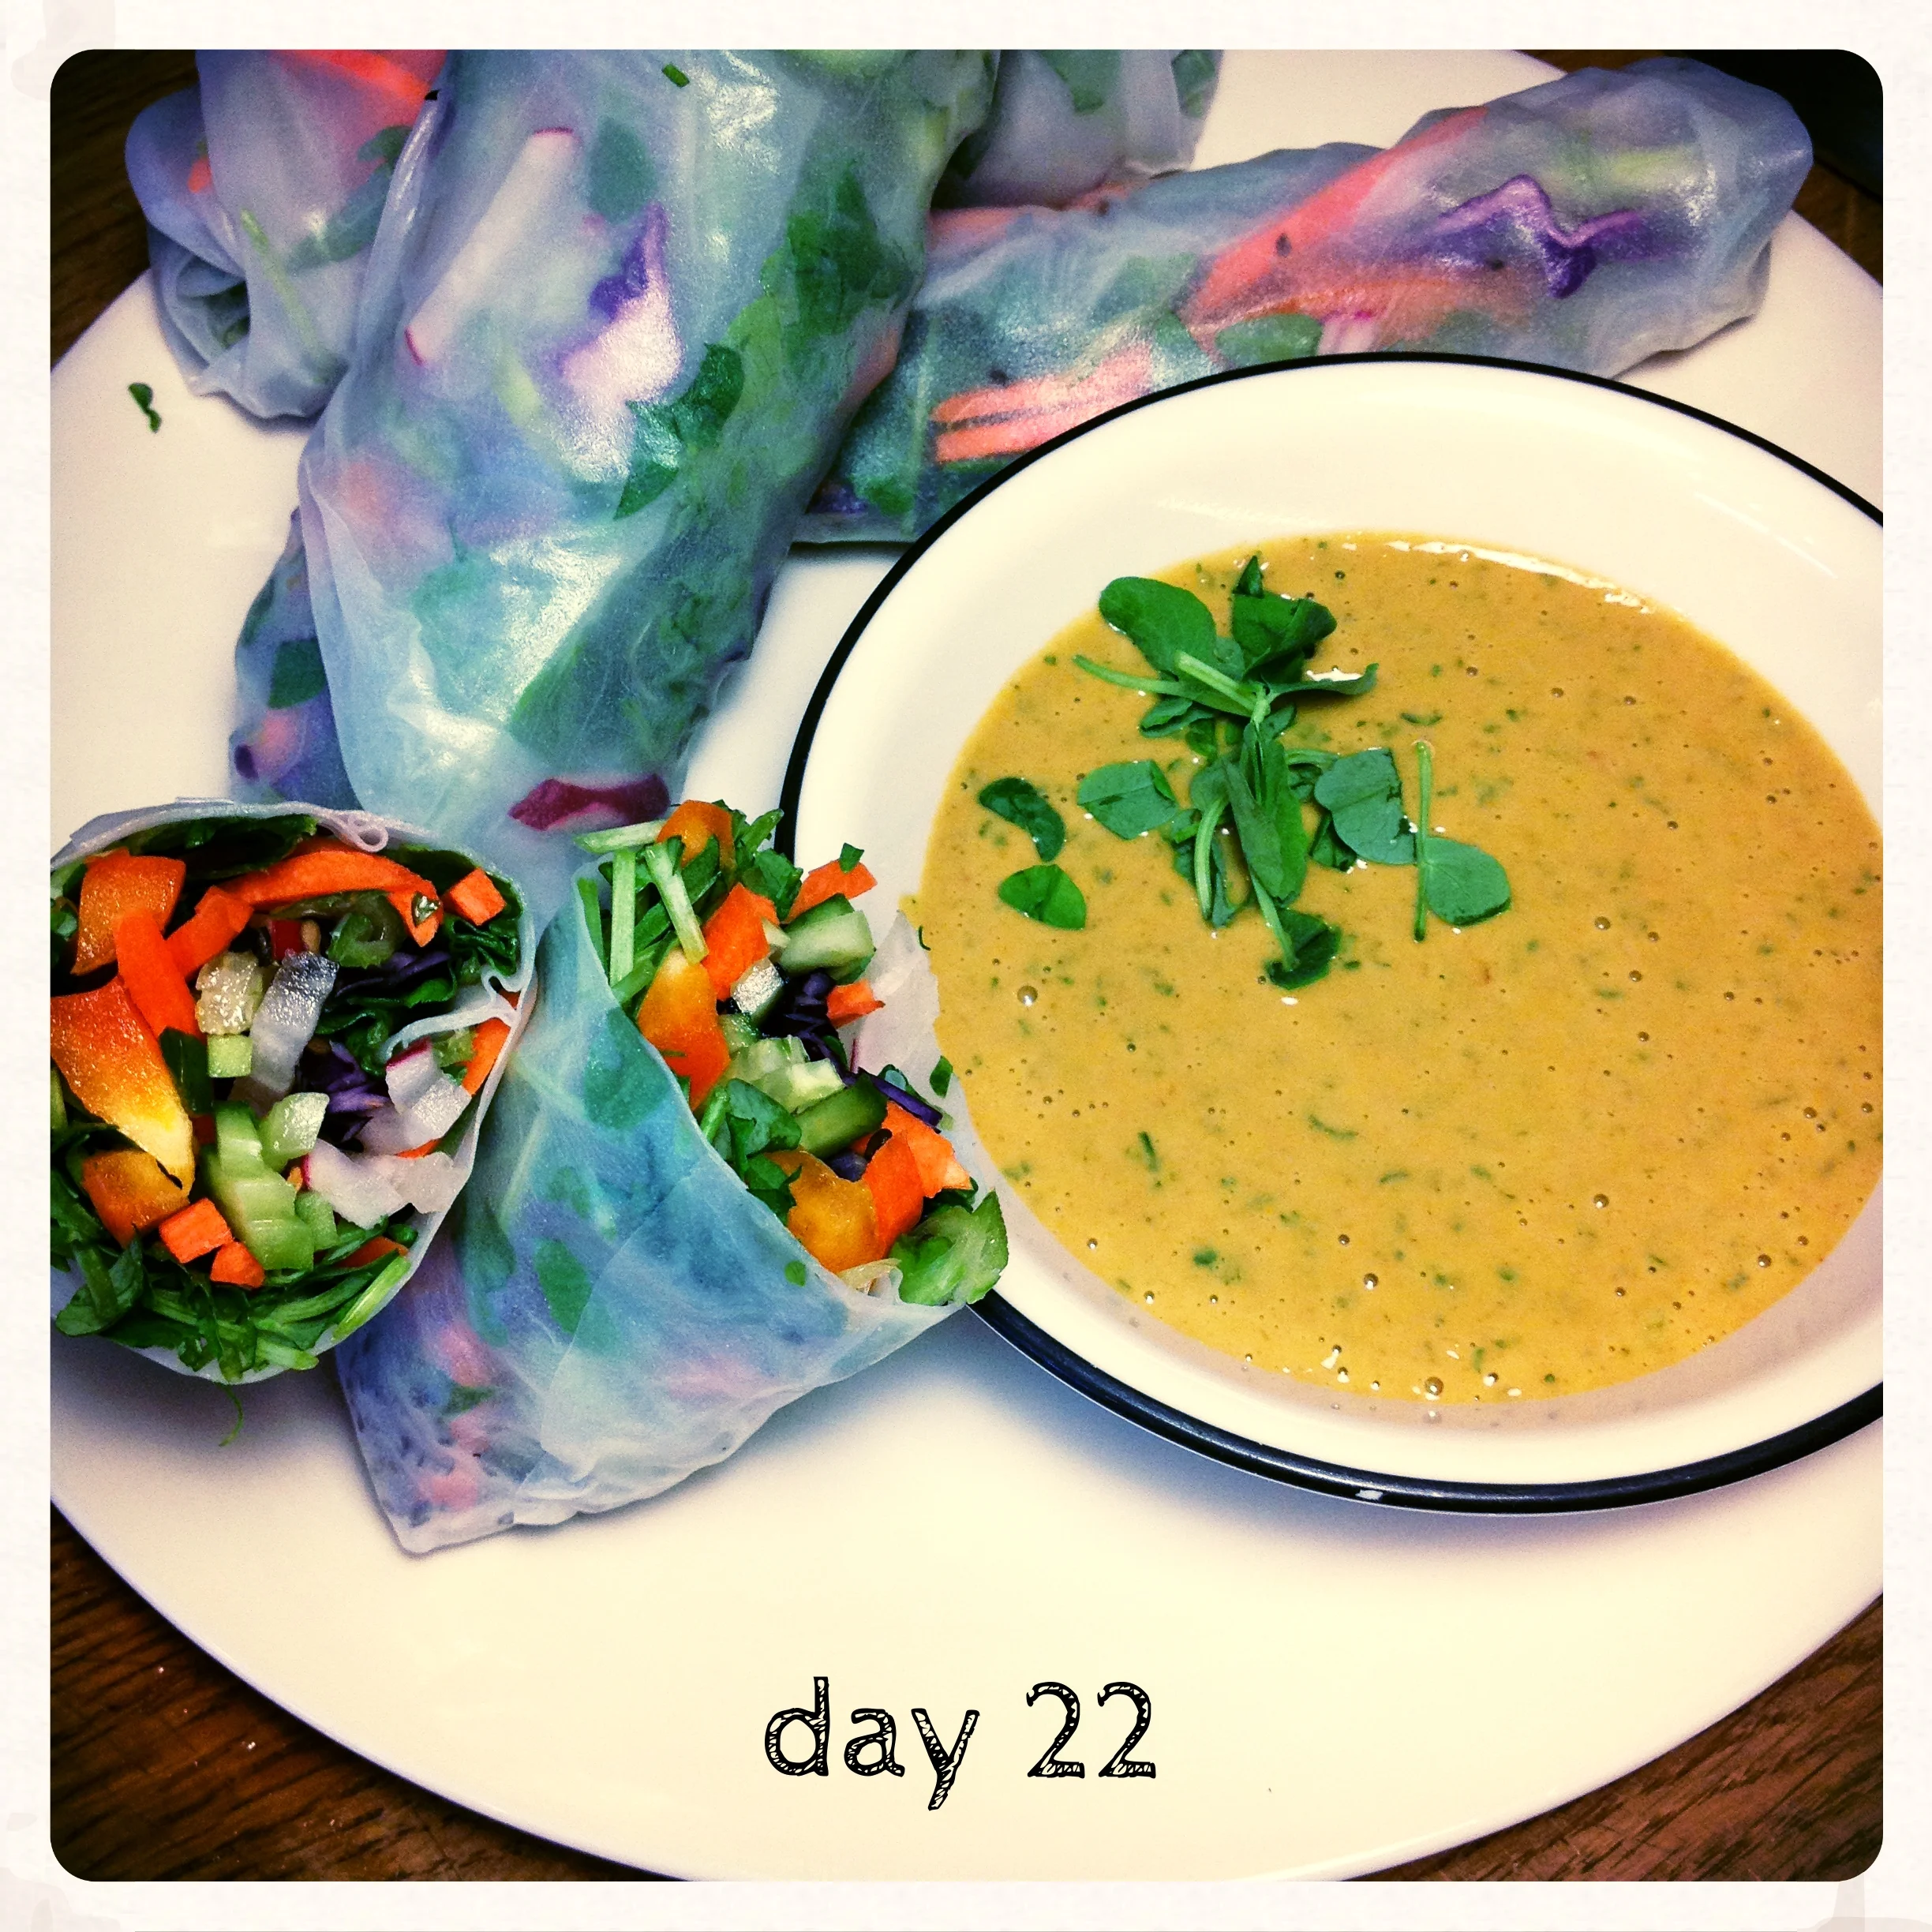
Salad rolls, with Shiratake and Peanut Dressing from Whitewater Cooks