
A MONTH OF PUTTING UP THE HARVEST - Day 18
I kind of feel like I'm cheating with today's post. It's a non-post, really. I have done a lot of these kinds of things over the years and already this season, but it's one that does in fact come in quite handy over the course of the year. It's putting up the fruit harvest, and there are a couple of ways you can do it. I'll show the simplest ways, and will endeavour to make a fermented version of fruit-keeping in the days ahead, seeing as I just hauled home some great finds from a produce stall in the Shuswap. I tell you, the harvest season is quite easily one of my most favourite times of the year, it has all the excitement that Christmas had for me when I was a kid, but in fresh food form. I know, geek, amiright?
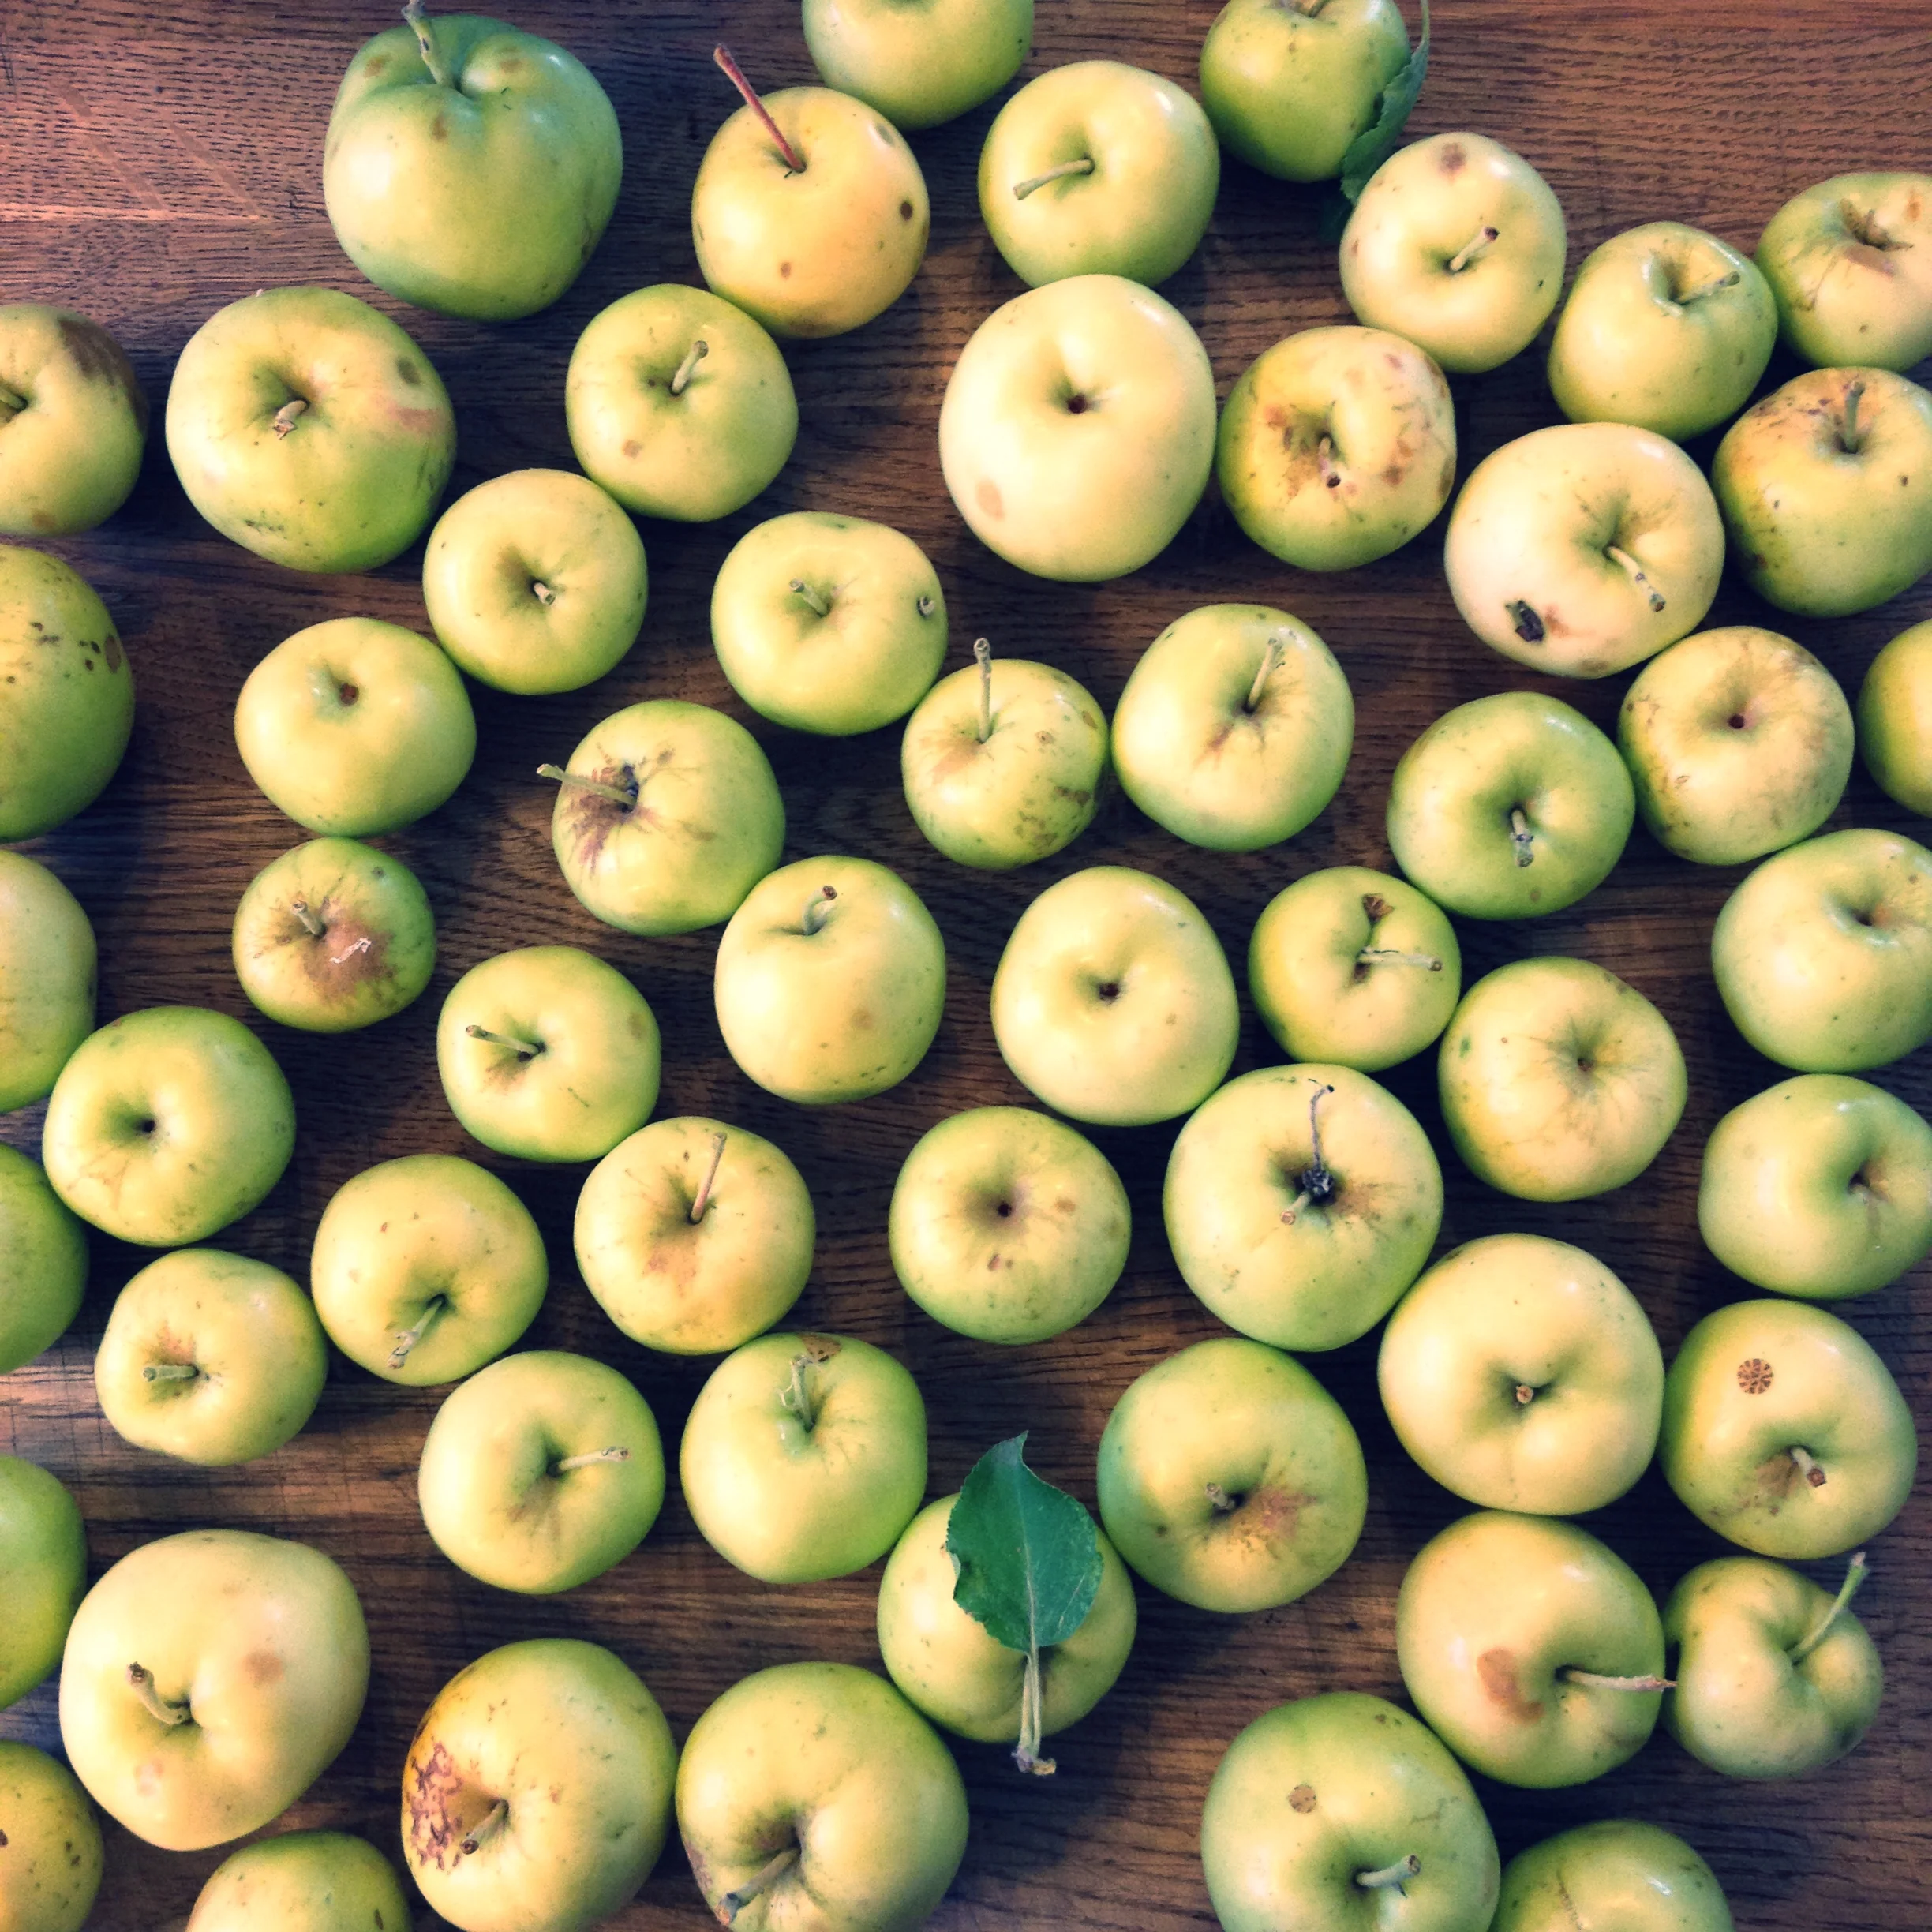
Tart Alberta apples. #harvest2015
I kind of feel like I'm cheating with today's post. It's a non-post, really. I have done a lot of these kinds of things over the years and already this season, but it's one that does in fact come in quite handy over the course of the year. It's putting up the fruit harvest, and there are a couple of ways you can do it. I'll show the simplest ways, and will endeavour to make a fermented version of fruit-keeping in the days ahead, seeing as I just hauled home some great finds from a produce stall in the Shuswap. I tell you, the harvest season is quite easily one of my most favourite times of the year, it has all the excitement that Christmas had for me when I was a kid, but in fresh food form. I know, geek, amiright?
Let's start with apples: they're easy to get, whether they be from your tree or from your local Apple Lady, and they're delicious. And there are many ways you can put these up: the easiest being, if you have access to cold storage, to drop your bounty in there so you can pull some out in small batches. Other ways: I make a big batch of apple sauce every year by melting chopped cored apples in with some honey and cinnamon until it tastes right, and mashed with my hand blender. I freeze it in small containers and pull it out for lunches or desserts or pork chops. There is no recipe, it involves you using your taste buds and making it taste right. THAT'S IT. Also, you could do like I did with this lovely batch of apples, core them and slice thinly (I use my $1 mandolin slicer that is on its last legs) and pop on a dehydrator screen and dry until it's like a dried apple spear. I know, again with the technical stuff. I use these sliced apples in granola, throw them in my girl's lunchbox, and use them as the base for flavouring my water kefir and kombucha drinks. I'm sure there are many other uses, but my favourite thing about this is that it takes just a few hours in the dehydrator, and they will stay for a few years in my pantry, not taking up much space but really earning their keep in my pantry arsenal of tools.
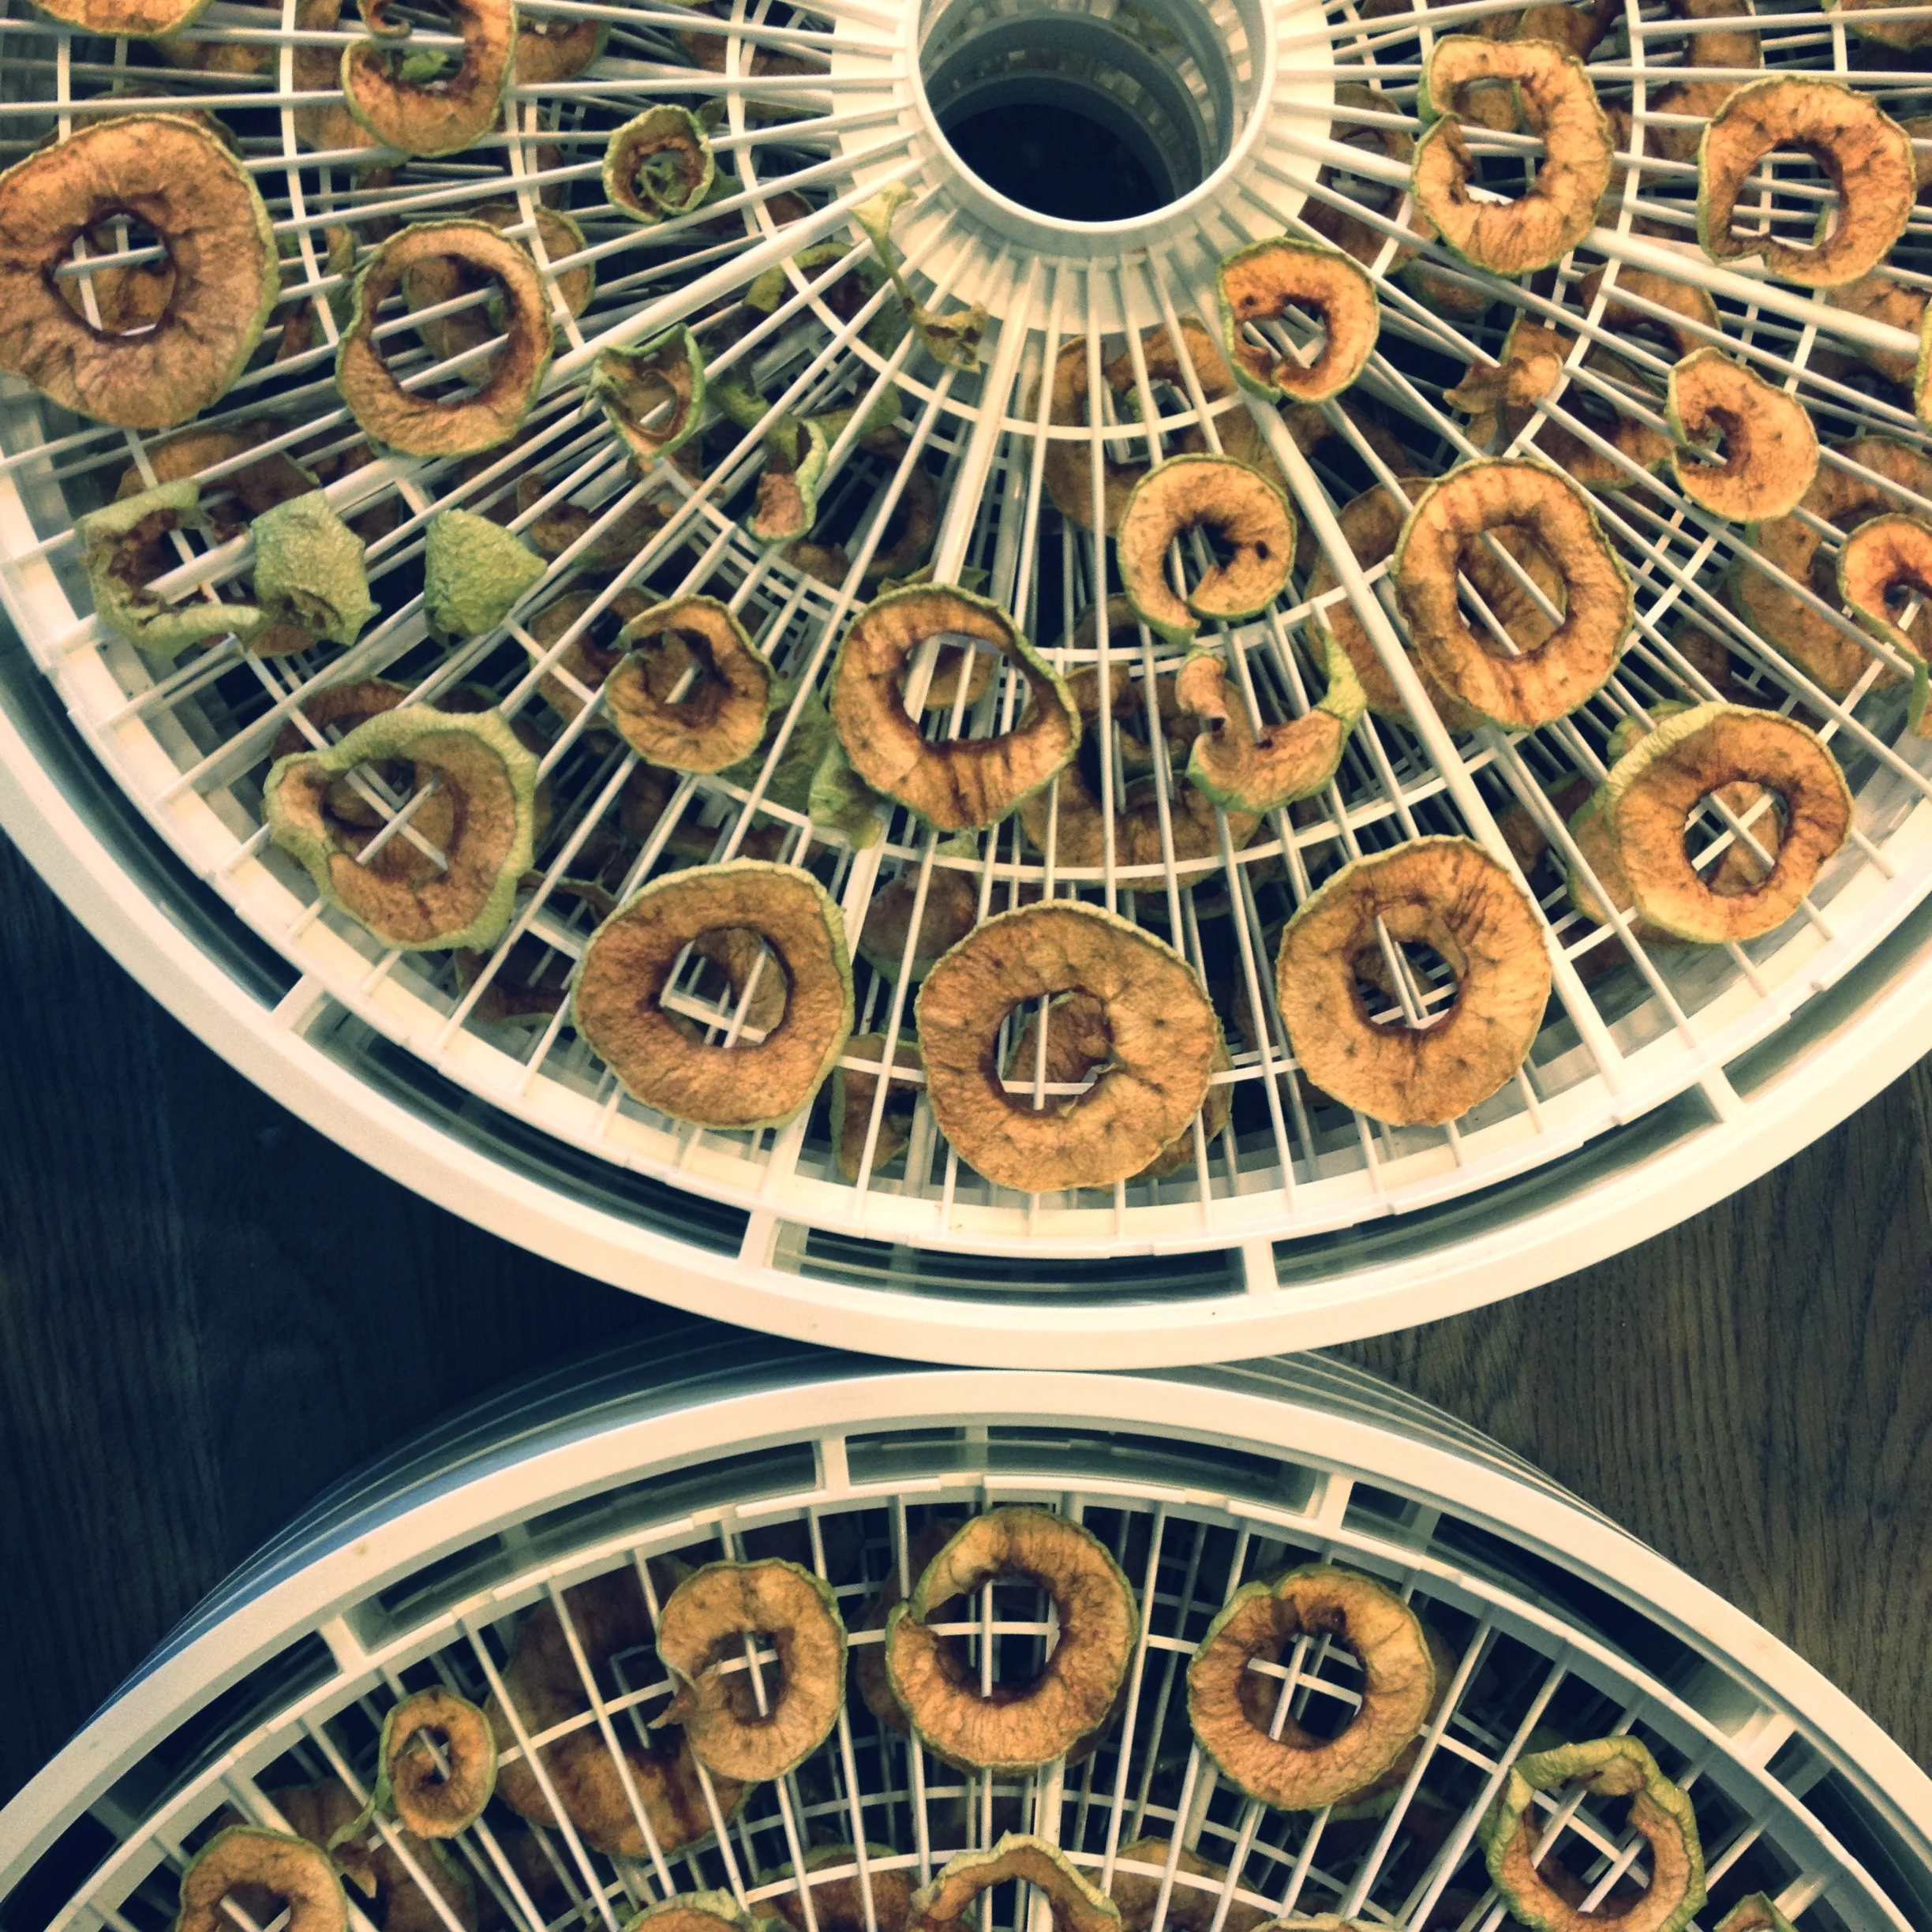
Apples ready out of the dehydrator. #harvest2015
I did the same thing with pears this year, as the pear/ginger combination is a favourite in my homemade probiotic drinks. I did halves though, and sliced three grooves out of the back of each cored half in the hopes it would dehydrate more fully (and because my good friend Di told me to do it this way), and plunked those in the dehydrator (for a considerably longer time than the apples, I might add). My thought here was that it would be a delicious treat for my girlie in her lunches this year, kind of like homemade gummies, with only one ingredient. I will be doing more of these this fall, they are INCREDIBLE. (Make sure to also save the smaller wedges you have cut out of the pears - they're great and dry out before the halves do.)

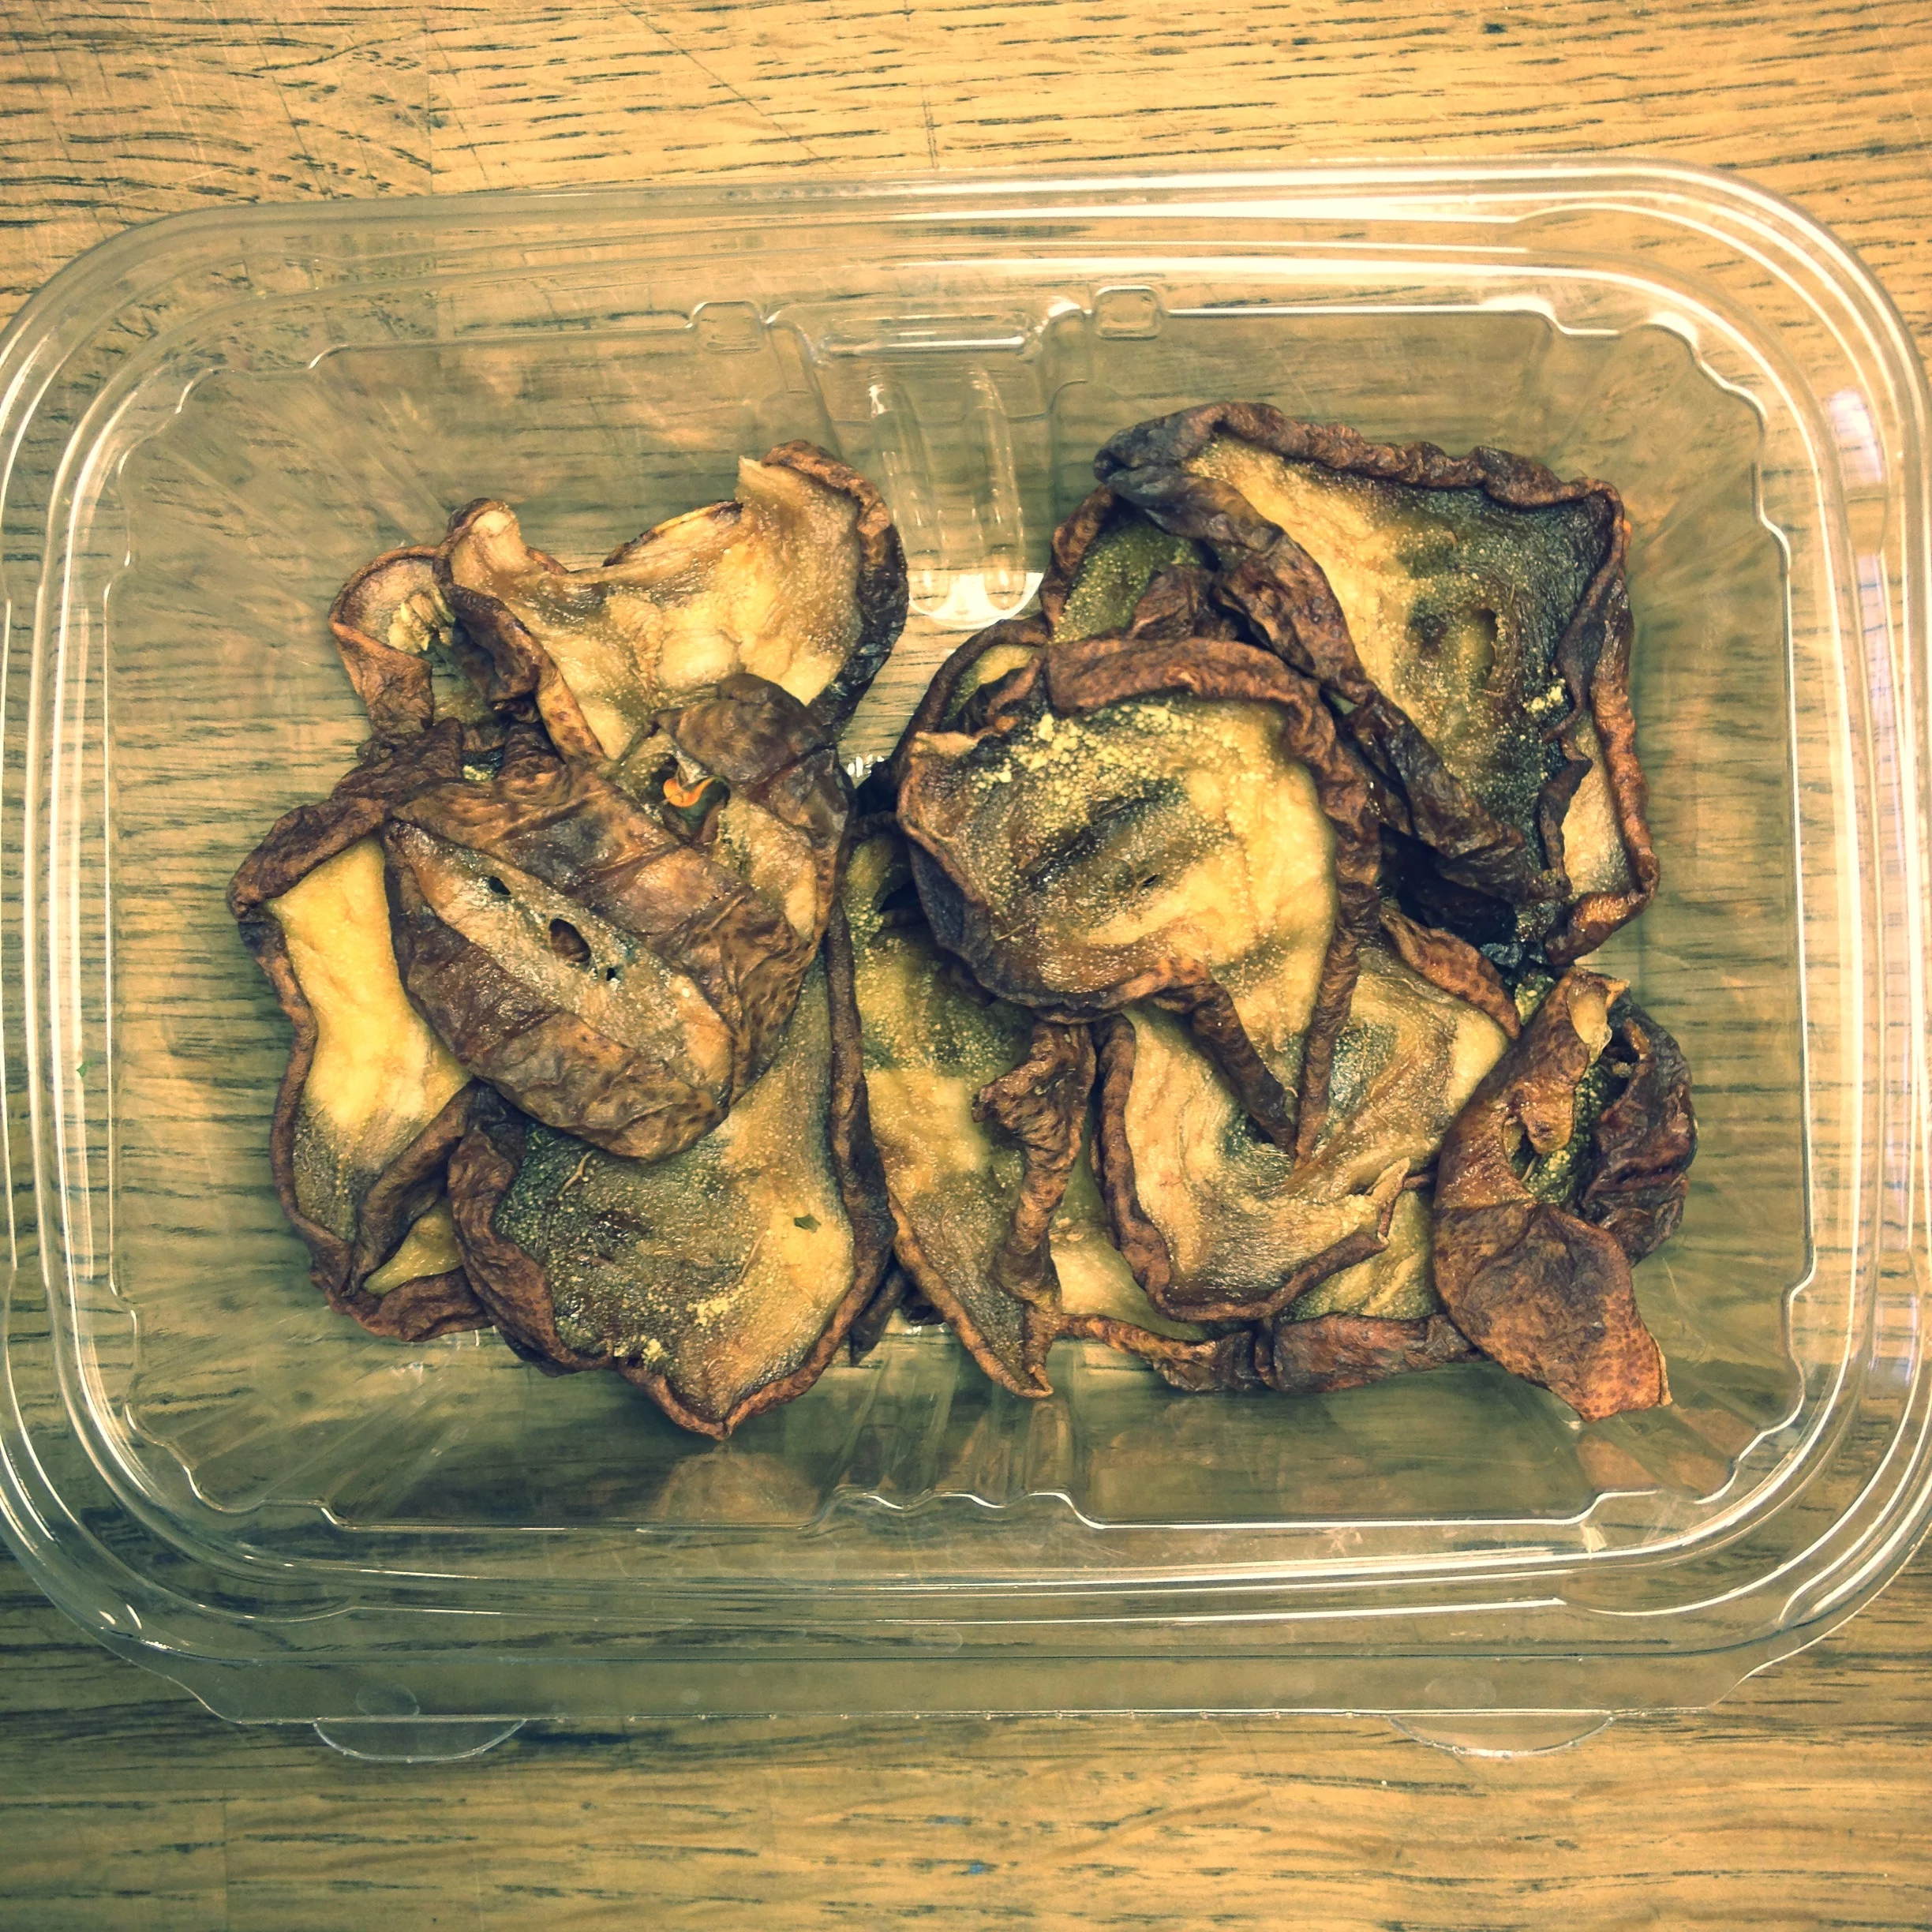
I did soak the apples and pears in a water/lemon juice combination beforehand in the hopes of preventing browning from happening, but wasn't that successful. It's ok, it's how things are supposed to be when dried! They still taste delicious.
Other things you could do with apples or pears instead of dehydrating them: you could make homemade apple cider vinegar from scraps, you could of course ferment it into a myriad of things like apple cranberry relish, this most delicious apple/kohlrabi/fennel relish that ferments beautifully, or if you or a friend has a juicer, you can throw these babies in whole to the juicer, pressing all of the good juice out of there and storing it for drinking up in the following few days or a special treat for the kids on your street.
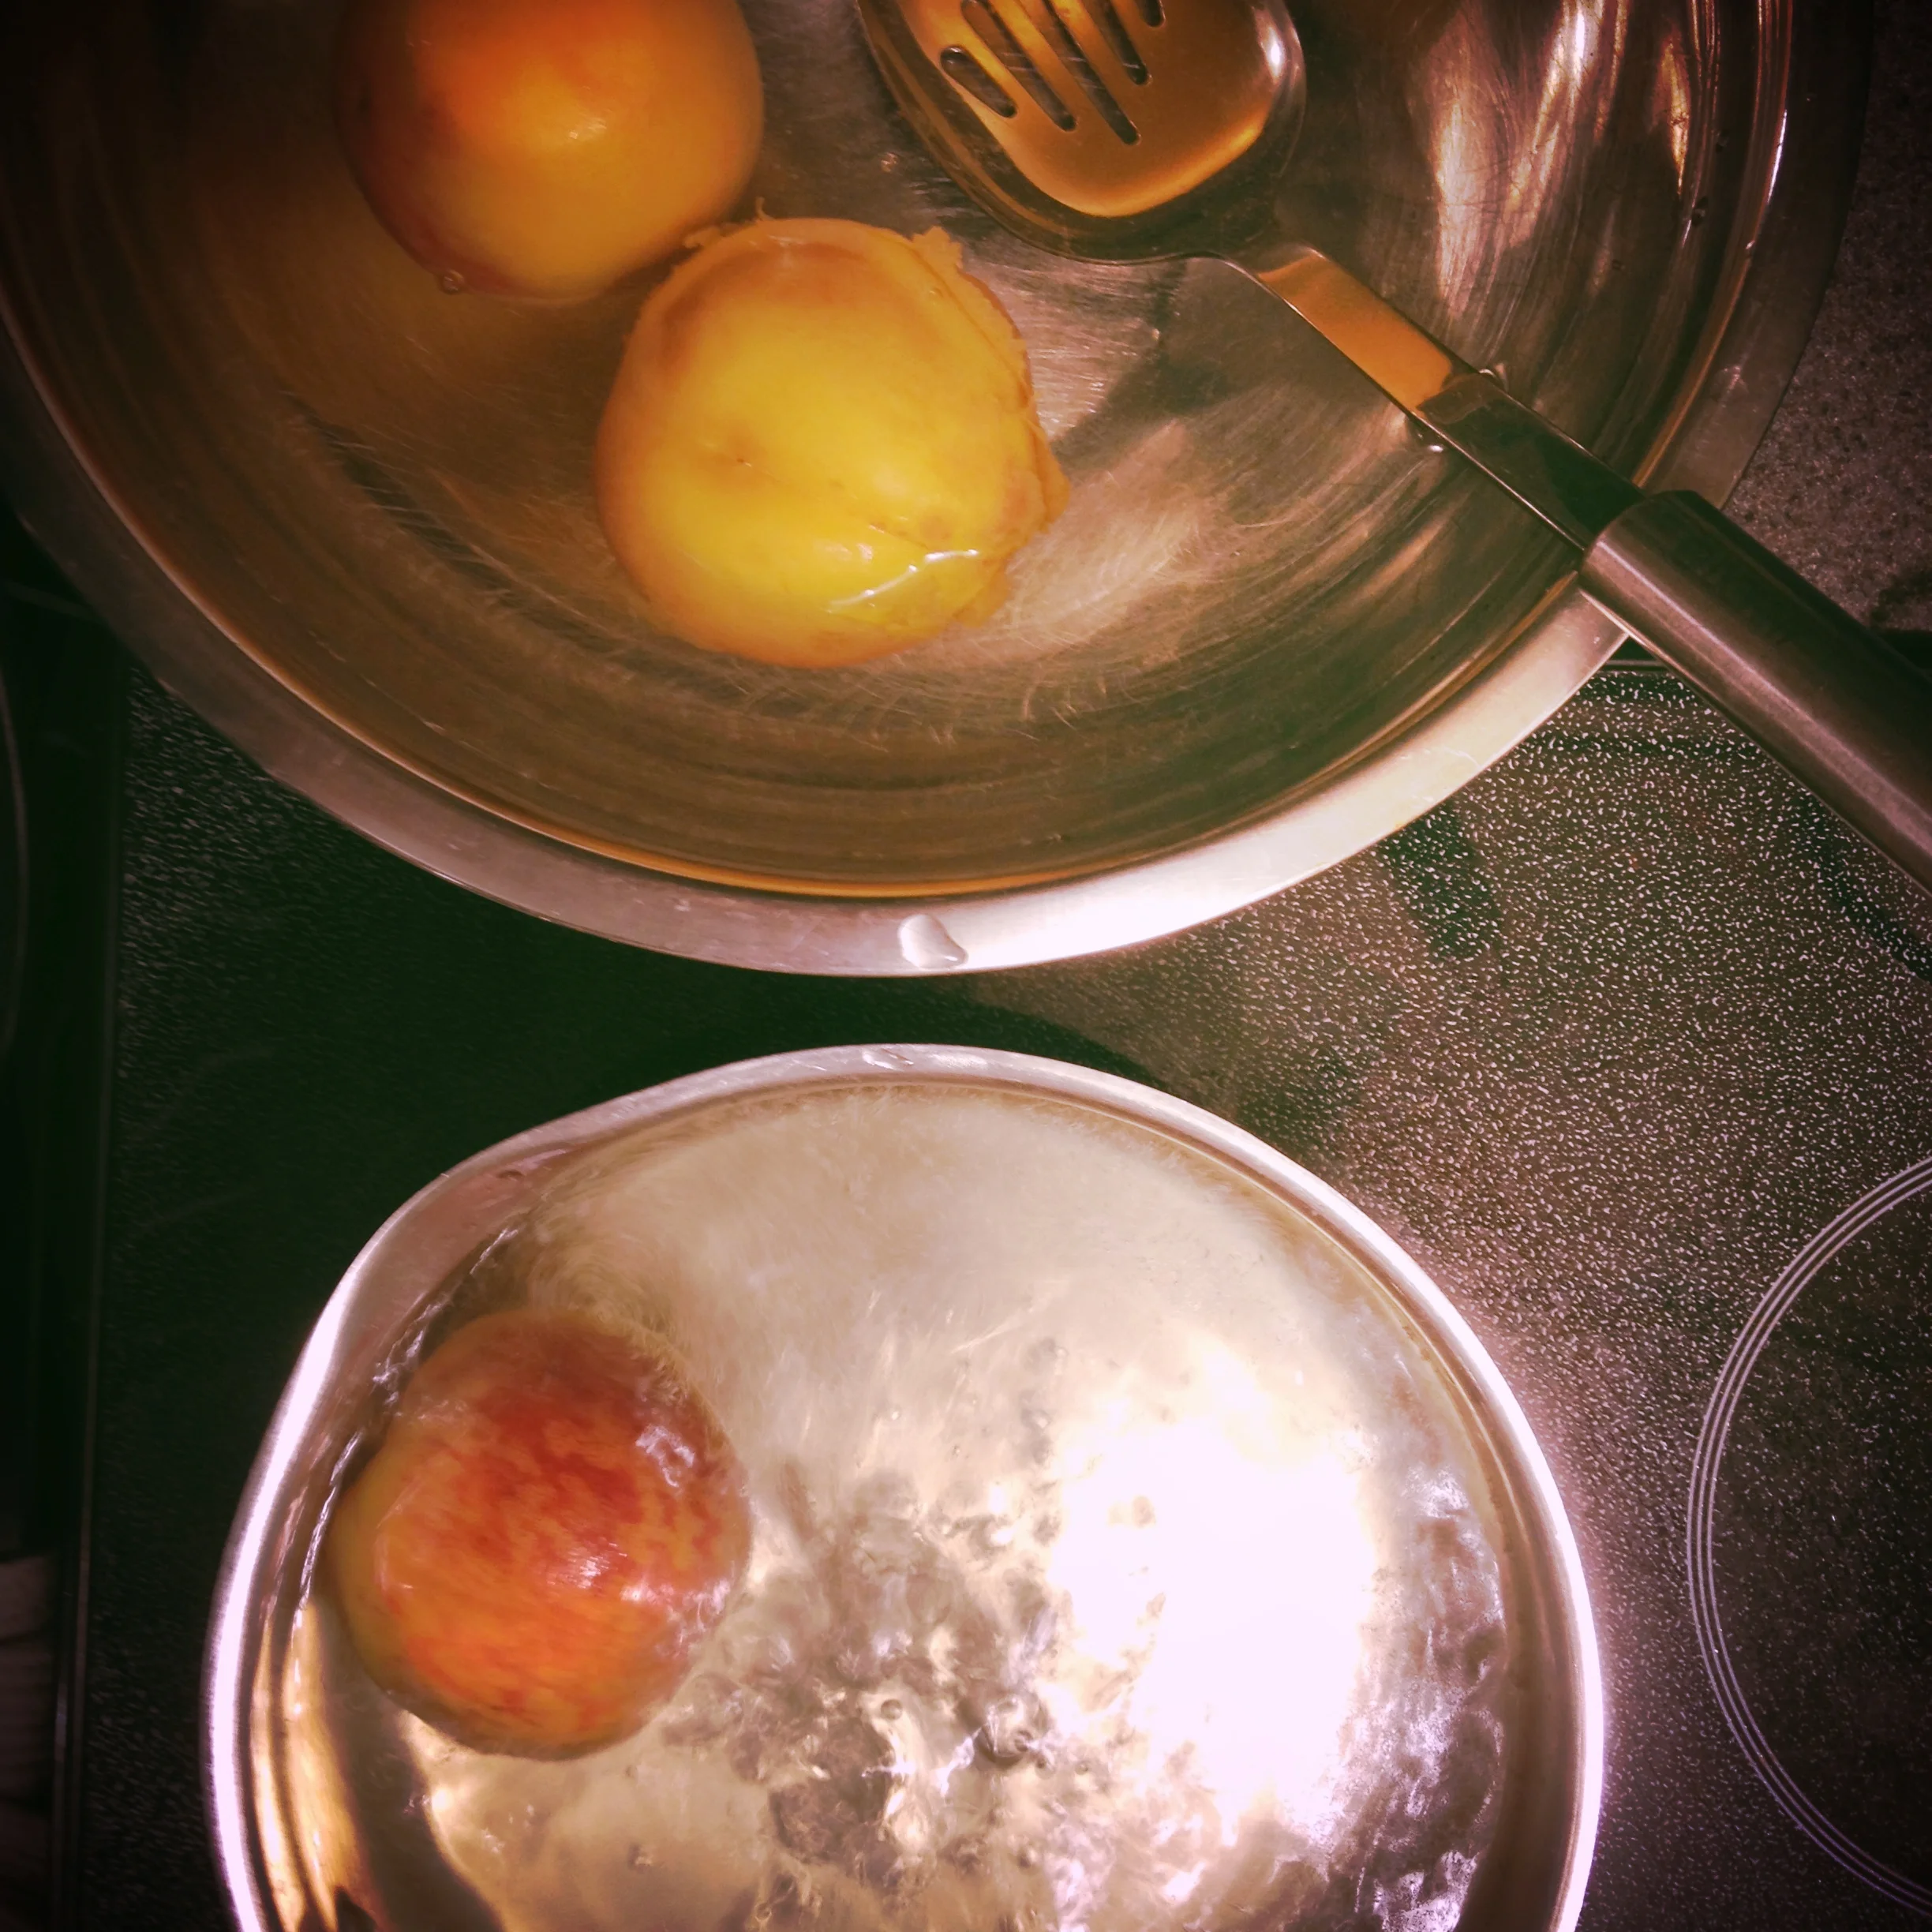
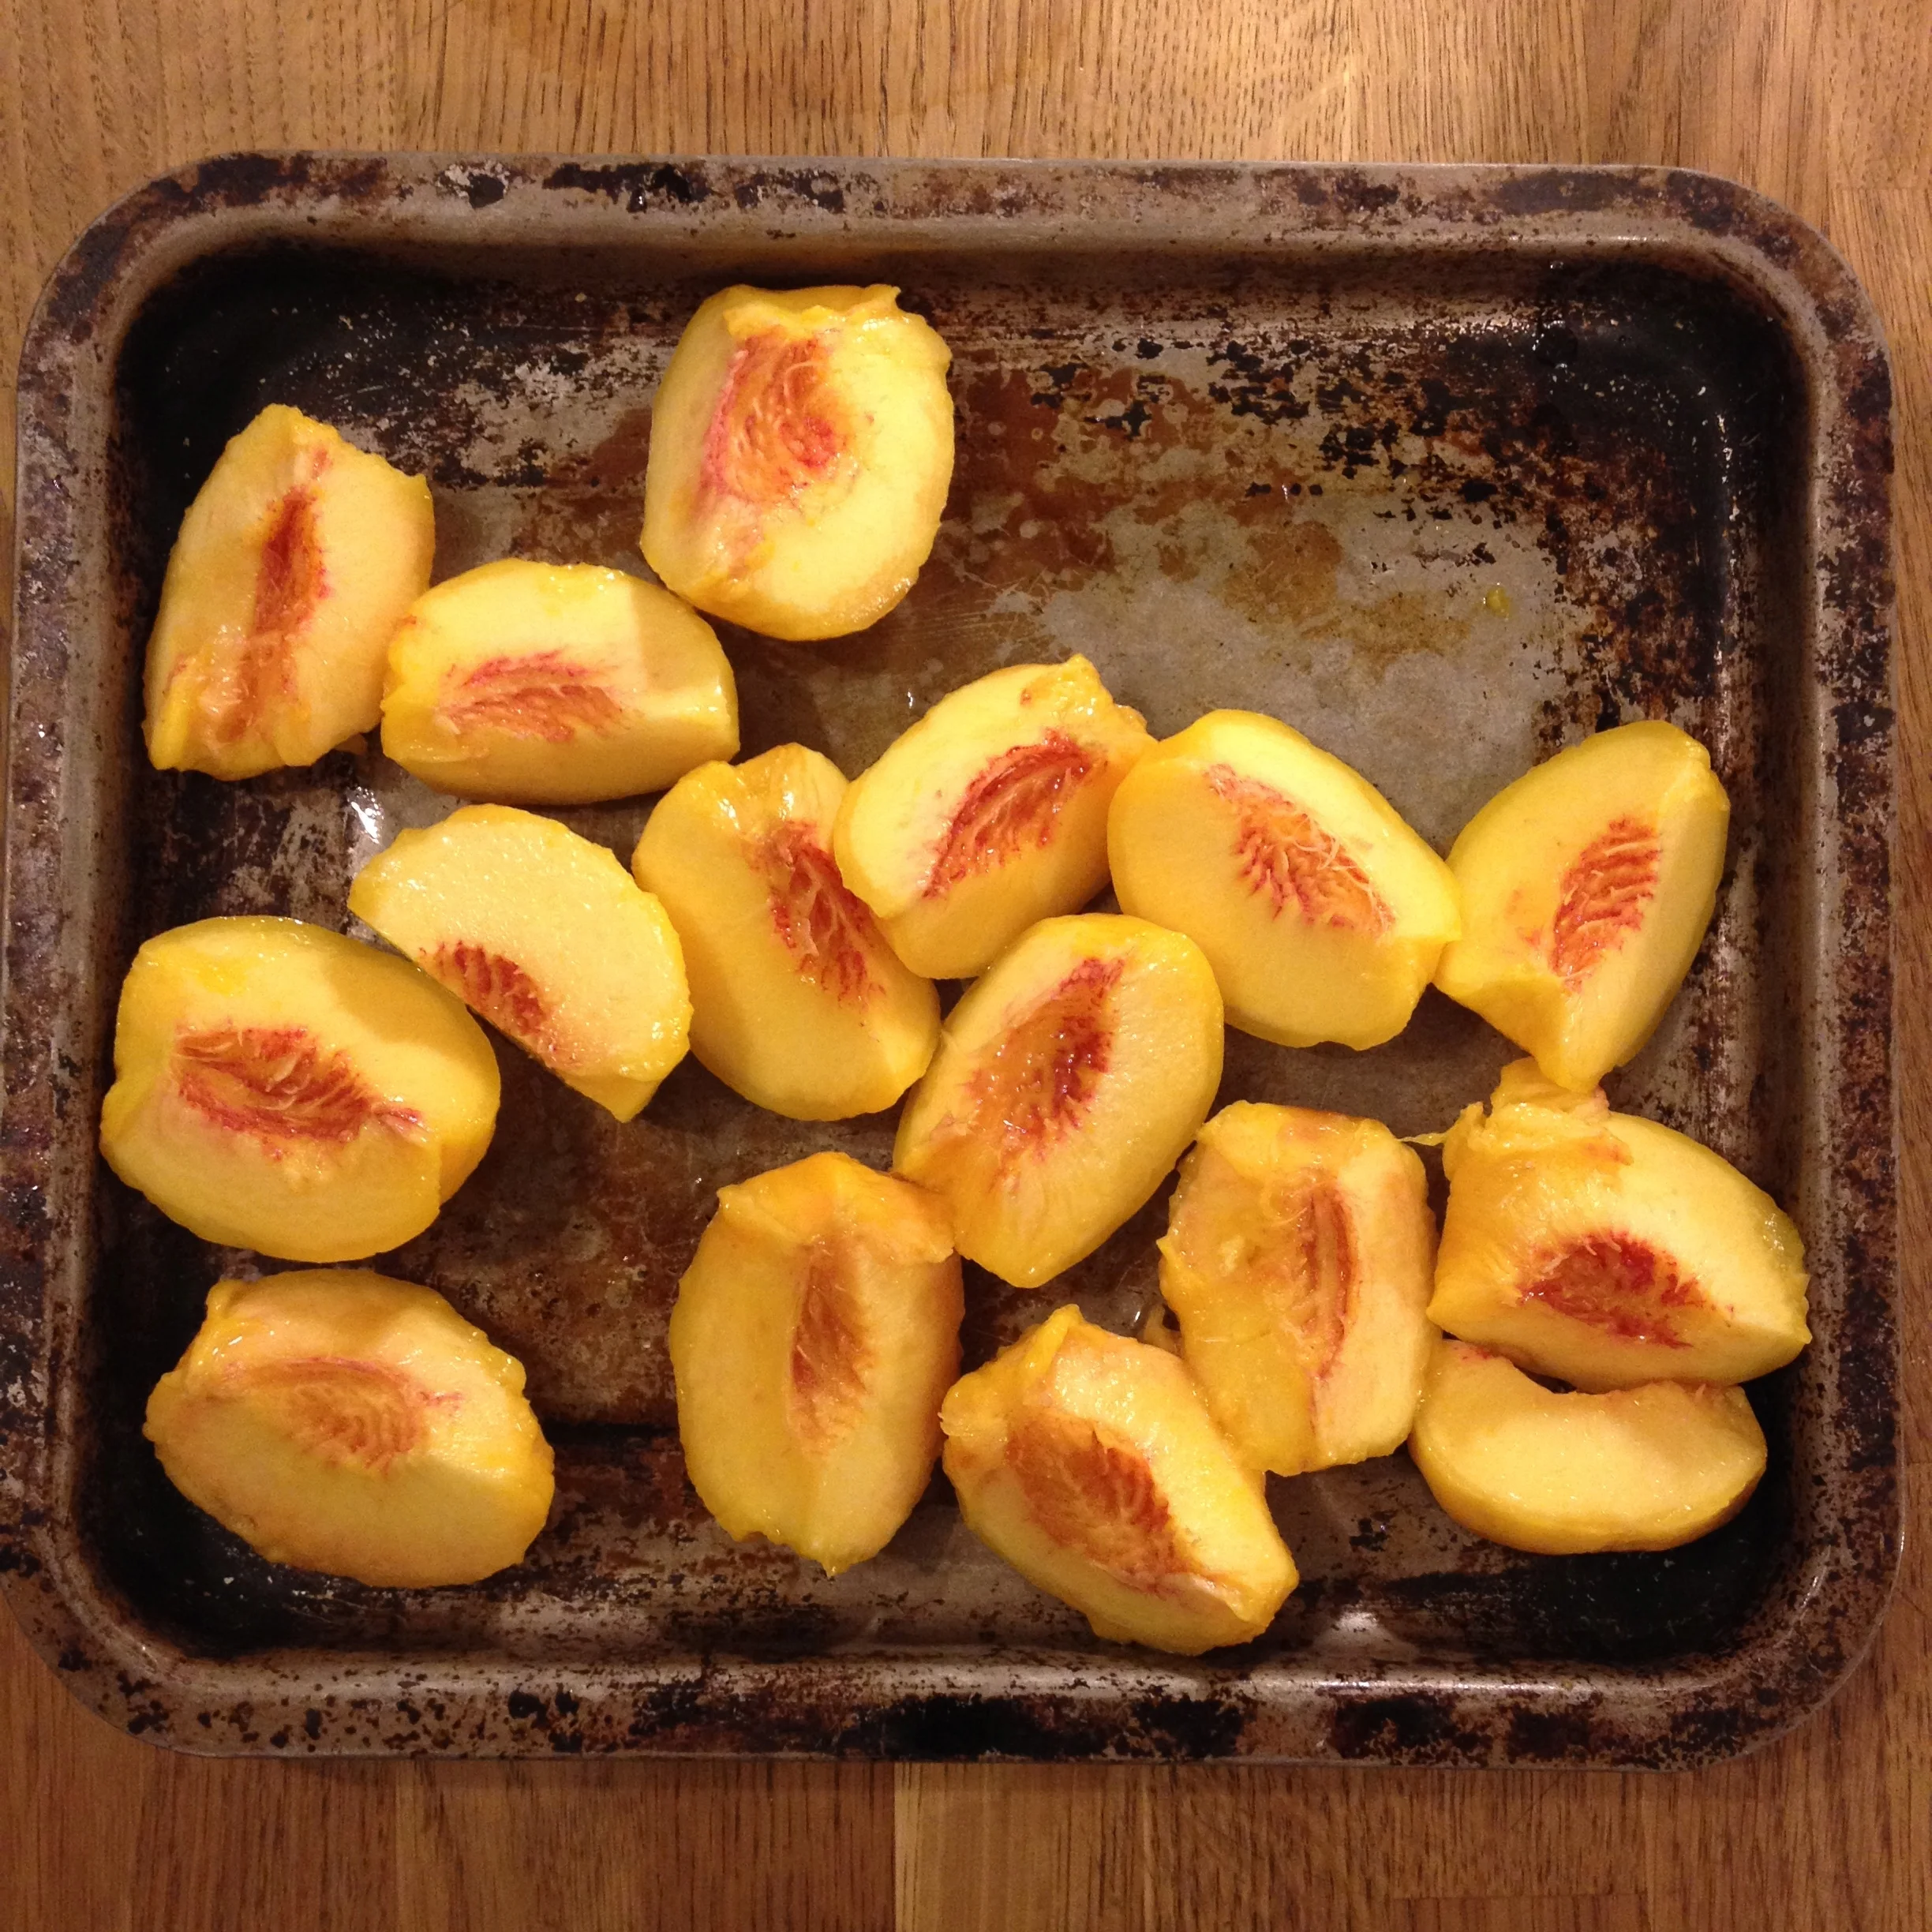
I picked some peaches up when in the Shuswap this past weekend for that last swing at summer, and have plans to make some fermented peach chutney in the coming days. In the meantime though, I did plunk a few in boiling water for a minute at a time, and then shocked them in a cold icy water bath in order to stop the cooking, and then peeled them, scored in quarters and de-pitted them. I dropped them on a tray and popped those babies in the freezer, the idea being that they will end up in smoothies or cobblers down the road. Truly though, I dream that they all end up meddled in with some creme fraiche and turned into peach vanilla ice cream. There really is no other way to describe summer, is there?
For those with an overabundance of rhubarb, you could chop it and freeze it in small batches to use in desserts and to flavour those second ferments, or you could make this wonderful Rhubarb Salsa (oh it's fermented, of course). Whatever you do, make something with that bounty in your yard or by picking up a few boxes of things while out in the Okanagan or your favourite local farmer's market, and play with your food. Your mid-winter self will be thanking your busy-summer-bee self before you know it.
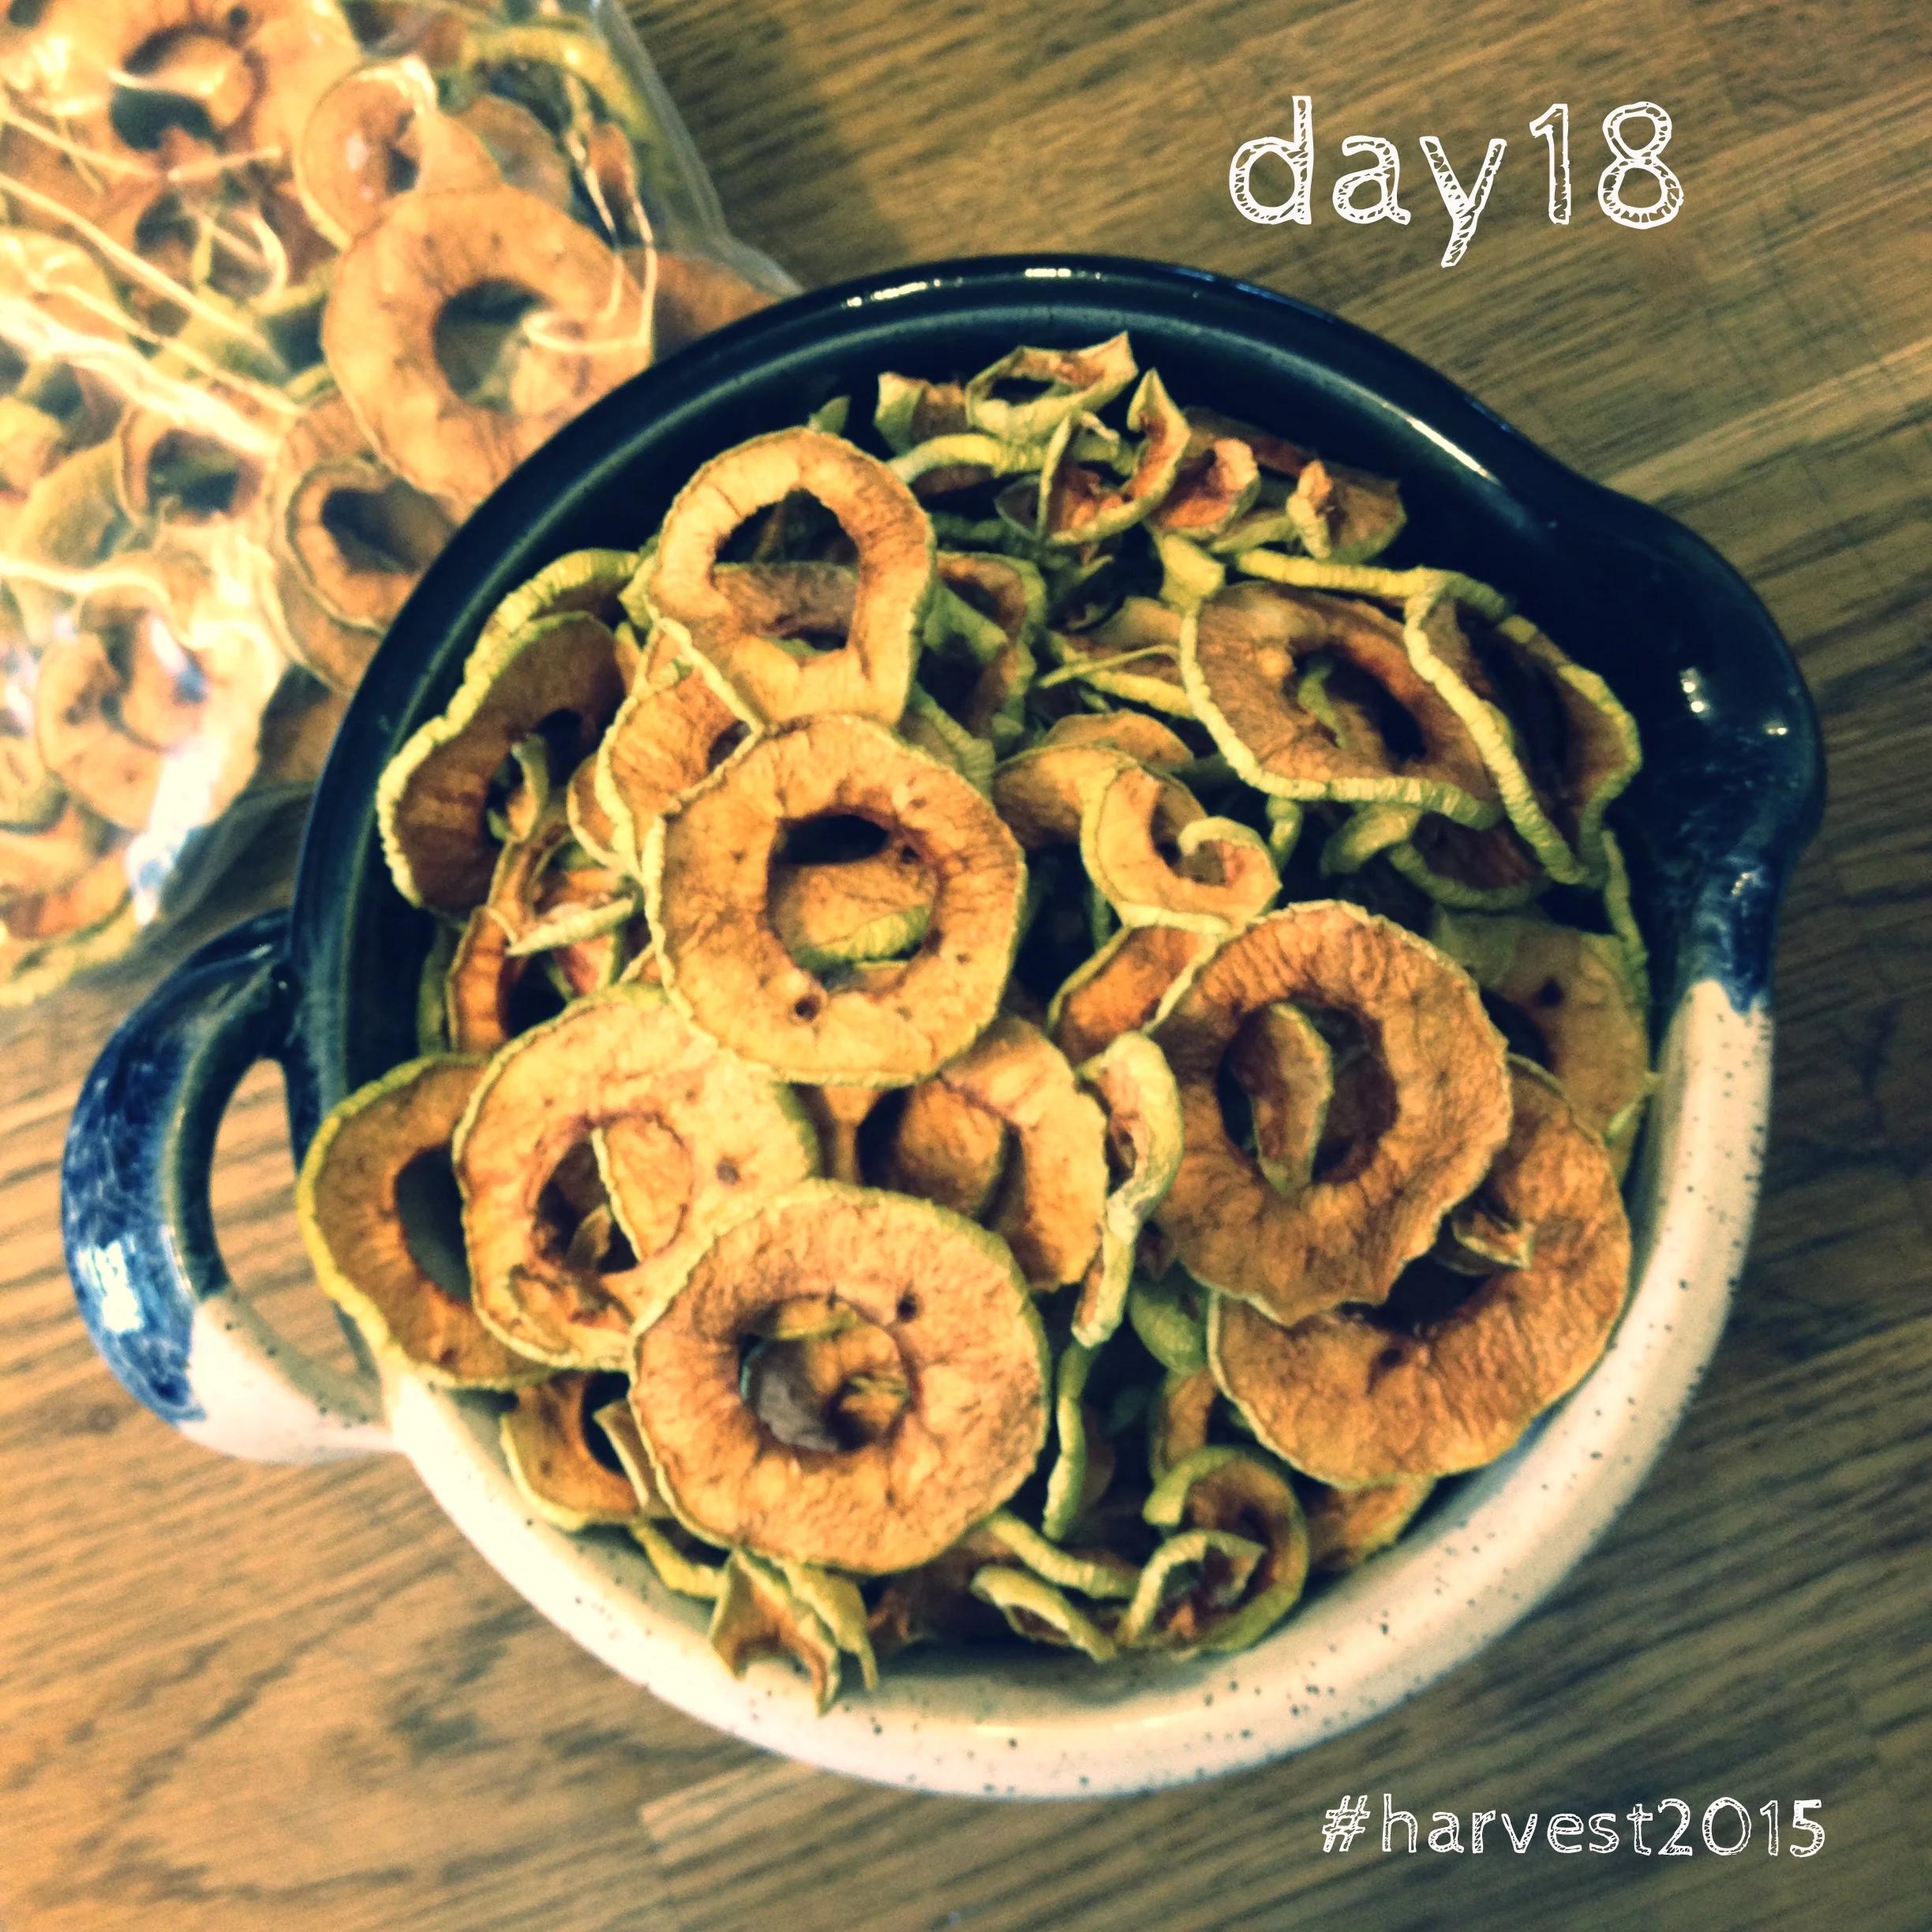
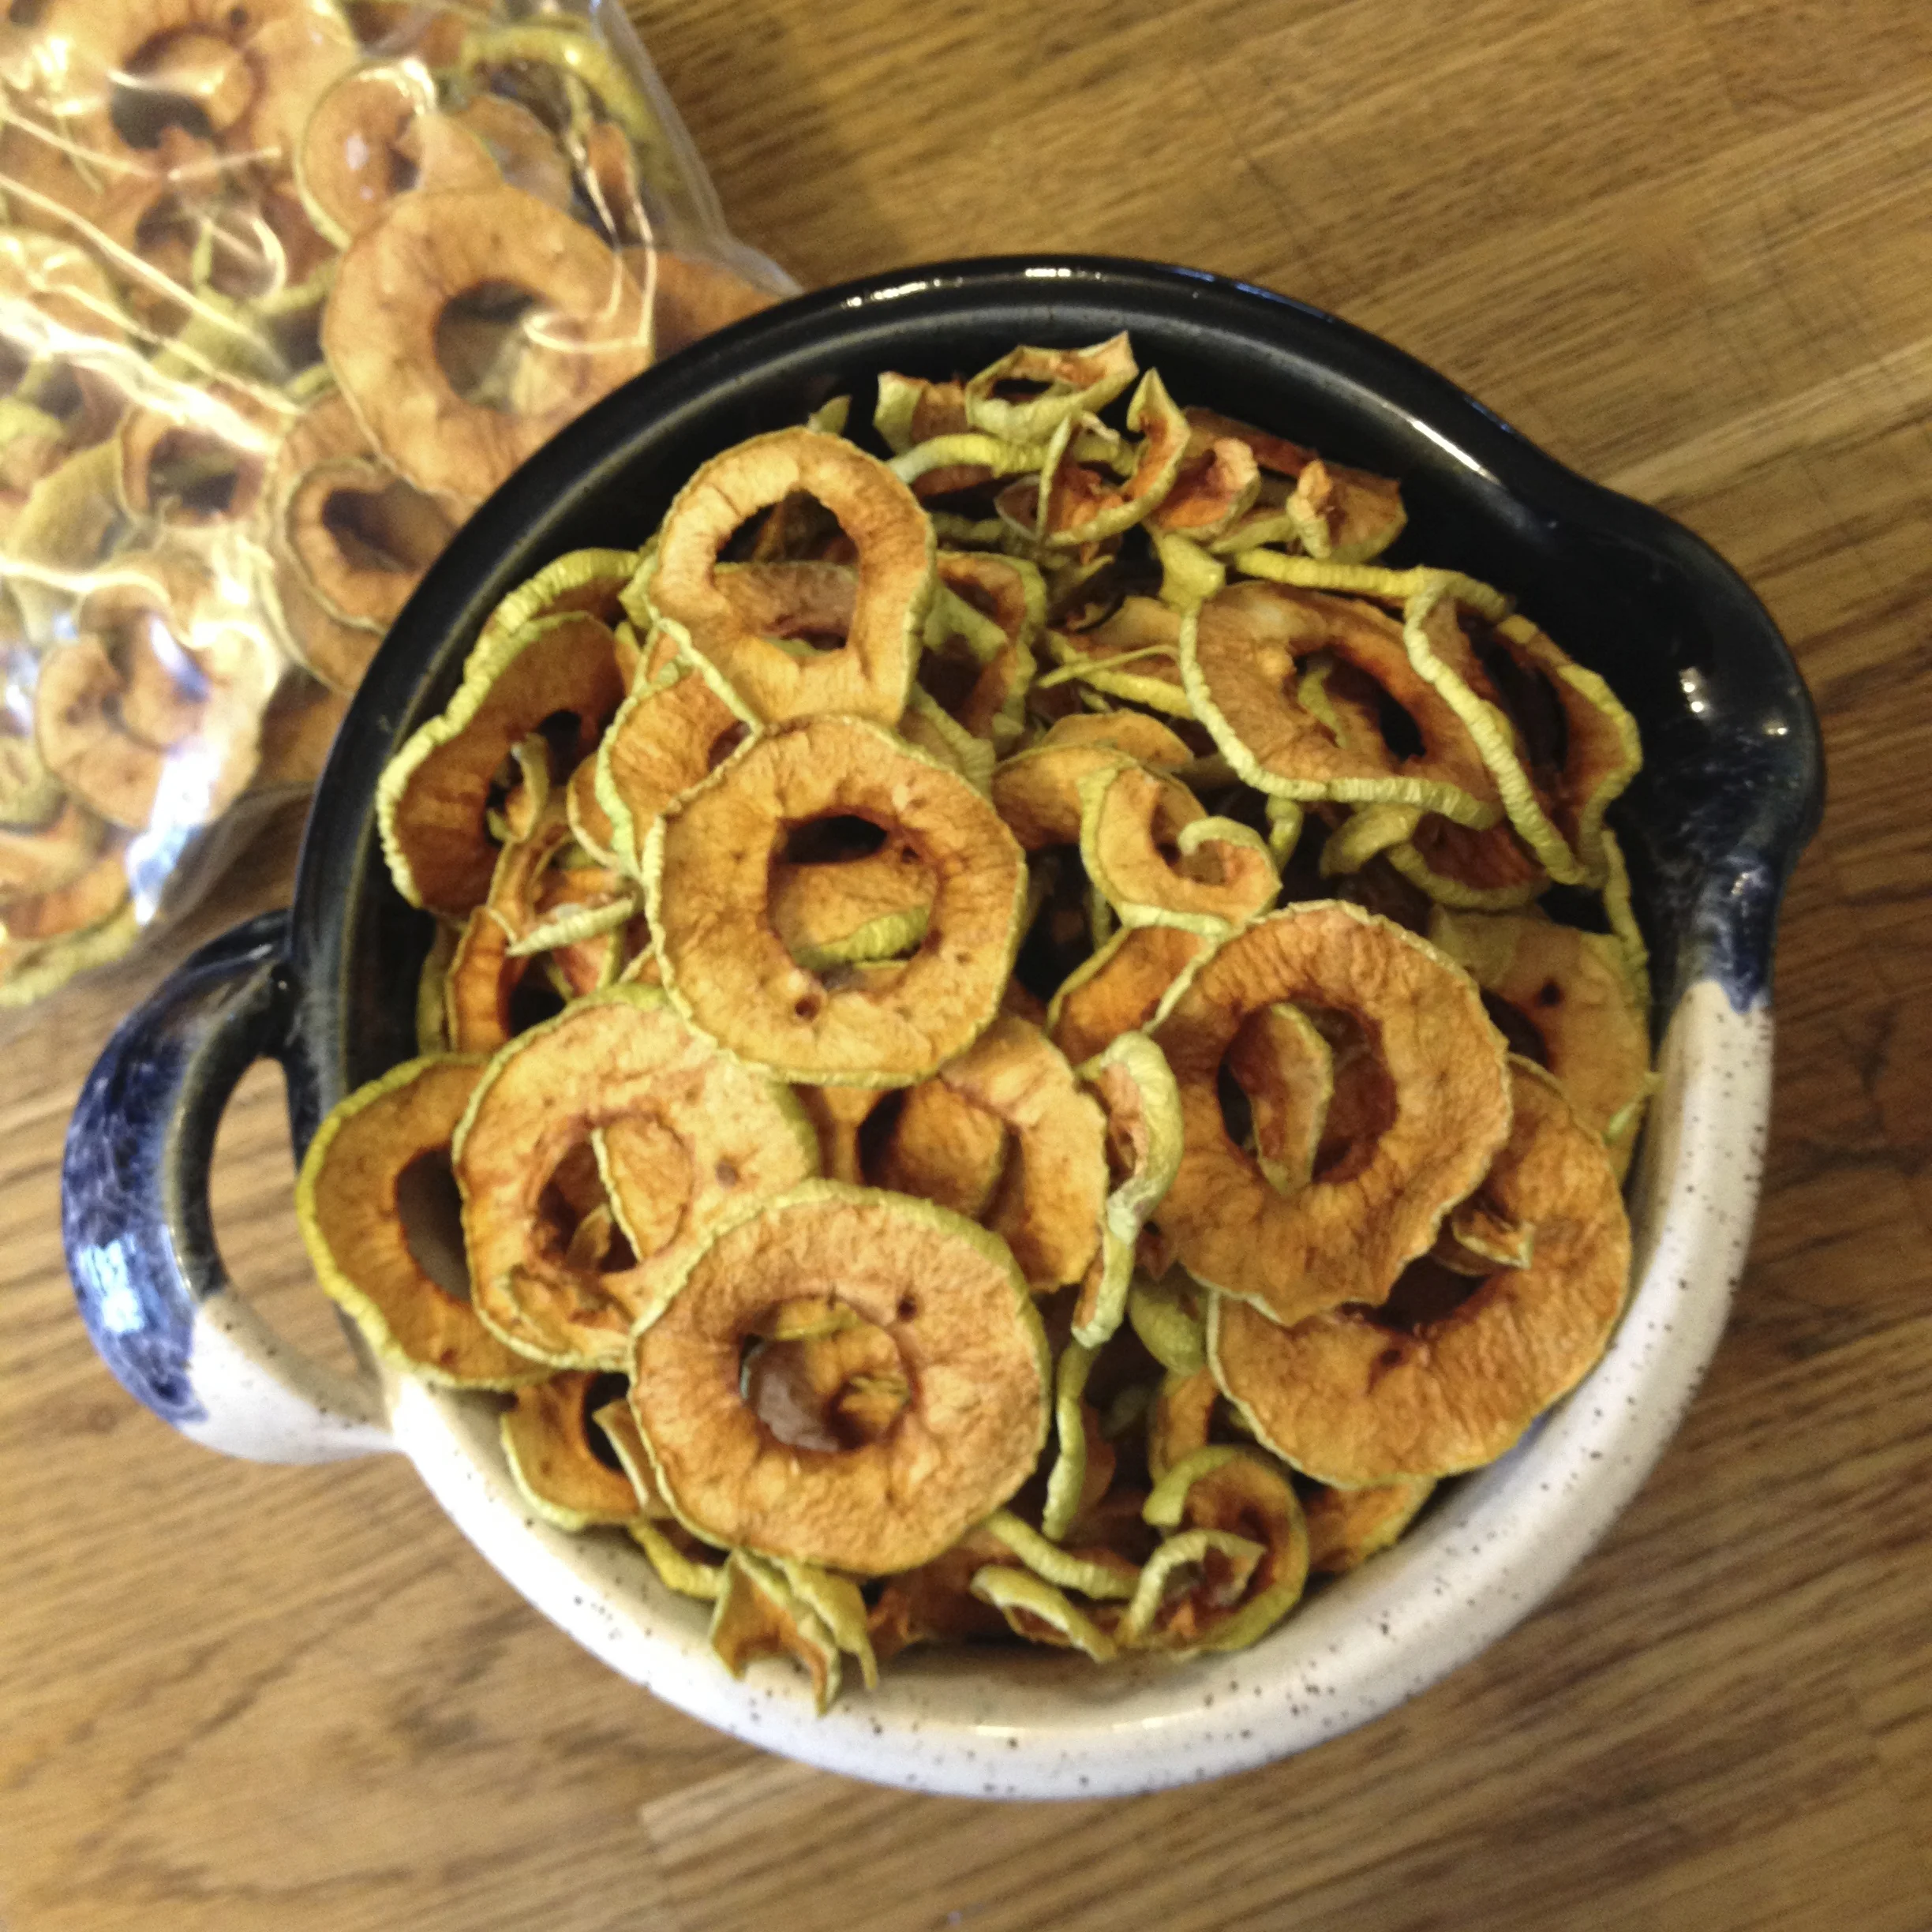
Dried apple rings from tart Alberta apples, for safe-keeping. #harvest2015
A MONTH OF PUTTING UP THE HARVEST - Day 11
Today's post is a relatively new addition to my roster of tasks when it comes to putting up my harvest every year. I dabble a bit more every year in the business of growing biodynamically in my yard, adding whatever I can to my toolkit as time and energy allows. I learned a few years ago of the magic of companion planting: see, I have been growing food crops in my little patches of back yard along the way since a basement apartment off St. Clair in Toronto some 14 years ago. Everyone else had a balcony but us, and so I rallied to dig up a patch of mint-bedraggled-grass in the courtyard to which our landlord at the time agreed. Before this, my first attempt as an independent grownup gardener, I helped tend our backyard plot and our 2 acres of rows at our farm in Fabre, Quebec (some people have cottages, we had a farm. How cool is that. Never appreciated it enough back then. Sorry Maman et Papa. Making up for lost time!) and learned from my parents the ins and outs of growing our own food organically before it was such a term, and how to put up the harvest for winter times. Companion planting came about as I was interested in growing without the use of 'plant food' and low-grade pesticides for home use. Never did use pesticides, but I had one year of particularly bad bugs at a house we rented in Edmonton. It was time to hone up on alternative ways to grow my own vegetables.
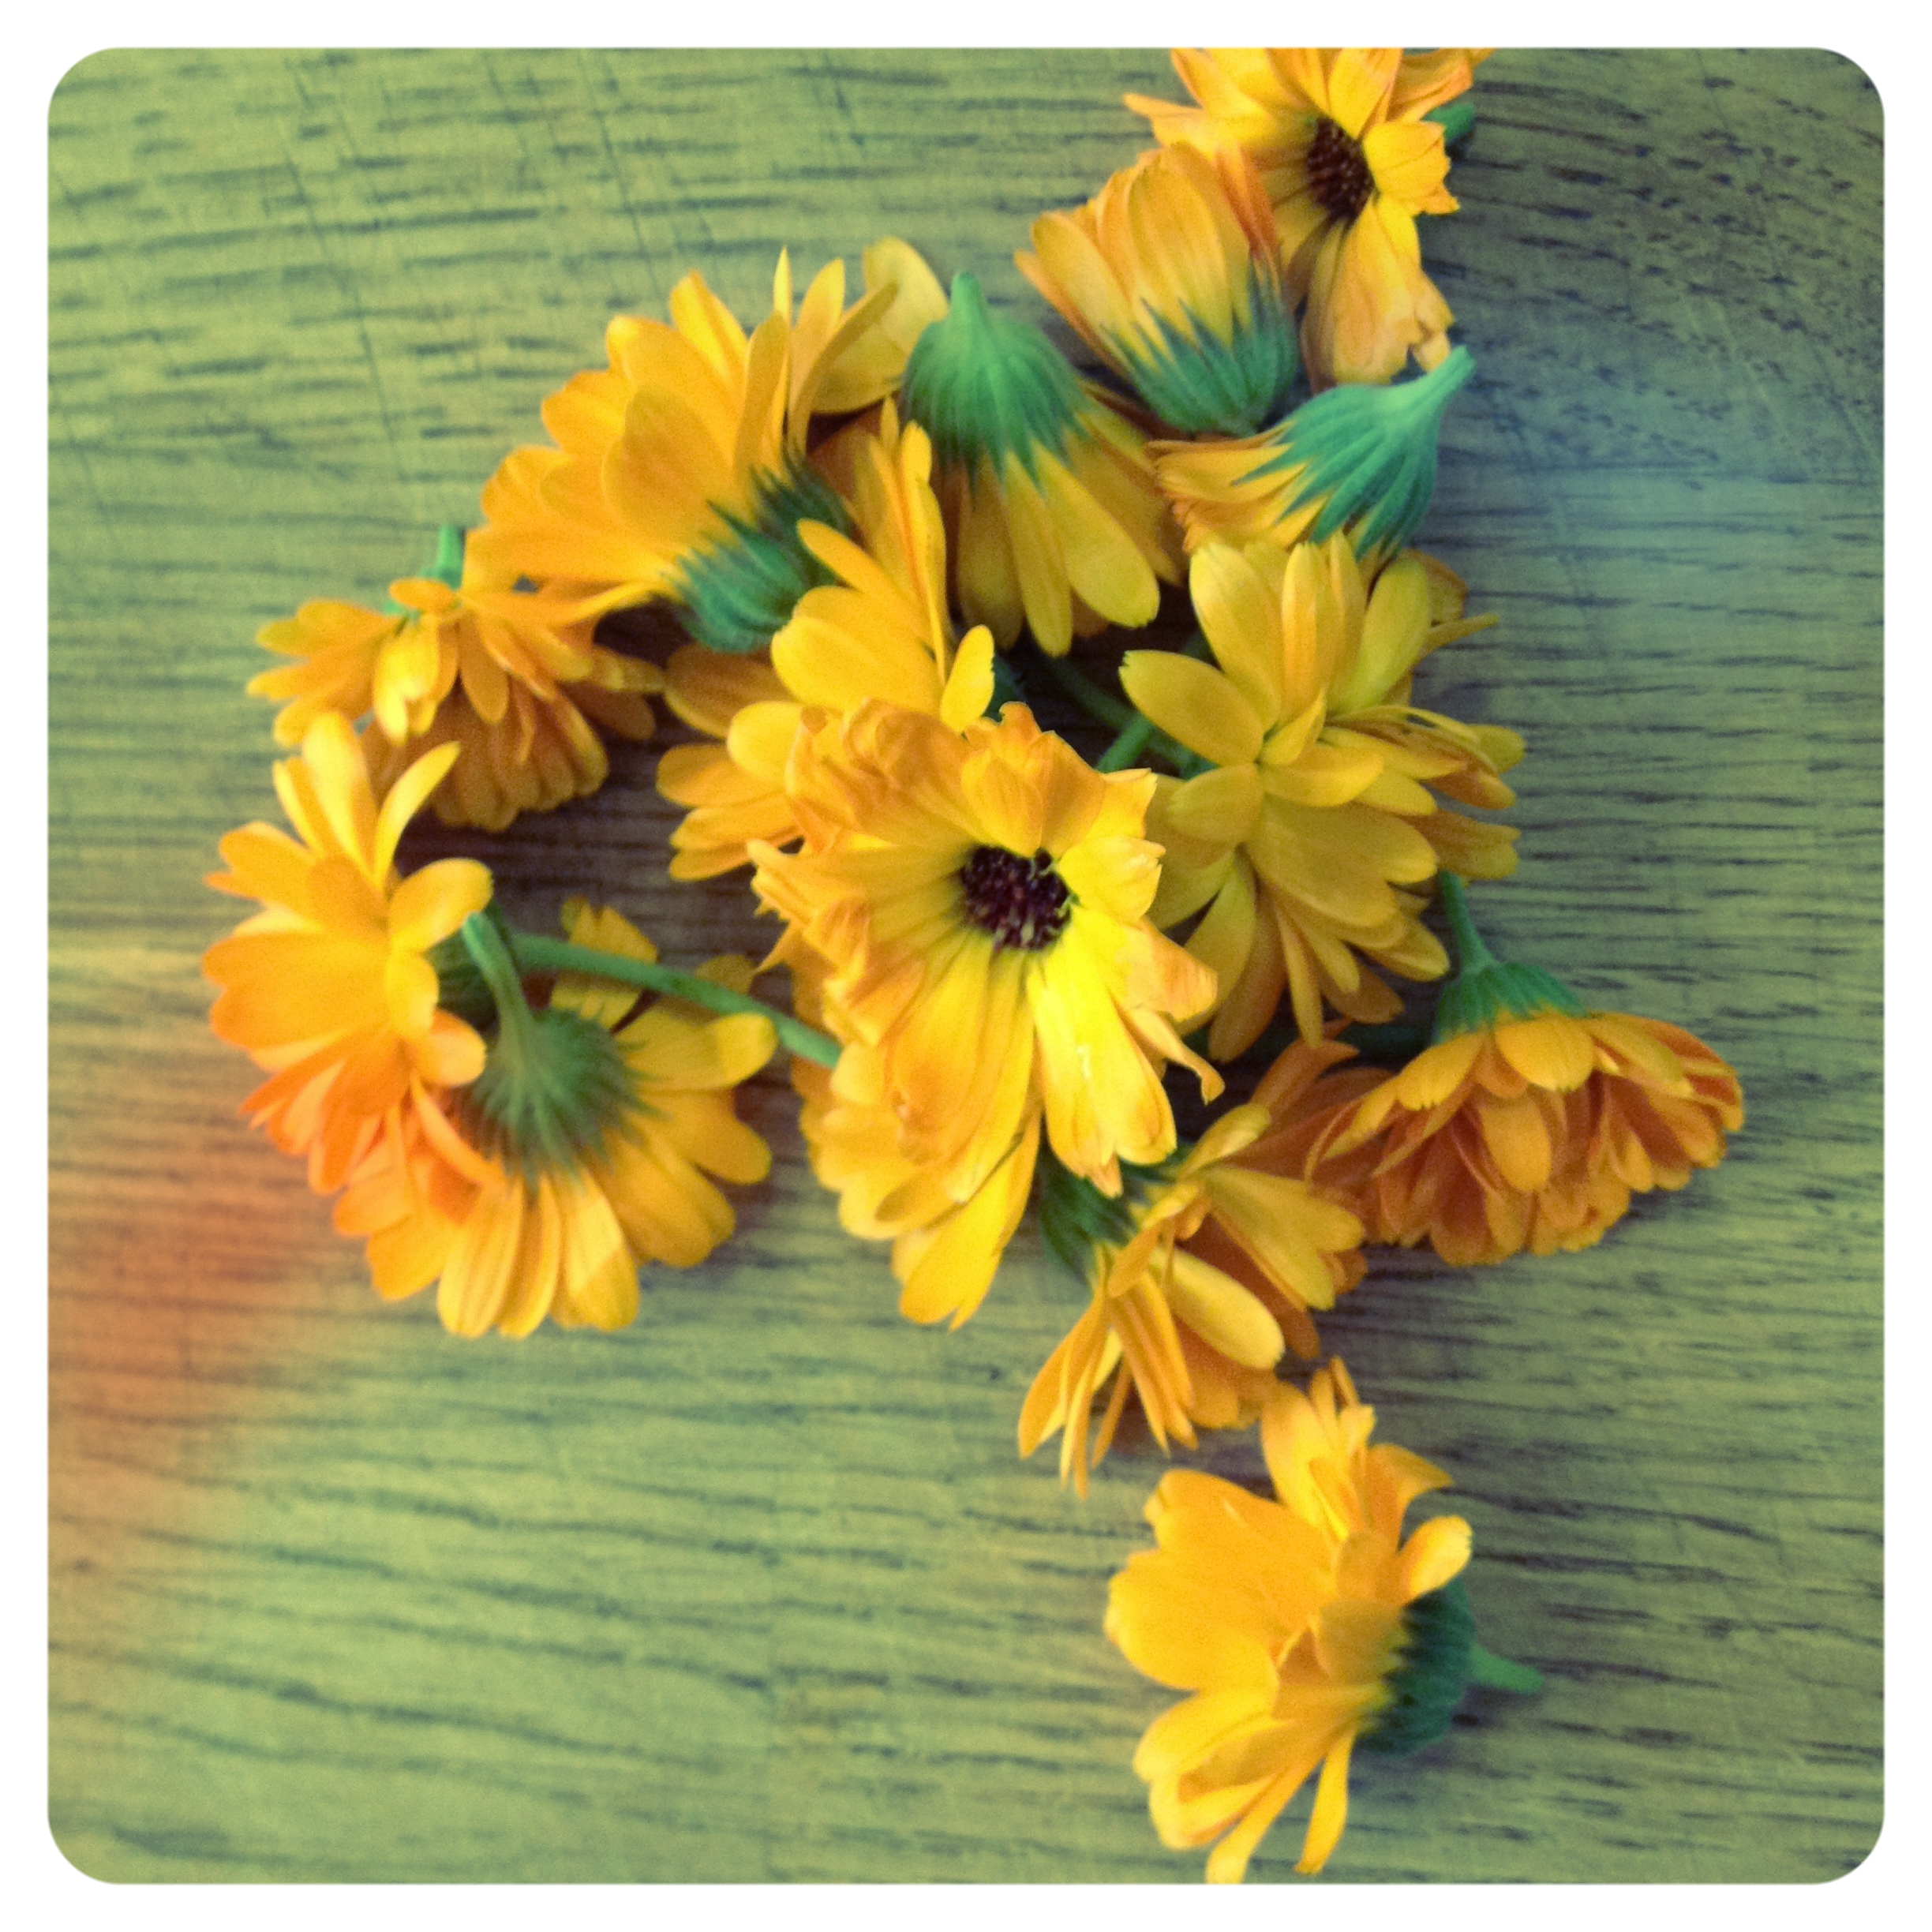
Calendula officinalis. One of my all time favourite flowers. #harvest2015
Today's post is a relatively new addition to my roster of tasks when it comes to putting up my harvest every year. I dabble a bit more every year in the business of growing biodynamically in my yard, adding whatever I can to my toolkit as time and energy allows. I learned a few years ago of the magic of companion planting: see, I have been growing food crops in my little patches of back yard along the way since a basement apartment off St. Clair in Toronto some 14 years ago. Everyone else had a balcony but us, and so I rallied to dig up a patch of mint-bedraggled-grass in the courtyard to which our landlord at the time agreed. Before this, my first attempt as an independent grownup gardener, I helped tend our backyard plot and our 2 acres of rows at our farm in Fabre, Quebec (some people have cottages, we had a farm. How cool is that. Never appreciated it enough back then. Sorry Maman et Papa. Making up for lost time!) and learned from my parents the ins and outs of growing our own food organically before it was such a term, and how to put up the harvest for winter times. Companion planting came about as I was interested in growing without the use of 'plant food' and low-grade pesticides for home use. Never did use pesticides, but I had one year of particularly bad bugs at a house we rented in Edmonton. It was time to hone up on alternative ways to grow my own vegetables.
I discovered the beauty of companion planting and adding flowers to the vegetable patch as a means to help control the bug infestations, and it encouraged me to grow beyond the traditional notion of rows. It was here that I fell in love with marigolds, violets, nasturtiums and the bold and beautiful Calendula flower. These flowers help trap bugs that can wreak havoc, they can also attract beneficial insects that will feast on those critters that can induce heartbreak on some of your favourite crops with their destructive ways. Imagine my delight when, two years ago, I discovered you can actually eat calendula flowers!
I throw these babies in many different things from mixing it in with cream cheese and chives for a yummy spread or dip for vegetables; I have added petals to pestos and scattered them on top of salads. You can also make teas with it, mix it with lavender and epsom salts to make a soothing and calming bath soak, and is a good ingredient to make a skin-saving and inflammation-curbing skin salve. When next I make a batch of sauerkraut, I'll be adding some petals to it in order to impart further anti-inflammatory properties.
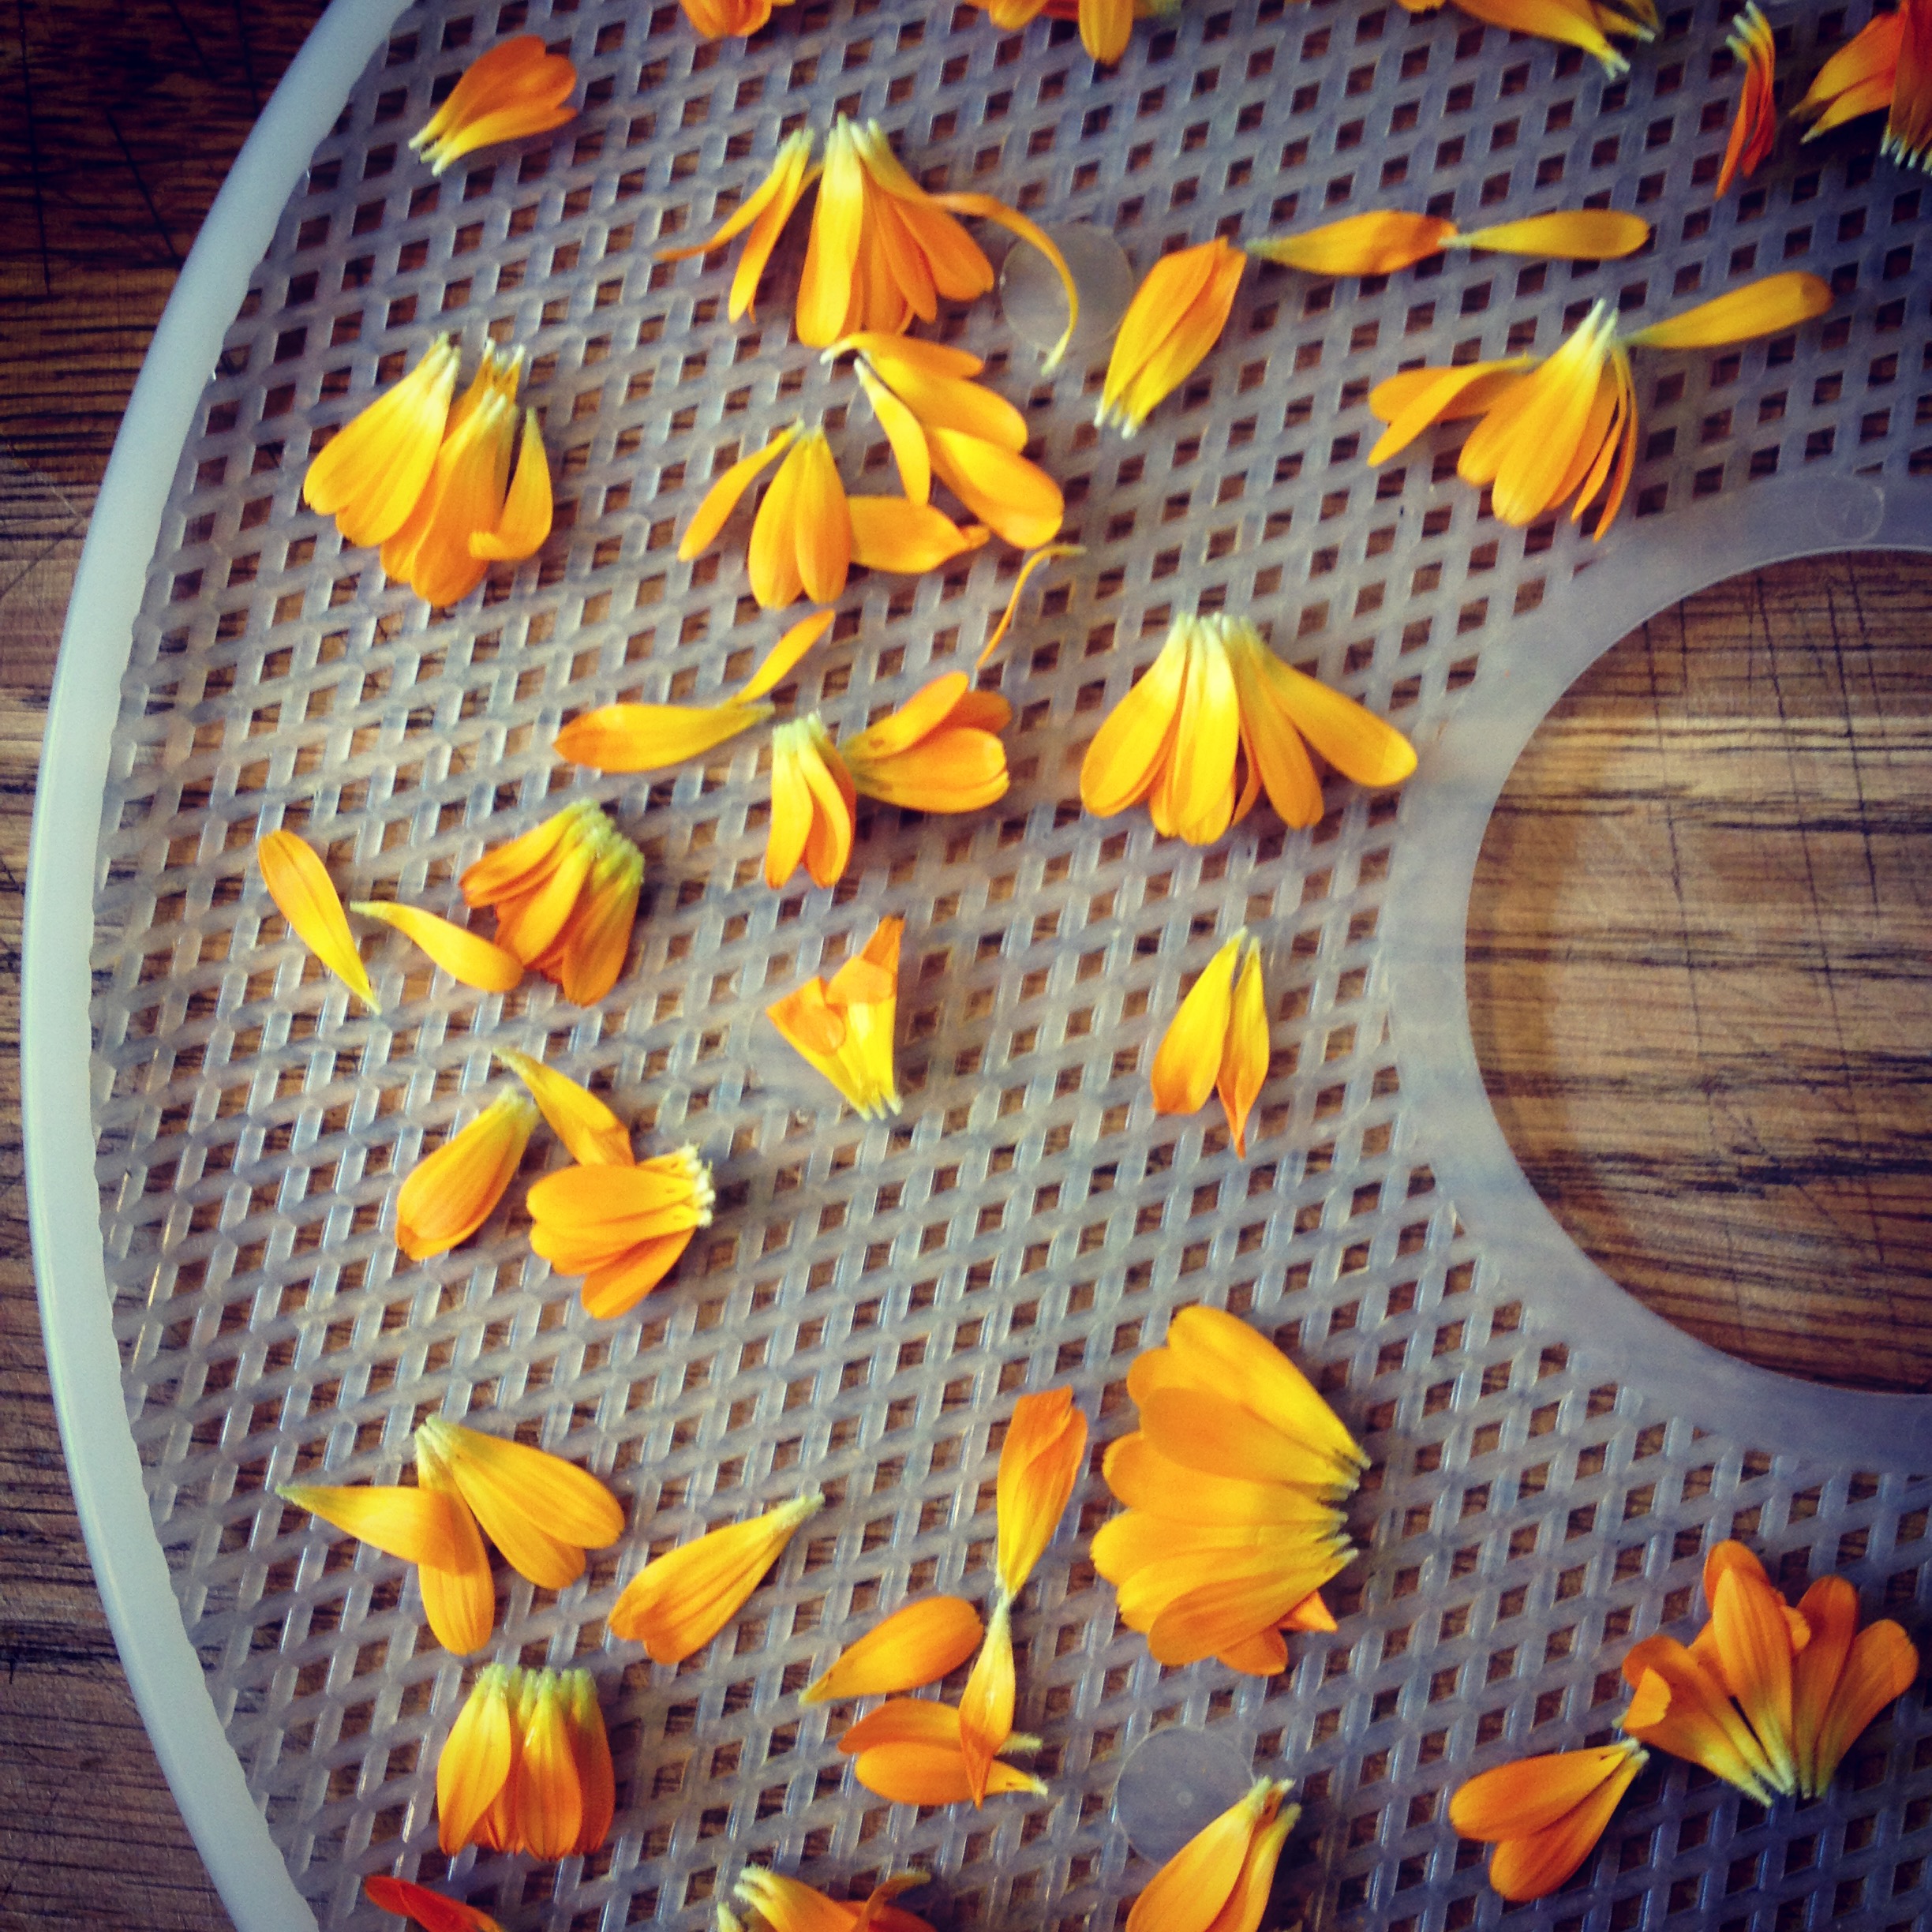
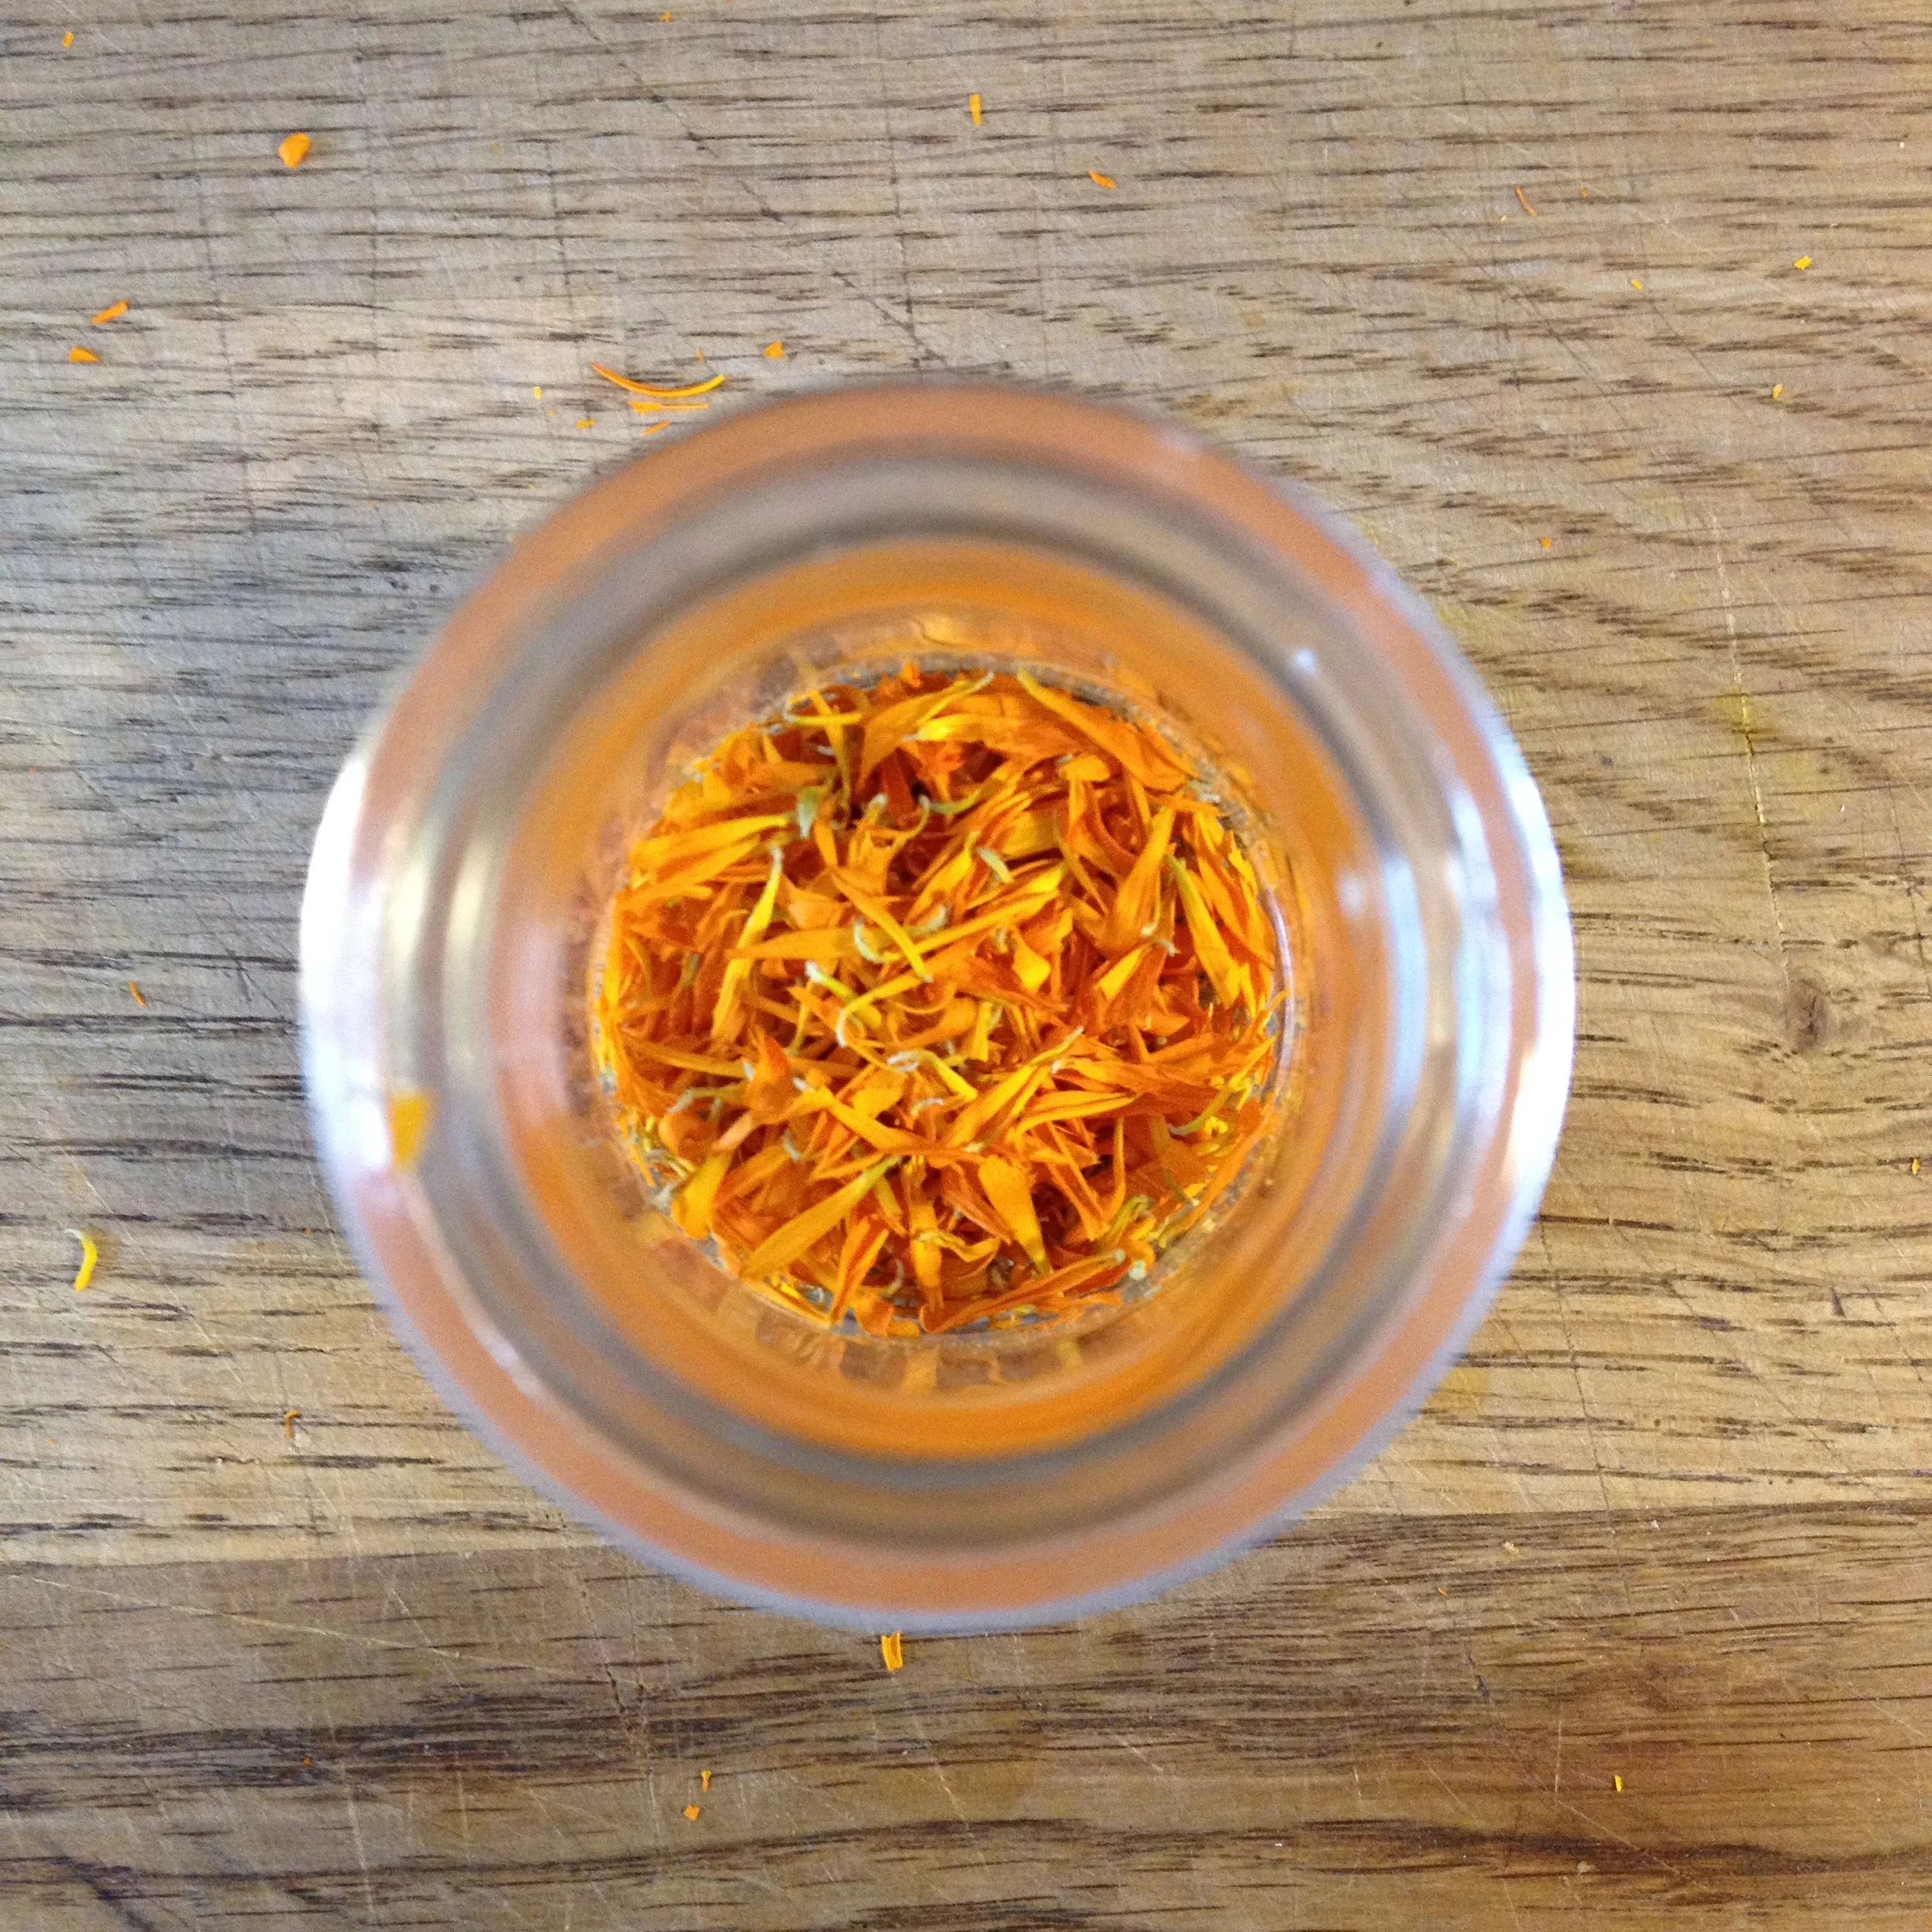
Calendula petals destined for the dehydrator. #harvest2015
As my dehydrator is seemingly turned 'on' for the majority of the time these days, I thought to throw in an extra layer of these petals in order to tuck them in the pantry for whatever use strikes my fancy over the coming winter. I plucked the flower heads from the stems (which, bonus, encourages the plant to flower some more!) and washed them to get rid of the little bugs mingled in, and pulled the petals off of the heads, scattering them on my dehydrator screen. It took a few hours at the lowest temperature to get them all shrivelled and ready for their glass jar. There's something so satisfying about seeing all these little glass jars lining up on my shelf with my dehydrated bounty, inspiring winter projects with my little lady when the time comes.
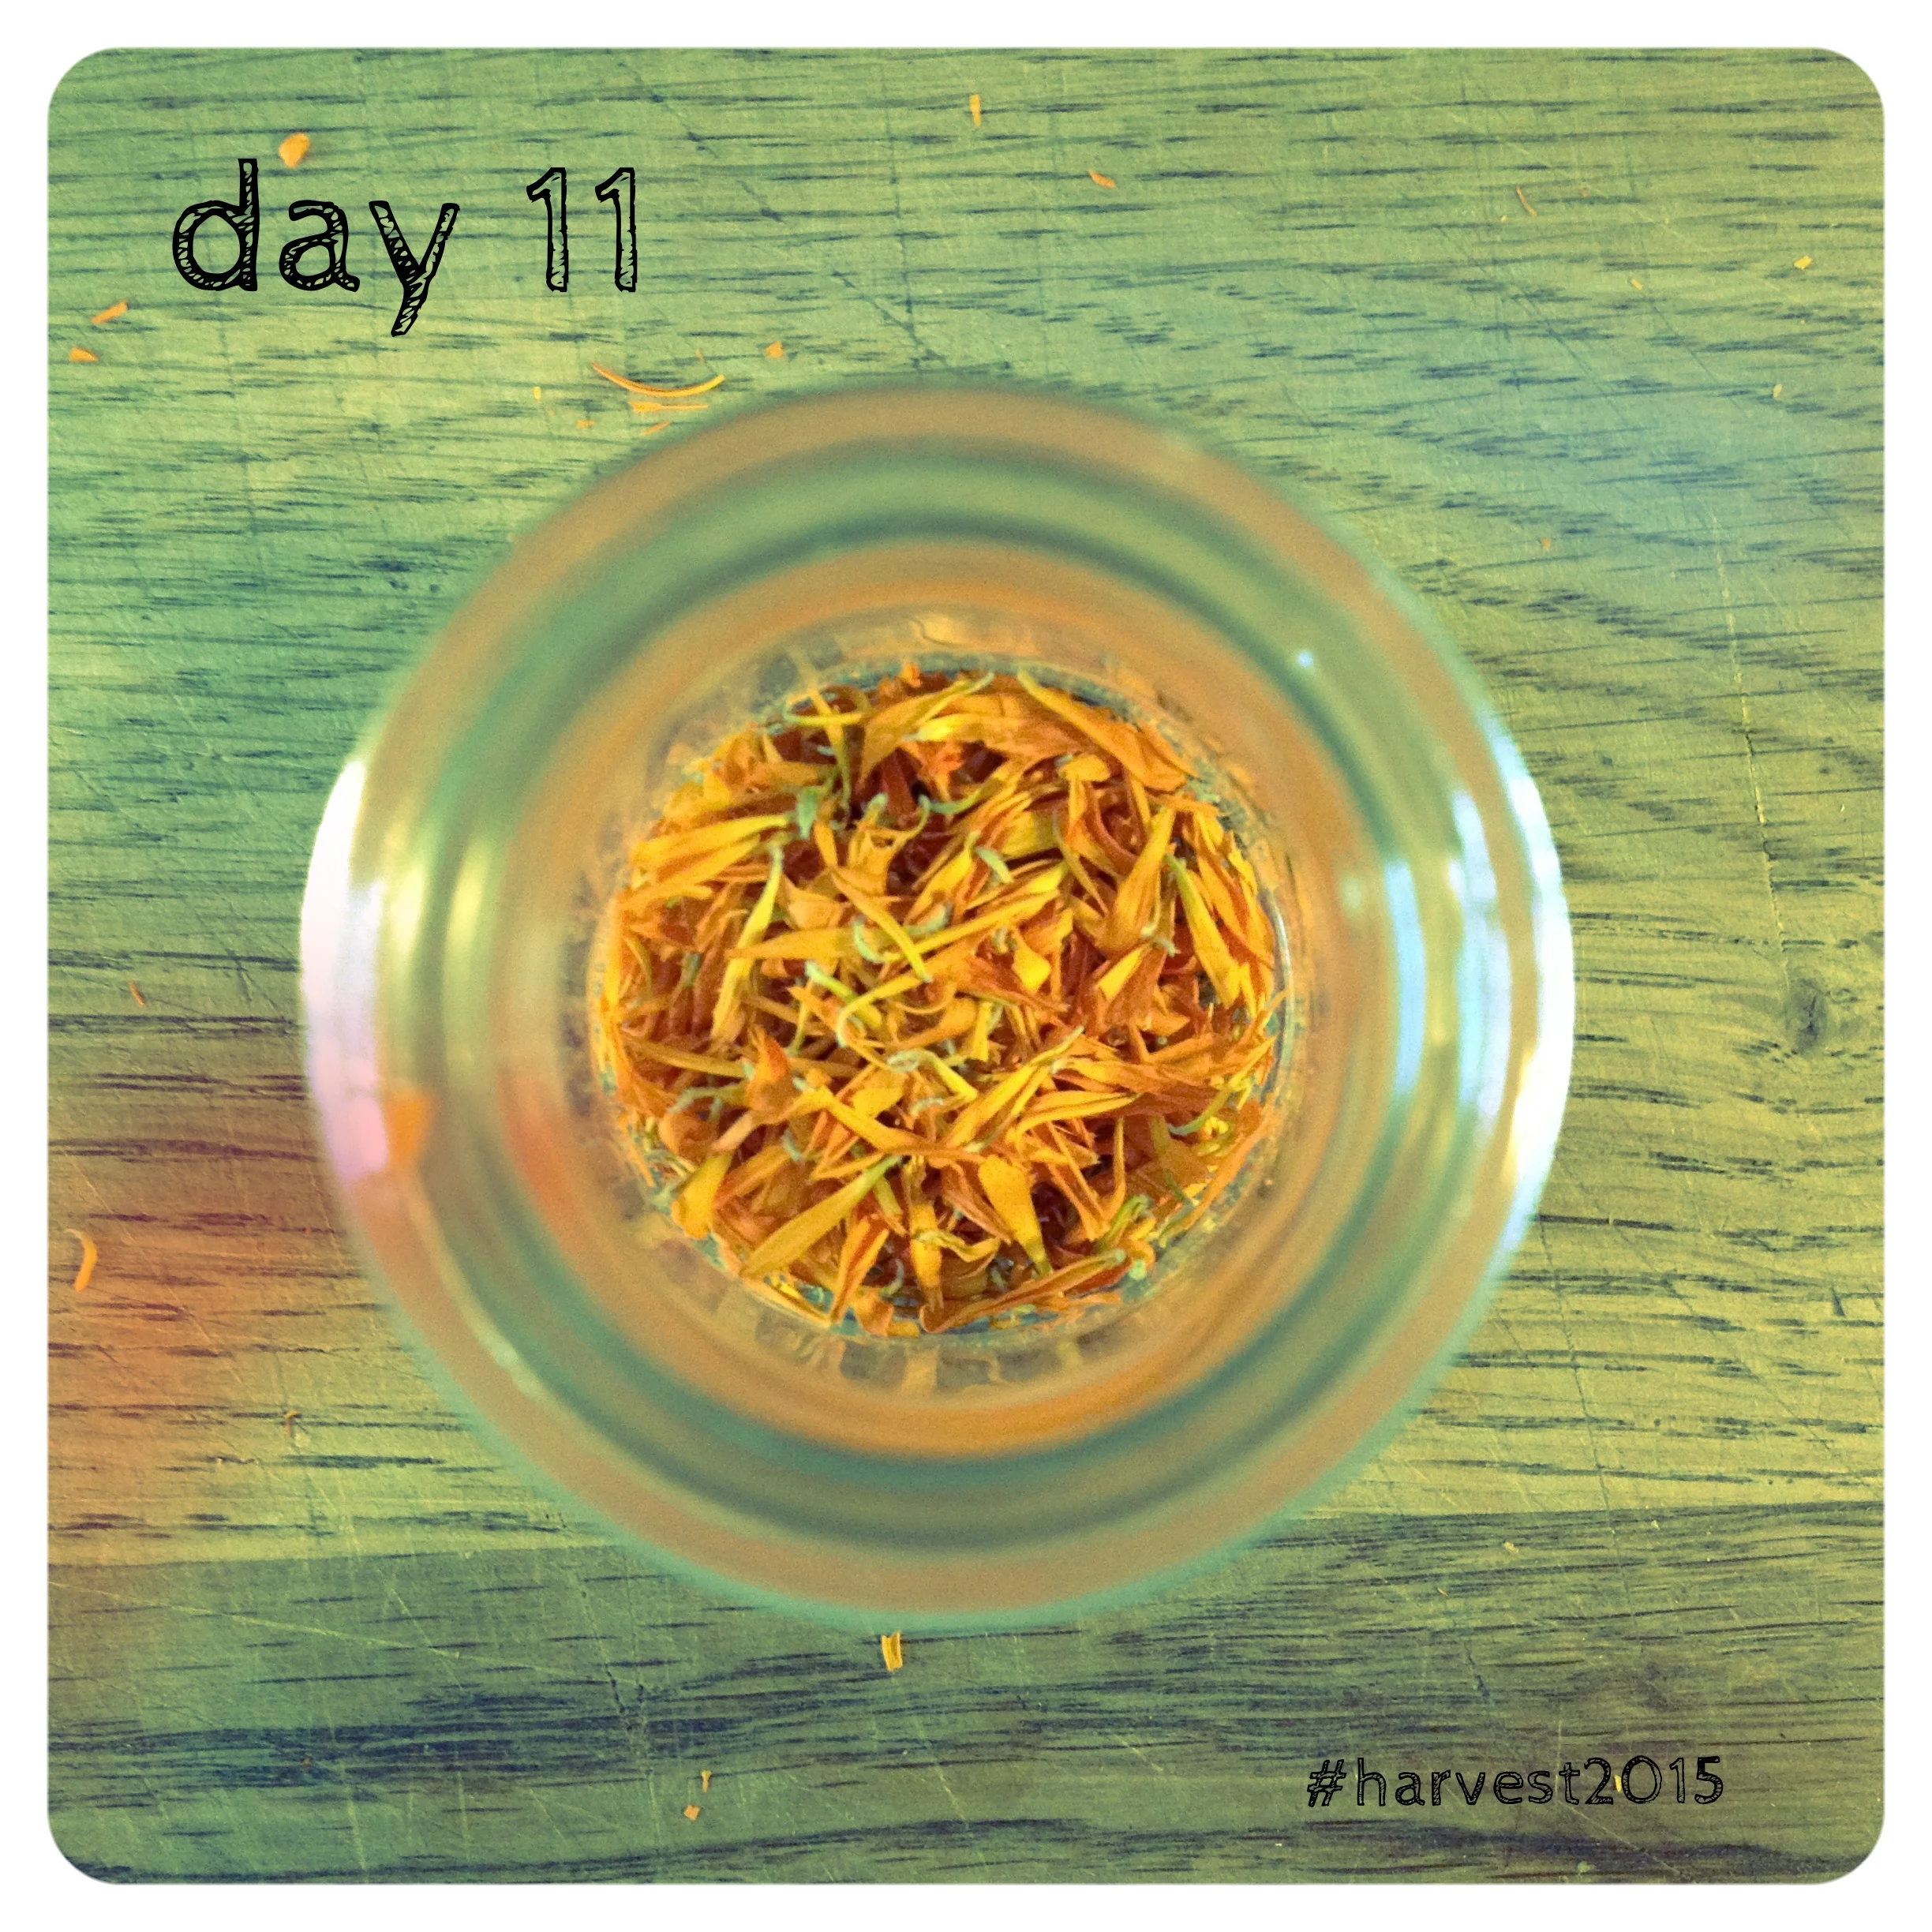
Calendula officinalis, dried for future use. #harvest2015
You can harvest all kinds of flowers from your garden, so when you're planning your seed buying for the year ahead, I encourage you to think of throwing in some edible flowers in the mix. I do a yearly purchase from these fine folks out on the west coast every year. If you're curious to read a more complete version of a botanical write-up on this mighty flower, make your way to Plants for a Future. And one more place, if you're looking for more ideas on what to do with your calendula petals is the gal at Joybilee Farm.
A MONTH OF PUTTING UP THE HARVEST - Day 6
Today is Monday, a perfect day for a harvest. This is one of those things that is dead easy, and for whatever reason, I have a hard time ever getting around to this most summers. I don't know why, it's really so quick and again, big bang for your investment/buck/time. Let's keep this one short and sweet kids. Hanging herbs to dry. It's really just what it seems: you pick herbs, and tie them together, and leave them to dry. Done deal.
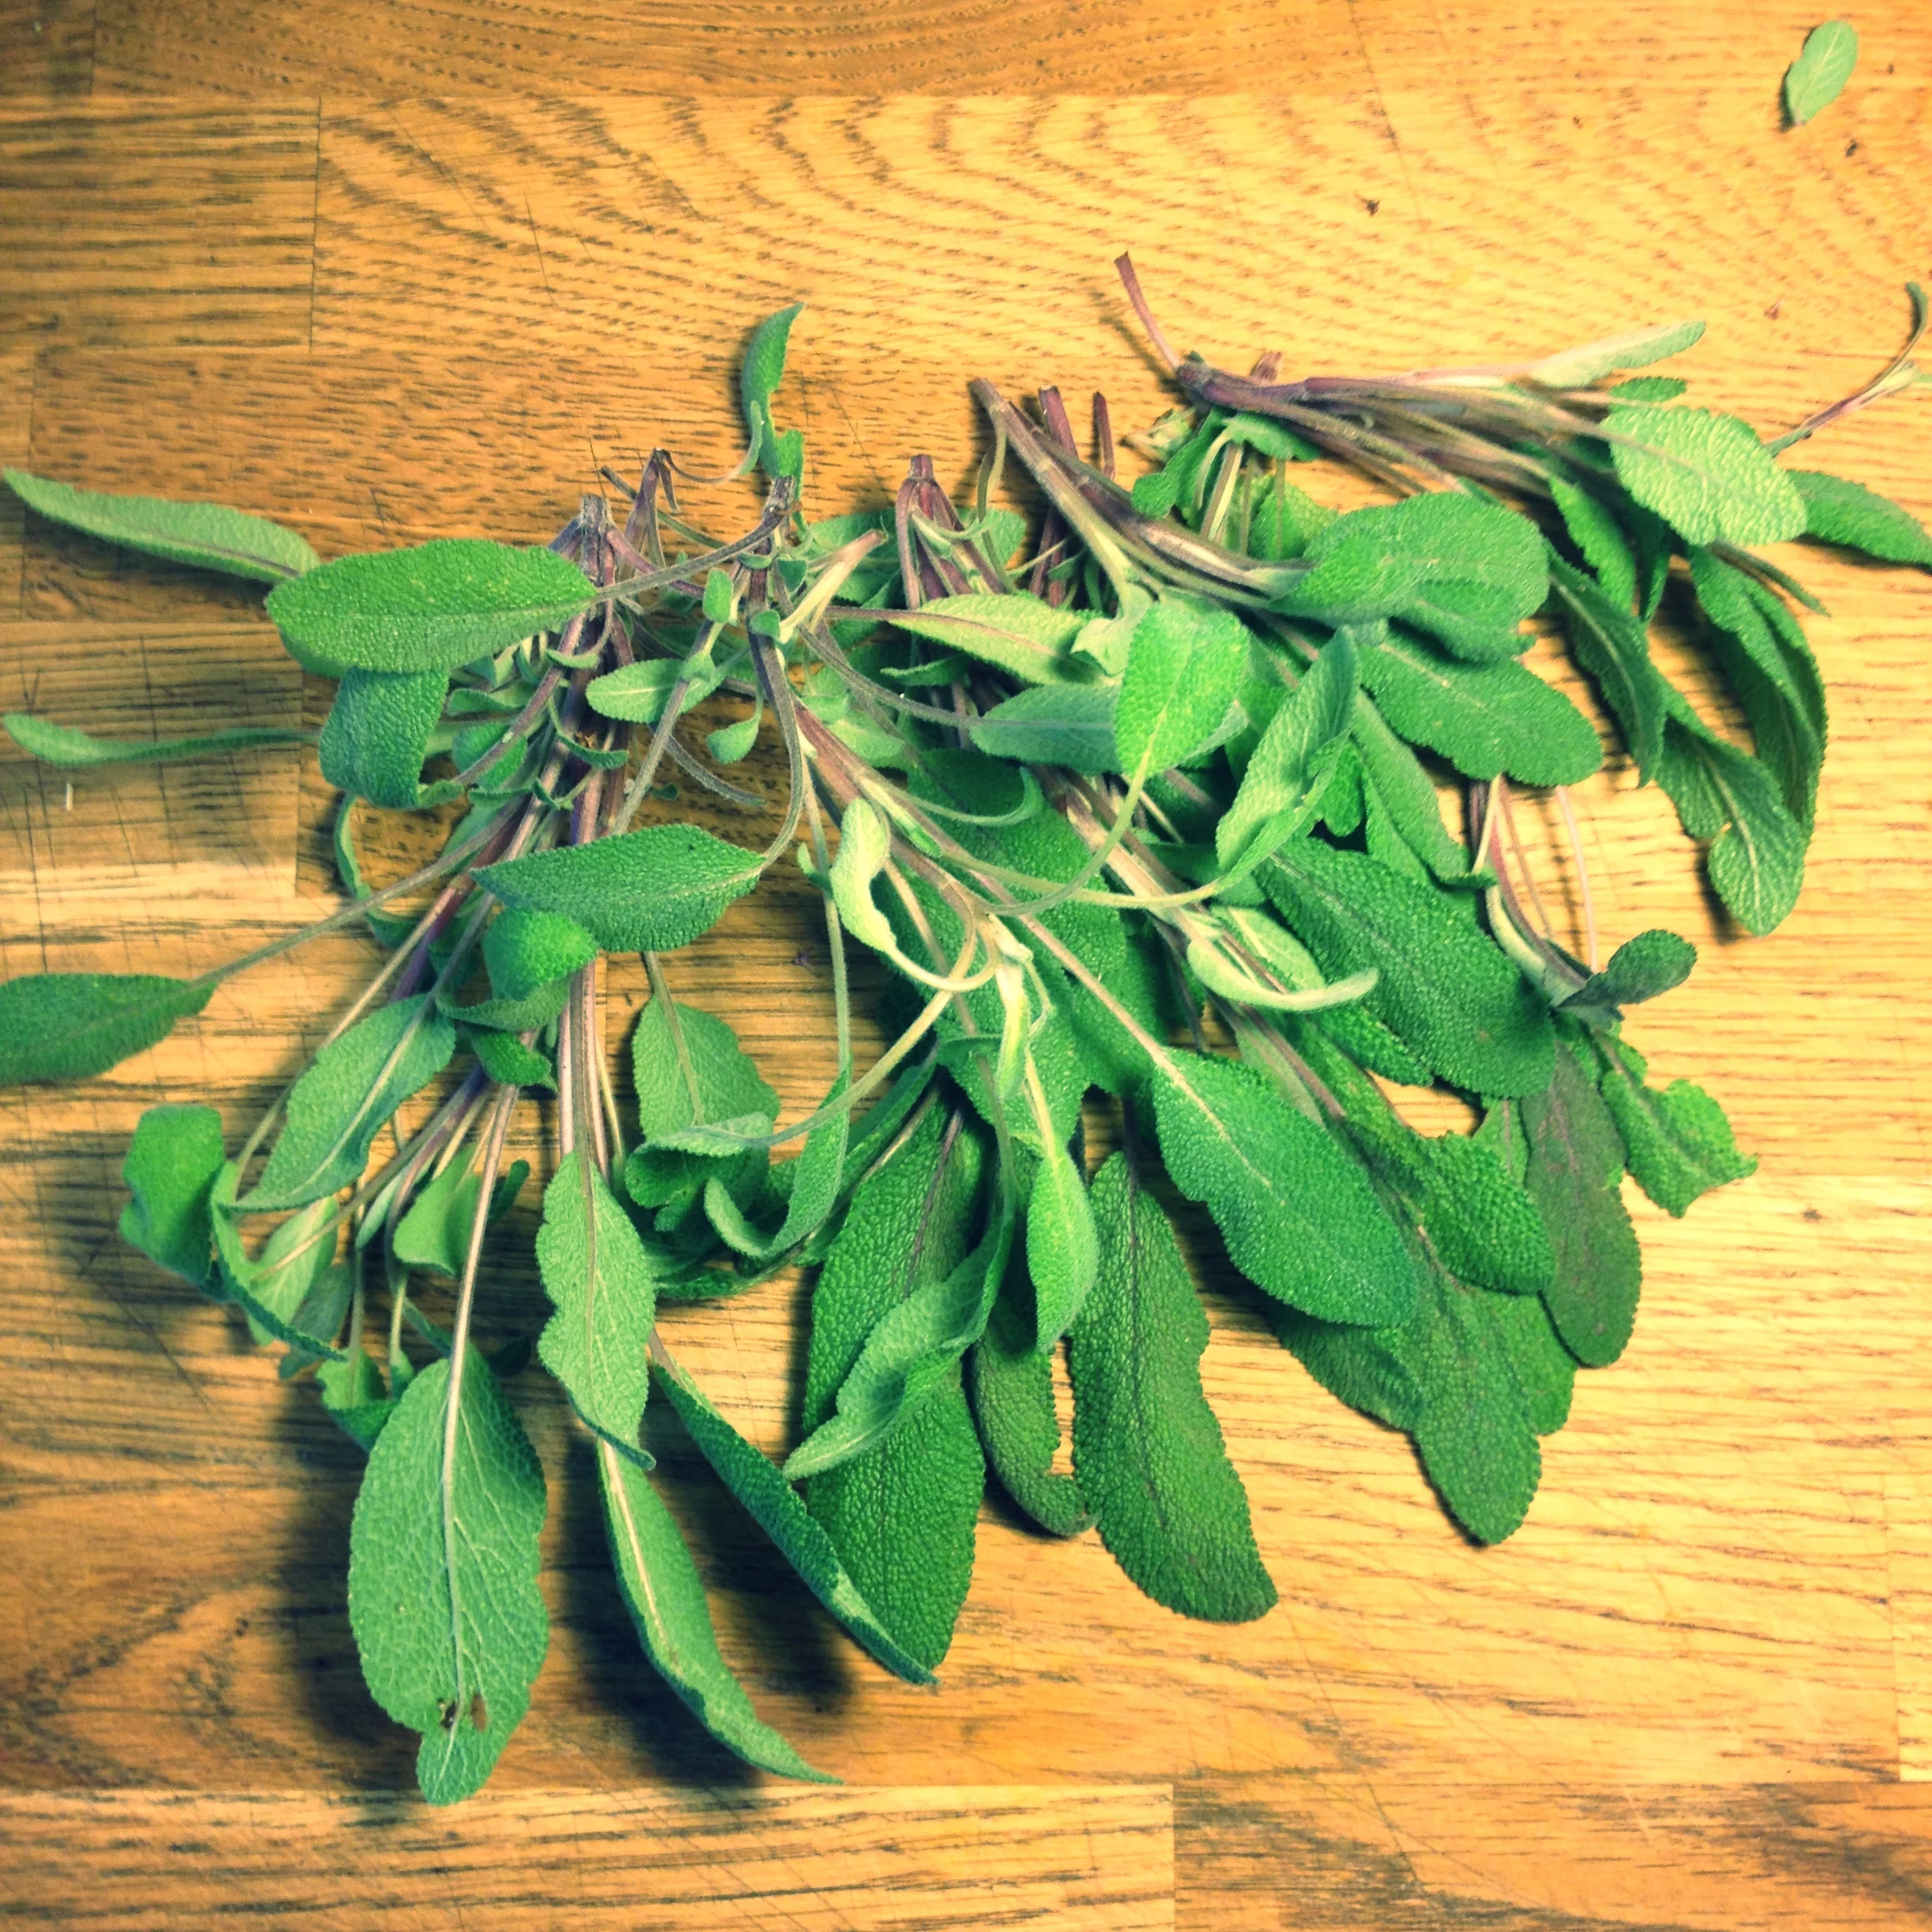
Sage from the garden. So fragrant!
Today is Monday, a perfect day for a harvest. This is one of those things that is dead easy, and for whatever reason, I have a hard time ever getting around to this most summers. I don't know why, it's really so quick and again, big bang for your investment/buck/time. Let's keep this one short and sweet kids. Hanging herbs to dry. It's really just what it seems: you pick herbs, and tie them together, and leave them to dry. Done deal.
Truly. There are a few herbs I prefer to harvest in other ways, and so I'll also add this one here. I just went outside to pick a few bundles of herbs for today's post and harvesting, and I remembered that I prefer sage in its fresh format, for those delicious pork dishes you'll be making come cooler times.
I trimmed a few stalks off my plant, leaving some on the plant so that it can keep doing its thing. My sage plants have been coming back for a few years now (not always the case in Calgary, depends on the winter) and so I tend to have a lot of leaves, so I usually harvest on a regular basis and offer bundles to friends or leave them on the table for my husband's co-workers in their lunch room. I prefer to freeze some of my sage, again because I like the fresh taste so much: it's great to pair with pork, or with chopped up pancetta on top of your next turkey, or wherever your imagination takes you. I don't wash it, seeing as it comes from my garden, but you could wash it first. I'd let it dry thoroughly first if you do though. When it's ready, tuck the leaves in a clean freezer bag and label the year and herb, and you're done. Tuck it in the freezer. So stinkin easy. I do this with chives as well, and lovage leaves too.
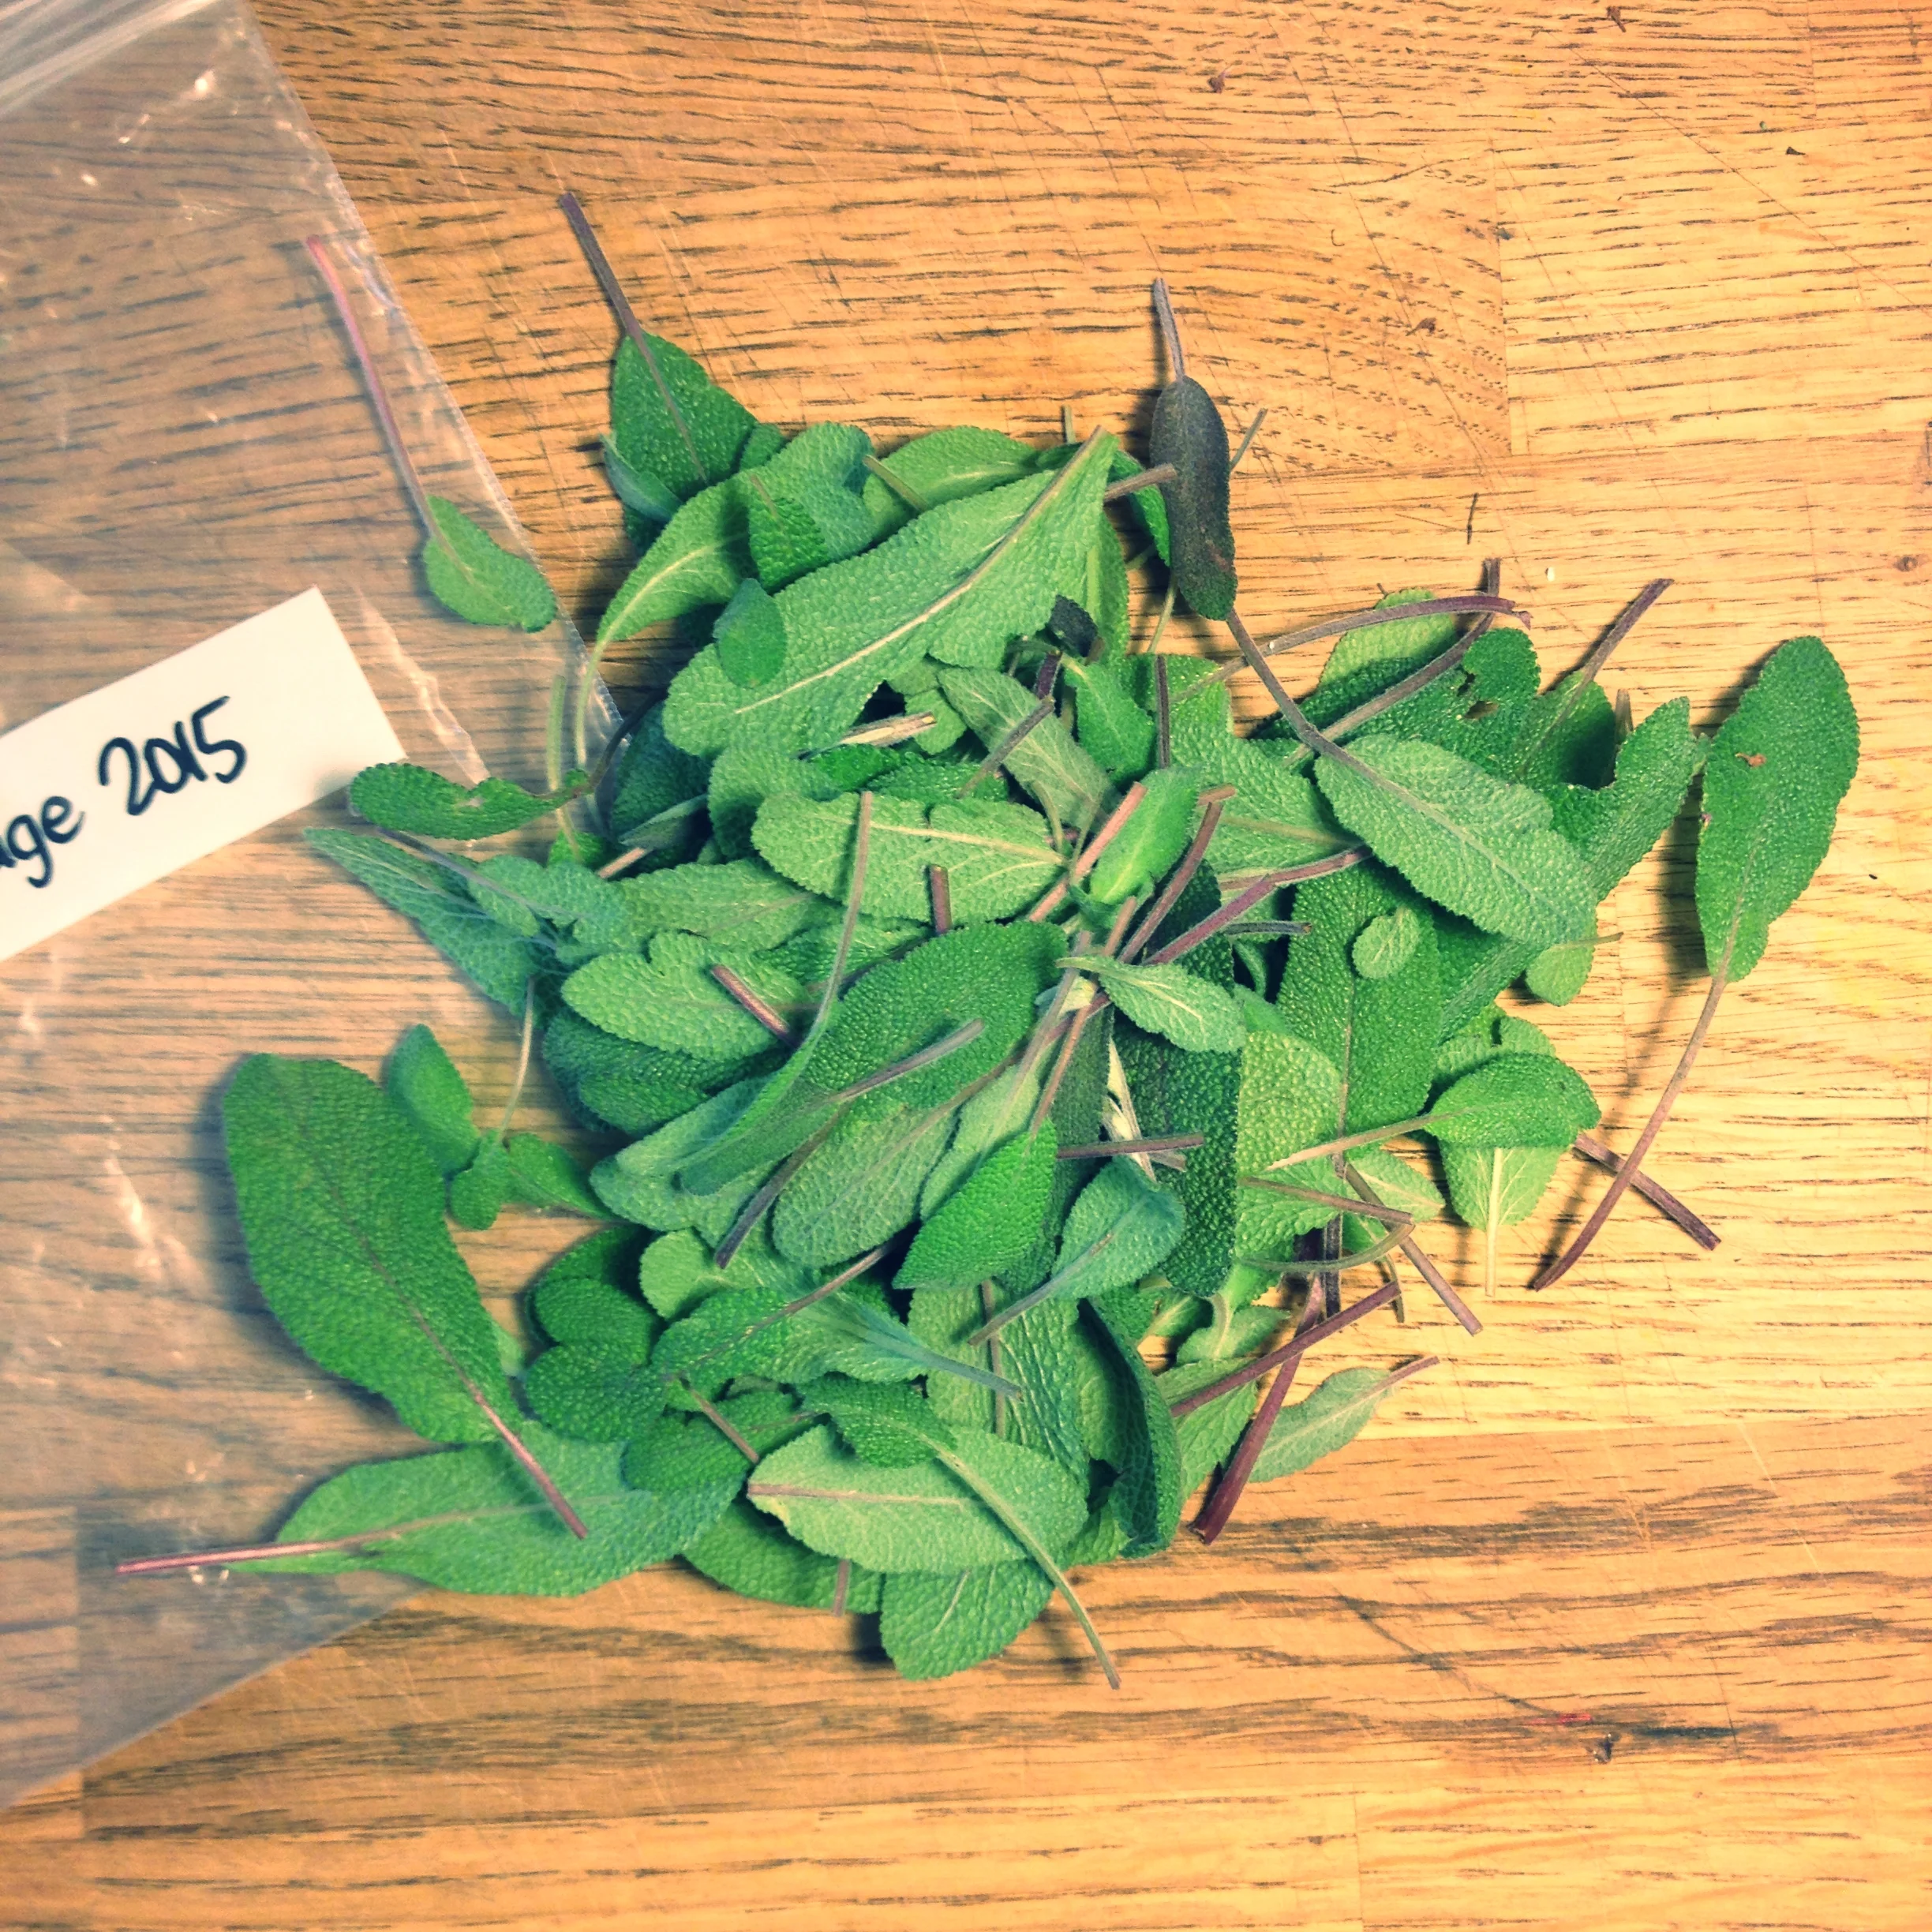
Picked over sage, ready for the freezer.
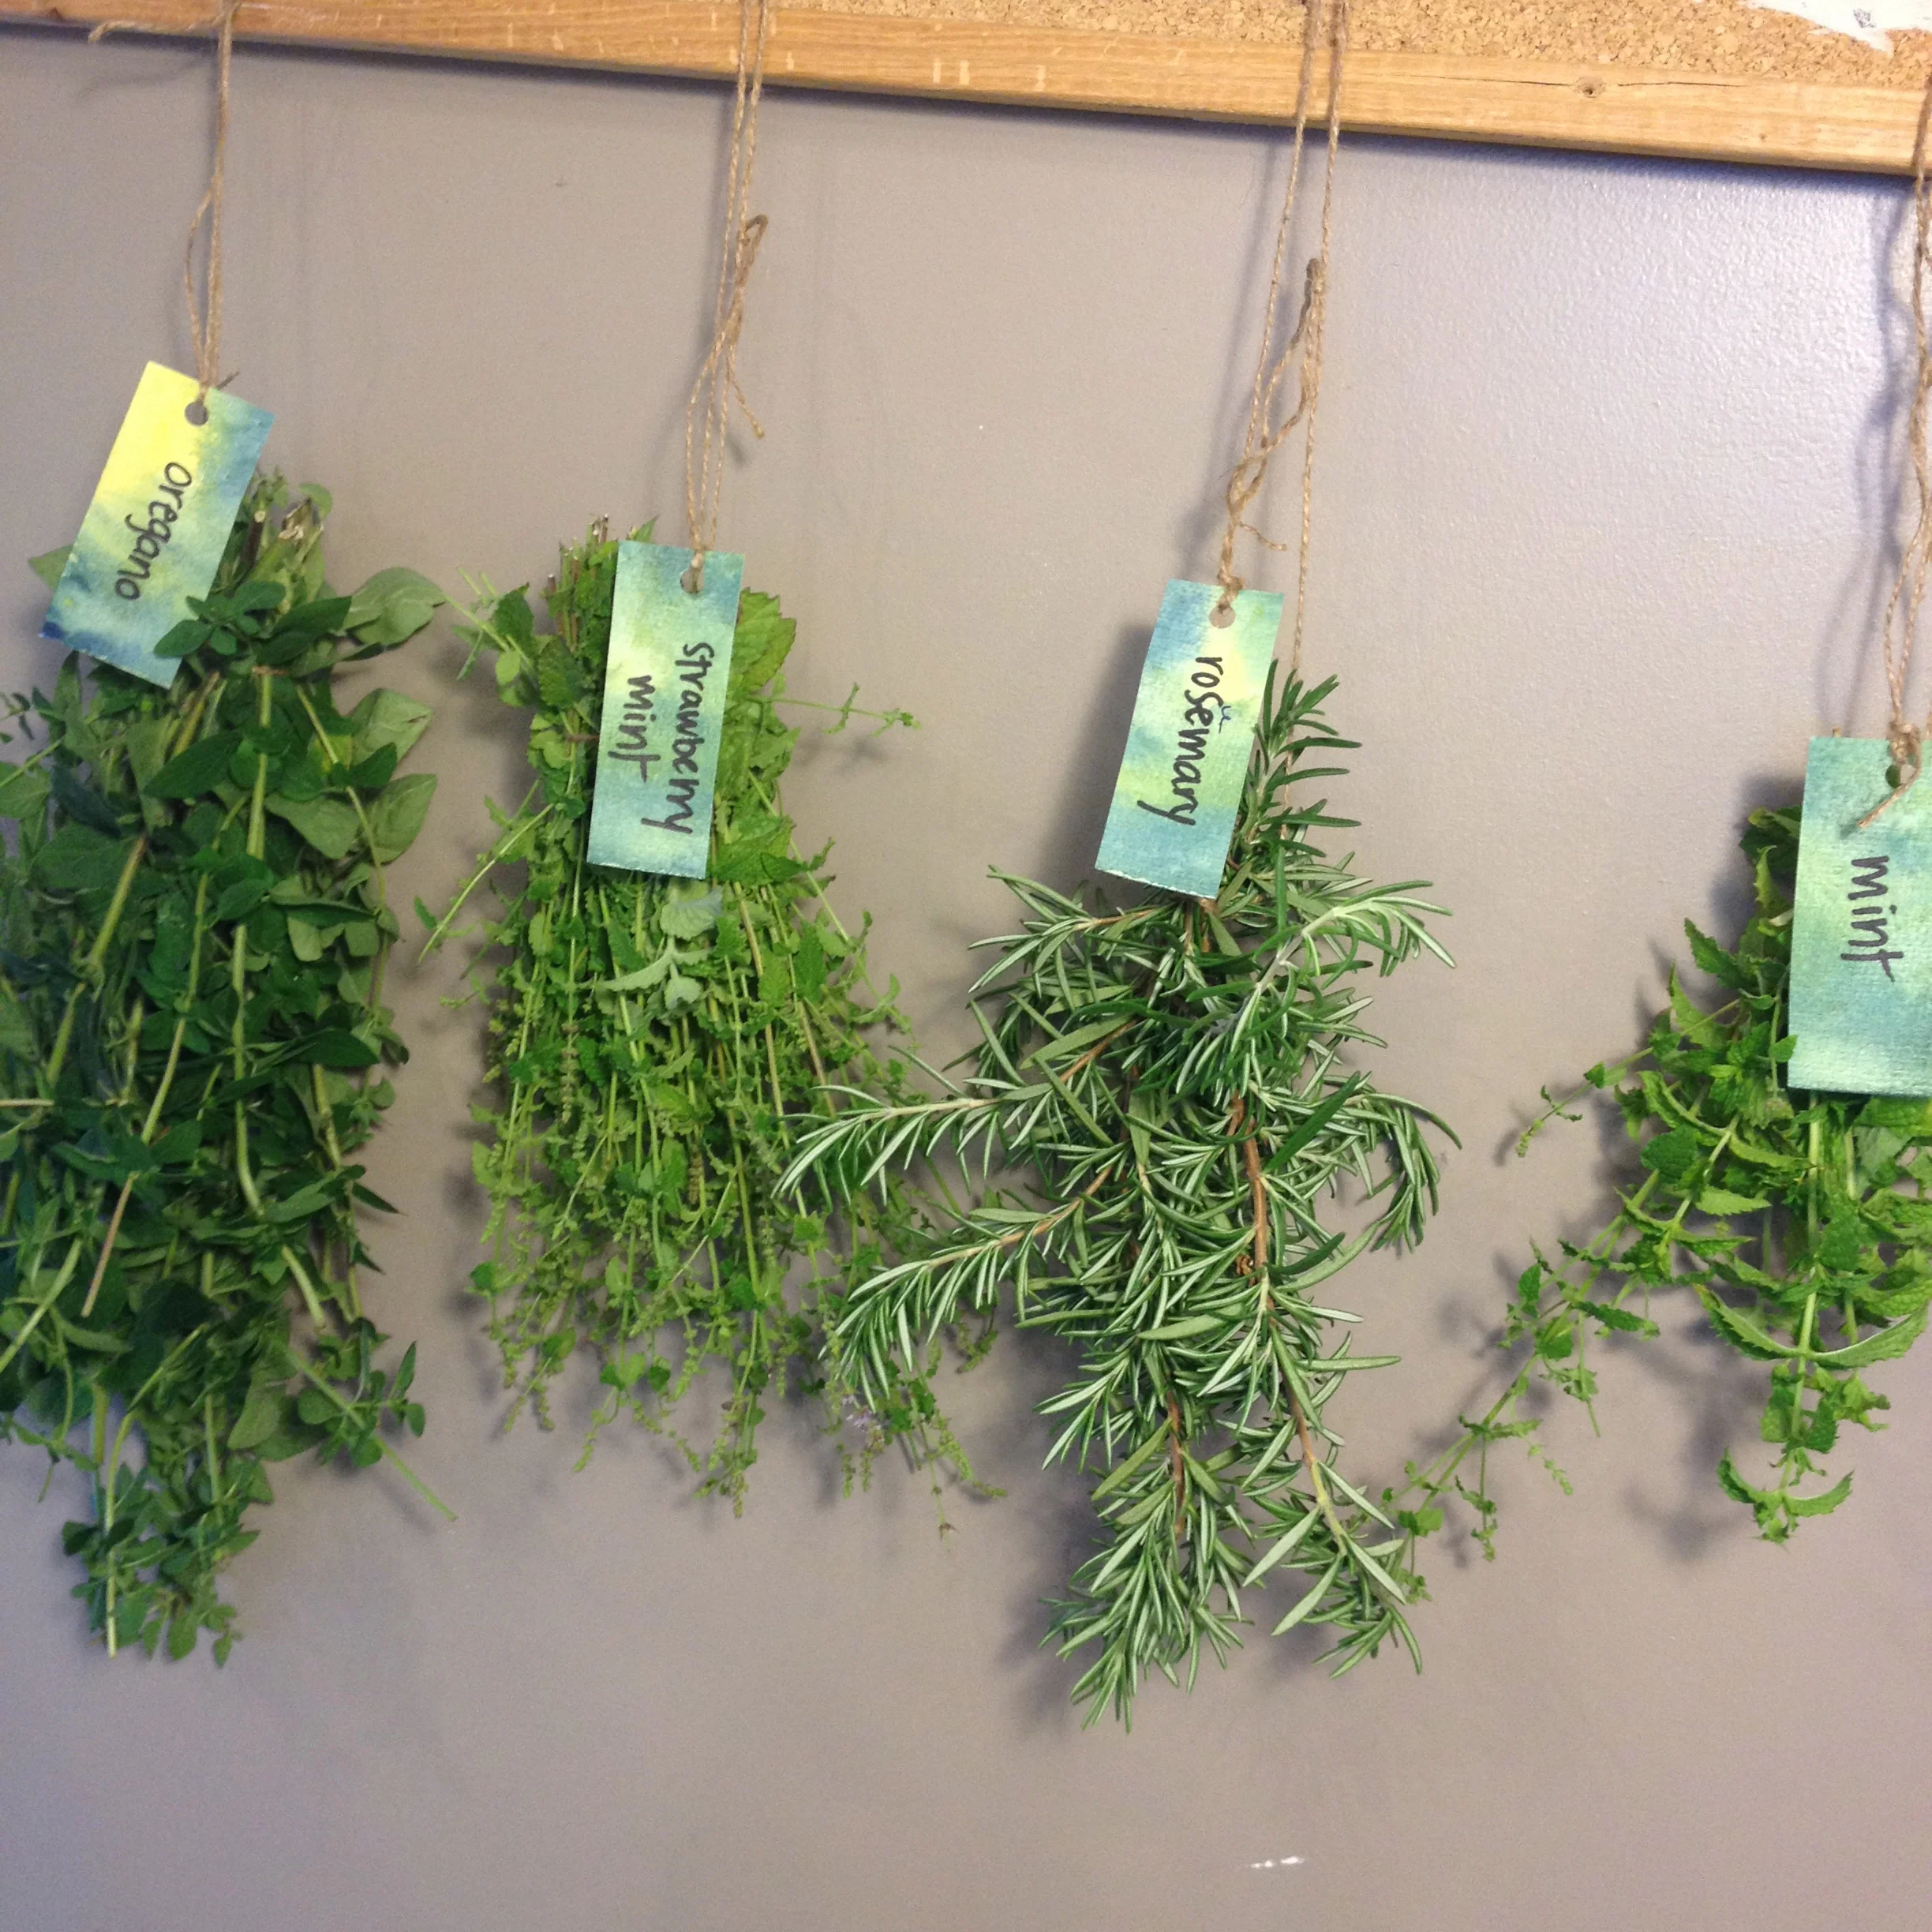
As for the other herbs I gathered this evening, I trimmed them of dead leaves and such, and gathered all of the stems at the top, one type of herb at a time. I wound some kitchen twine around the top and made the tie a little long so that I could hook it on tacks on my kitchen cork board, and made a quick label for each herb, in case I'd lose my sense of smell and be unable to i.d. the herb later on down the road. My herbs today include, from left to right, oregano, strawberry mint, rosemary and regular mint.
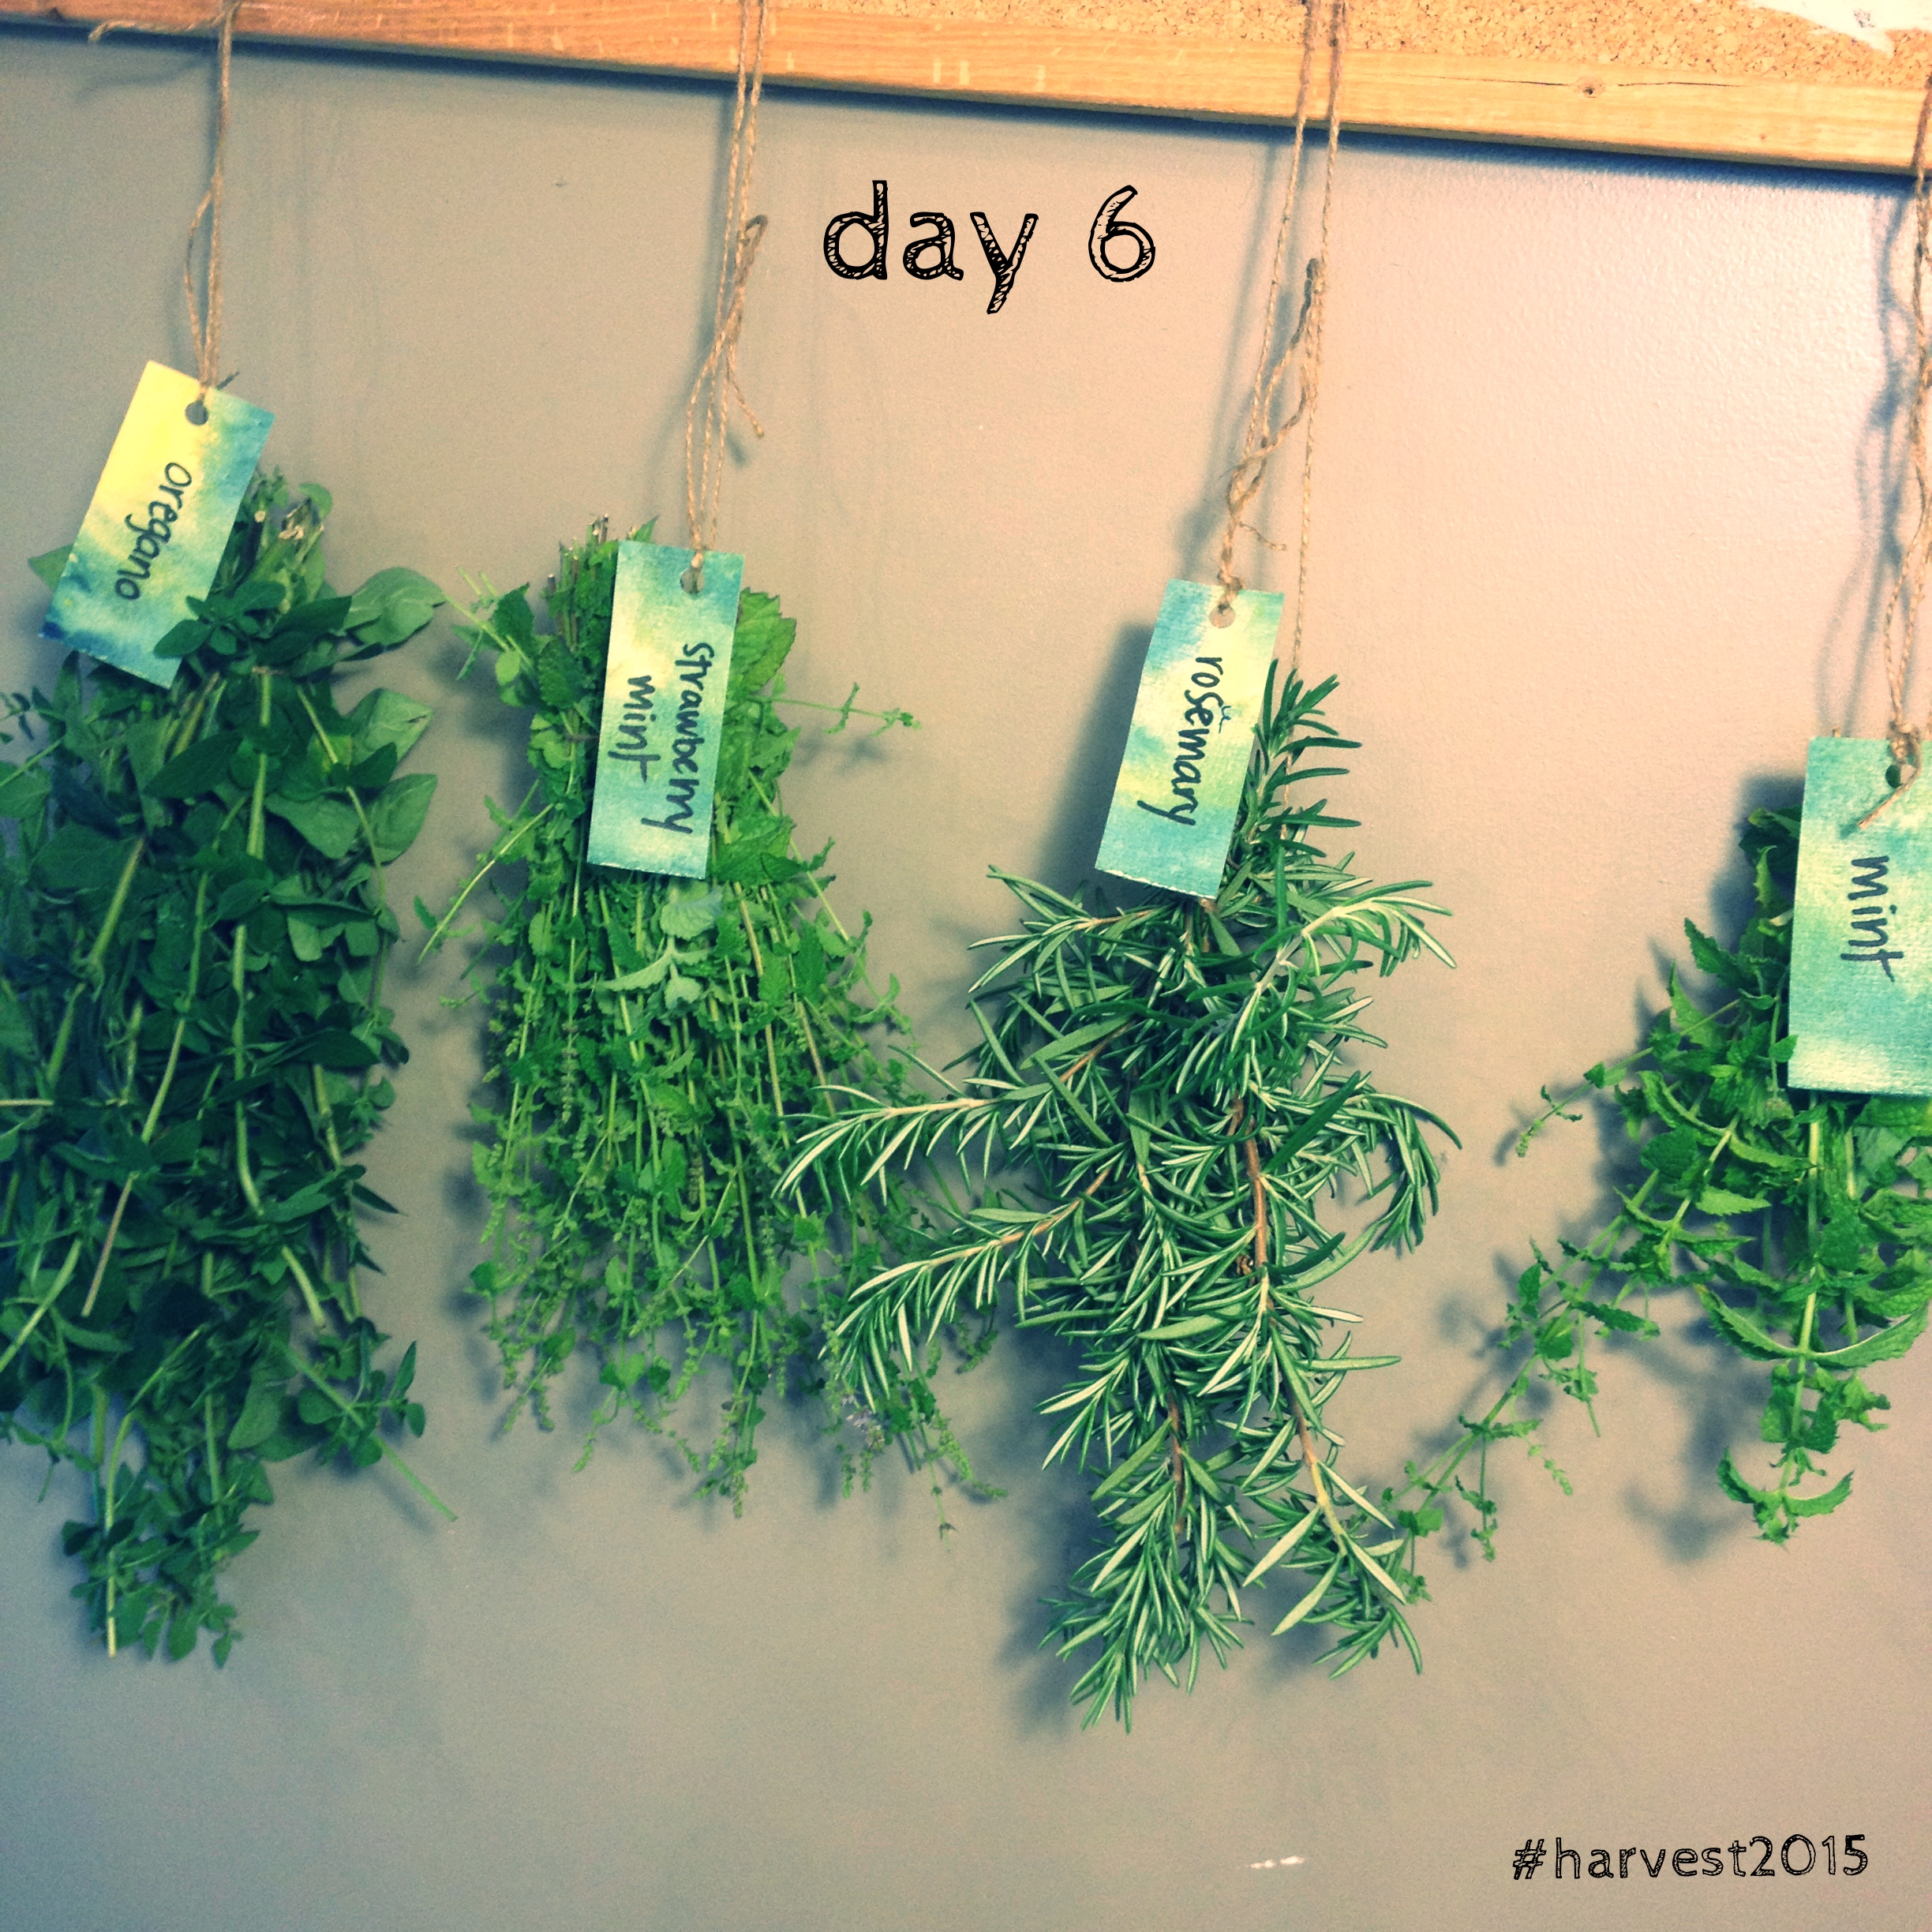
Herbs, hanging to dry. #harvest2015
The trick here is to make sure they're dry, so no dew left on the leaves; hang them loosely enough to allow air flow in and around the stems and leaves; and use some sort of twine you can tighten as the herbs get drier, because they will lose some of their girth. I plan to use twist ties on the tops of the bundles the more they dry. The length of time it takes to fully dry is quite dependant on where you're hanging the herbs, and the humidity in your area. Check on them when you think of it, and when they're nice and crisp, they're ready to crumble and tuck into glass jars (labelled!) for the winter.
I like to dry all kinds of things, sometimes hanging like this or sometimes in my dehydrator. Herbs like this I find are a bit easier to hang dry, as you can easily crumble the leaves off of the stems once they've really lost all of their moisture. Having to pull all of the leaves off first to pop in your dehydrator is a bit more time-consuming. And hey, I'm the first to admit, I'm kinda lazy. (Frugal with my time, shall we say.) You can also dry flowers from your garden like this (calendula! so delicious on so many things, and fabulous anti-inflammatory powers!) to use in potions, cheeses, dusting as garnishes, whatever the case may be. I did the two mints for copious pots of tea, and of course the oregano and rosemary for the cooking ahead. In passing, if you're just starting a garden and would like perennial herbs so as to cut back on the amount of work you have to do each year in your garden, may I suggest oregano? It's a perennial herb that flowers like MAD and will re-seed like gangbusters; it is also the most butterfly/bee/moth friendly plant to have out there. I swear half of my neighbourhood population of bees is spending their days in my back yard.
If you're looking for a more scientific approach to drying herbs, or solar dryers, screen drying, or other clever ideas and hacks, may I suggest checking this post out from Mother Earth News. They know what they're doing over there and have tried quite a few different ways. Go grab some herbs right now, and get to work! And in five minutes, when you're done, go make a good pot of tea. And know that come winter, that pot of strawberry mint tea will be that much more tasty because it came from your patch.
A MONTH OF PUTTING UP THE HARVEST - Day 5
To end this first week's roll call of how I am putting up the harvest 2015, I am going to make plenty from the spoils of Mother Nature. Well, not really spoils, but to some may be seen as spoils. See, here in Calgary this week, we've been hammered by a few big storms as they have swept through our town with deluges and flash floods and huge garden-decimating hail. There was even a tornado spotted just outside of the city this week. I don't know how it is where you live, but our summers here are so very brief that for one to dedicate your time and love to growing a vegetable patch in this so very short season (always turbulent; hey, it's the Prairies!), it's pretty heart-breaking when in one fell swoop of Mother Nature's whim, your hard work and dedication can be wiped out just like that.
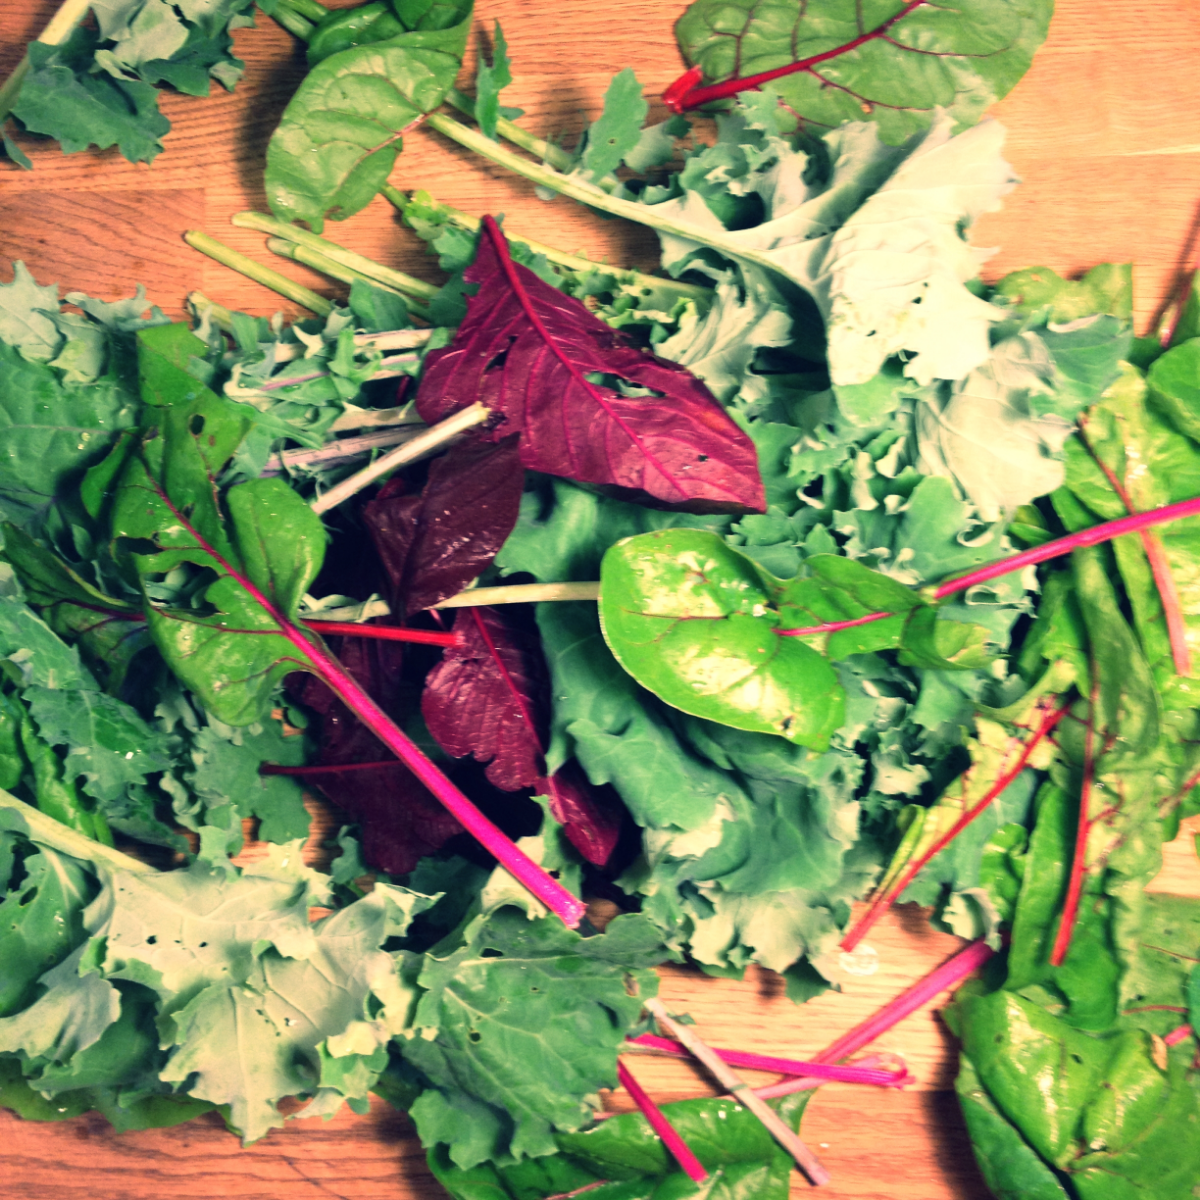
Bug ravaged and hail damaged greens. Not all is lost, my friend!
To end this first week's roll call of how I am putting up the harvest 2015, I am going to make plenty from the spoils of Mother Nature. Well, not really spoils, but to some may be seen as spoils. See, here in Calgary this week, we've been hammered by a few big storms as they have swept through our town with deluges and flash floods and huge garden-decimating hail. There was even a tornado spotted just outside of the city this week. I don't know how it is where you live, but our summers here are so very brief that for one to dedicate your time and love to growing a vegetable patch in this so very short season (always turbulent; hey, it's the Prairies!), it's pretty heart-breaking when in one fell swoop of Mother Nature's whim, your hard work and dedication can be wiped out just like that.
Know that not all is lost. I was visiting a friend when the second hail storm hit, and we sat open-mouthed at the windows watching the downpour, hoping our gardens and cars and roofs would be spared. I remembered a particularly devastating storm from last summer where I had lost most of my greens to big pock marks from hail, and grabbed a plastic grocery bag and ran out the back door. My friend Liz and I went through her garden patch and pulled out all of the dark leafy greens that had been damaged (either by the storm or by little critters) and quickly filled that bag up until it was overflowing. Resolved to add to my downtrodden loot, I headed home to find that my patch had been spared this time around.
Never you mind. This is the pile on my butcher block I saved from Liz' garden. In it, there are two kinds of kale (siberian is THE BEST), nasturtium greens, amaranth leaves, swiss chard and spinach.(Thanks for letting me raid/forage your garden, my friend!)
I took those greens, folded each leaf in two and cut that middle tough stem out of each leaf. When you're dehydrating greens, I find it is always best to discard the tough stem, as they will end up being super chewy bits in your finished product. Never a delectable thing, I assure you.
So I dutifully chopped all stems, and loaded up the 8 trays of my dehydrator. You can do this with all kinds of garden greens, from tatsoi, broccoli and cauliflower leaves, kale, swiss chard, beet greens, collards, amaranth, lettuces, mizuna, arugula, nasturtiums, parsley, whatever the hail and bugs have tried to claim for their own, claim it back.
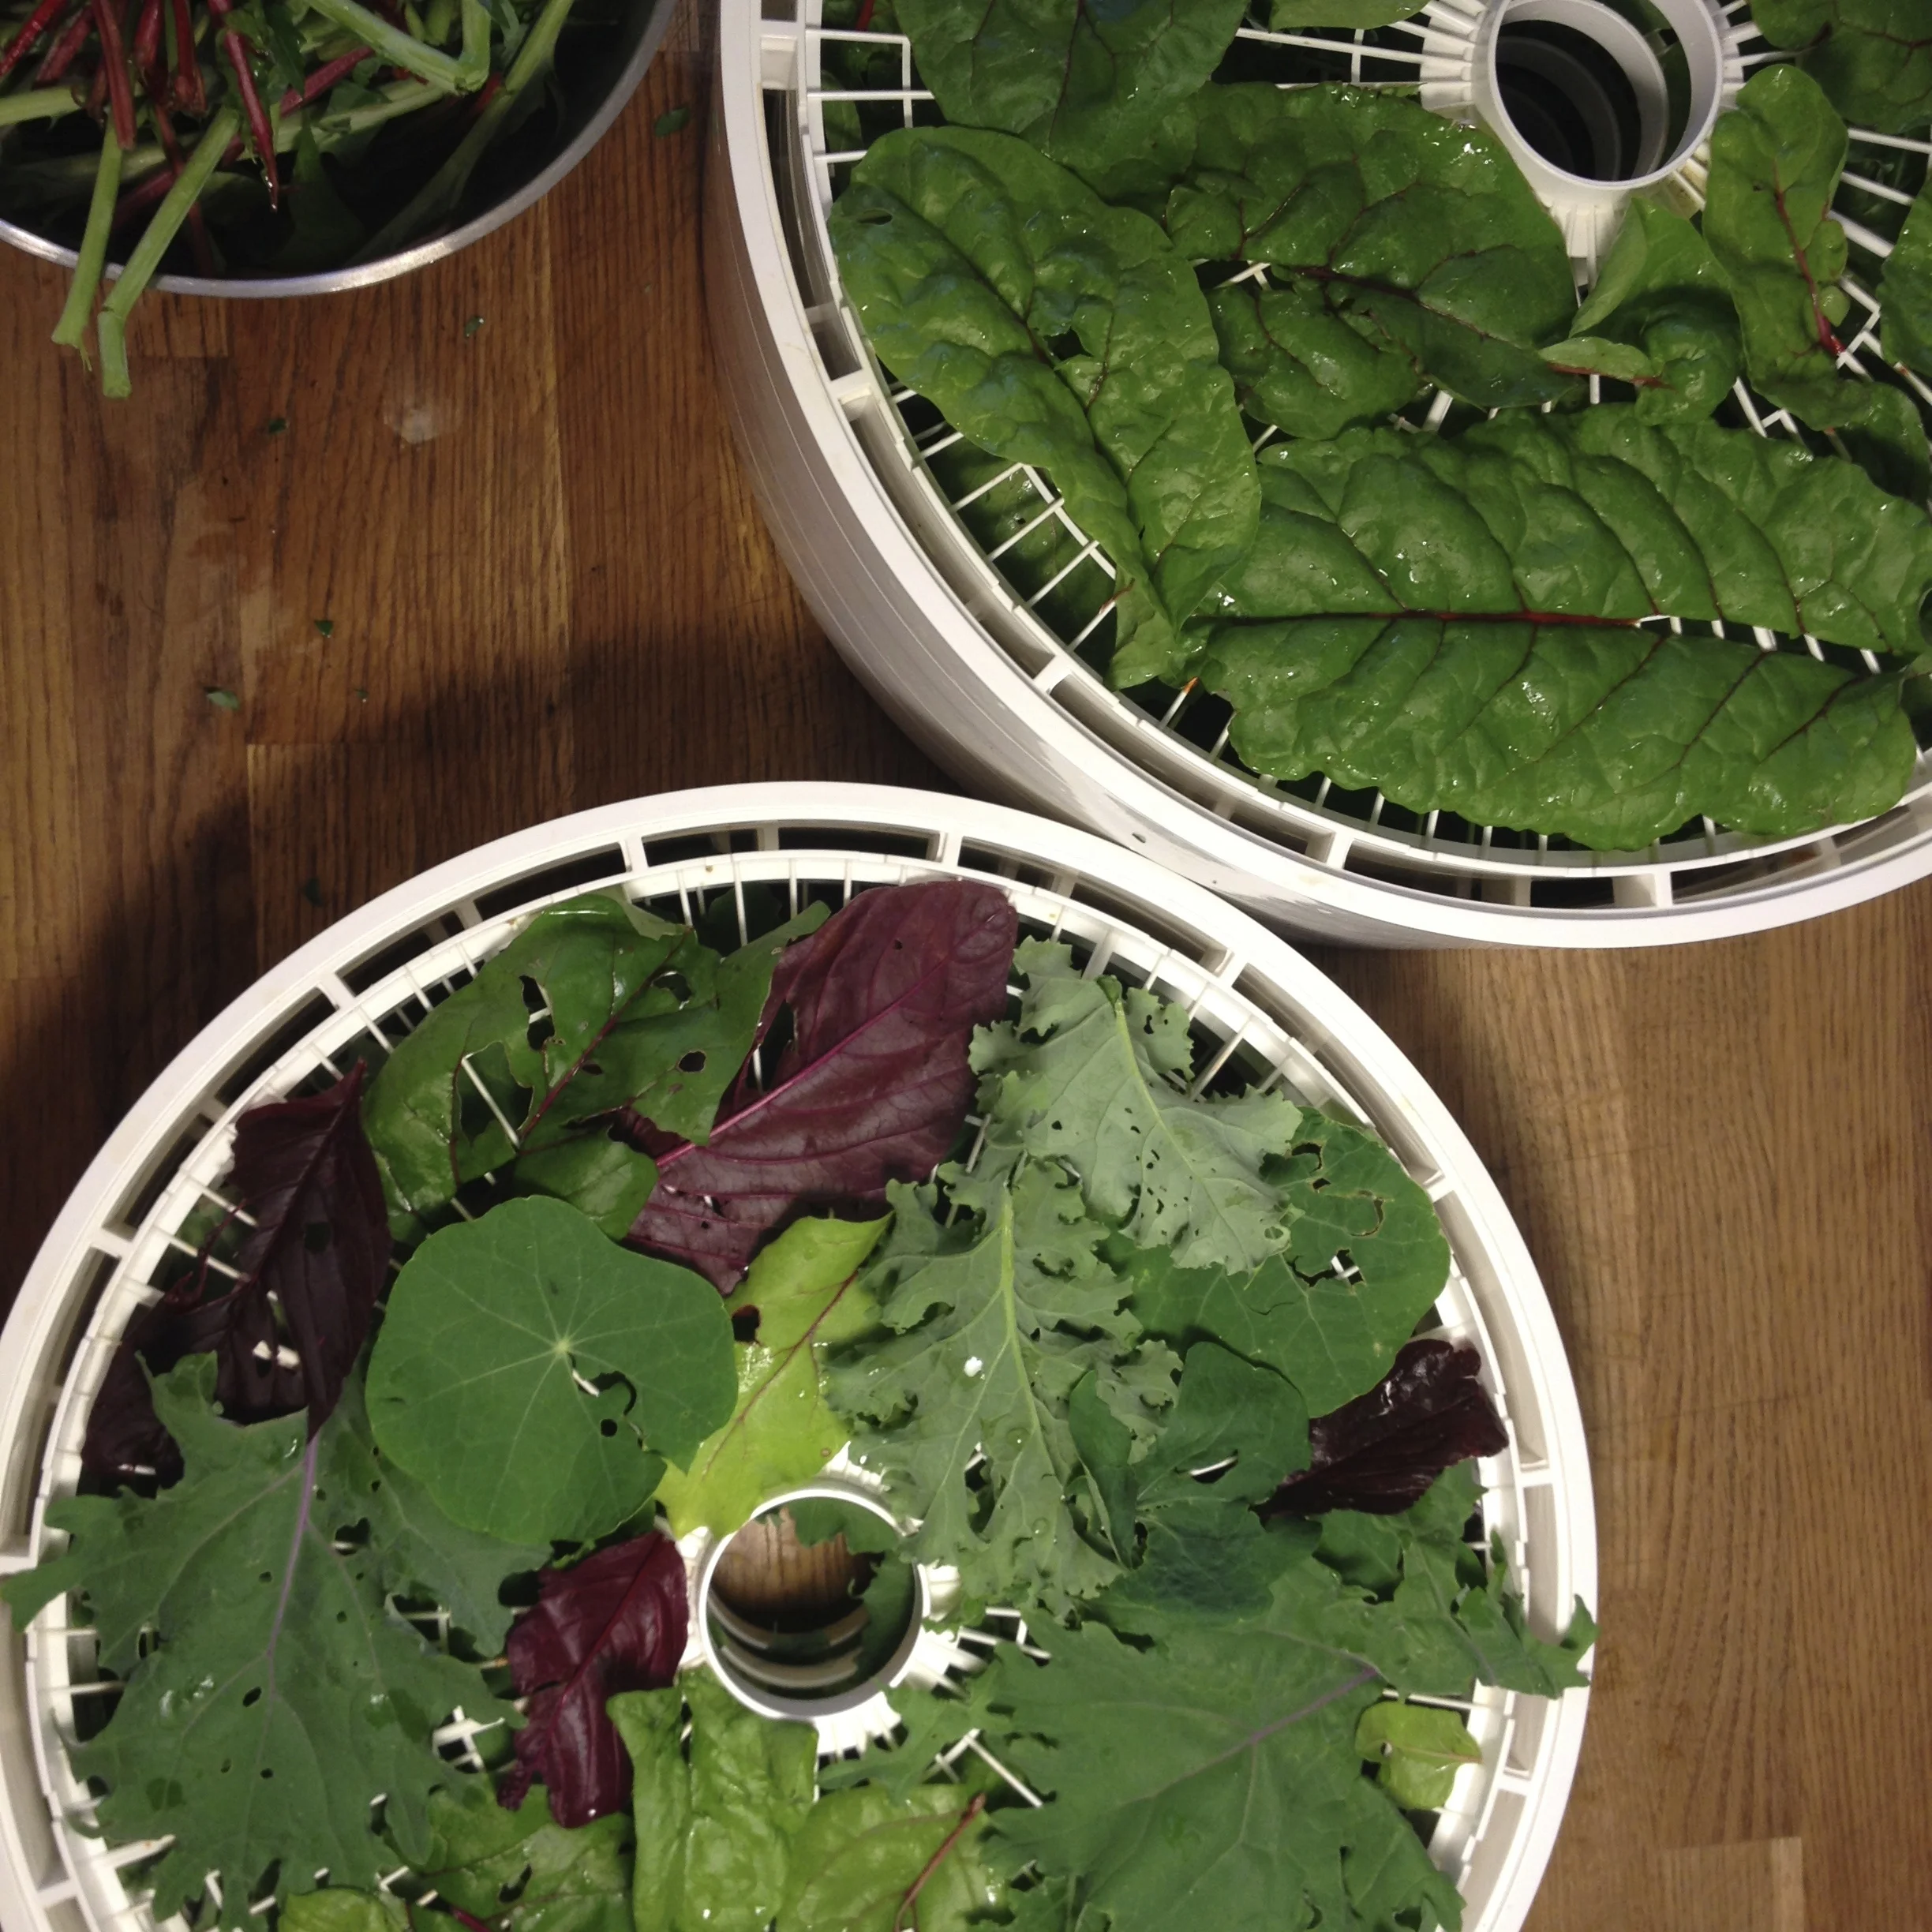
Best birthday gift I ever got. Love my dehydrator.
I loaded the trays up, turned the contraption on to 105F (in order to preserve the nutrients and enzymes, anything under 118F is good). It certainly didn't take very long, about 3 or 4 hours later, the leaves were completely dried out.
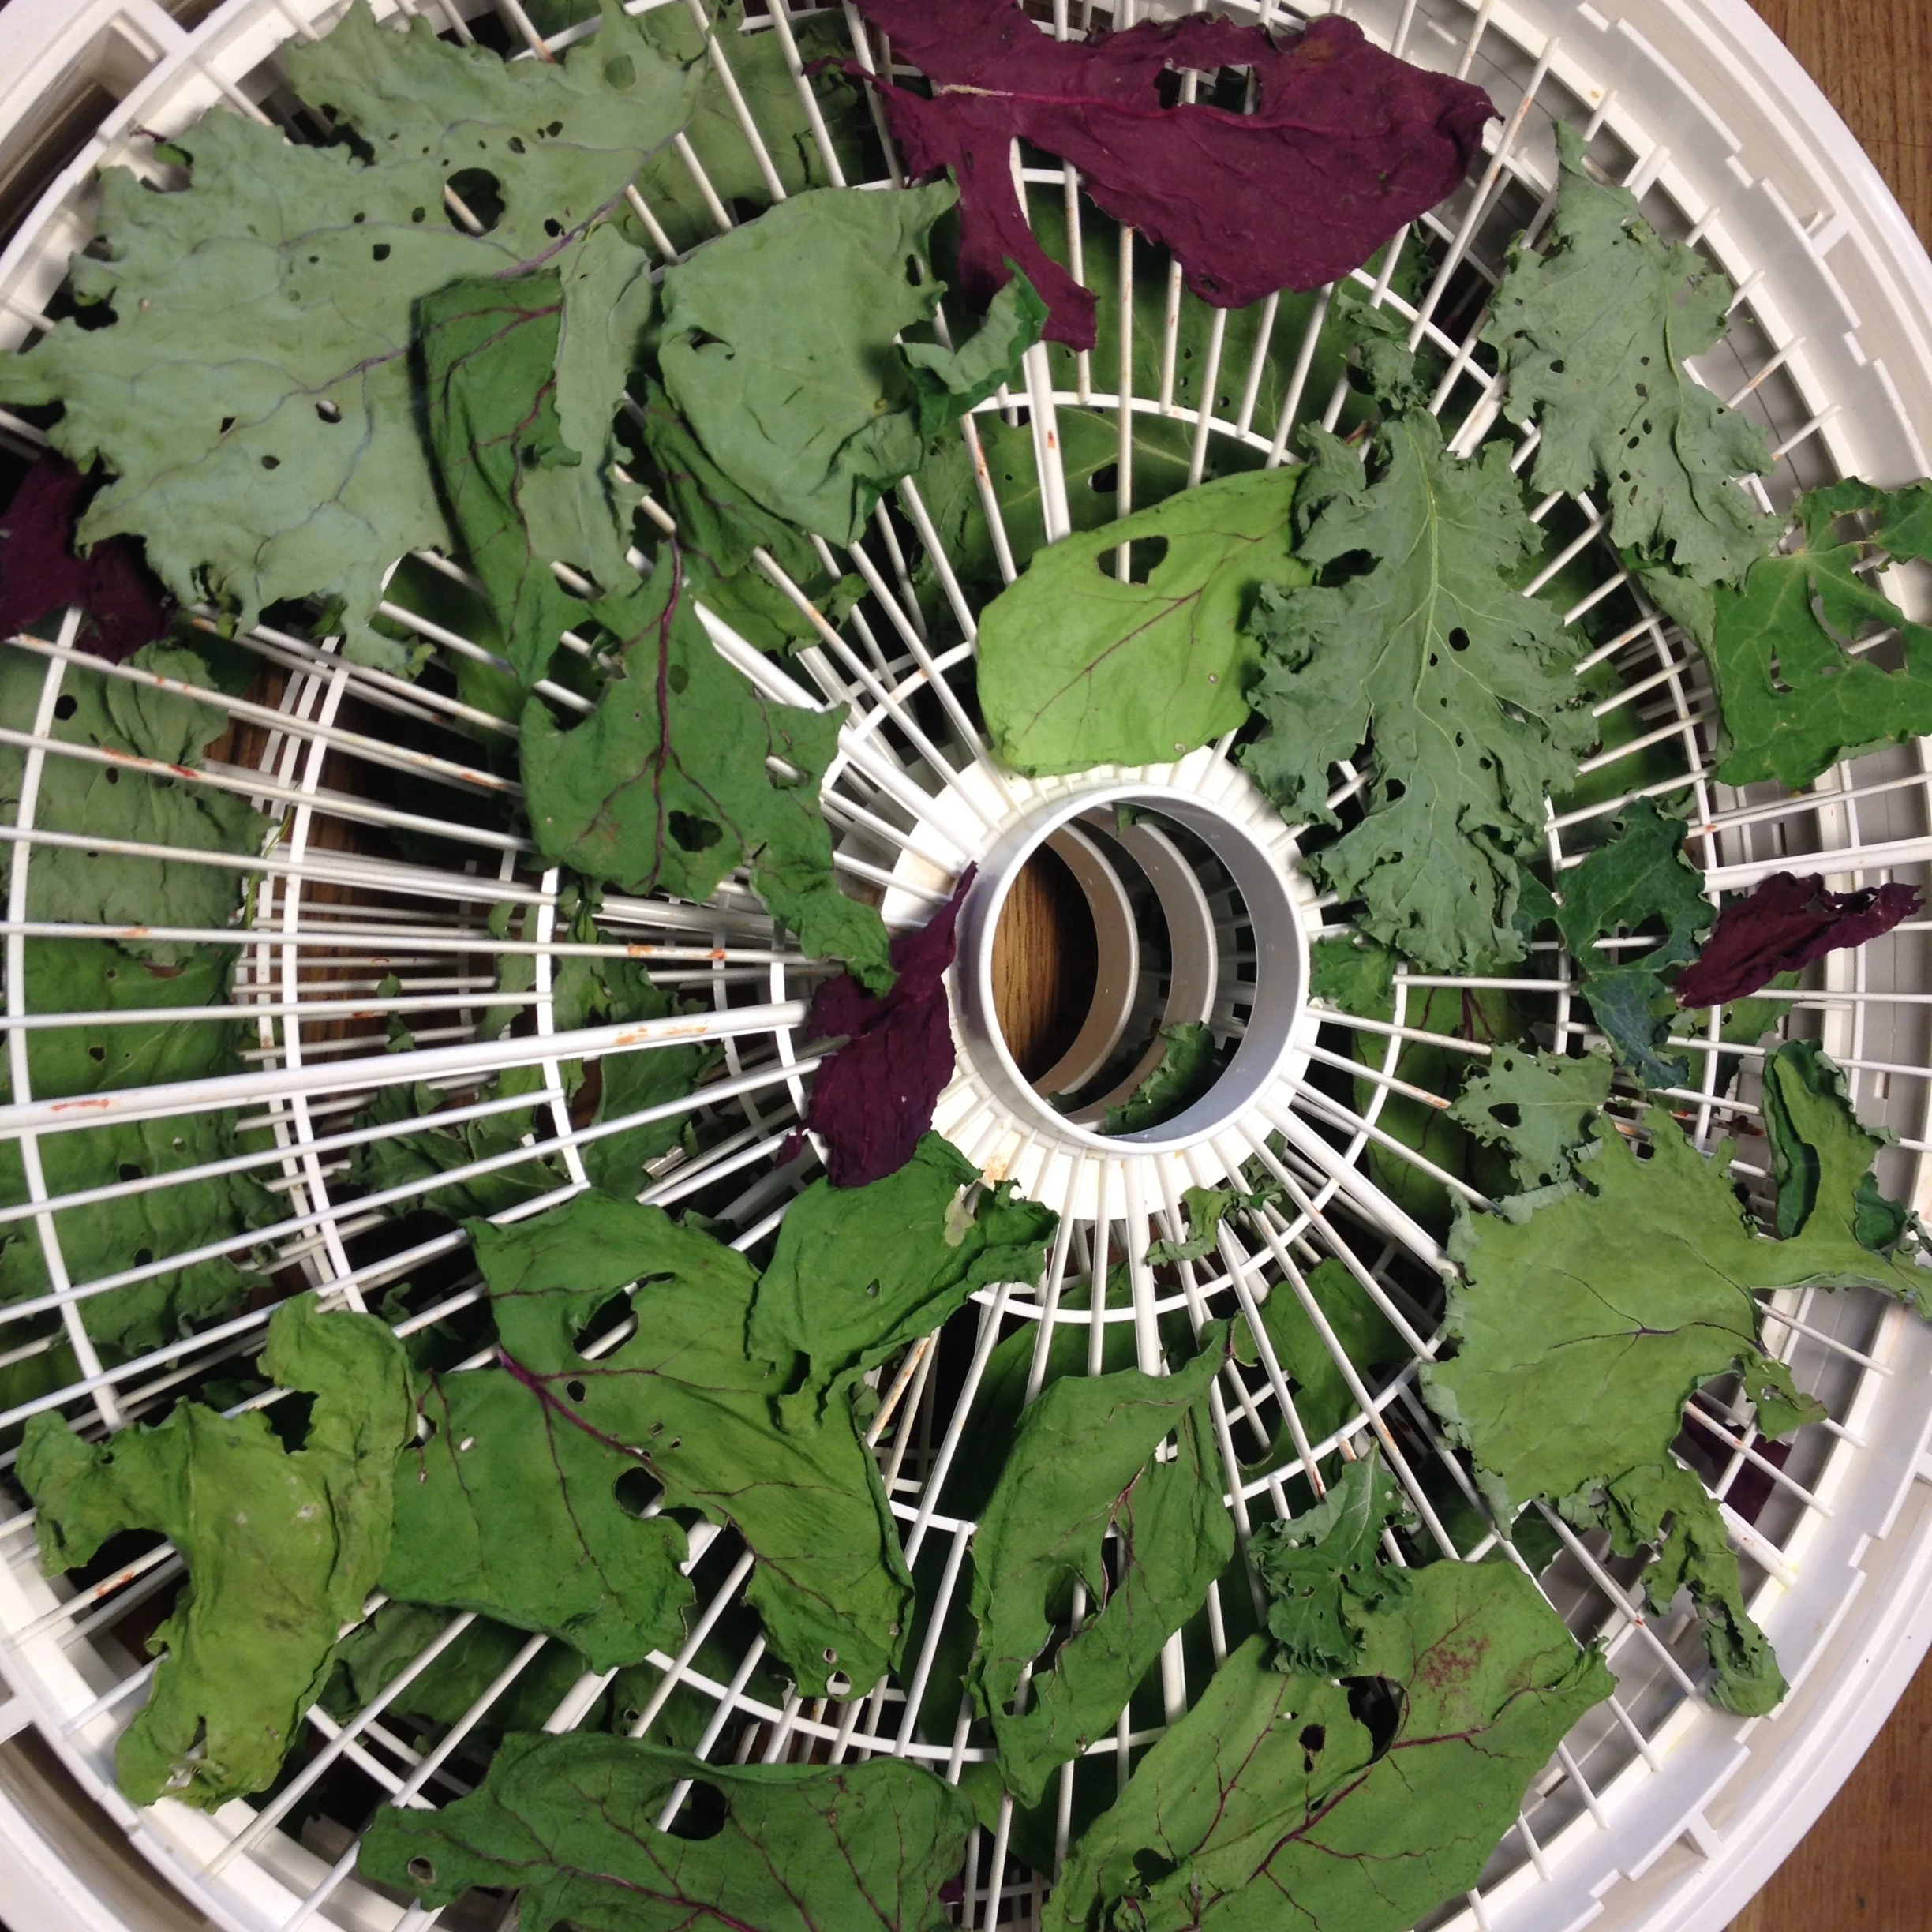
Crispy dried hail- and bug-damaged greens from Liz' garden.
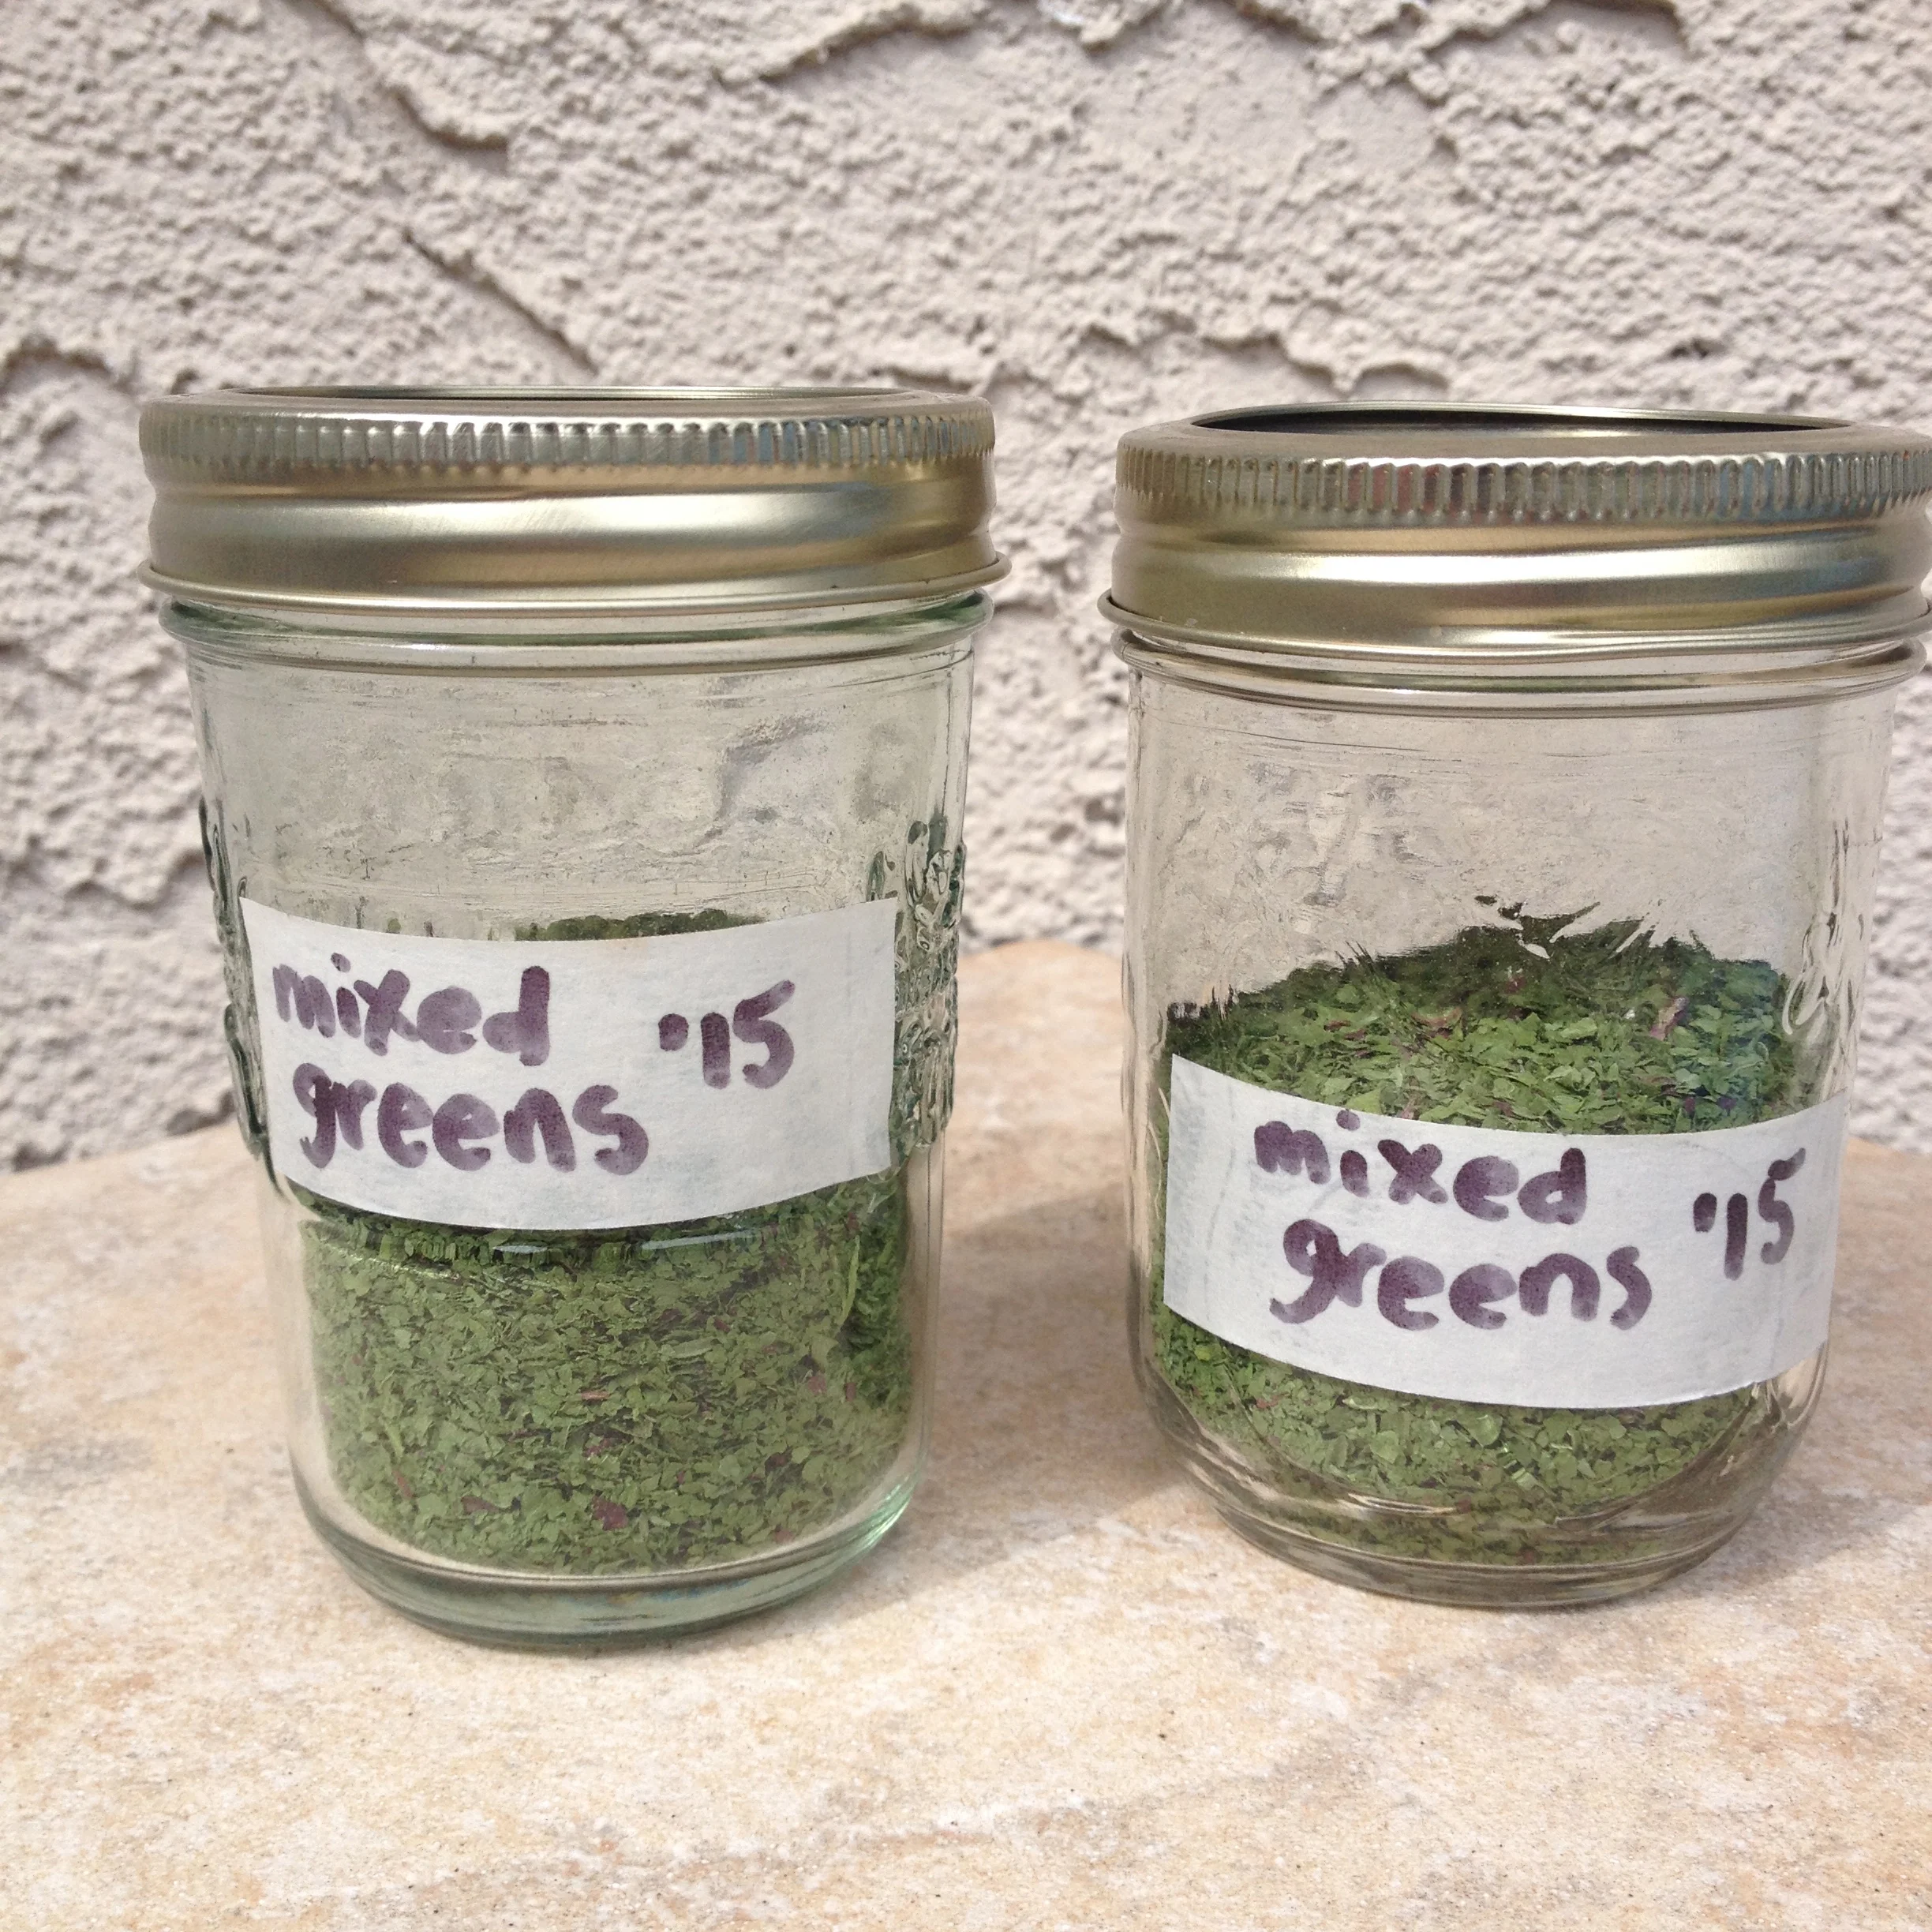
This is the rocket scientist part. I put all of the greens in my big food processor fitted with the blade, and minced those greens until they were down to teeny flakes. And then I bottled them, a jar for me, and a jar for Liz. Total end volume: 1 cup of dried greens flakes for a full plastic grocery bag.
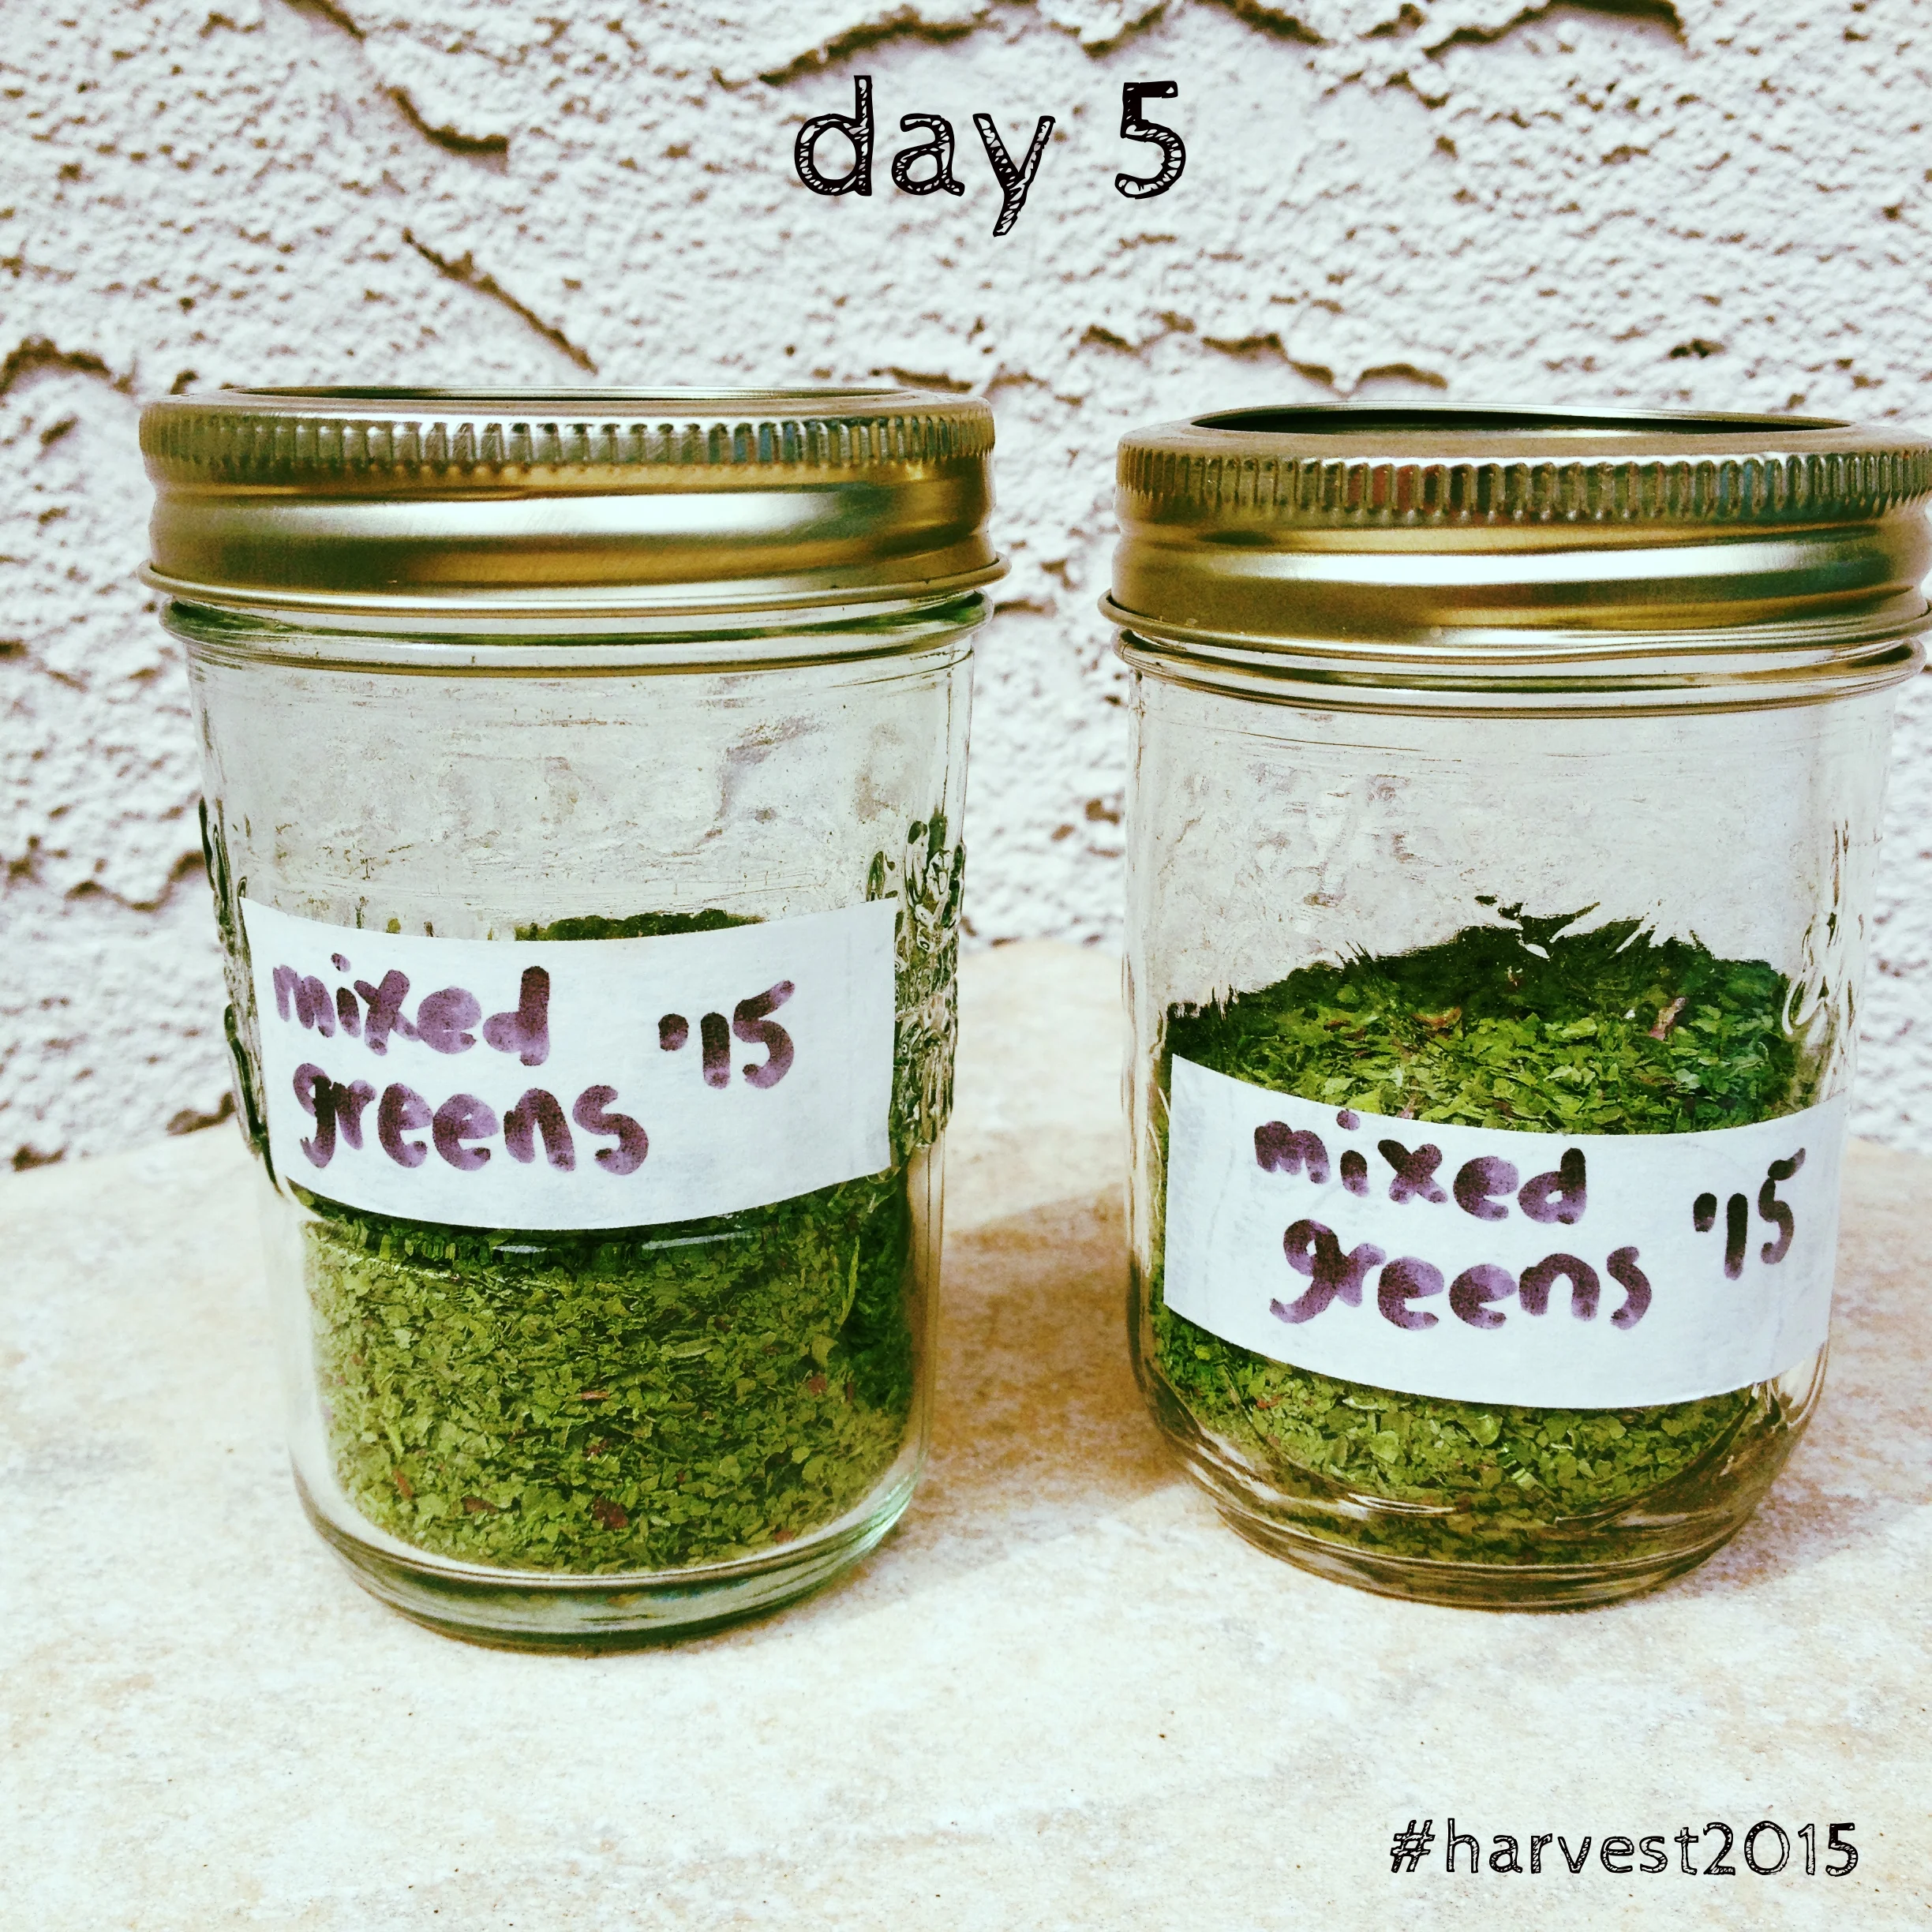
Putting up the hail and bug damaged garden greens harvest. Still good food for you. #harvest2015
Tuck these babies in your pantry, and pull them out when you want to add a nutritional punch to your smoothies, or sprinkle on your pizzas, add these to a soup or sauce or stew. Wouldn't it be good on top of popcorn, along with a dusting of parmesan and lemon juice? Delicious.
Also. Know that once a plant gets damaged by either pests or hail, it starts producing protective compounds in order to ward off predators and as it turns out, these chemical compounds increase the nutritional punch of your produce. So go ahead, eat those damaged greens.
Incidentally, should you not have a dehydrator at your disposal, you can certainly do this in your oven or toaster oven, with the temperature set to the lowest possible, with the door cracked open to let the moisture out. There is always someone looking to get rid of their dehydrator on kijiji, or at a garage sale. Keep your eyes peeled!
A MONTH OF PUTTING UP THE HARVEST - Day 3
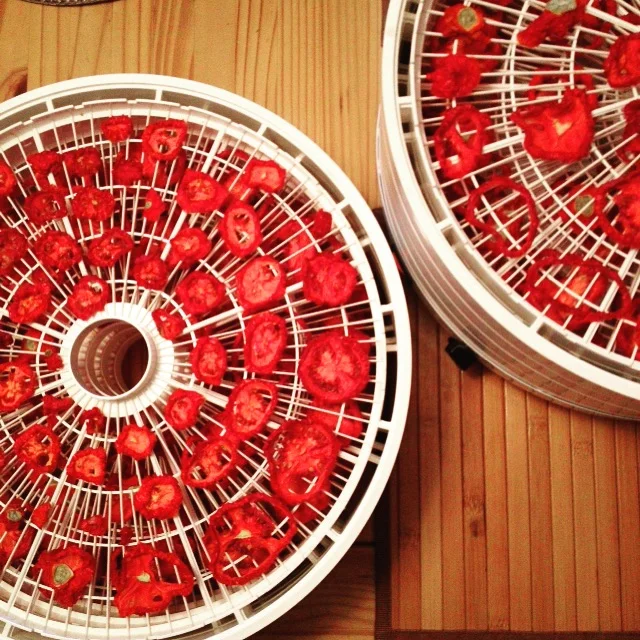
Tomato tomato tomato tomato tomato tomato tomato. All around me these days there are tomatoes. They are fresh, they are juicy, they are plump, they are delicious, they are plentiful, and I feel this urgent need to somehow retain this brief snapshot of summer sun and heat and flavour that it is all I do, it seems, is figure out ways to keep that tomato lovin going all year round.
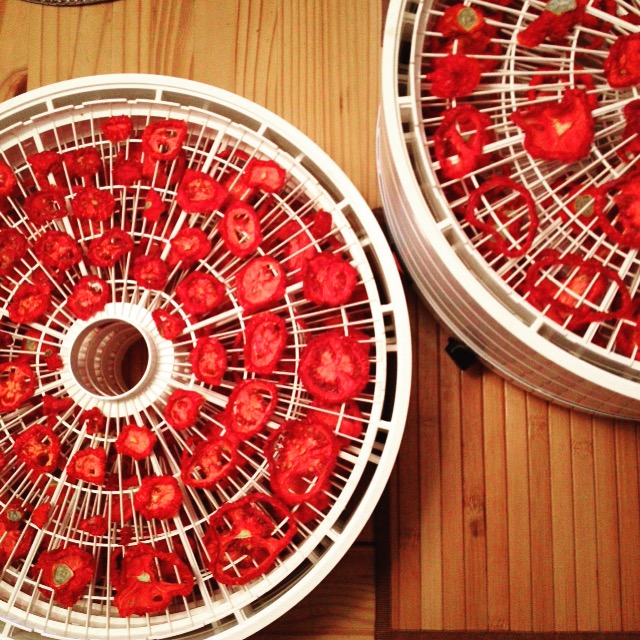
Tomato tomato tomato tomato tomato tomato tomato. All around me these days there are tomatoes. They are fresh, they are juicy, they are plump, they are delicious, they are plentiful, and I feel this urgent need to somehow retain this brief snapshot of summer sun and heat and flavour that it is all I do, it seems, is figure out ways to keep that tomato lovin going all year round.
Enter the dehydrated tomato. Mes amies, this couldn't be any easier. Whether you have a dehydrator or not, this takes energy at the onset but keeps in a glass jar in your pantry for months and I'm sure years, although I've never been able to keep them around for that long before gobbling them up. This is rocket science. Pay very close attention.
THE HOW-TO: Wash tomatoes, some say in a vinegar solution, but even that's a bit too much work for me. (Notice a theme? I'm a low maintenance kinda gal.) In the water they go. And drip dried. And then sliced in rings, about an inch thick or so. The trick here is to get them to be about all the same thickness. If you are like me and are tomato-obsessed, you may benefit from having a specific tomato knife, or at the very least sharpen that knife before you get into your tomatoes. Or use a serrated one, that works too. Again, I did these with roma tomatoes as they are more meaty, and smaller in size once dehydrated, they're easier to get in to the glass jars. But you could do this with any kind of tomato, I'm sure cherry tomatoes would be super fun!
Once they are sliced, layer them on your dehydrator screens or on your cookie sheets lined with parchment paper, leaving a bit of space around each round. I don't know why. Because I think they may end up sticking together maybe.
If you're using a dehydrator, go ahead and pop those screens in place and turn your dehydrator on at 105F. Anything dehydrated under 118F retains the live enzymes, so that when you eat them later, they will be closer to the raw tomato you had back in the heat of August. They pack a higher nutritional punch. If you're using an oven, dial in to the lowest temperature you can, and pop that door open to keep it as low as possible. Same as yesterday, low and slow wins the race.
When they are the texture of a sun-dried tomato, you have your prize. That's it. I store them in plastic bags or glass jars, depending on the amount and space I have.
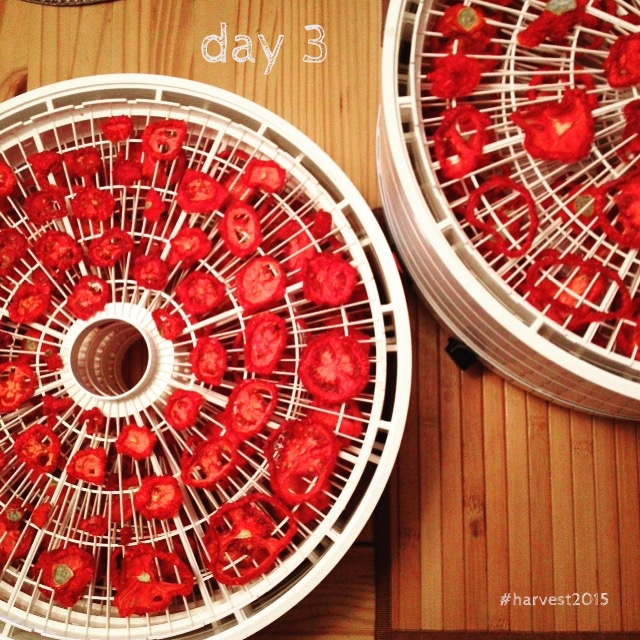
Dehydrated roma tomatoes. This is rocket science, it's quite complicated. #harvest2015
You'll know they're dry when they are dry. (That's the rocket science part.) If you're able to kinda squeeze them (which, to be honest, the ends will be the last ones to dry up) then they're not dry enough yet. I usually check every few hours, and when it's just those meatier ends that are left to dry up, I put the rest away and keep those pieces in the dehydrator/oven to finish up the job. And tuck away in plastic bags or glass jars until you're ready to use them.
Ways to use them up: rehydrate briefly and toss in pasta sauces or curries or salads, use them minced to sop up extra liquid in a sauce or sauté you'd rather have a bit drier; throw them in soups or on top of pizzas. Throw them in omelettes or frittatas! Blitz them in your coffee grinder to make tomato powder which will add a depth and zing to everything! Or rehydrate and make a tomato pesto by adding garlic, some basil or oregano, pumpkin seeds, romano cheese and olive oil, S+P. Or tell us what you're planning to make with these morsels.
And incidentally, keep your eyes peeled at garage sales for dehydrators, or at your favourite local goodwill or VV Boutique, they pop up every now and then. No need to spend many hard earned dollars on a brand new model, I adore mine and it's not the one the cool kids have. And I love it all the same.
AGAIN. GO PLAY WITH YOUR FOOD WILLYA?